Do you struggle and shut the door at the end of a craft session? Does the unkempt room often make you not want to go back in? Yes, there is an art to keeping a craft room clean and you can do it! Read on for the 7th post in the Craft Room Design and Organization Series: 7 tips to keeping a clean craft room.
Picture a day full of crafting ~ yes, please! It’s late and you are done for the day. You stand up and look at the mess you made and decide, “I’ll clean it up tomorrow”. Tomorrow comes and you look in the room and decide to shut the door and deal with it another day. Days go buy and the next time you open the door, ugh, the mess is still there.
So what happened? One good day of crafting and then nothing. Then you go on the Facebook Group and comment, “My room is a mess! Now what?”. LOL. Sound familiar? Trust me I’ve been there.
Then you need to know there is a solution. A plan that if you follow and make it a habit, your problem will be solved. No more messy room and more crafting! Sound like a dream?

Let’s put that dream into action.
Over the past 6 posts in the Craft Room Design and Organization series, I’ve given you a lot of ideas on creating your perfect craft room and how to organize all your tools and supplies. In the last post I shared with you the 5s’s you can use to organize your room and this theory is the cornerstone of all organization that I follow and love. You will too!
Simply put: There’s a place for everything and everything is in its place.
The definitions of the 5s’s as found at Creative Safety Supply are as follows:
Sort
Sort through materials, keeping only the essential items needed to complete tasks. (This action involves going through all the contents of a workspace to determine which are needed and which can be removed. Everything that is not used to complete a work process should leave the work area.)
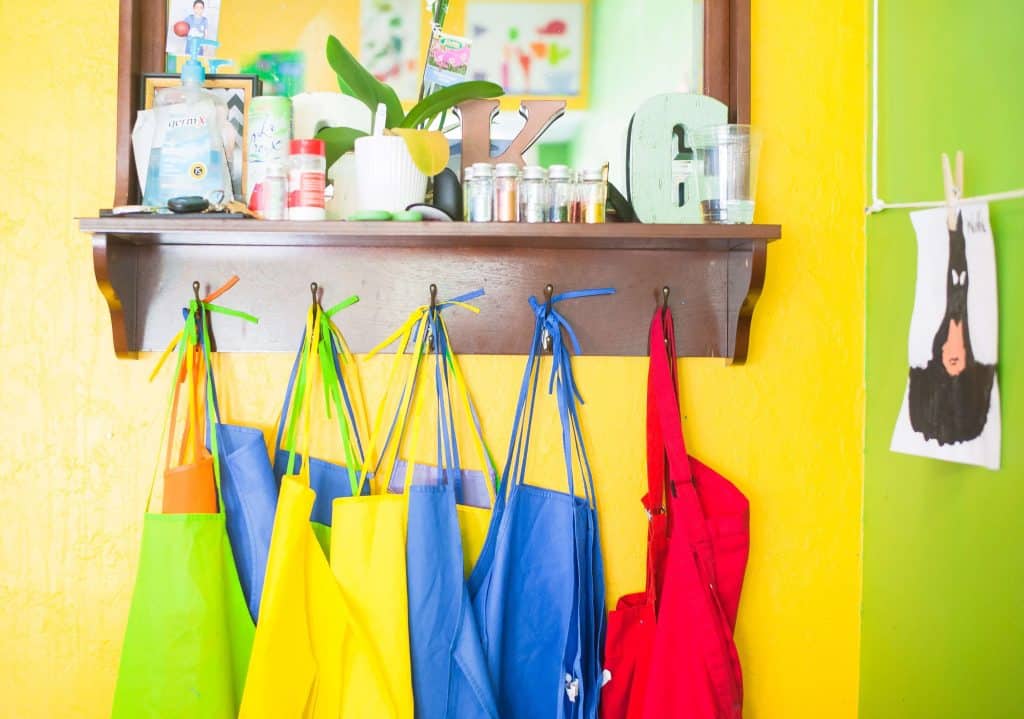
My craft room is divided into areas for each type of crafting I do (and yes I have many!).
Set in Order
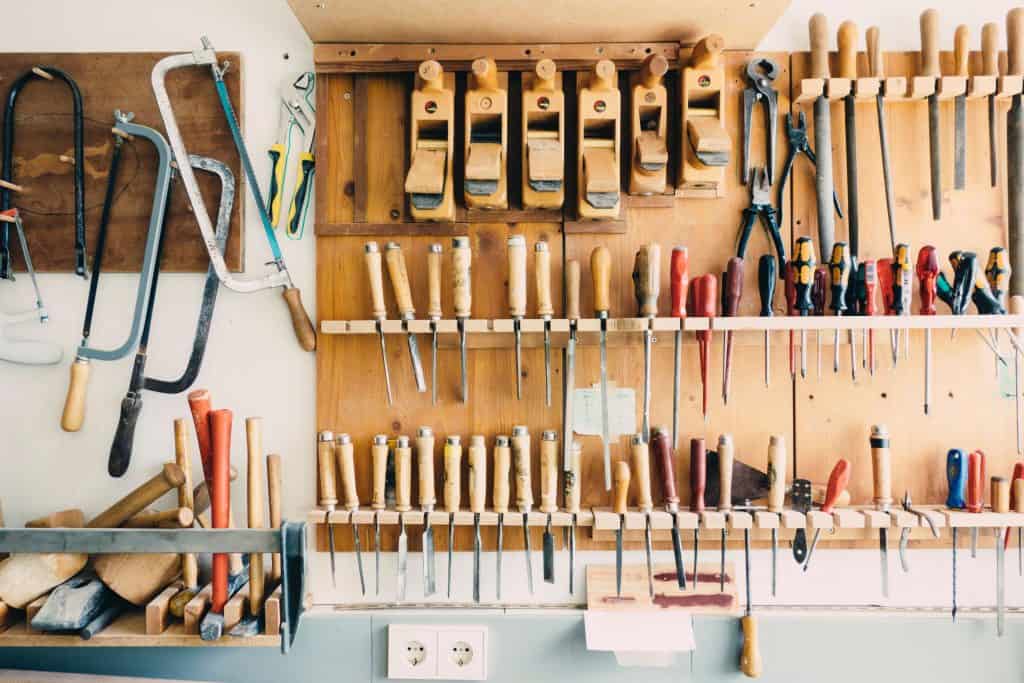
Ensure that all items are organized and each item has a designated place. Organize all the items left in the workplace in a logical way so they make tasks easier for workers to complete. This often involves placing items in ergonomic locations where people will not need to bend or make extra movements to reach them.
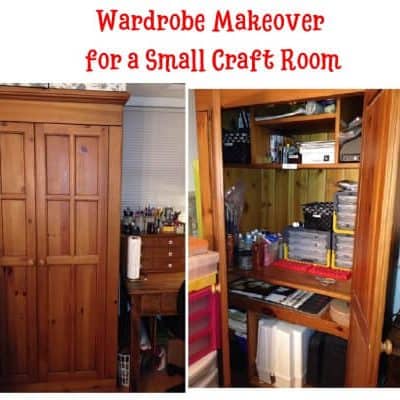
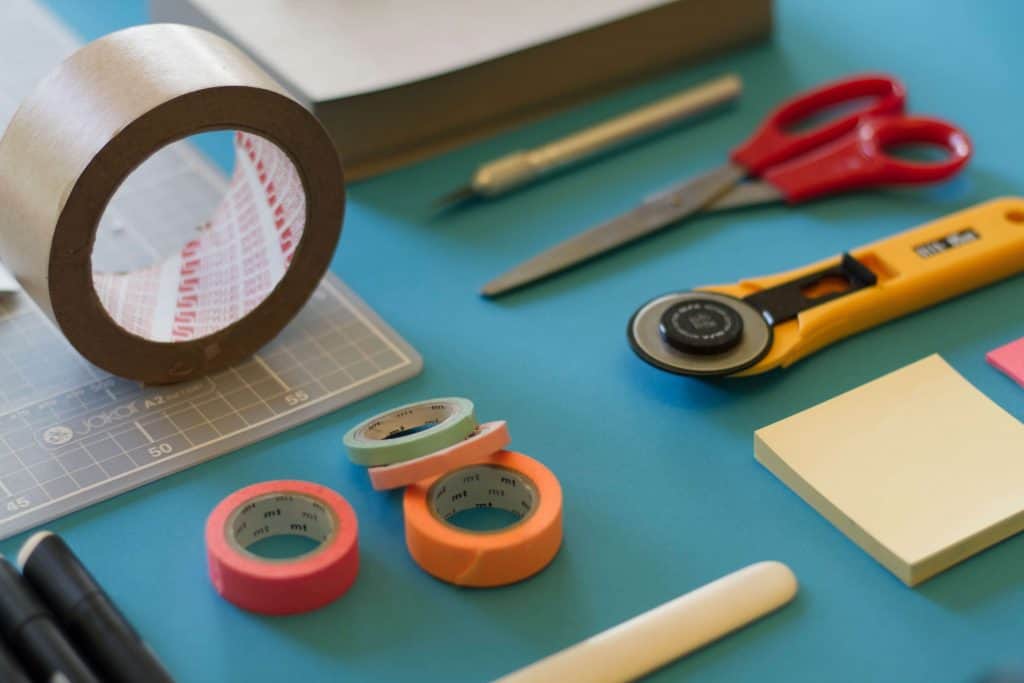
I have all my tools I use for most all my crafts at arms reach. Each tool has a home. I love using my 31 Double Duty Caddy for these tools because I can easily see them and grab what I need. For my supplies I use quite a number of different storage ideas because there are so many different types and sizes of supplies. I went into a lot of them through this series.
Straighten
Proactive efforts to keep workplace areas clean and orderly to ensure purpose-driven work. This means cleaning and maintaining the newly organized workspace. It can involve routine tasks such as mopping, dusting, etc. or performing maintenance on machinery, tools, and other equipment.
In order to maintain neatness in my room, I label everything. If you follow the lean principles you will find that not only does each item get labeled, the space where it goes is also labeled. This practice makes it easy to put things away and keep your room clean and organized.
Standardize
Create a set of standards for both organization and processes. In essence, this is where you take the first three S’s and make rules for how and when these tasks will be performed. These standards can involve schedules, charts, lists, etc.
I use coordinating boxes from MIchaels, magazine holders and various items from Ikea to give my craft room an overall look of consistency and neatness. I keep my inventory list up to date and handy for shopping trips so I don’t end up with duplicates.
Sustain
Sustain new practices and conduct audits to maintain discipline. This means the previous four S’s must be continued over time. This is achieved by developing a sense of self-discipline in employees who will participate in 5S.
Form the habit of always following the first four S’s and you will love your craft room every time you go in it!
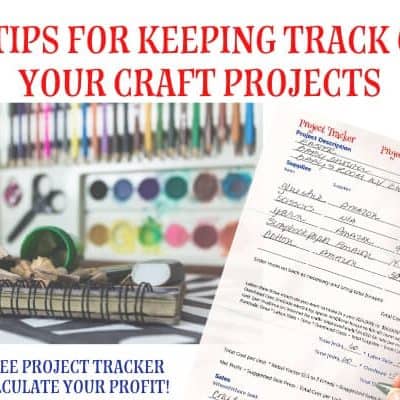
The overall idea is that you improve your efficiency and thereby increase your profit. If you are into crafting for profit then this model will suit you well. Even if you are not in it for profit, you can benefit from the overall discipline of keeping your room clean and organized.
Once you have everything organized in your craft room you need to create a schedule and routine for keeping it clean so you will love being there and the creative process will flow. Here is a free printable to help you remember the process:
Here are 7 tips to keeping your Craft Room Clean
Tip One: Clean up after yourself
The first and foremost is to always clean up after yourself when crafting. We often get onto our kids to just put things away and clean up after themselves. Well this is no different for your room. When you are done crafting, put things away. If you are continuing your project the next day, then it is not necessary to put things away until you are done, but don’t make this exception the rule.
Tip Two: Clean as you go
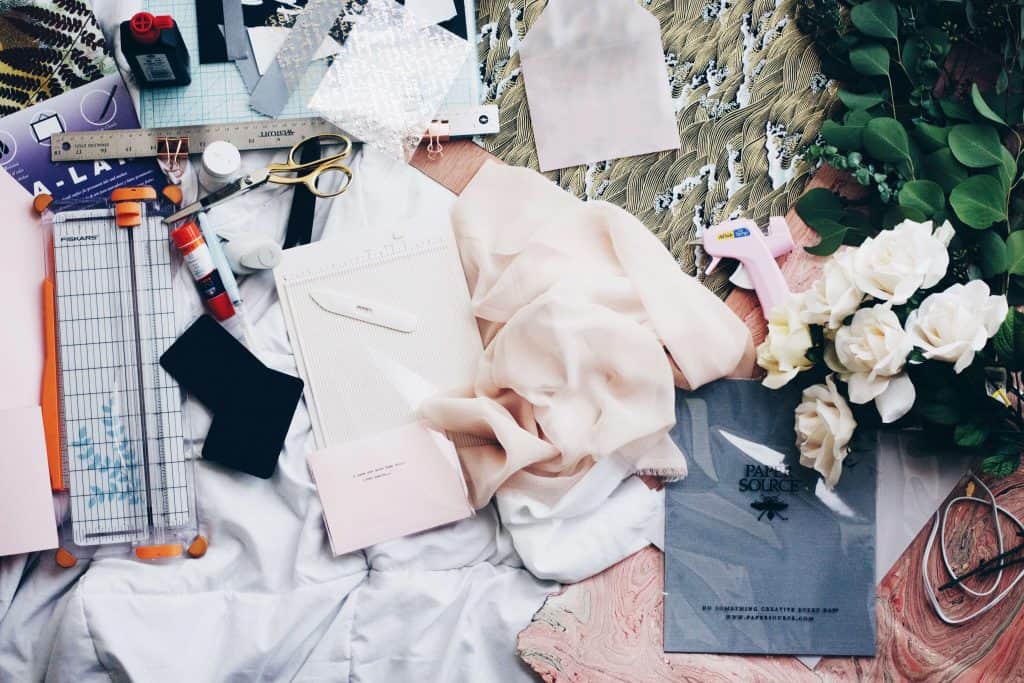
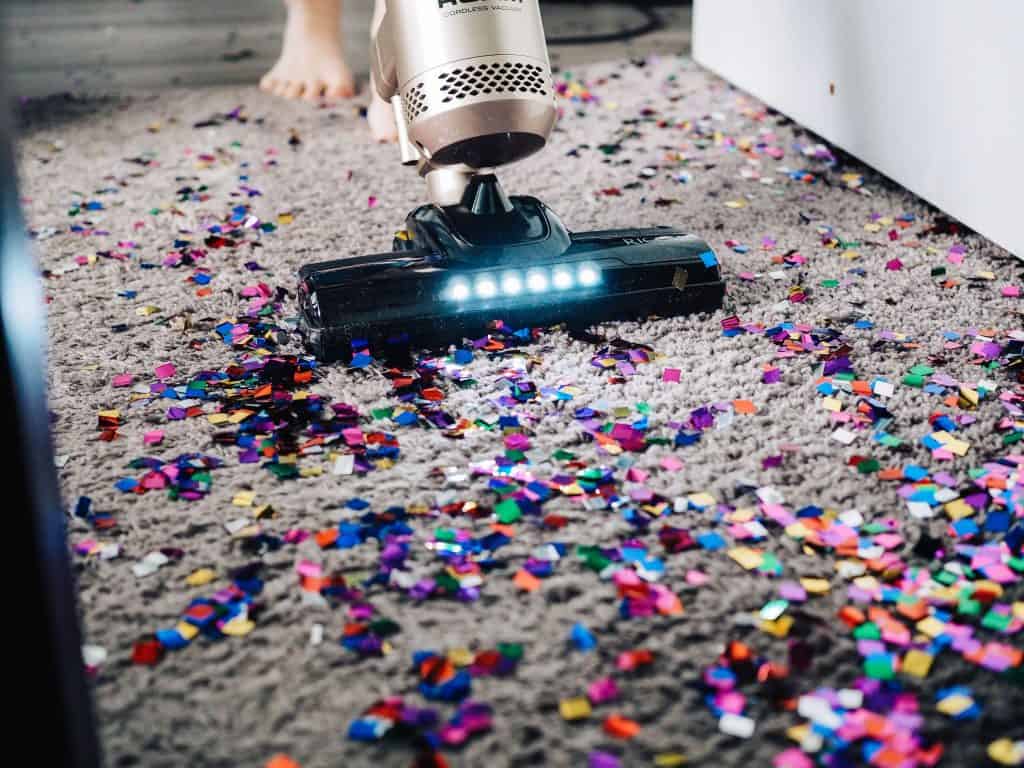
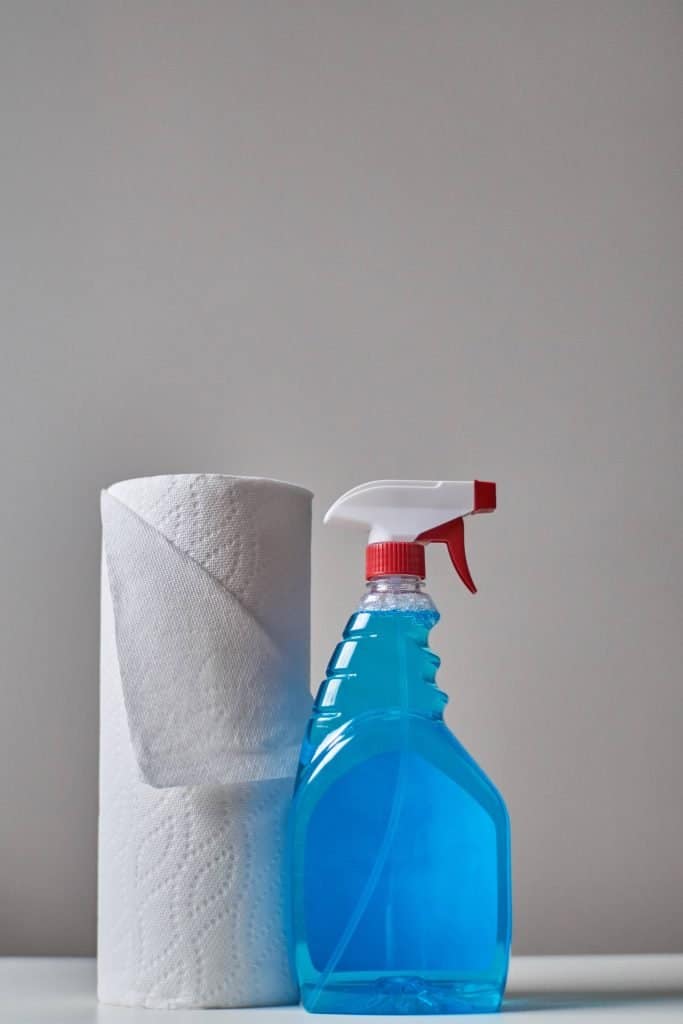
Clean up as you go. My husband always volunteers to do dishes after I cook because there are very little left to do. I clean as I go. Same in my crafting. I have a trash can within an arms length, wipes and paper towels handy to clean up spills, a broom to sweep up the floor and water nearby to use as needed.
Tip Three: Make a Cleaning Schedule
Make a cleaning schedule and stick to it. This includes, dusting, mopping, cleaning surfaces, washing windows, etc. Do this at least once a month.
Tip Four: Get rid of Waste
Get rid of waste. Don’t be a horder. If you truly will use those toilet paper cardboard rolls, then by all means keep them, but if you find yourself saying “I may use these someday” then get rid of them. They will just create clutter and take room away from the things your do use. I’m guilty of this but have learned that unless someday it tomorrow, it isn’t going to happen.
Tip Five: Purge
Purge. Get rid of things you are not using. Throw away the glue bottle that no longer squirts out fluid glue. Toss the scraps. Donate unused items more than 6 mos old to a local school. Trade with friends.
Tip Six: Organize with a Friend
Find an organized friend. Doesn’t everyone know at least one neat freak friend? Have them come over for a crafting fun time and ask for their help or for ideas on how you can do a better job with organizing and cleaning your room. These A types love to help and love to clean. In no time at all you both will have your room headed in the right direction.
Tip Seven: Join Facebook Group
Join Facebook Groups that specialize in Organization and ask for help. In my Facebook Group Craft Room Organization, there are over 14,000 people that love to share their rooms, ideas and offer support.
I hope these tips have inspired you to work on keeping your space clean. Which tip or tips do you think you will be able to implement? Do you have any ideas that might help readers? Share in the comments!
Check out the whole series:
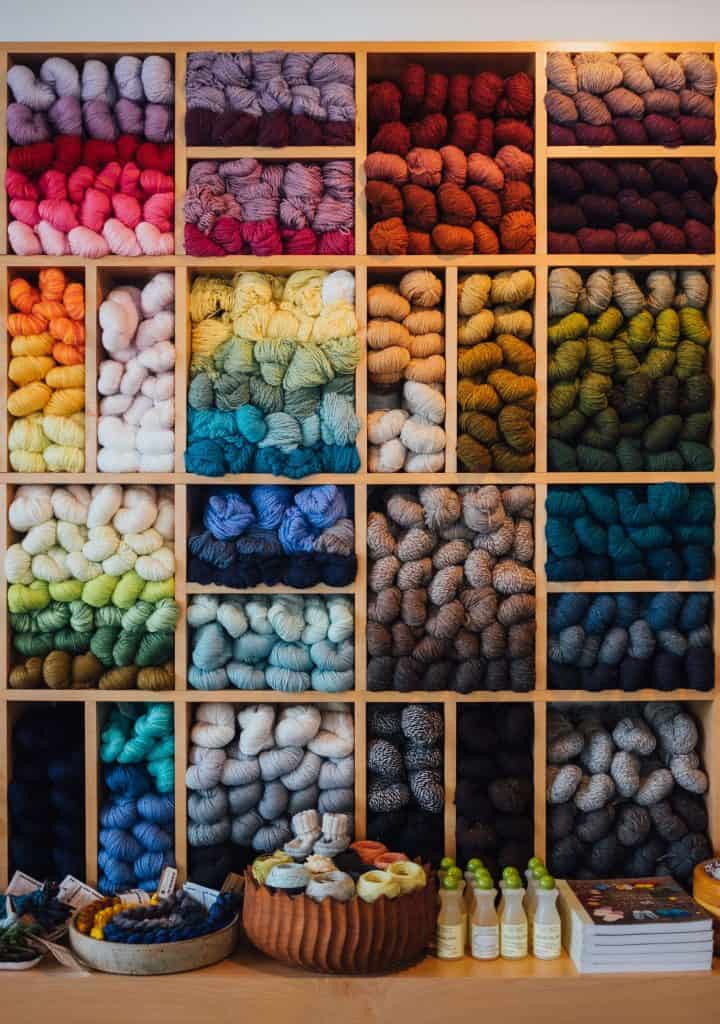
Series One: The Art of Color Theory, Color Psychology and Color Choices
Series Two: Prepping and Painting your Room
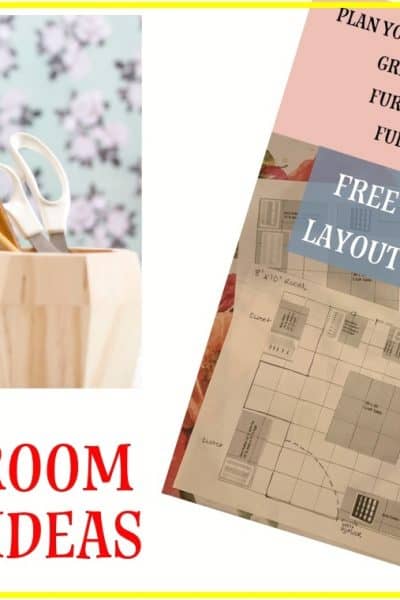
Series Three: Choosing your furniture, shelving and lighting
Series Four: Craft Room Organization and Storage Ideas
Series Five: Special consideration for Crafts that require ventilation
Series Six: Organizing your Space
Series Seven: 7 Tips to Keeping a Clean Craft Room
BONUS: Selling your Crafts