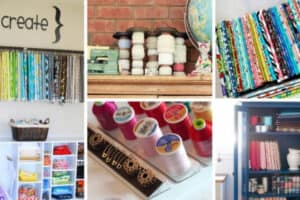
Craft Room Organization
Ideas on how to design your ultimate craft room for the optimal crafting experience. Learn best ways to design large to small craft rooms.
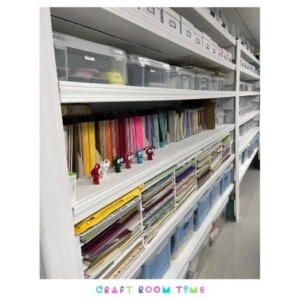
Craft Room Time
All Things Craft Related
Ideas on how to design your ultimate craft room for the optimal crafting experience. Learn best ways to design large to small craft rooms.