In series one we learned The Art of Color Theory, Color Psychology and Color Choices. Now that the color choices have been made for your Craft Room, it’s time to learn in Series 2: Prepping and Painting Your Room.
Painting a room is a chore no doubt but if you follow these steps, I promise you it will be much easier and cause less stress.
Here are all the steps for success:
Step One: Clear the Clutter
It is easiest to paint a room that is not full of clutter. So you guessed it! Get the clutter out.
Box it up and get it out of the room. Don’t spend time sorting or anything like that. Just simply take it off the counter and put it all in a box or two or three (or more if you have a lot of stuff like me). You can sort through all this later and believe me once you get your room pretty with paint you will want to start getting organized.
Step Two: Deep Dive Clean
So now that all the clutter is gone and you can see your walls, LOL, take the time to clean. Wipe down surfaces, clean the floor and get down to do the baseboards, knock down cobwebs, dust, wash the walls where needed and so on. Use a good old scrubbing with washcloth and soapy water. When you are done with that, take a clean wipe and wipe the surfaces down so that you have a germ free environment and leave the wipes in a handy spot to use as you need them. Also keep a rag handy for painting.
Take off all the outlet covers with care. Put them all in gallon size plastic bag along with the screws so you don’t lose them!

Step Three: Prepare for Painting
I’ve prepared a FREE handy checklist for you to print out for when you are ready to start painting your room. It will most certainly provide you with most everything you will need so you won’t be having to stop to go find something right in the middle of painting.
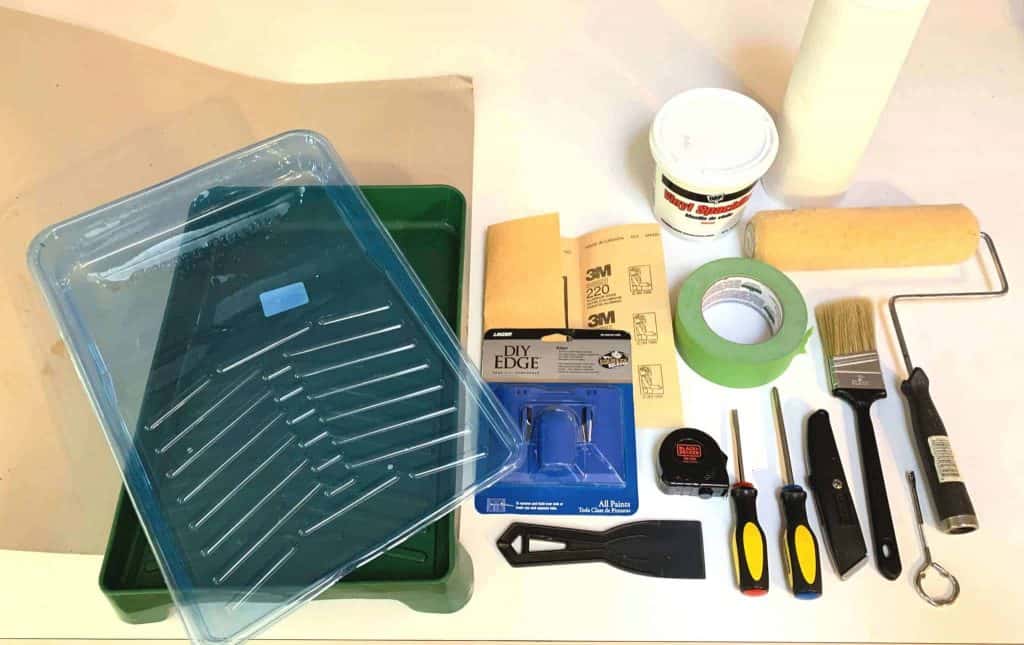
Here is the list (click on blue links to open source):
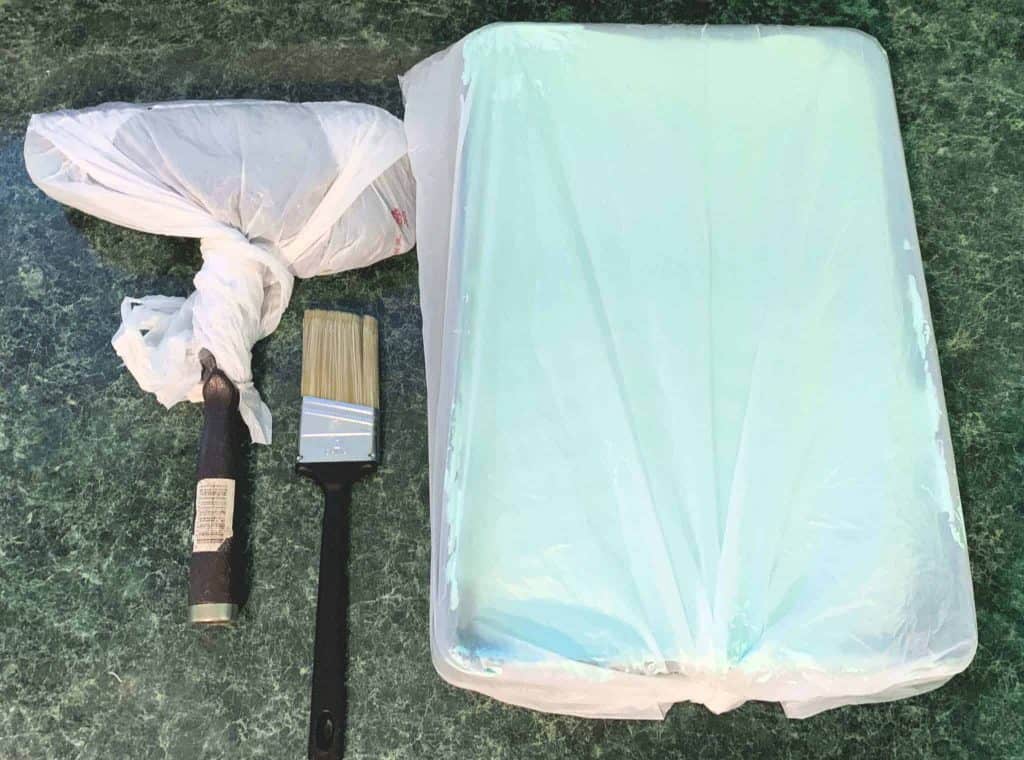
- Paint tray
- Paint tray liner (for easy clean up)
- Angle paint brush
- Roller and roller brush (You can purchase a complete kit here that has more)
- Extension for roller (not pictured)
- Cardboard (scrap) to put paint can on for drips
- Paint Stirrer (not pictured) Provided Free with paint purchase. Just ask for one!
- Paint can opener
- Screwdrivers (philips and straight)
- Sandpaper (220 is fine)
- Spackle (I suggest to purchase the DAP kit)
- Spatula
- Paper Towels (or rag if you prefer)
- Edger (optional)
- Painters tape
- Razor knife
- Tape Measure
- Clorox Clean Wipes (not shown)
Here’s a handy checklist for you to take with you to the store:
Not all tools will be used for every project but most are used at some point. I like to have these in a tote just for painting so it is ready to go and I don’t have to waste time hunting it all down.
To be honest, whatever I put together like this, I label “Laurie’s Paint Stuff – Do Not Use”. If I don’t do this, my stuff is gone and like the saying goes, “if Momma ain’t happy, then nobody’s happy” LOL. I could not believe it worked but it does. My hubby asks permission before he ever takes anything out of one of my totes! Mission Accomplished!
Step Four: Repairing Walls
If you have holes in your walls from nails, then watch this short video to show you how to spackle it. Warning – not high quality LOL I’m still learning how to shoot and edit videos.
If you have larger holes like the size of a dime or bigger, then you will need to use another technique which requires a patch. I found this video on Youtube to get you through this part and will create my own at some point in renovating this house.
Here is the Kit that he used in the video. This is a good kit to have handy when prepping walls for painting!
Step Five: Cutting In
I’m not so sure that many people like this step, but to me it is the best part of painting. I guess because of the organization of it and I’m an organization freak. I use the angle brush for all my cutting in but I am going to show you how to use the edging tool as well in this series.
Let me explain what cutting in is first. When you go to paint your walls with the roller brush, you don’t want to accidentally hit the ceiling, floorboards, counters, or molding. So what you want to do first is called cutting in. This simply means to use a smaller hand held brush or edging tool that gives you control over placing paint close to these areas.
Watch this short video on how I did the cutting in my craft room and then the steps below.
Here are the steps for Cutting In:
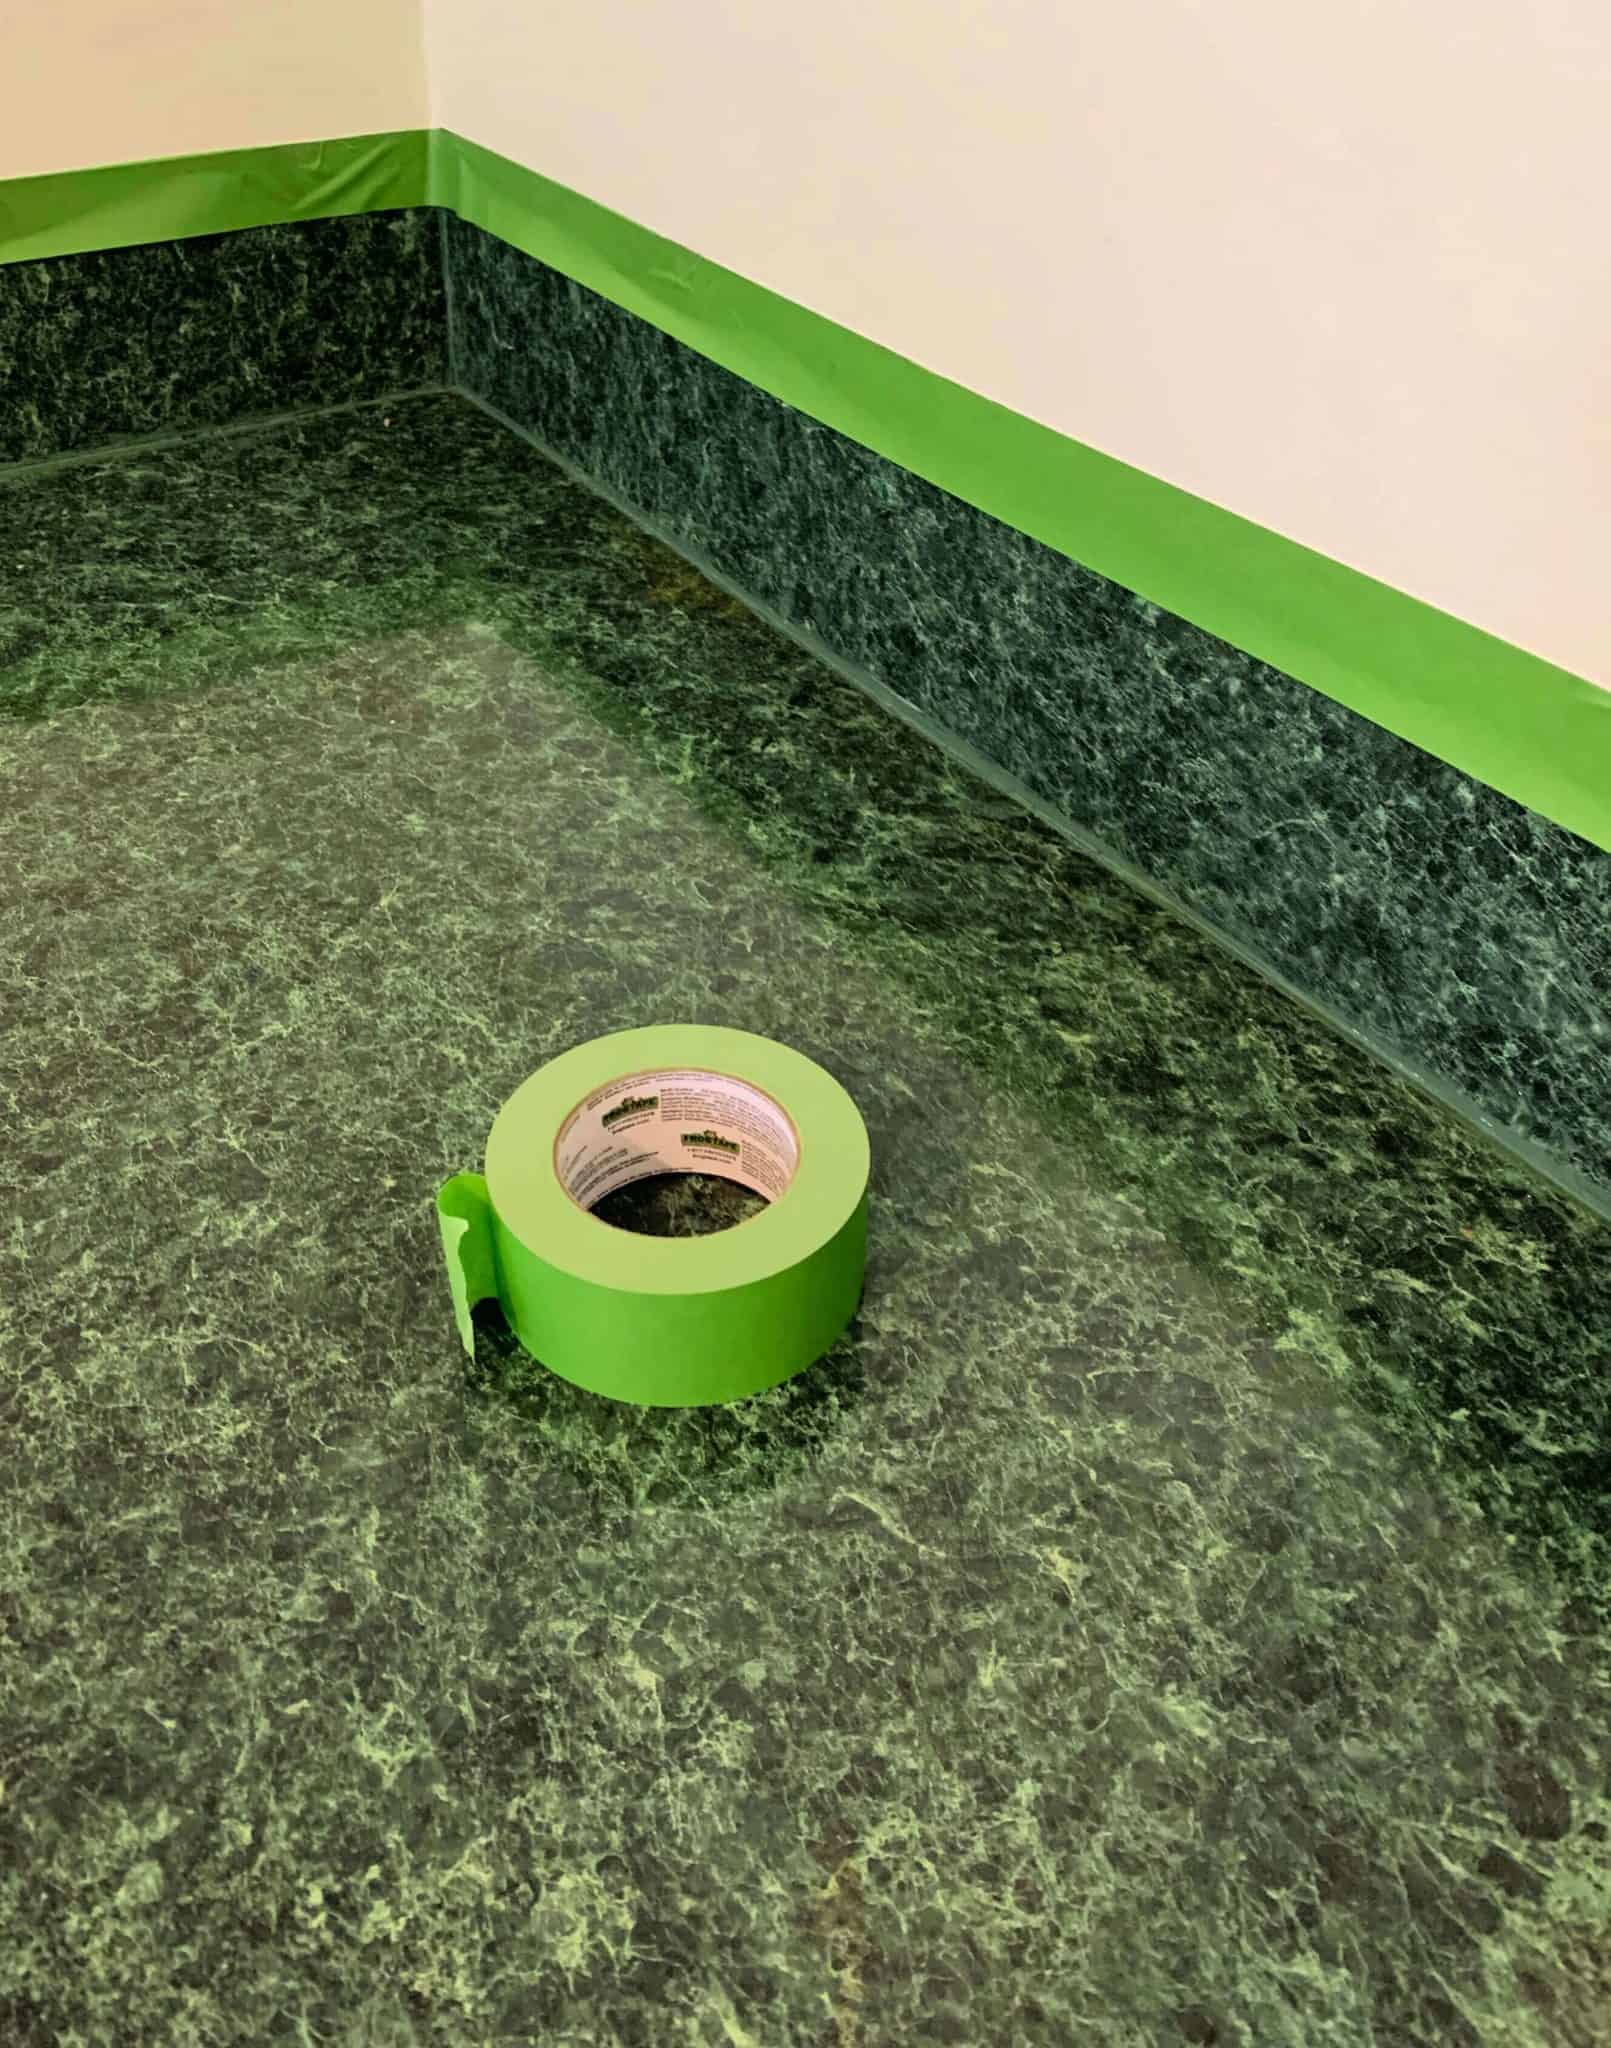
1. Use the painters tape to mask off areas you don’t want the paint to get on. Usually edges of counters, floorboards, trim, etc.
Hint: if you use an angle brush you can avoid using a lot of painters tape in some areas
2. There are two ways to paint around outlets. I want to caution you to be very careful around electrical outlets. One way is to tape them off and paint around them. This is by far the safest route. There are a lot of painters out there that would cringe at that because it is the easy way out. Another way, and how I did it in this room, is to take the covers off. The reason this is more dangerous or should be approached with great caution is because of the electrical current. For this reason it is safer if you cut off power to the room at the electrical panel. You also do not want to get any paint inside the outlet as it could result in shorting it out or worst case cause a fire. In my video I did not cover the outlet and I should have for safety. I also failed to mention to cut off the power. So Please keep that in mind. Safety first always!
3. Take your angle brush and get paint in it and what I mean by “In” it is to dip the brush in the paint and drag it across the ridges of the paint tray a couple times. This will get the paint into the bristles giving you enough to paint a small area on your wall without having to reload it a lot more. Take care not to get the paint up near the farrel (the top of the bristles that meet the handle.
4. Starting with the tip of the brush, place it at the top of the wall and the edge (floorboard, trim, counter, etc) Then putting slight pressure on the brush, fan it out and drag it down as shown in the video. This creates a clean edge.
5. Then using the full brush go out about 2 inches and paint along that same area. This will prevent you from using the roller brush and getting too close to the edge and getting paint on trim. Don’t be sparing with the paint in the cut in process. It needs to be covering the wall as best as possible to prevent having to do multiple coats even if the roller part does.
6. Once you have finished the trim around the entire room, take off all the painters tape. You want to do this Before the paint dries completely. This is so if you need to wipe off any that got under that tape it will be easy to remove with a rag and not leave any color behind. The paint does not have to be completely dry before you start rolling.
7. Start Rolling. Get enough paint on the roller so that it is saturated but not to the point of dripping. If it is dripping, roll it along the ribs some more applying light pressure. You don’t want to be cleaning up a lot of drips!
Watch this short video on how I rolled my walls.
8. Once the walls are dry (I’d wait a day or at least 6-8 hours) you will see if you need another coat on both the cuttin and the rolled areas. If you see splotches you need another coat. I will tell you that most paints require a second coat. Especially if you are covering a darker color it may take 3 or more (mine took 2 coats). Regardless of what the manufacturer promises!
9.Place the paint tray, roller and brush in plastic shopping bags and tie the ends. This will keep the paint wet without drying it out until the next coat or until the next day. Once you are done, poor any remaining paint back in the can. Wash the brushes with warm soapy water (with water based paint) and dispose of the liner as is appropriate.
10. Once completely dry (24 hours) and you don’t see splotches, you are ready for the next step in creating your dream craft room!
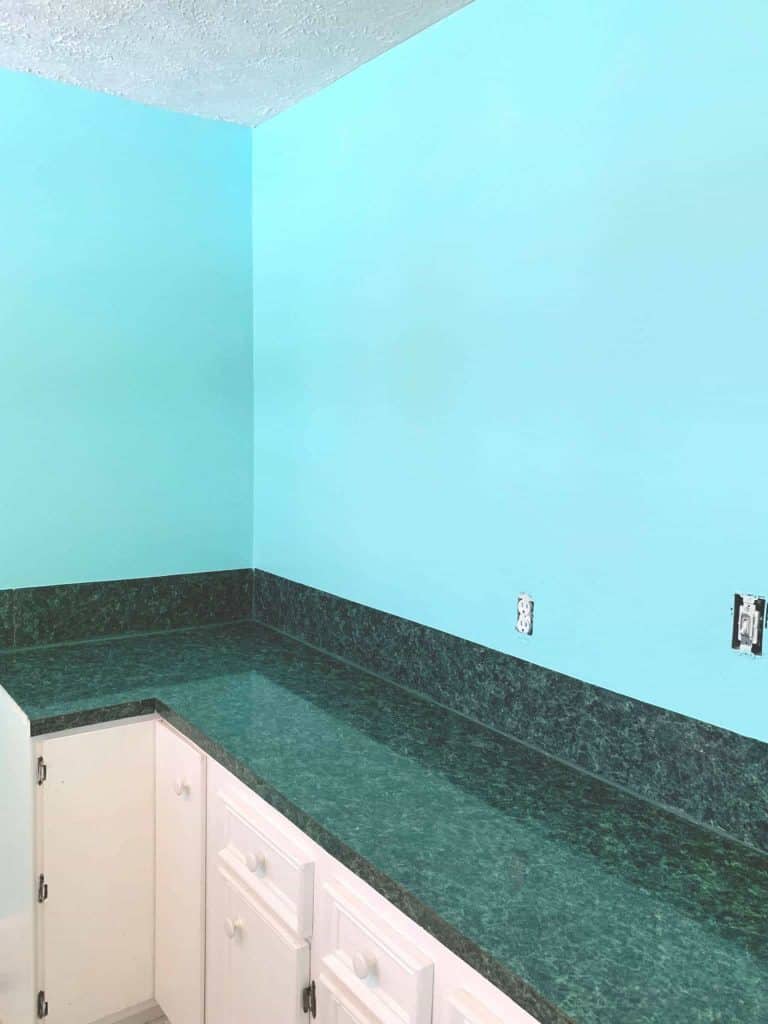
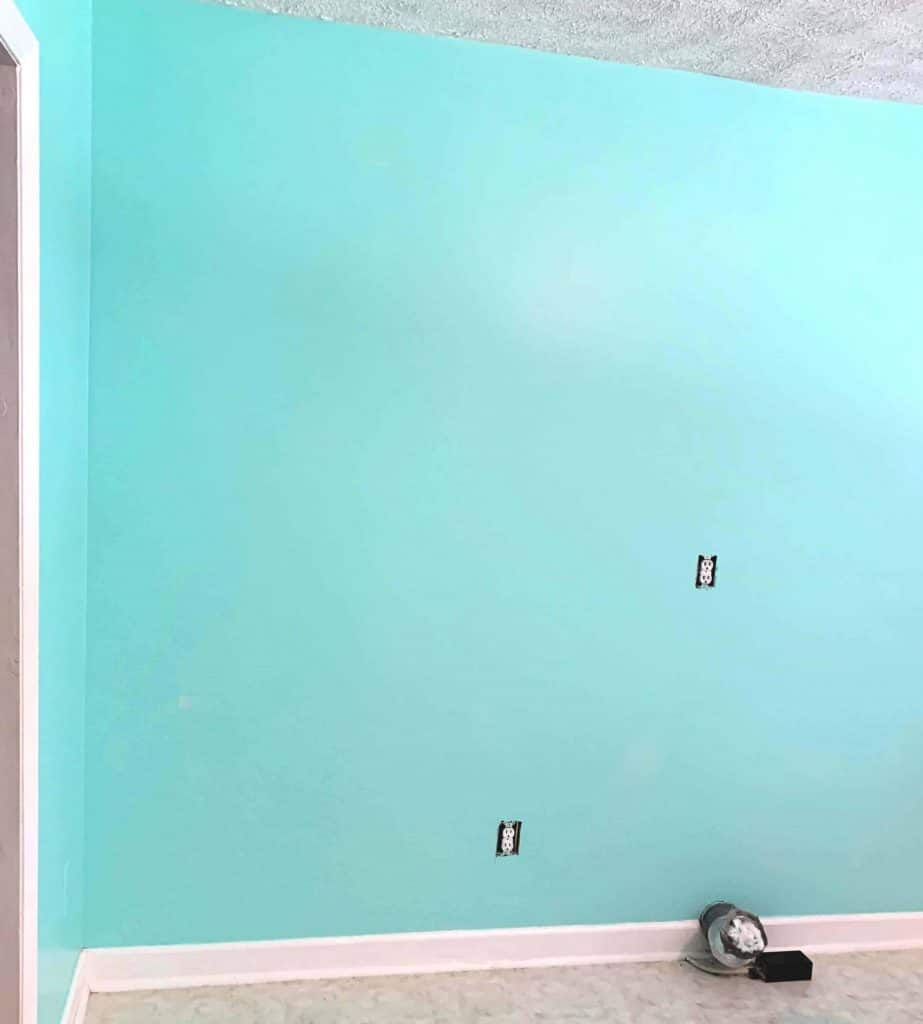
Here are my finished walls!
Check out the Series:
Series One: The Art of Color Theory, Color Psychology and Color Choices
Series Two: Prepping and Painting your Room
Series Three: Choosing your furniture, shelving and lighting
Series Four: Craft Room Organization and Storage Ideas
Series Five: Special consideration for Crafts that require ventilation
Series Six: Organizing your Space
Series Seven: 7 Tips for Keeping a Clean Craft Room
BONUS: Tips for Selling your Handmade Crafts
Pin this post on Pinterest for later so you can come back to it any time!
Are you enjoying the series so far? Leave a comment and let me know what your biggest challenge is with your craft room!