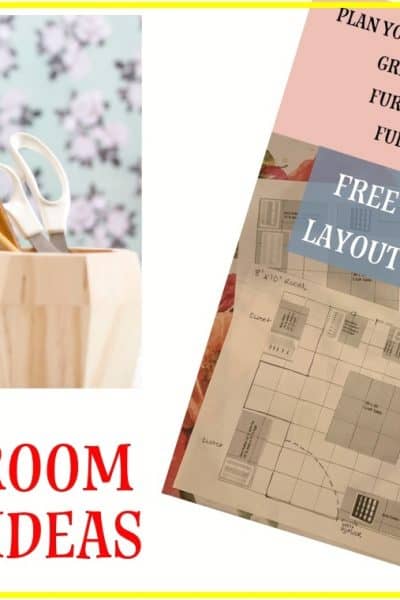
Series 6 in the Craft Room Design and Organization Series. 8 Steps on How to Organize Your Dream Craft Room
Organizing your craft room is a really good time to take inventory. Knowing what you have on hand can save you time and money in the long run.
I know my husband is not one of those that has the most organized workshop. He’s constantly buying screwdrivers and as a result we have more than I even know what to do with. So the lesson I have learned from him is that organizing to know where your tools are saves you both the time of running out and getting new items and the money spent for duplicates.
Hence the first step of organization, Take Inventory!
1. Take an inventory and categorize your supplies and tools
You may have seen organizing shows on TV where they take everything out of the room and put it on a big blue tarp and organize it all in piles. This is where we are going to start with your craft room as well. Not quite that dramatic as laying out a tarp, but do set aside a space that you can and will have plenty of room to sort things out.
In this area you will need to define the space into categories and types of supplies. Start with the Category. Categories are the type of craft it is. If you only do one type of craft, then you are set, but if you do more than one, define the space by each category, paper crafting, Jewelry, sewing, etc. Then within each category set aside two areas, one for tools and one for supplies.
Make one separate area for common tools. These are the tools you use with all types of crafts. You will want to have these handy and will put them in a place in your craft room that is most accessible.
Use this free inventory worksheet to log the items as you go. This list will become handy to you to identify and remember what you have so no more shopping for duplicates!
2. Empty Your Room
Now it’s time to begin the process of organizing the room. Starting can feel overwhelming. I often feel the same way, but it just takes one step at a time and that’s where we start. Within your room, take out all the items that are related to one category at a time. Take the items out and put it in your sorting area. Look for the tools and supplies for that category and go through the whole room until you have located all those items for that category.
Once you have cleared the room of all from the first craft category, it’s time to start on the next category and so on. The reason for doing this and removing the items into your sorting area is so that your craft room becomes empty and all that is left is the shelves, furniture, etc.
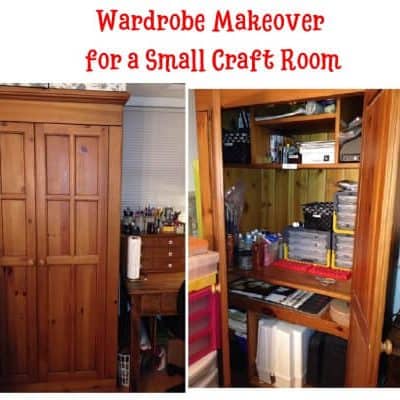
3. Revisit the Design of Your Room
This gives you the opportunity to then clean and redesign your room according to the categories you have defined. Refer to this post on how to pick the right furniture, shelving and lighting to decide how you want to design the room.
4. Organizing Your Areas
Now to begin organizing the items. Each category should be sorted into two areas, one for tools and one for supplies. Each type of craft has different types of tools and supplies but when you are shopping for storage for them, you will want to be aware of the sizes and quantities so you can shop smartly.
Starting with the tools, decide what types of storage will fit the needs. I like to have my tools accessible by reach. Here are some ideas for tool storage.
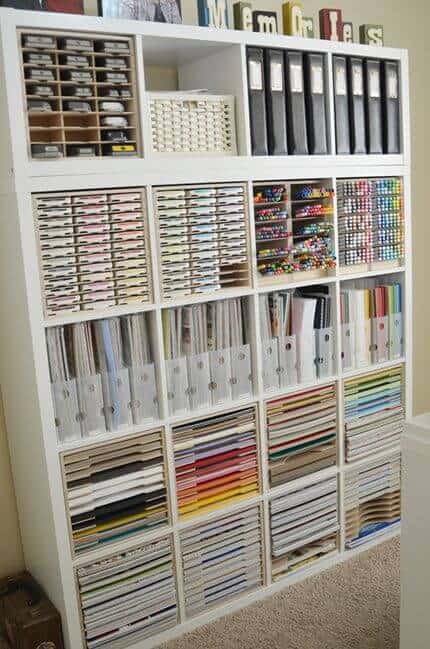
Next take stock of the supplies and shop accordingly. Take a look at the storage ideas in one of the previous posts in the series here keeping in mind the furniture and shelving you have in your room.
Take a look at some of these designated craft areas that you will love having in your room when you are ready to put all your items back.


5. What about Machines?
You will want your machines easily accessible. I recommend that they are placed where they do not have to be moved. Having them on a table or shelf that already has the electrical source will make it that much easier for you to get crafting. Or using a handy cart that you can roll over or a place where you can access them easily to bring to your table.
Place an extension cord on the cart and have your machines plugged into that so all you do is roll it over to your table and plug in one cord. Here are a few recommended carts.
6. Work Table
Probably the most important piece of furniture in your room. This is where the magic happens. Give yourself plenty of space for a large table and keep it clutter free. The only thing I would have on the table is the common tool caddy you created in step one and task lighting if needed.
Other than that, your table should be cleaned up after each crafting session. Leave any unfinished craft but put everything else away. Getting in the habit of doing this will keep your room clean and organized for your next craft. Your will be glad you did every time!
7. Transporting Crafting Tools and Supplies
Consider the need to easily transport your crafting items as well or create a to go bag/box just for that purpose. There are crops for paper crafting, sewing circles, knitting and crocheting groups and more. Having those items ready to go can be challenging and cause a bit of a mess. If possible, try to obtain the tools and supplies for travel and keep them in the “to go” container so you don’t have to disrupt your craft room.
There are many solutions for “Crafting on the Go”. Here are a few recommendations.
8. Learn and Follow the 5 S’s
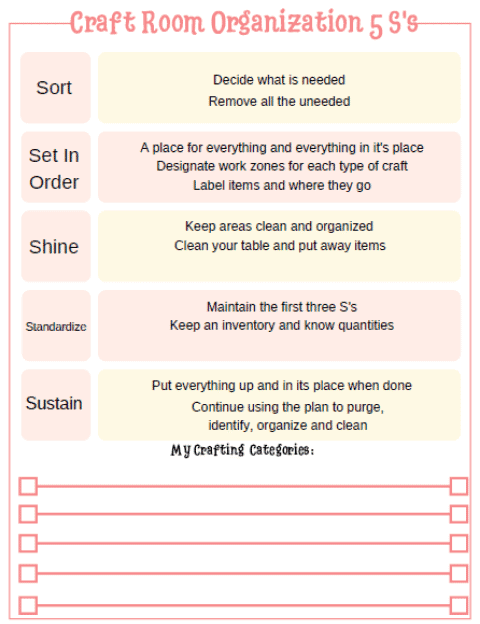
The methodology of the 5S quality tool is derived from the Japanese terms, Seiri, Seiton, Seiso, and Seiketsu. They use this to create a workspace that is visually controlled in lean production.
Since I worked at a facility that taught lean, I learned how to apply this to my workspace and I actually loved the concept and use it to this day.
Here is the translation and meaning of each of the 5 S’s related to your craft room and a handy checklist to laminate and have handy for use.
- Seiri ~ Sort Separate needed tools and supplies from the unneeded and to remove the unneeded ones. We did this in Step 1 above.
- Seiton ~ Set in Order To neatly arrange and identify and tools and supplies for ease of use. This was done in Step 2 for each category.
- Seiso ~ Straighten To conduct a cleanup campaign. In Steps 3 and 4 we accomplished this.
- Seiketsu ~ Standardize Continue to follow seiri, seiton, and seiso to maintain a workplace in perfect condition.
- Shitsuke ~ Sustain Form the habit of always following the first four S’s and you will love your craft room every time you go in it!
In Conclusion
Now that you have learned the steps to organizing your craft room, do you feel like you can accomplish this on your own? If not what is stopping you? Join the Facebook Group for support and ask questions related to your challenge. There are a lot of people in the group that have many ideas and suggestions and I will do my best to help you too. Coming soon! One on one consultation to get you that perfect craft room in no time at all. Be sure you are signed up to get information about this exciting opportunity!
Check out the other posts in the series:
Series One: The Art of Color Theory, Color Psychology and Color Choices
Series Two: Prepping and Painting your Room
Series Three: Choosing your furniture, shelving and lighting
Series Four: Craft Room Organization and Storage Ideas
Series Five: Special consideration for Crafts that require ventilation
Series Six: Organizing your Space
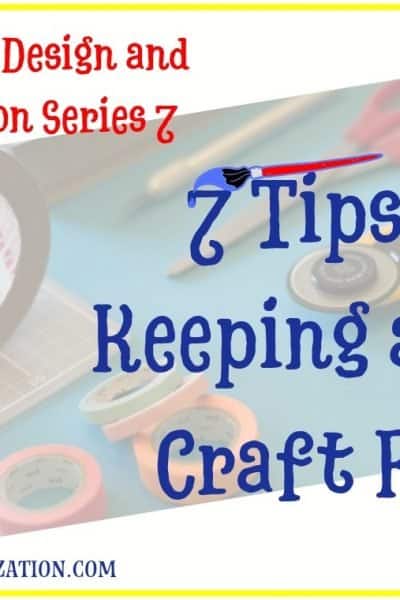
Series Seven: The Art of Keeping a Clean Craft Room
BONUS: Selling your Crafts Online