Do you have a passion for crafting and want to explore a new avenue that will add vibrancy and a touch of professionalism to your creations? Look no further than sublimation printing! Sublimation printing is a fantastic technique that allows you to transfer full-color, high-resolution designs onto various surfaces, creating personalized and eye-catching items. Whether you’re a seasoned crafter or a complete novice, this blog post will serve as your comprehensive guide to the world of sublimation printing, especially when using a Cricut or similar cutting machine.
What is Sublimation Printing?
Before we dive into the details, let’s start with the basics. Sublimation printing is a unique process that uses heat to transfer ink onto a surface, typically made of polyester or materials with a polymer coating. The ink turns into a gas when heated and is absorbed by the substrate, resulting in vivid, durable, and permanent full-color prints. This method is known for its ability to produce high-quality, long-lasting designs with unparalleled color vibrancy.

Getting Started with Sublimation
1. Gather Your Supplies
To embark on your sublimation journey, you’ll need a few essential items:
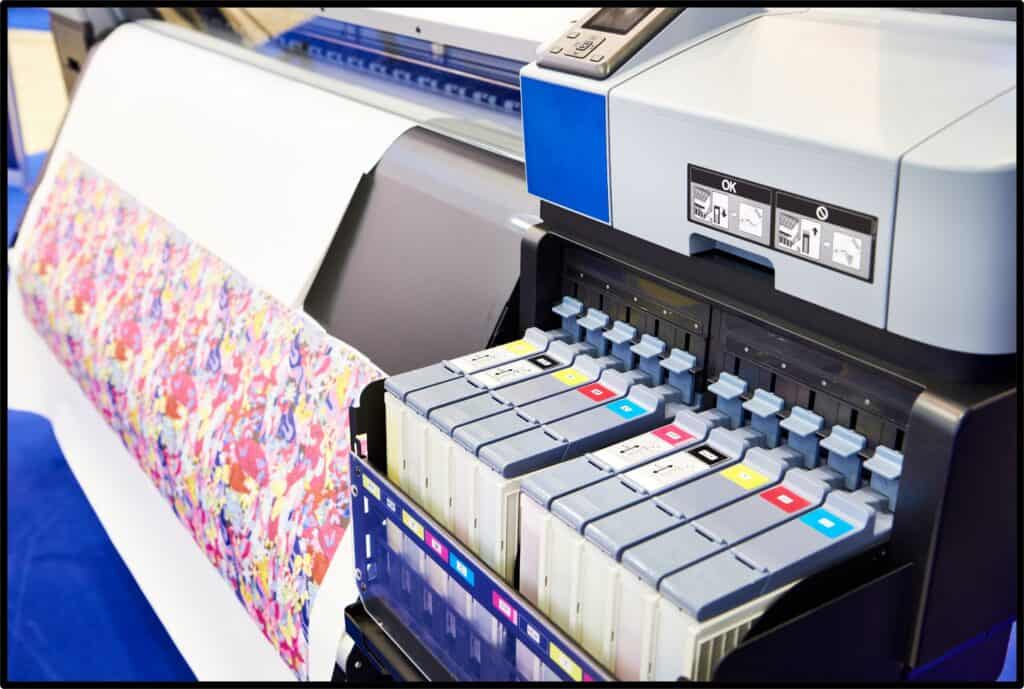
- Sublimation Printer: A printer specifically designed for sublimation, like the Sawgrass Virtuoso, is ideal. These printers use sublimation ink cartridges.
- Sublimation Ink: Special ink formulated for sublimation printing.
- Sublimation Paper: This paper has a unique coating that holds the sublimation ink until it’s transferred.
- Sublimation Blanks: These are the items you’ll be printing on, such as mugs, t-shirts, keychains, and more.
- Heat Press: A heat press is used to transfer the design from the sublimation paper to the substrate.
- Computer and Design Software: You’ll need a computer with design software like Adobe Photoshop or CorelDRAW to create your designs.
- Protective Gear: Sublimation involves high temperatures, so gloves and heat-resistant pads are essential for safety.
2. Design Your Project
Once you’ve gathered your supplies, it’s time to create your design. Use your design software to craft a unique and colorful image or pattern that you want to transfer onto your sublimation blank. Be creative – the possibilities are endless!
3. Print Your Design
Load sublimation paper into your sublimation printer and print your design. Ensure that you print it at the appropriate size for your chosen blank.
4. Transfer the Design
Now, it’s time to transfer your design onto the sublimation blank using a heat press. Follow the manufacturer’s instructions for temperature, pressure, and duration. The heat press will activate the sublimation ink, turning it into a gas and allowing it to penetrate the substrate, creating a permanent bond.
Projects to Get You Started
Here are a few simple yet rewarding projects you can tackle as a beginner in sublimation printing:
- Personalized Keychain: Print a colorful design on a sublimation keychain blank, making it a unique accessory or gift.
- Custom Mug: Transform a plain white mug into a personalized masterpiece by sublimating your chosen design onto it.
- Polyester T-Shirt: Give a polyester t-shirt a new lease of life by adding a vibrant sublimation print.
With these fundamental steps and beginner-friendly projects, you’re well on your way to becoming a sublimation printing pro. But we’re just scratching the surface of what you can achieve with this fascinating technique.
In our next post, we’ll explore the crucial factors to consider when selecting the right sublimation printer and ink for your projects. It’s an important decision that can significantly impact the quality of your prints. So stay tuned for “Picking the Perfect Printer: Your Gateway to Vibrant Prints” to learn more about the best equipment to take your sublimation printing skills to the next level.
Happy Crafting!


Leave a Reply