We’re in the Home Stretch!
Welcome back, dedicated crafters! We’ve come a long way on our journey of uncovering secret Cricut techniques that redefine the possibilities of our beloved machines. In our previous articles, we unveiled six astonishing techniques that expanded our creative boundaries. Now, as we enter the home stretch, we have two final techniques to explore—Techniques 7 and 8. Get ready to elevate your Cricut creations to new heights!
The Power of Unexplored Territory
As seasoned Cricut enthusiasts, we know that the true power of our craft lies in constantly exploring and discovering new techniques. Techniques 7 and 8 are the pinnacle of unexplored territory, offering innovative approaches that will ignite your imagination and take your Cricut creations to unprecedented levels of craftsmanship.
Technique 7: “Dynamic Fabric Designs: Mastering Infusible Ink Transfers with Your Cricut”
Unleash the magic of Infusible Ink transfers! With this technique, you’ll unlock the ability to create vibrant, long-lasting, and professional-looking designs on fabric. Say goodbye to traditional iron-on transfers and welcome a whole new world of possibilities!
Step-by-Step Guide:
- Choose your desired Infusible Ink transfer sheet and the fabric you want to apply it to. Ensure that the fabric is compatible with Infusible Ink.
- Design or select a design in Cricut Design Space or import your own. Remember to mirror your design before cutting.
- Load the Infusible Ink transfer sheet onto your cutting mat and set up your Cricut machine with the appropriate settings.
- Follow the prompts in the software to cut out your design using your Cricut machine.
- Carefully weed the excess Infusible Ink transfer sheet, ensuring that your design remains intact.
- Preheat your Cricut EasyPress according to the recommended settings for the specific Infusible Ink transfer and fabric.
- Place your fabric on a heat-resistant surface and preheat it using the EasyPress.
- Once preheated, position your Infusible Ink design on the fabric, ensuring it is in the desired location.
- Cover the design and fabric with a heat-resistant sheet and apply firm, even pressure with the EasyPress.
- Follow the recommended heat and pressure settings for the specific Infusible Ink transfer and fabric.
- Once the timer on the EasyPress is complete, carefully remove the EasyPress and the heat-resistant sheet to reveal your stunning, vibrant, and permanently infused design!

Technique 8: “Etching Elegance: Creating Beautiful Glass Etchings with Your Cricut”
Prepare to add a touch of elegance to your crafts with glass etching! Technique 8 introduces you to the art of etching, allowing you to personalize glassware, mirrors, and more with intricate designs. Let your creativity shine through with this sophisticated technique!
Step-by-Step Guide:
- Select a design or create one in Cricut Design Space or import your own. Ensure that the design is suitable for glass etching.
- Prepare your chosen glass surface by cleaning it thoroughly with glass cleaner to remove any dirt or oils.
- Cut out a stencil of your design using adhesive vinyl or stencil material on your Cricut machine. Remember to mirror your design if necessary.
- Weed the excess vinyl or stencil material carefully, leaving only your desired design on the backing.
- Apply transfer tape to your stencil to ensure easy application onto the glass surface.
- Position the stencil onto the glass, ensuring it is straight and aligned.
- Firmly press the stencil onto the glass, ensuring there are no air bubbles or gaps.
- Apply etching cream generously over the exposed areas of the stencil, following the manufacturer’s instructions.
- Allow the etching cream to sit for the recommended amount of time.
- Rinse the etching cream off under running water, carefully removing the stencil.
- Pat dry the glass surface and admire your beautifully etched design!
With these techniques at your disposal, you’re equipped to take your Cricut creations to unprecedented levels of craftsmanship and sophistication.
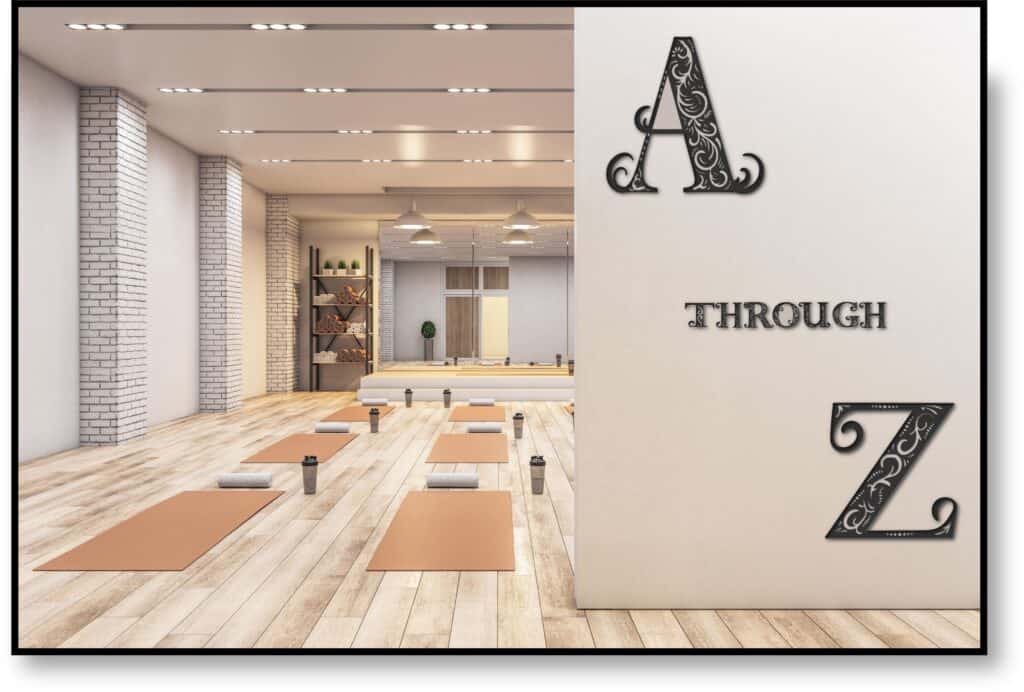
Ready to test this technique? Check out these SVG Mandala Letters to make the more amazing wall art, personalize notebooks, decorate furniture, whatever your incredible imagination can think of!
CLICK THE PIC ->>>
Mandala Promo Code: UNLEASH2023 FOR 50% OFF
In our final installment, we’ll reflect on our journey, highlighting the incredible techniques we’ve uncovered and the creative potential they’ve unleashed. So, get ready to celebrate the power of unexplored territory as we conclude this series.
Happy crafting!