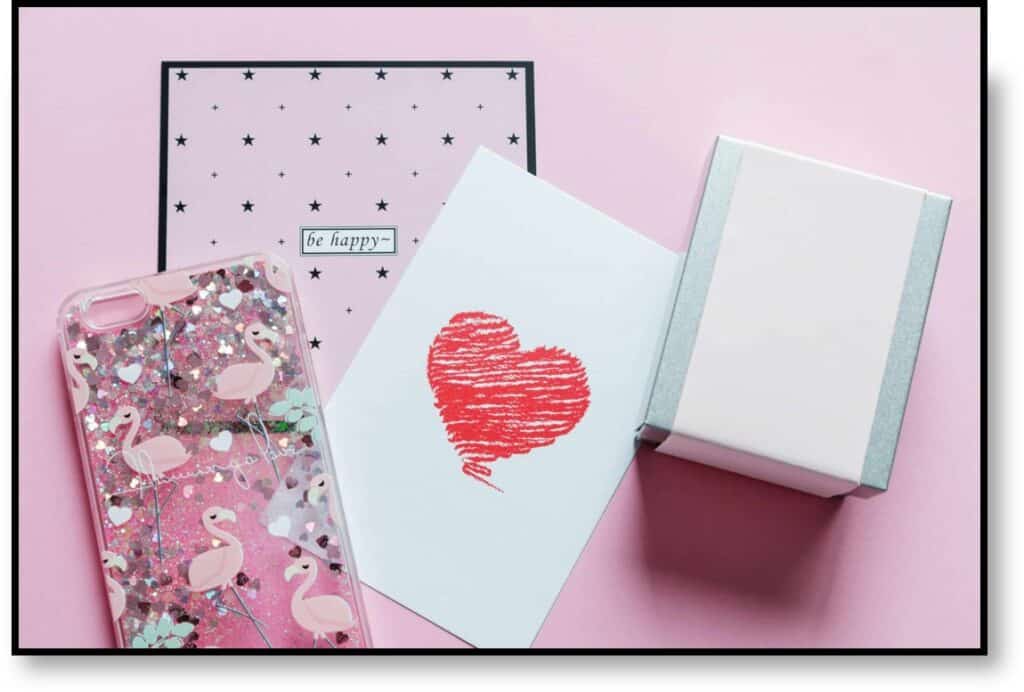
Welcome to the world of accessory alchemy, where creativity and imagination merge to create unique and personalized items! In this blog post, we’ll explore the underutilized function of the Cricut machine and how it can elevate your accessory game to new heights. While we’ve previously uncovered the wonders of customizing shoes and embellishing textiles, today we’re diving into the realm of phone cases. Get ready to unleash your creativity, add a touch of magic to your mobile device, and embark on a whimsical adventure of accessory alchemy like never before!
The Cricut machine is a versatile tool that allows you to customize and accessorize various textile-based items. While we’ve already delved into leather totes and mixed media canvases, today we’ll focus on the art of vinyl decal application on phone cases. With the power of Cricut, you can transform an ordinary phone case into a vibrant and personalized accessory that reflects your unique style.

Supplies and Tools: To embark on this magical journey of customizing your phone case with vinyl decals, gather the following supplies and tools:
- Plain phone case (compatible with Cricut vinyl)
- Cricut machine (Cricut Maker or Cricut Explore Air 2)
- Adhesive vinyl in various colors
- Transfer tape
- Weeding tools (included with the Cricut machine)
- Scissors or craft knife
- Cricut EasyPress or household iron
- Heat-resistant protective sheet or parchment paper
- Optional: Additional embellishments like rhinestones or glitter
Estimated Time to Complete: Approximately 1-2 hours, depending on the complexity of your design and drying times.
Step-by-Step Instructions:
- Designing Your Vinyl Decal:
- Launch the Cricut Design Space software and create a new project.
- Choose or create a design from the provided options of consider these:
- Adjust the size of the design to fit your phone case dimensions.
- Preparing the Vinyl:
- Load the adhesive vinyl into your Cricut machine and follow the prompts in the Design Space to cut your chosen design. Make sure to select the appropriate settings for vinyl.
- Weeding and Applying Transfer Tape:
- Use the weeding tools to carefully remove the excess vinyl from your design, leaving only the desired elements.
- Cut a piece of transfer tape slightly larger than your design and place it over the vinyl. Use a scraper or credit card to smooth out any air bubbles and ensure the vinyl adheres to the transfer tape.
- Applying the Vinyl Decal:
- Clean the surface of your phone case thoroughly to ensure proper adhesion.
- Peel the backing paper from the vinyl decal, exposing the adhesive side.
- Carefully place the decal, adhesive side down, onto your phone case, aligning it with your desired position.
- Use a scraper or credit card to smooth out the vinyl, ensuring it adheres firmly to the phone case.
- Removing the Transfer Tape:
- Slowly and gently peel away the transfer tape, leaving the vinyl decal adhered to the phone case. If any part of the decal lifts with the transfer tape, press it back down and apply more pressure.
- Optional Embellishments:
- If you want to add extra sparkle and personality to your phone case, consider incorporating rhinestones or glitter. Adhere them to the phone case using a suitable adhesive.
- Finishing Touches:
- Allow the vinyl decal and any added embellishments to dry and set according to the manufacturer’s instructions.
- Once dry, give your phone case a final inspection and make any necessary touch-ups.
Congratulations, accessory alchemists! You’ve successfully transformed a plain phone case into a personalized masterpiece using the enchanting powers of the Cricut machine and vibrant vinyl decals. With a touch of whimsy and a sprinkle of imagination, you’ve created a phone case that showcases your unique style and personality. Whether it’s a bold and vibrant design or a delicate and intricate pattern, the possibilities are endless when it comes to customizing your accessories with Cricut. So, gather your supplies, let your creativity flow, and embark on an adventure of accessory alchemy that will make your phone the envy of all!
Happy Crafting!


Leave a Reply