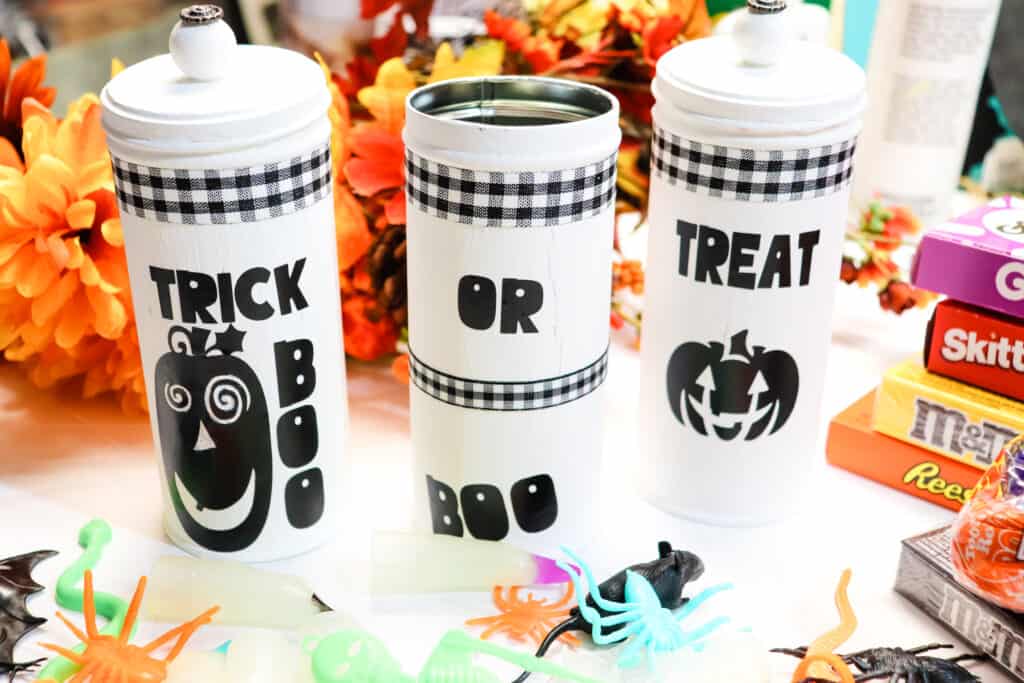
Halloween is just around the corner and such a fun holiday to decorate for. I love upcycling and I have so many tins that I thought it would be fun to turn them into treat holders! With my new farmhouse dining room taking on the colors of black and white, these tins are perfect for my table.
These tins from Dollar Tree are great to DIY and Upcycle. One of the upcycled tins is used to hold some festive flowers to give it that pop of color that shouts Fall! What things would you put in these tins?
This post may contain affiliate links and we may earn compensation when you click on the links at no additional cost to you. For additional information, please see my full disclosure policy.
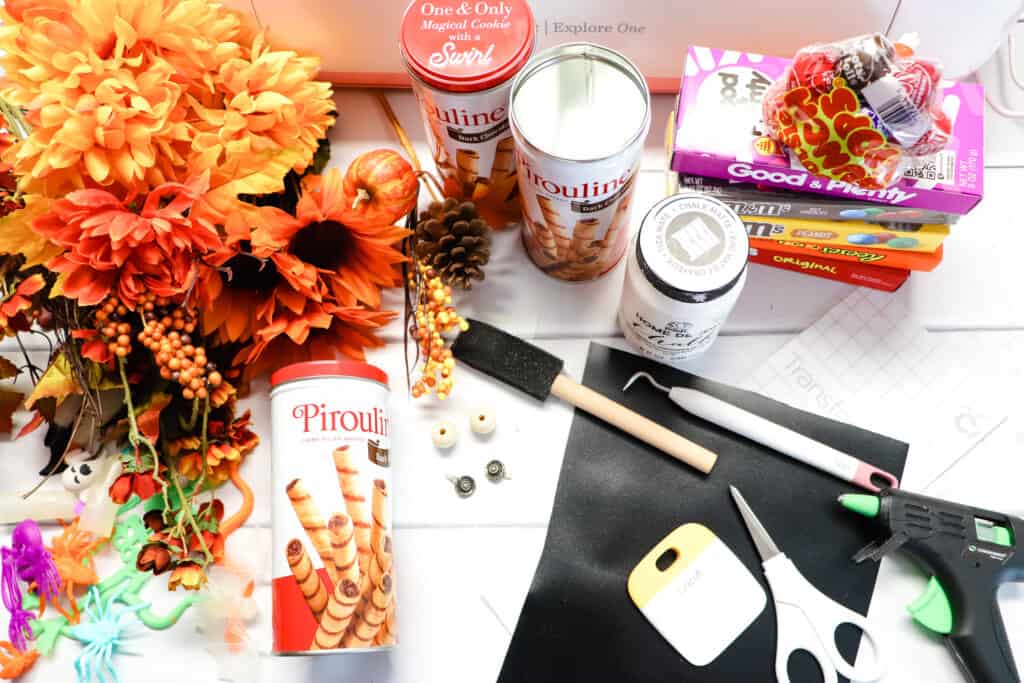
Supplies
• 3 Pirouline cookie tins with lids from Dollar Tree (or other types of tins with lids)
• Fall Florals from Dollar Tree or Hobby Store
• Small knobs for lid tops
• White paint *chalk paint preferred
• Foam brush
• Buffalo Check ribbon from Dollar Tree or Hobby Store
• Hot glue gun and hot glue sticks
• Halloween candy
• Halloween toys such as: spider rings, snakes, skeletons, bats, etc
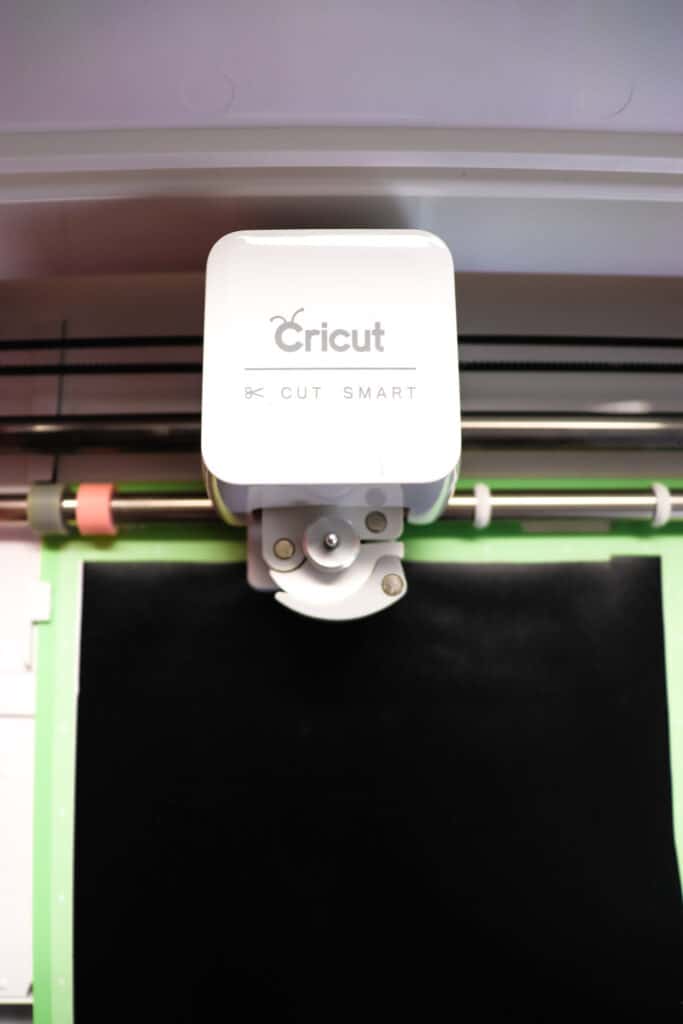
• Cricut machine *download Free SVG (at bottom of post) or use stickers as an alternative
• Cricut black vinyl
• Cricut transfer paper
• Cricut brayer, Cricut Weeder, Cricut scraper
Instructions for DIY Upcycled Trick or Treat Tins:
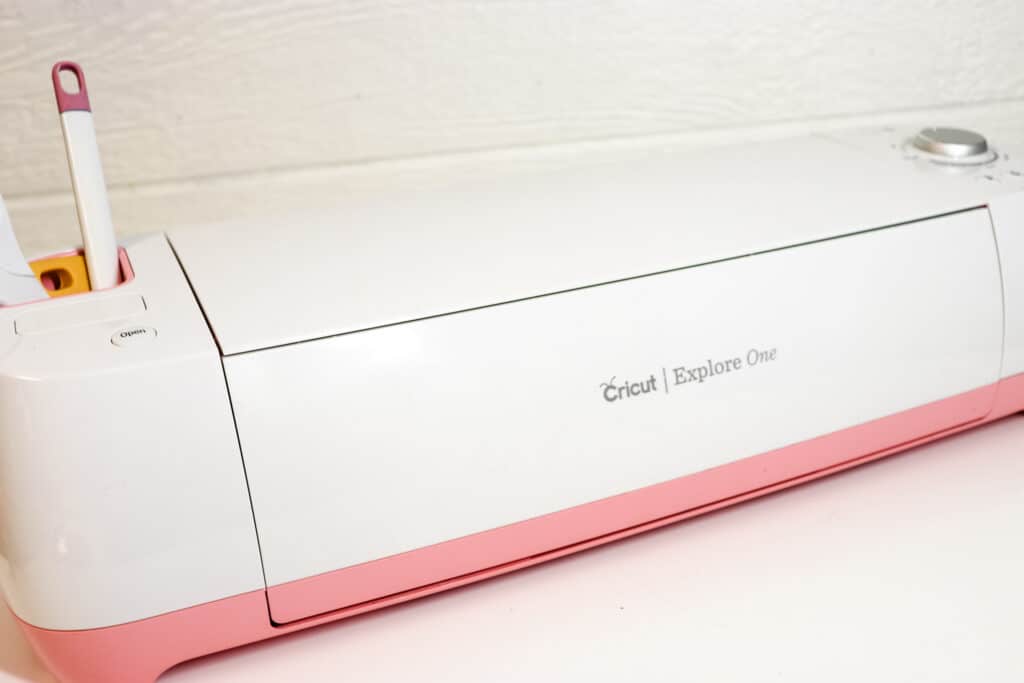
The Cricut Explorer was used for this project, but you can use any of the Cricut machines!
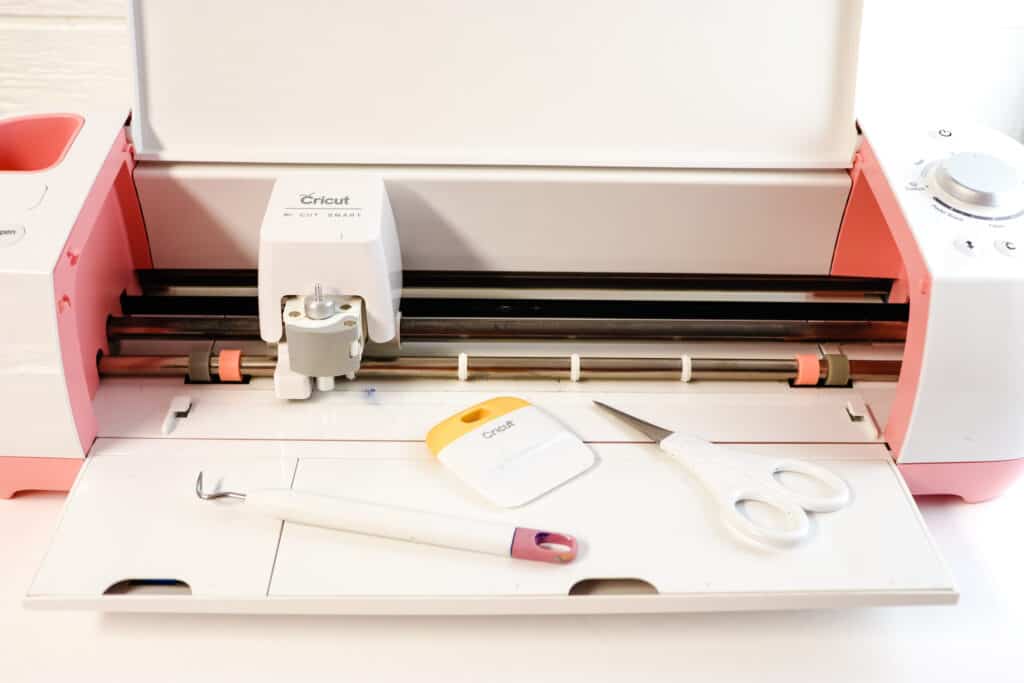
Using your Cricut machine and computer, download the SVG and upload it into your Cricut
program.
If you need help doing this step, refer to this post with full instructions. How to Download and Upload ZIP Files.
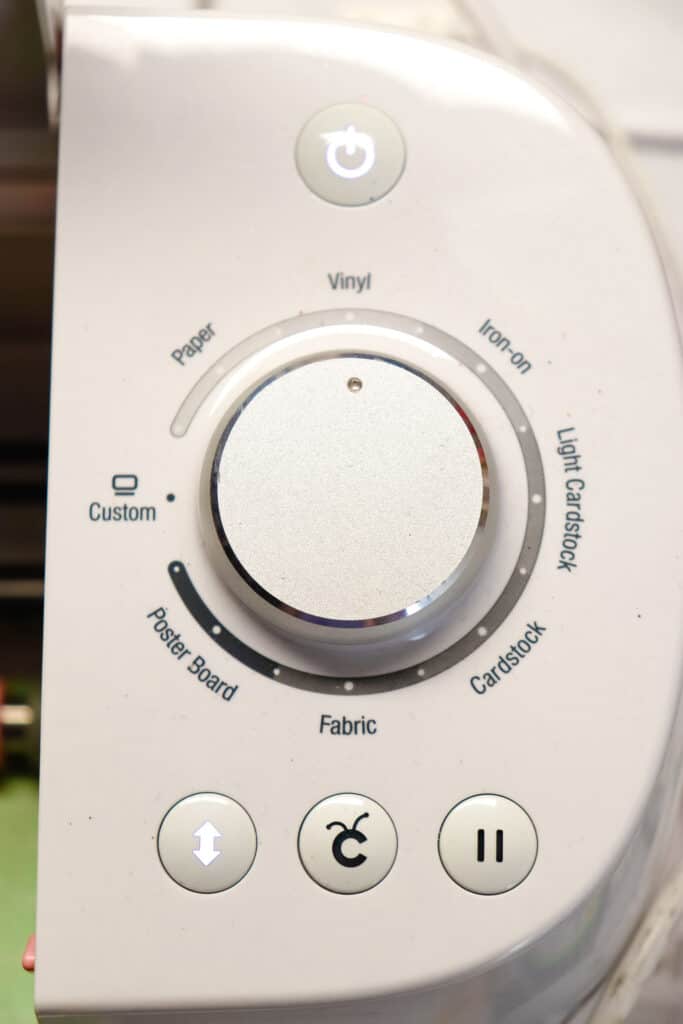
Place black vinyl on your cutting pad, select “vinyl” on the dial and cut the vinyl out.
Weed the vinyl by pulling the excess away from the cut words and pumpkins. Set aside.

Paint your tins and lids white.

This will take several coats. Allowing for complete dry time in between coats is recommended.
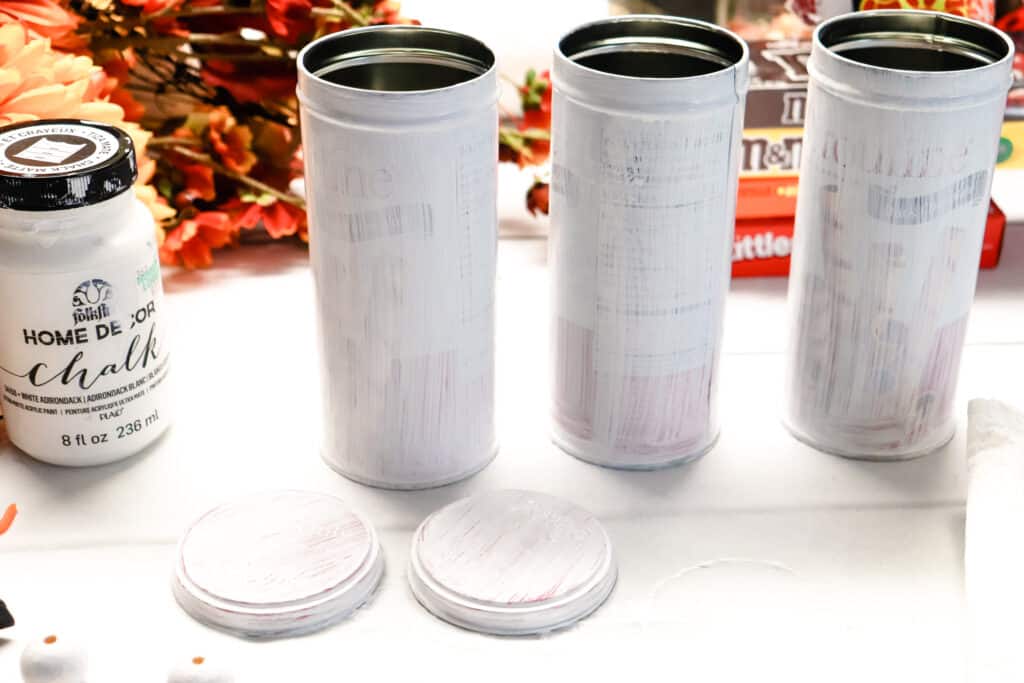
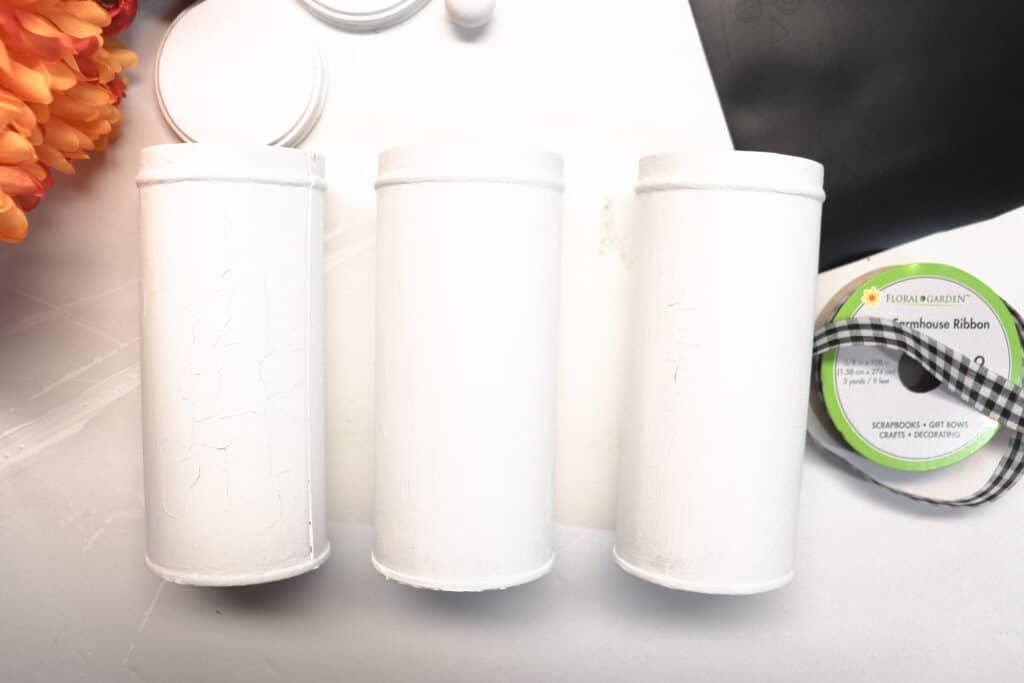
When the paint is completely dry, there may be some crackling in the paint which really adds to
the Halloween look in my opinion.
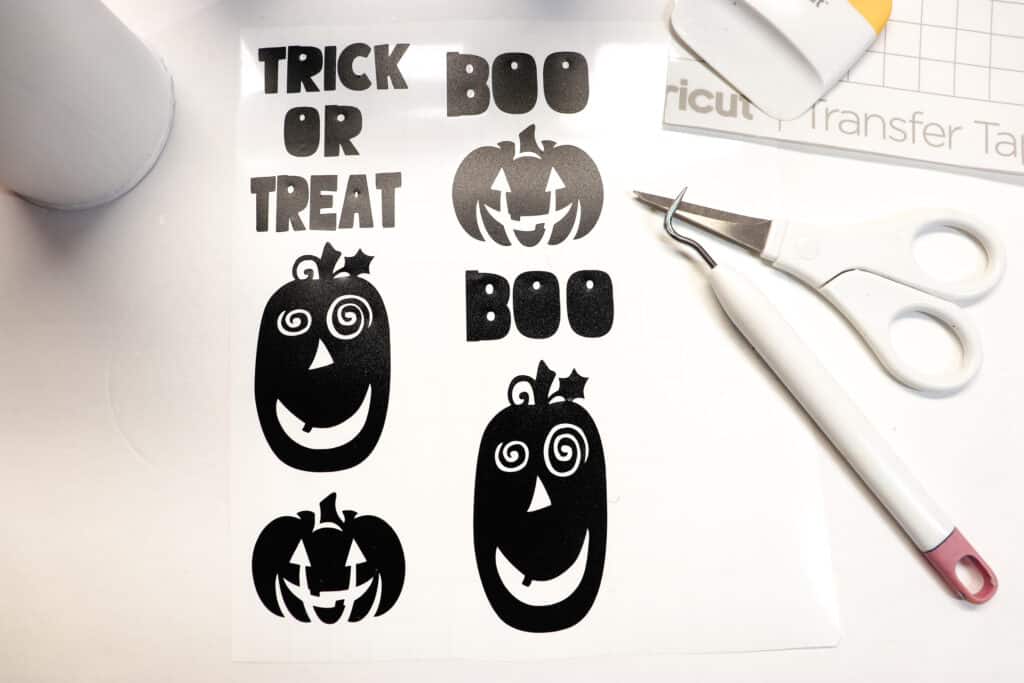
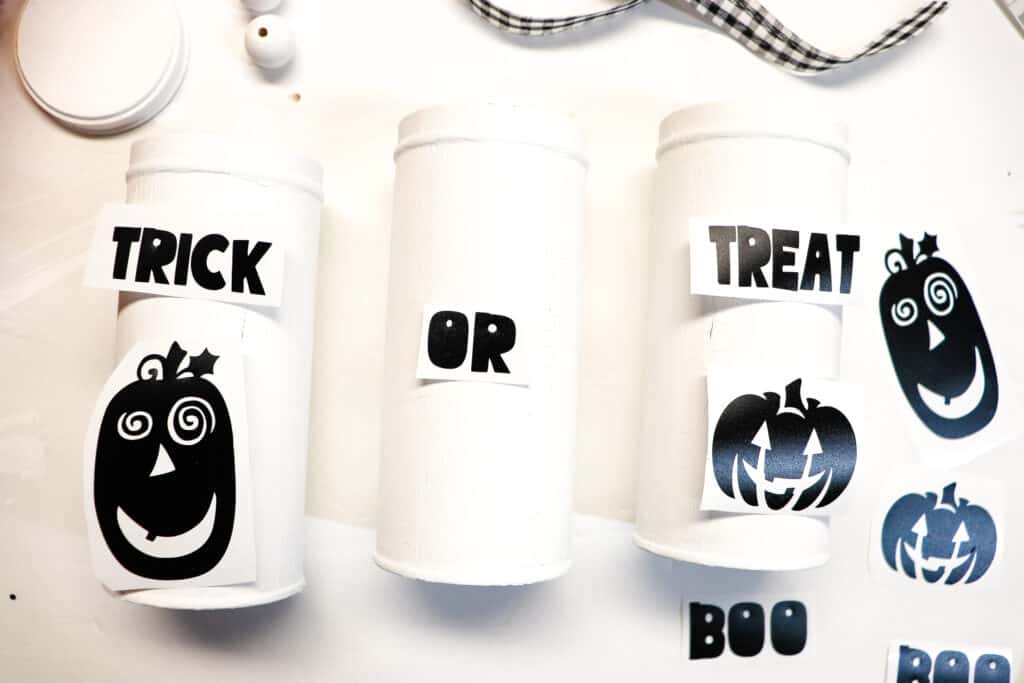
Cut the words and pumpkins out, weed them, and place on the tins to eyeball where you will place them
once you remove the transfer paper.
Use transfer paper to remove the vinyl. You can place the words on all the tins first and center
the pumpkins under them or place all the pumpkins and then center the words above them.
Use the scraper to adhere the vinyl to the transfer tape first and then to transfer the vinyl to the tin.
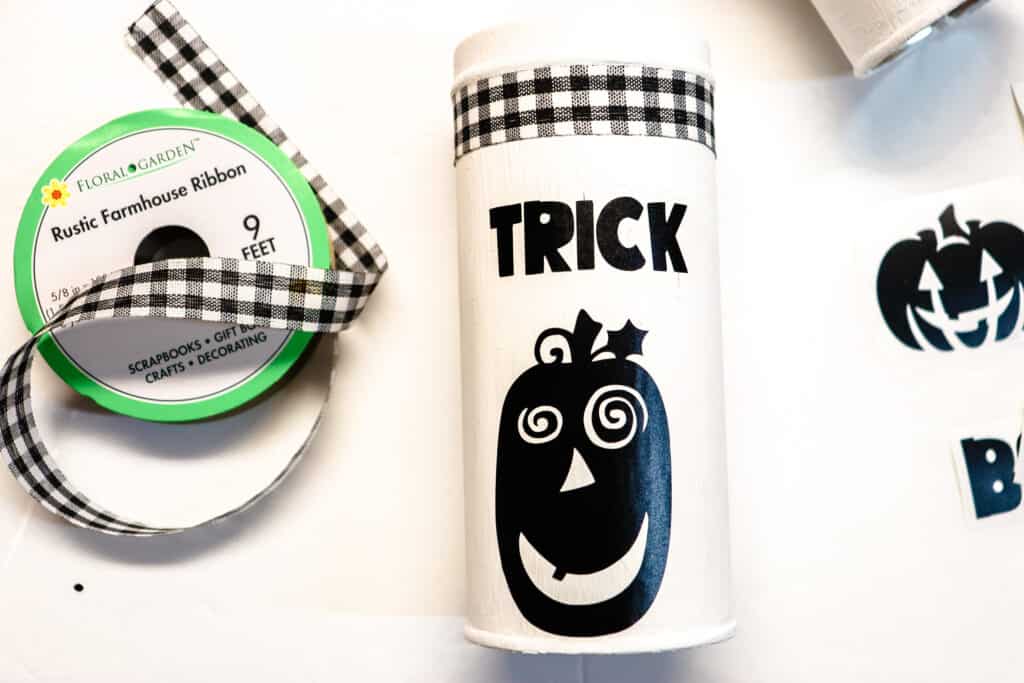
Hot glue the ribbon onto the top of the tin, securing it in the back of the tin with hot glue.
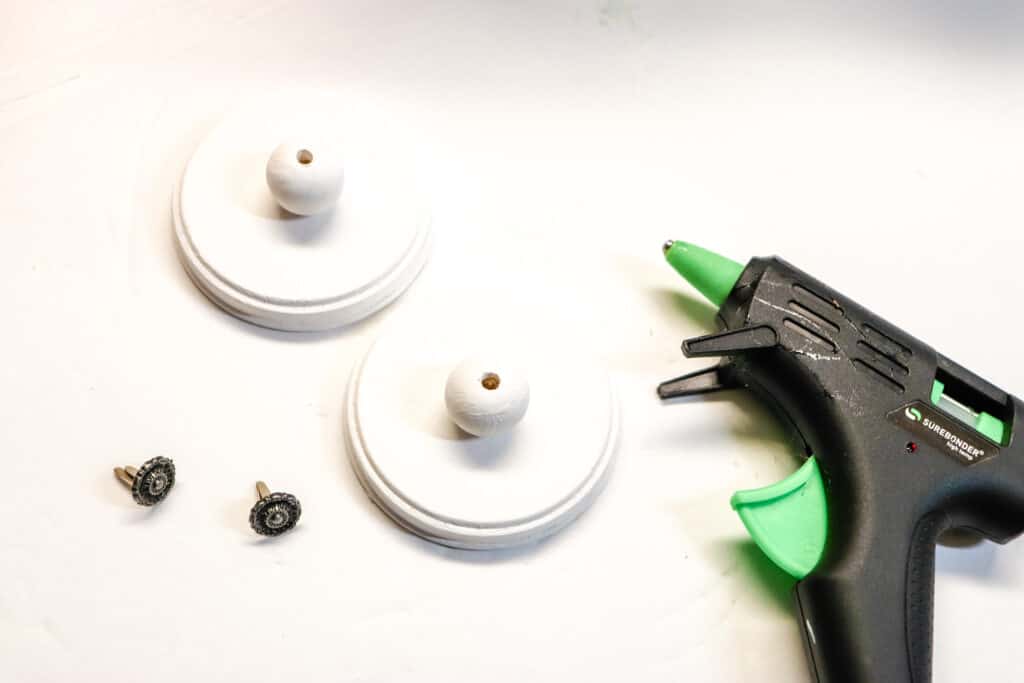
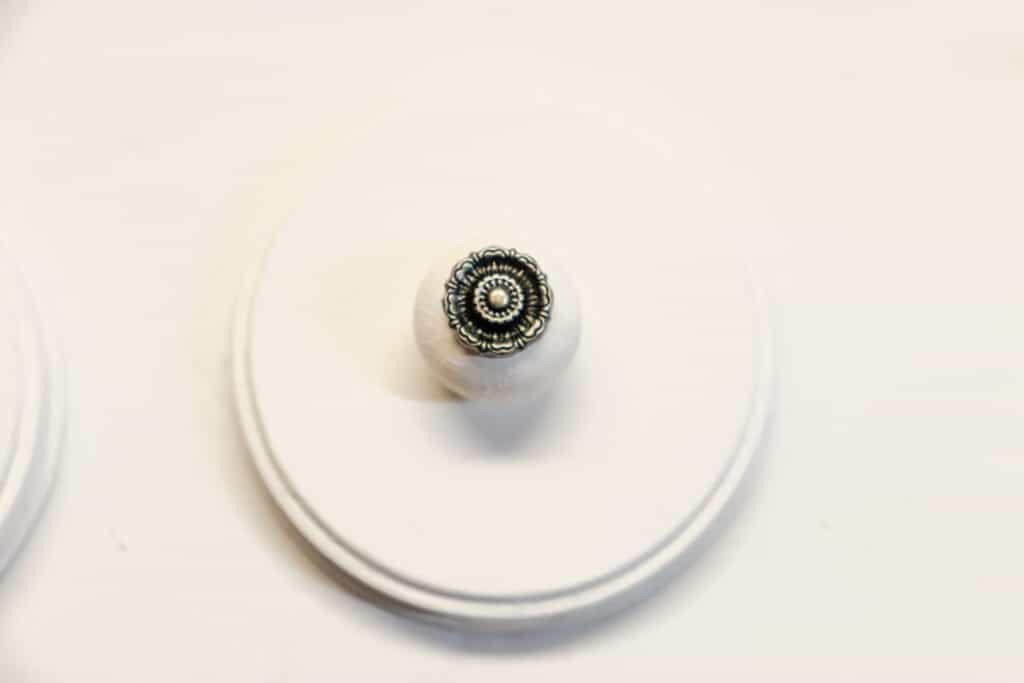
Hot glue the knobs (or use beads) to the painted lids. Attach beads with brass fasteners into the hole and attach with hot glue.
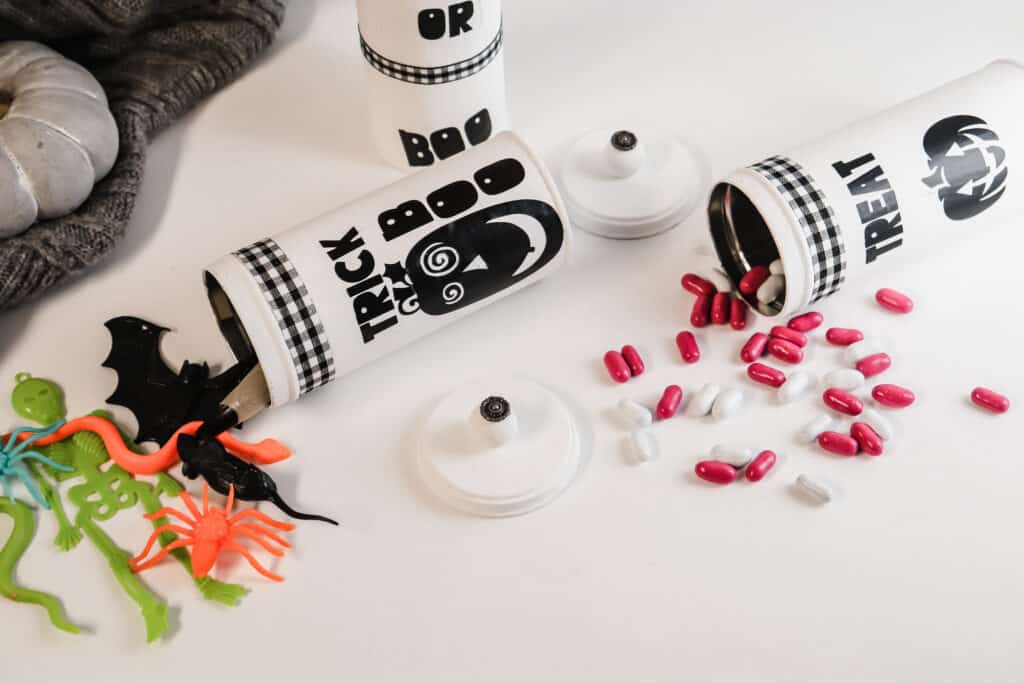
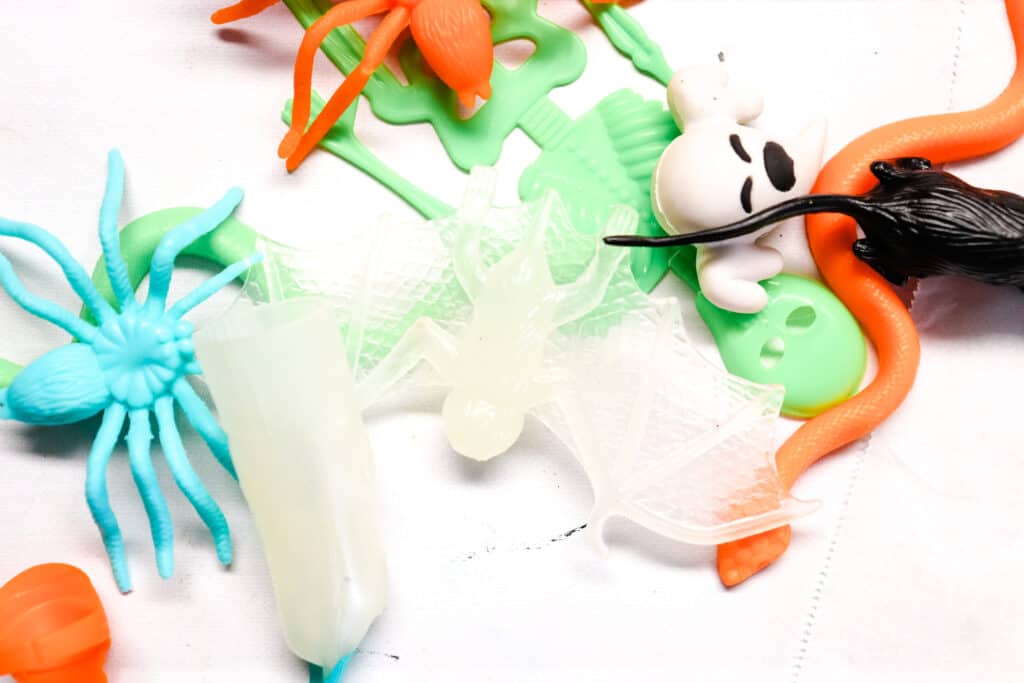
Fill the Trick tin with Halloween toys and fill the Treat tin with candy. Place fall florals into one of the tins for a pop of color! Who doesn’t love trick or treat crafts?
These are so cute and I love the fact that they already have lids to keep your stuff in. What will you put in yours?
The Free SVG is in the resource library for personal use and if you are not a member, you can sign up to get it and many other freebies! (commercial use designs are in the shop)
Here are some more fun Halloween crafts: