As the crisp air carries the whispers of Halloween, it’s time to infuse your home with both spookiness and sophistication. Building on the charm of our Candy Corn Treat Boxes, we present a new crafting venture to elevate your Halloween décor: Spiderweb Coasters. These intricate coasters are not only functional but also add a touch of eerie elegance to your festive celebrations. Join us as we weave a web of creativity and style!
Supplies List: Before you embark on this weaving adventure, gather the following supplies:
- Black yarn or embroidery thread
- Crochet hook or a tapestry needle
- Cardboard squares or pre-made coaster bases
- Craft glue or a hot glue gun
- Craft scissors
- Halloween-themed charms or spiders (optional embellishments cut with your Cricut machine)
- Clear acrylic spray or Mod Podge (for sealing, optional)
Estimated Duration: Prepare for a crafting session that combines the intricacies of design with the satisfaction of a completed project. Crafting your Spiderweb Coasters will take approximately 2 to 2.5 hours, making it a perfect project for a dedicated crafting afternoon.
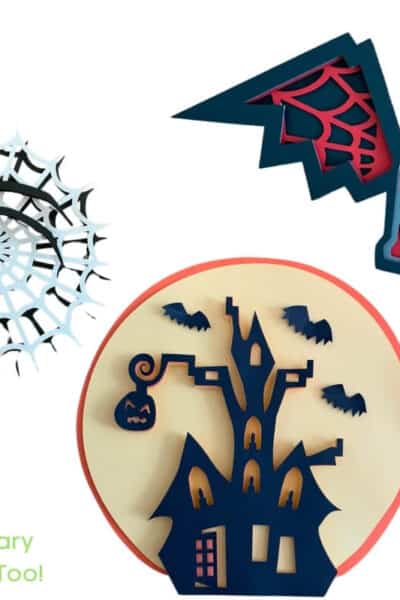
SVG Options:
Step-by-Step Instructions:
Step 1: Prepare Coaster Bases Start by preparing your coaster bases. You can either cut squares from cardboard or use pre-made coaster bases in your preferred size. Ensure they are clean and ready for crafting.
Step 2: Begin the Spiderweb Weaving Thread your crochet hook or tapestry needle with black yarn or embroidery thread. Begin at one corner of the coaster and weave the thread in a circular motion, gradually expanding the circles to create a spiderweb pattern.
Step 3: Weave the Radiating Lines Extend lines from the center of the web outward, spacing them evenly. These lines will serve as the framework for the spiderweb. Continue weaving until you achieve the desired size, creating a captivating and detailed spiderweb pattern.
Step 4: Secure the Yarn* Once you reach the outer edges, secure the yarn by tying a knot or using a small amount of craft glue. Cut off any excess yarn, ensuring a neat and tidy finish.
Step 5: Add Halloween Charms or Spiders (Optional)* For an extra touch of spookiness, consider attaching Halloween-themed charms or small spiders to your spiderweb coasters. Use craft glue or a hot glue gun to secure them in place.
Step 6: Seal the Coasters (Optional)* To protect your spiderweb coasters from wear and tear, consider sealing them with clear acrylic spray or Mod Podge. This step is optional but can enhance durability and longevity.
Step 7: Allow Coasters to Dry* If you’ve used glue or sealant, allow your spiderweb coasters to dry completely before using or displaying them. This ensures that the yarn and any added embellishments are securely in place.
Step 8: Display and Enjoy* Once dry, proudly display your Spiderweb Coasters on your coffee table or at your Halloween gathering. Marvel at the intricate design and spooky elegance they bring to your décor.
Congratulations! You’ve successfully woven a touch of elegance into your Halloween decor with DIY Spiderweb Coasters. These coasters are not only a practical addition to your home but also an artful expression of your crafting skills. Get ready to delight guests with a blend of spookiness and sophistication.
Next Project: Are you ready for the next enchanting project? Prepare yourself for the Mini Halloween Banners in our Halloween Crafting Series. Discover how to create charming banners that will add a festive touch to your Halloween celebrations. Stay tuned for more crafting fun!
Happy Crafting!


Leave a Reply