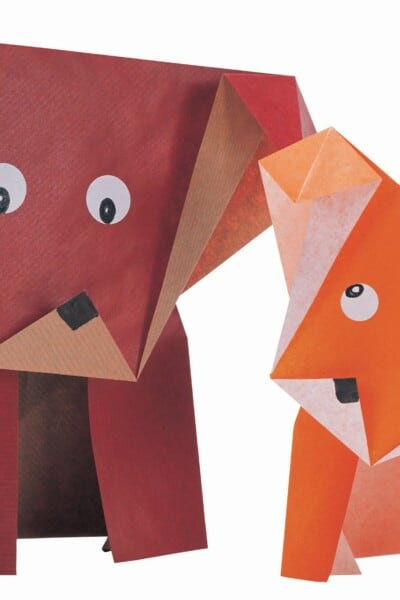
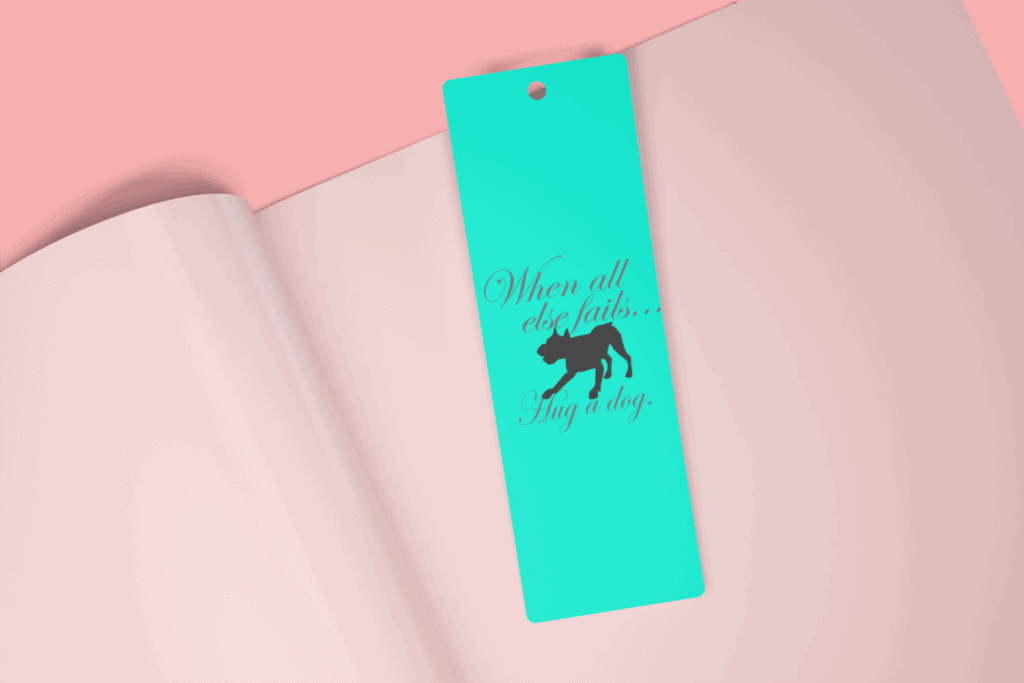
The perfect project that combines crafting, the joy of books, and your Cricut machine: create adorable animal bookmarks! In this blog post, we’ll guide you through a step-by-step project using the Cricut machine, provide a list of necessary tools and supplies, estimate the time required, and present detailed instructions. Let’s embark on a crafting adventure and ignite your child’s creativity!
Tools and Supplies:
- Cricut machine (Explore Air 2 or Maker)
- Standard Grip Cutting Mat
- Cardstock or heavy-duty paper in various colors
- Adhesive or double-sided tape
- Scissors or craft knife
- Laminating sheets (optional)
- Laminating machine or clear adhesive tape (optional)
- Computer or mobile device with Cricut Design Space software or app
Time Estimate: Approximately 1-2 hours (may vary depending on complexity and personalization)
Step-by-Step Instructions:
Step 1: Choose Your Animal Designs
- Open the Cricut Design Space software or app on your computer or mobile device.
- Browse through the available animal-themed bookmark designs or upload your own designs.
- Customize the size and appearance of your animal bookmarks to suit your preferences.
- Once satisfied with your designs, click on “Make It” to proceed to the cutting stage.
Step 2: Load and Cut the Cardstock
- Turn on your Cricut machine and connect it to your computer or mobile device.
- Place the selected cardstock onto the Standard Grip Cutting Mat, ensuring it lies flat and smooth.
- Load the cutting mat into the machine, aligning it with the guides.
- Follow the prompts in the Design Space to set the appropriate material and adjust the cut settings.
- Click on “Go” to start the cutting process.
Step 3: Assemble the Bookmarks
- Carefully remove the cut cardstock animal pieces from the cutting mat.
- Arrange the animal pieces and any additional decorative elements in the desired order.
- Apply adhesive or double-sided tape to the back of each piece and carefully attach them together to create the bookmark.
- If desired, use scissors or a craft knife to trim any excess or uneven edges.
Step 4: Optional: Laminate for Durability
- If you want to increase the longevity of your bookmarks, consider laminating them.
- Place each completed bookmark into a laminating sheet and follow the manufacturer’s instructions for your laminating machine.
- Alternatively, if you don’t have a laminating machine, you can cover the bookmark with clear adhesive tape for protection.
Step 5: Dive into a Book Adventure
- Present the completed animal bookmarks to your child and encourage them to choose their favorite animal companion.
- Invite them to use the bookmarks while reading their favorite books.
- Discuss the animals and characters they encounter in their reading journey and encourage them to imagine their own stories featuring their newfound paper pals.
Recommended SVGs:
Creating animal bookmarks using your Cricut machine is an exciting way to ignite your child’s creativity and bring joy to their reading adventures.
Throughout this project, you’ve witnessed how a simple cutting machine can transform cardstock into adorable animal bookmarks. By collaborating on this craft, you’ve not only created functional and personalized bookmarks but also shared quality time and made lasting memories with your child.
So, gather your supplies, choose your favorite animal designs, and create pawsome paper pals with your child. As you embark on this project, remember the immense benefits of staying engaged with your children. Through these shared experiences, you nurture their creativity, strengthen your bond, and create a positive and supportive environment for their growth.
So, let the animal bookmarks mark the beginning of exciting reading journeys, spark their imagination, and create beautiful memories together. Happy crafting!
Remember, the true value of these projects lies in the time and connection you share with your child. So, let their love for reading flourish, ignite their creativity, and create joyful moments together using the power of the Cricut machine!
Happy Crafting!