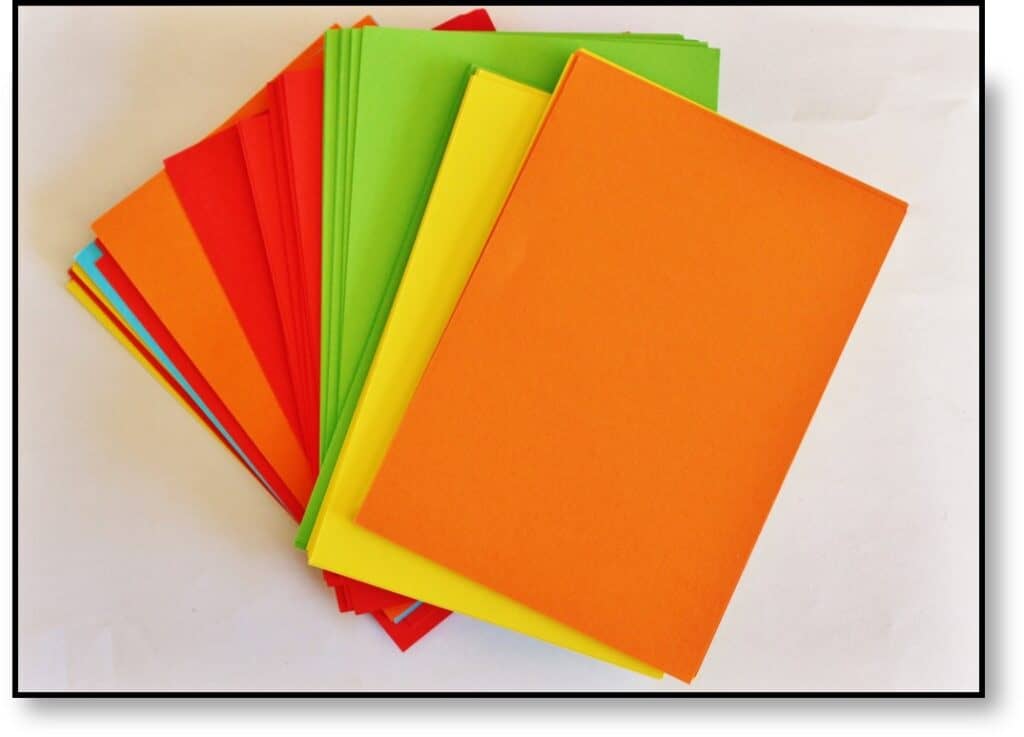
Engaging in creative projects with our children not only strengthens our bond but also sparks their imagination and nurtures their artistic skills. If you’re looking for an exciting activity to enjoy with your child, why not utilize your Cricut machine to create stunning paper quilling art inspired by rainbows? In this blog post, we’ll guide you through a step-by-step project using the Cricut machine, provide a list of necessary tools and supplies, estimate the time required, and present detailed instructions. Let’s embark on a colorful journey of creativity!
Tools and Supplies:
- Cricut machine (Explore Air 2 or Maker)
- Standard Grip Cutting Mat
- Colored cardstock or quilling paper in various rainbow hues
- Quilling tool
- Glue or adhesive
- Frame or display board
- Scissors
- Rainbow-themed images or templates (available in the Cricut Design Space)
- Computer or mobile device with Cricut Design Space software or app

-
Save
Time Estimate: Approximately 2-3 hours (may vary depending on complexity and personalization)
Step-by-Step Instructions:
Step 1: Design Your Rainbow Art
- Open the Cricut Design Space software or app on your computer or mobile device.
- Search for rainbow-themed images or templates in the Design Space library and select your preferred designs.
- Customize the size and shape of your art to suit your preferences.
- Once satisfied with your design, click on “Make It” to proceed to the cutting stage.
Step 2: Load and Cut the Cardstock or Quilling Paper
- Turn on your Cricut machine and connect it to your computer or mobile device.
- Place the chosen cardstock or quilling paper onto the Standard Grip Cutting Mat, ensuring it lies flat and smooth.
- Load the cutting mat into the machine, aligning it with the guides.
- Follow the prompts in the Design Space to set the appropriate material and adjust the cut settings.
- Click on “Go” to start the cutting process.
Step 3: Prepare the Quilling Strips
- Once the machine has finished cutting, carefully remove the cut cardstock or quilling paper from the cutting mat.
- If using cardstock, cut the strips into narrower pieces, approximately 1/8 to 1/4 inch wide.
- If using quilling paper, proceed to the next step.
Step 4: Create the Quilled Rainbow Elements
- Using the quilling tool, start rolling the strips of paper to form tight coils, teardrops, or other desired shapes.
- Glue the ends of the paper to secure the shapes in place.
- Experiment with different shapes and colors to create a variety of quilled rainbow elements.
Step 5: Assemble and Mount the Rainbow Art
- Arrange the quilled rainbow elements on a display board or frame, following the design you created in Step 1.
- Use glue or adhesive to attach the quilled elements to the display board, ensuring they adhere securely.
- Allow the glue to dry completely before handling or framing the artwork.
Step 6: Display and Enjoy!
- Once the glue is fully dry, proudly display your vibrant paper quilling rainbow art in a prominent place in your home.
- Share the joy and beauty of your creation with family and friends.
SVG Options:
- Rainbows, Rainbows, Rainbows, SVG Files for Cricut, Silhouette, etc.
- Cloud Svg Rain Clouds Svg Cloud Shape
- The Script Collection Bundle
Throughout this project, you’ve witnessed how a simple cutting machine can transform cardstock or quilling paper into stunning quilled rainbow elements. By collaborating on this craft, you’ve not only created a unique and captivating artwork but also shared quality time and made lasting memories with your child.
Remember, the true value of these projects lies in the time and connection you share with your child. So, let the colors unfold, ignite your child’s creativity, and create beautiful memories together using the power of the Cricut machine!
Happy Crafting!


