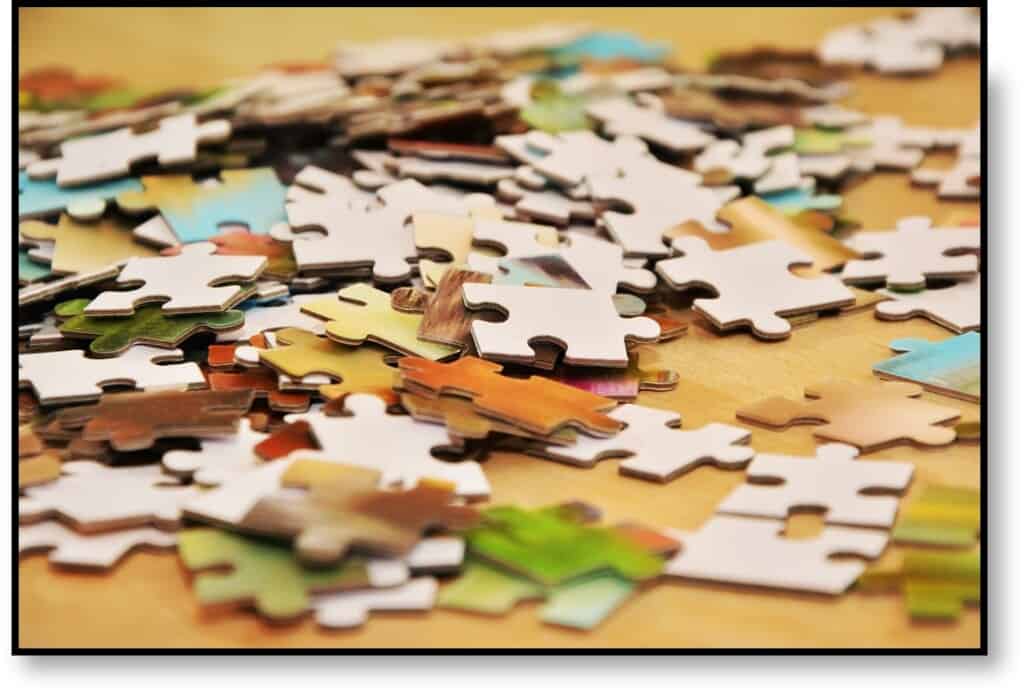
Engaging in creative projects with our children not only strengthens our bond but also sparks their imagination and nurtures their problem-solving skills. If you’re looking for a fun and interactive activity to enjoy with your child, why not utilize your Cricut machine to create playful rainbow puzzles? In this blog post, we’ll guide you through a step-by-step project using the Cricut machine, provide a list of necessary tools and supplies, estimate the time required, and present detailed instructions. Let’s embark on a colorful journey of creativity and puzzle-solving!
Tools and Supplies:
- Cricut machine (Explore Air 2 or Maker)
- Standard Grip Cutting Mat
- Cardstock or sturdy paper in various rainbow colors
- Puzzle template (available in the Cricut Design Space)
- Craft knife or utility knife
- Ruler
- Glue or adhesive tape
- Scissors
- Computer or mobile device with Cricut Design Space software or app

-
Save
Time Estimate: Approximately 2-3 hours (may vary depending on complexity and personalization)
Step-by-Step Instructions:
Step 1: Design Your Puzzle
- Open the Cricut Design Space software or app on your computer or mobile device.
- Search for a puzzle template in the Design Space library or create your own puzzle design.
- Customize the size and shape of your puzzle to suit your preferences.
- Once satisfied with your design, click on “Make It” to proceed to the cutting stage.
Step 2: Load and Cut the Cardstock
- Turn on your Cricut machine and connect it to your computer or mobile device.
- Place the selected cardstock onto the Standard Grip Cutting Mat, ensuring it lies flat and smooth.
- Load the cutting mat into the machine, aligning it with the guides.
- Follow the prompts in the Design Space to set the appropriate material and adjust the cut settings.
- Click on “Go” to start the cutting process.
Step 3: Assemble the Puzzle Pieces
- Once the machine has finished cutting, carefully remove the cut cardstock from the cutting mat.
- Separate the puzzle pieces from the cardstock, ensuring they are not damaged or torn.
- If necessary, use a craft knife or utility knife to cut along the designated puzzle lines.
- For added durability, you can laminate the puzzle pieces or apply clear contact paper before cutting them.
Step 4: Mix and Match the Puzzle Pieces
- Shuffle the puzzle pieces and mix them up on a flat surface.
- Encourage your child to put the puzzle pieces back together, forming the rainbow image.
- Provide guidance and support as needed, promoting problem-solving and spatial skills.
Step 5: Optional Personalization
- If desired, you can further personalize the puzzle by adding names, messages, or additional images using the Cricut machine.
- Customize the puzzle pieces or the puzzle backing with unique designs or patterns.
Step 6: Preserve and Play Again
- Once your child has successfully completed the puzzle, preserve it by storing the pieces in a labeled envelope or a sealable bag.
- Enjoy playing with the rainbow puzzle repeatedly, challenging your child to complete it faster each time or creating new variations by mixing up the pieces differently.
SVG Options:
- Rainbows, Rainbows, Rainbows, SVG Files for Cricut, Silhouette, etc.
- Cloud Svg Rain Clouds Svg Cloud Shape
- The Script Collection Bundle
Throughout this project, you’ve witnessed how a simple cutting machine can transform cardstock into entertaining puzzle pieces. By collaborating on this craft, you’ve not only created a unique and interactive puzzle but also shared quality time and made lasting memories with your child.
Remember, the true value of these projects lies in the time and connection you share with your child. So, let the pieces come together, ignite your child’s creativity, and create beautiful memories together using the power of the Cricut machine!
Happy Crafting!


