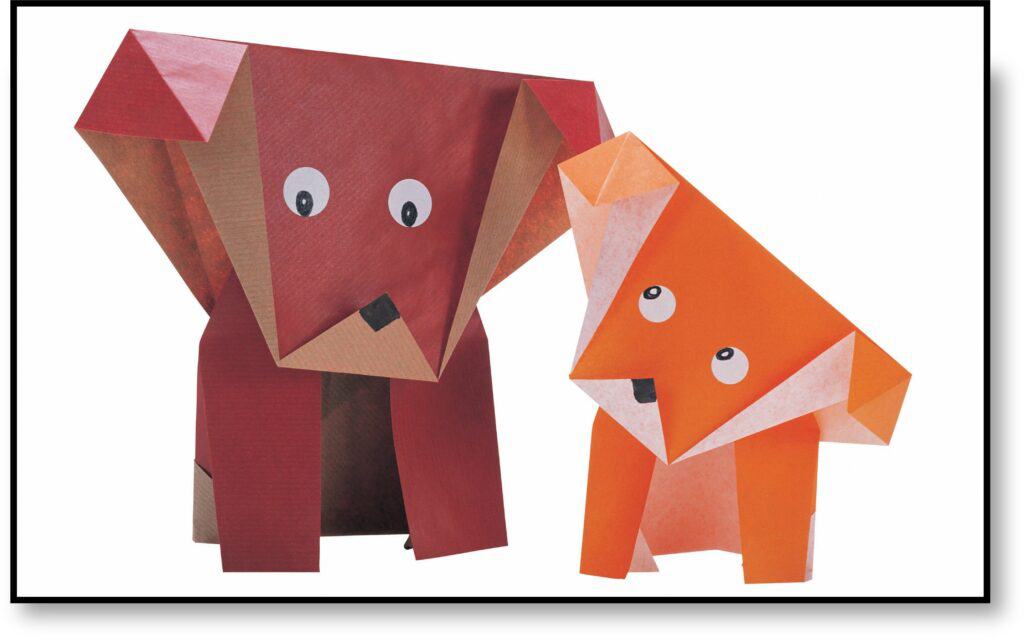
Crafting and the love for puppies are the perfect combo for your Cricut machine to create adorable 3D paper dog sculptures. In this blog post, we’ll guide you through a step-by-step project using the Cricut machine, provide a list of necessary tools and supplies, estimate the time required, and present detailed instructions. Let’s embark on a paper crafting adventure and bring our imagination to life with these pawsome paper puppies!
Tools and Supplies:
- Cricut machine (Explore Air 2 or Maker)
- Standard Grip Cutting Mat
- Cardstock or heavy-duty paper in various colors
- Adhesive or double-sided tape
- Scissors or craft knife
- Computer or mobile device with Cricut Design Space software or app
- Optional: Markers or colored pencils for adding details
Time Estimate: Approximately 1-2 hours (may vary depending on complexity and personalization)
Step-by-Step Instructions:
Step 1: Choose Your Paper Dog Design
- Open the Cricut Design Space software or app on your computer or mobile device.
- Browse through the available paper dog designs or search for one that matches your favorite dog breed.
- Customize the size, shape, and color of the paper dog design to your liking.
- Once satisfied with your design, click on “Make It” to proceed to the cutting stage.
Step 2: Load and Cut the Cardstock
- Turn on your Cricut machine and connect it to your computer or mobile device.
- Place the selected cardstock onto the Standard Grip Cutting Mat, ensuring it lies flat and smooth.
- Load the cutting mat into the machine, aligning it with the guides.
- Follow the prompts in the Design Space to set the appropriate material and adjust the cut settings.
- Click on “Go” to start the cutting process.
Step 3: Assemble the Paper Dog Sculpture
- Carefully remove the cut cardstock pieces from the cutting mat.
- Begin by folding along the score lines provided in the design to create the necessary creases.
- Apply adhesive or double-sided tape to the tabs indicated on the design.
- Align the corresponding tabs to form the three-dimensional shape of the dog.
- Repeat this process for each piece until the entire paper dog sculpture is assembled.
Step 4: Add Personalization and Details (Optional)
- Use markers or colored pencils to add facial features, spots, or other details to the paper dog sculpture.
- Get creative and customize the design to resemble your favorite dog breed or even your own pet.
Step 5: Celebrate Your Paper Pup
- Find a special spot to display your completed paper dog sculpture.
- Celebrate the joy of crafting and the artistry of bringing your imagination to life.
- Share stories and create an opportunity to discuss different dog breeds, their characteristics, and the joy they bring to our lives.
Recommended SVGs:
Creating 3D paper dog sculptures using your Cricut machine is an exciting way to bring the joy of puppies into our homes and celebrate their adorable nature.
Throughout this project, you’ve witnessed how a simple cutting machine can transform cardstock into a lifelike paper dog sculpture. By collaborating on this craft, you’ve not only created a charming work of art but also shared quality time and celebrated the bond between your family and our four-legged friends.
So, gather your supplies, choose a paper dog design that captures your heart, and create 3D paper dog sculptures with your child. As you embark on this project, remember the immense benefits of staying engaged with your children. Through these shared experiences, you nurture their creativity, strengthen your bond, and create a positive and supportive environment for their growth.
Display your paper pup with pride, celebrating the artistry and imagination behind its creation.
Happy crafting!