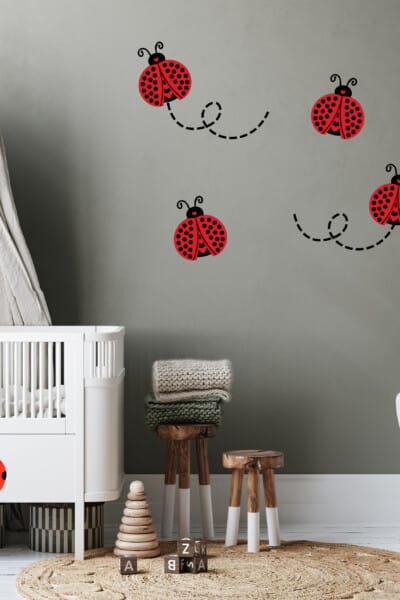
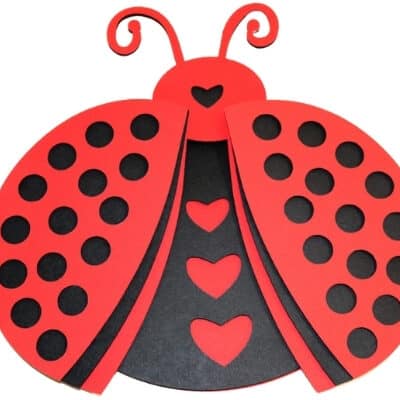
If you’re a coach or parent of a girls’ sports team, you know how important it is to have team spirit. One way to show your team’s pride is by customizing your sports gear with a fun and unique theme. In this blog post, we’ll show you how to use your Cricut or other cutting machines to create a ladybug-themed design that can be applied to uniforms, bags, towels, water bottles, and more.
Required Supplies:
- Cricut or other cutting machines
- Heat transfer vinyl (HTV) in red, black, and white
- Ladybug SVG File
- Iron or heat press
- Weeding tool
- Scraper tool
Estimated Duration: The duration of this project will depend on how many items you plan to customize. A single uniform can take about 20-30 minutes to complete.
Step 1: Create your design in Cricut Design Space or your preferred software. You can use the ladybug template provided (see link below) or create your own design.
Step 2: Load your HTV onto your cutting machine and cut out your design.
Step 3: Use your weeding tool to remove the excess vinyl from around your design.
Step 4: Preheat your iron or heat press to the recommended temperature and apply your design onto your desired item.
Step 5: Cover your design with a heat-resistant sheet and press your iron or heat press down firmly for the recommended time.
Step 6: Once the vinyl has cooled, remove the heat-resistant sheet and gently peel off the carrier sheet.
Optional: You can use different colored vinyl or add other elements to your design to customize it even further. For example, you can add your team name or mascot to the ladybug design, or use different patterns and textures to create a unique look.

-
Save
This ladybug-themed sports gear project can be modified for use with any team name or mascot. Simply create or find a design that incorporates your team’s identifying characteristic and follow the same steps outlined above. This is a fun and creative way to show your team spirit and stand out from the crowd.
Complementary SVG Files:
Happy Crafting!


