Greetings, fellow craft enthusiasts, parents, and cherished grandparents! Today, I’m thrilled to dive into a craft that beautifully combines art and warm wishes. If you’re looking for a heartfelt way to show your love and creativity, you’re in for a delightful treat. I’m here, your greeting card-loving grandmother, ready to guide you through the art of crafting 3D greeting cards. Get ready to create personalized masterpieces that will bring smiles and joy to the lucky recipients.
Tools and Supplies You’ll Need:
Before we embark on this creative journey, let’s gather our tools and supplies. A well-prepared crafting station is key to infusing your cards with the love and care they deserve.
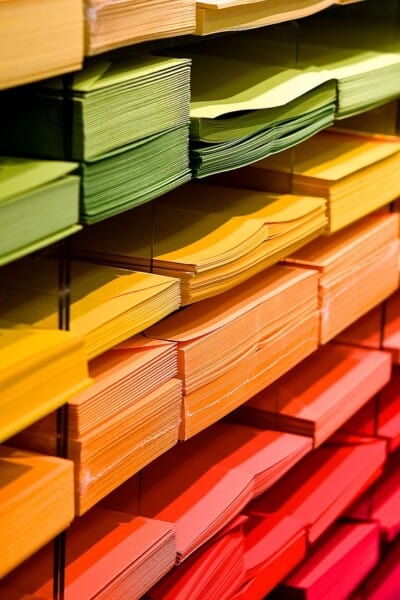
- Colored Cardstock: Sturdy paper for the card base and various elements.
- Patterned Paper: Decorative paper for adding flair to your cards.
- Scissors: A pair of sharp and precise scissors.
- Craft Knife: Optional but useful for intricate designs.
- Glue or Adhesive Tape: Craft glue or double-sided adhesive tape for assembling.
- Markers, Pens, or Stamps: Tools for adding handwritten messages or embellishments.
- Embellishments: Buttons, ribbons, stickers, or any decorative elements.
- Templates or Stencils: Optional for creating uniform shapes.
Estimated Time to Complete:
Allocate around 2 to 3 hours for this heartwarming crafting session. Remember, the goal is to create cards that reflect your care and creativity.
Crafting with Love: Creating Your 3D Greeting Card
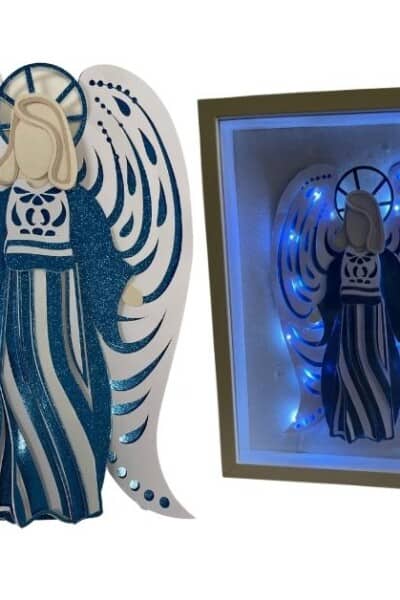
Today, we’re diving into a project that goes beyond words – crafting 3D greeting cards that carry your heartfelt wishes in an artful and creative way. Let’s embark on a journey that will allow you to express your love while flexing your artistic muscles.
Step 1: Choose Your Theme
- Decide on the occasion for your card: birthday, anniversary, thank you, or just because!
- Your theme will guide your color palette and design choices.
Step 2: Design the Card Base
- Fold a sheet of colored cardstock in half to create the card base.
- This will be the canvas for your heartfelt creation.
Step 3: Add 3D Elements
- Cut out shapes and elements from colored and patterned paper.
- These elements can include flowers, hearts, balloons, and more.
- Use templates or stencils for uniformity if desired.
Step 4: Assemble the 3D Scene
- Playfully arrange the 3D elements on the card front.
- Experiment with placement until you’re satisfied with the composition.
Step 5: Attach the Elements
- Use glue or double-sided tape to secure the 3D elements in place.
- Make sure they are adhered firmly to maintain the dimensional effect.
Step 6: Add Handwritten Messages
- Open the card and add a handwritten message or heartfelt quote.
- Let your words convey the love and wishes behind the card.
Step 7: Embellish with Creativity
- Enhance your card’s charm with additional embellishments.
- Add buttons, ribbons, or stickers to amplify the visual appeal.
Step 8: Craft the Envelope
- Create a matching or coordinating envelope from patterned paper.
- Make sure it’s slightly larger than the card to comfortably fit.
Summary: Crafted with Love and Wishes
Congratulations! You’ve crafted a 3D greeting card that’s not just a card, but a canvas for your creativity and emotions. This personalized masterpiece is sure to bring joy to the recipient and showcase the love you poured into its creation.
Next Up: Crafting Paper Sculptures: Transforming Flat Paper into Incredible 3D Art!
But our crafting journey doesn’t stop here! In my next blog post, we’ll delve into the mesmerizing world of paper sculptures. Get ready to transform ordinary flat paper into extraordinary 3D art that will astonish and delight your grandkids.
Until then, keep those colored cardstock and creative spirit ready, and let the joy of crafting 3D greeting cards continue to illuminate your artistic side. Happy crafting, my fellow creative souls!
Previous Post: Crafting 3D Greeting Cards: Sharing Heartfelt Wishes in an Artful Way!


