Discover the Enchanting Fusion of Crochet and 3D Mandala with Cricut
Are you ready to embark on a creative journey that combines the mesmerizing art of crochet with the captivating beauty of 3D mandala designs? Get ready to be enthralled as we delve into the world of crochet creations and explore how the charismatic ‘C’ takes center stage when crafted by Cricut. Whether you’re a beginner or a seasoned crochet enthusiast, this article will ignite your imagination and inspire you to create stunning pieces that showcase the magic of 3D mandala crochet. Let’s dive in and celebrate the artistry that unfolds when crochet and Cricut come together!
The Beauty of Crochet: Where Yarn and Hook Unite in Harmony
Picture this: you’re cozied up on your favorite chair, hook in hand, and a ball of vibrant yarn at your side ready to create, yet another, masterpiece. Crochet is an art form that blends simplicity and elegance, allowing you to create intricate patterns, textures, and designs with just a hook and yarn. It’s a craft that has stood the test of time, bringing warmth and beauty into our lives. As you immerse yourself in the rhythmic flow of stitches, you’ll find solace and joy in the act of creation.
In today’s tutorial, we’re going to focus on the always-in-style, always-a-great-gift, always-a-fun-easy-project: the scarf.
Materials you’ll need:
- Worsted weight yarn (about 200-300 grams)
- Crochet hook (size G/6 or H/8 recommended)
- Scissors
- Yarn needle
Step 1: Start a slip knot Create a slip knot by making a loop with the yarn, pulling the working end through the loop, and pulling it tight. Leave a long tail to weave in later.
Step 2: Chain stitches (foundation chain) Hold the crochet hook in your dominant hand and the slip knot in your non-dominant hand. Wrap the yarn over the hook from back to front and pull it through the loop on the hook, creating a chain stitch. Repeat this process until you reach your desired scarf width. Aim for around 30-40 chain stitches.
Step 3: First row of single crochet stitches Insert the hook into the second chain stitch from the hook, going under both loops of the chain. Wrap the yarn over the hook from back to front and pull it through the chain stitch. You should have two loops on the hook. Wrap the yarn over the hook again and pull it through both loops. This completes one single crochet stitch. Continue this stitch in each chain stitch across the row, until you reach the end.
Step 4: Turn and chain stitches Turn your work so that the completed row is now facing you. Chain one stitch (this counts as the first stitch of the next row).
Step 5: Second row of single crochet stitches Insert the hook into the first stitch of the previous row, going under both loops. Proceed to make a single crochet stitch in each stitch across the row. Remember to work into the last stitch as well, even if it looks tight.
Step 6: Repeat rows 4 and 5 Repeat steps 4 and 5 until your scarf reaches the desired length. To check the length, you can drape the scarf around your neck or measure it against another scarf.
Step 7: Fasten off When you’ve reached the desired length, cut the yarn, leaving a tail of about 6 inches. Pull the yarn tail through the last stitch to fasten off. Use your yarn needle to weave in the loose ends along the edges of the scarf.
Step 8: Finishing touches Trim any excess yarn tails. You can also add fringe to the ends of your scarf if you like. Cut strands of yarn about twice the desired length for the fringe, fold them in half, and attach them to the ends of the scarf by pulling the folded end through a stitch and pulling the loose ends through the folded end.
Unleashing Creativity with Cricut: Elevating Your Crochet Creations
Enter Cricut, your creative companion in the world of crochet. This remarkable machine opens up endless possibilities, adding an extra layer of artistry to your crochet projects. With Cricut, you can create custom appliques, labels, and intricate details that take your creations to new heights. It’s like having a magical assistant that helps you bring your crochet visions to life.
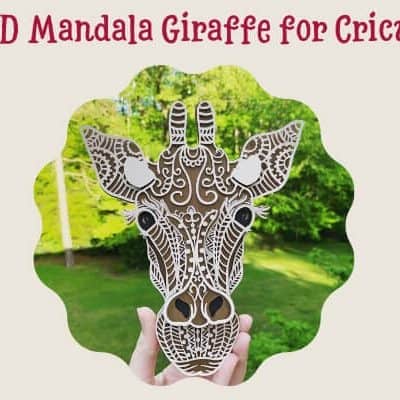
Celebrating the ‘C’ 3D Mandala Design: A Captivating Crochet Masterpiece
Now, let’s turn our attention to the charismatic ‘C’ 3D mandala design. Imagine your crochet creations adorned with its intricate patterns and symmetrical beauty. The ‘C’ mandala adds a touch of magic and sophistication to blankets, shawls, and decorative wall hangings. It’s a captivating centerpiece that showcases your crochet artistry and leaves others in awe.

<<<- Click here to download the letter C and start your new, incredible Mandala project with your Cricut.
For this project, we’re going to focus on creating an applique to add to your new scarf.
Step 1: Gather Materials and Design
- Gather the necessary materials: Cricut machine, Cricut cutting mat, Cricut fine-point blade, iron-on vinyl in desired colors, weeding tools, crochet scarf, iron, and pressing cloth.
- Import the 3D Mandala ‘C’
Step 2: Prepare the Design in Cricut Design Space
- Open Cricut Design Space on your computer or mobile device.
- Click on “New Project” to create a new canvas.
- Select the ‘shape or design ‘C’ plus any additional embellishments you want for your appliqué from the design library or upload your own.
- Adjust the size of the design according to your preferences and the dimensions of your scarf.
Step 3: Cut the Iron-On Vinyl
- Place the iron-on vinyl on the Cricut cutting mat with the shiny side down. Ensure it is smooth and wrinkle-free.
- Load the cutting mat into your Cricut machine and adjust the material setting to iron-on vinyl.
- Follow the prompts on the Cricut Design Space to cut the design. The machine will automatically detect the material and perform the cut.
Step 4: Weed the Design
- Carefully remove the cutting mat from the Cricut machine.
- Use weeding tools, such as tweezers or a weeding hook, to remove the excess vinyl around the design. Take your time to ensure clean edges and remove any small pieces within the design.
Step 5: Prepare the Crochet Scarf
- Lay the crochet scarf flat on an ironing board or any heat-resistant surface.
- Preheat your iron to the recommended temperature for the iron-on vinyl you are using. Refer to the instructions on the vinyl packaging for the appropriate temperature.
Step 6: Position and Iron the Appliqué
- Place the weeded design on the desired location of the crochet scarf, ensuring it is centered or positioned as desired.
- Cover the appliqué with a pressing cloth to protect it from direct heat.
- Place the preheated iron on top of the pressing cloth and apply firm pressure. Move the iron in a circular motion, ensuring all parts of the design receive heat evenly.
- Follow the recommended time for ironing the vinyl. This may vary depending on the type of vinyl used, so refer to the instructions on the vinyl packaging.
Step 7: Remove the Clear Liner
- Allow the vinyl to cool down for a few seconds.
- Gently peel off the clear liner from the iron-on vinyl. If any part of the design lifts with the liner, lay it back down and reapply heat with the iron.
Step 8: Final Touches
- Once the appliqué is securely attached to the crochet scarf, inspect it for any loose edges or areas that need extra heat.
- If necessary, cover the appliqué with the pressing cloth again and reapply heat with the iron to ensure a strong bond.
Step 9: Finishing
- Allow the scarf to cool completely before wearing or handling it.
- Repeat the process if you want to add additional appliqués to your scarf or make more for other projects.
Showcasing Your Captivating ‘C’ Crochet Creations
Whether you wrap yourself in the warmth of your new creation or gift it to your favorite someone, don’t let this amazing creation gather dust. Show the world your incredible skills and be proud of the time, effort and diligence you put into making something from scratch and (maybe) learning something new.
Embrace the Magic of 3D Mandala Crochet with Cricut
As we reach the end of our journey, we hope you’ve discovered the enchanting fusion of crochet and 3D mandala designs. The charismatic ‘C,’ crafted by Cricut, has added a touch of magic and allure to your crochet creations. Remember, each stitch is a testament to your creativity and dedication. As you continue your crochet and Cricut endeavors, let the beauty of 3D mandala crochet unfold before your eyes. Embrace the joy of crafting, and let your imagination soar. With Cricut by your side, the possibilities are endless!
So gather your yarn, grab your hook, and let the captivating ‘C’ crochet creations begin!
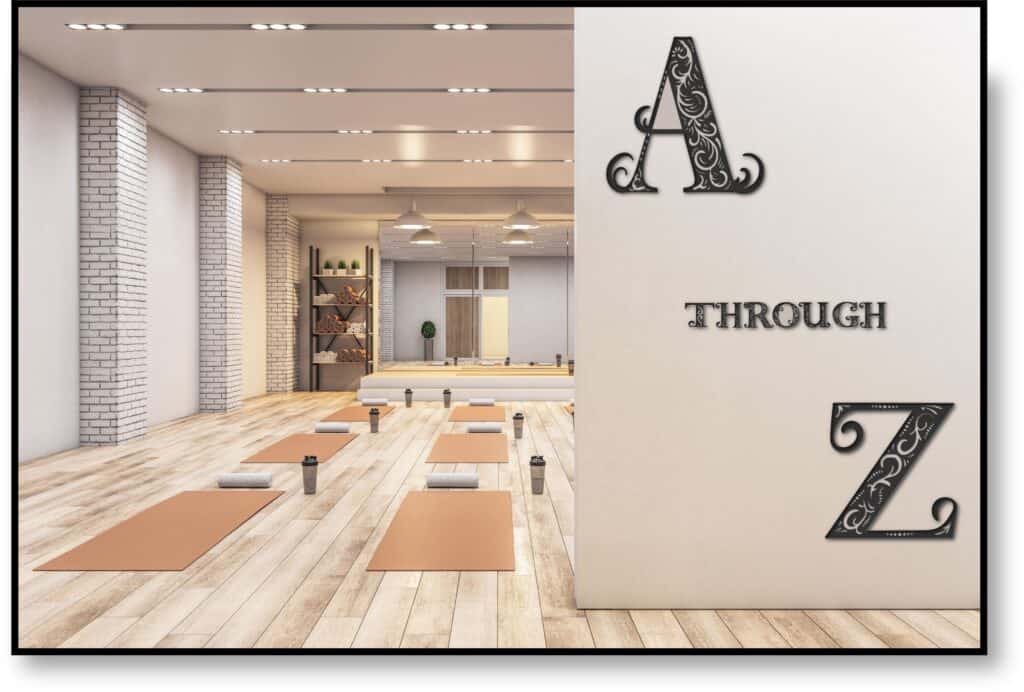
Ready to get crazy with the entire alphabet?
Click here to download all the letters and really spark your imagination ->>>
Mandala Promo Code: UNLEASH2023 FOR 50% OFF
Happy Crafting!