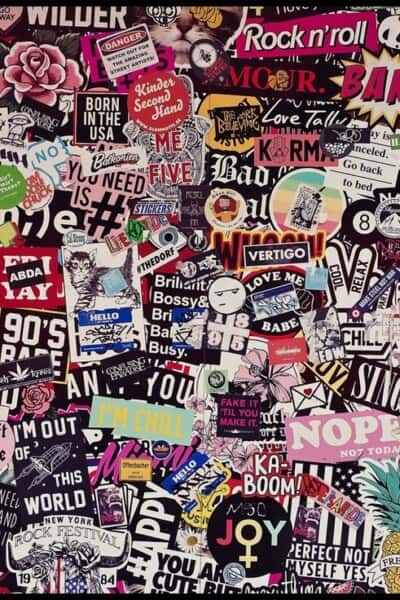
In the realm of crafting, where every project is a canvas waiting to be transformed, the collaboration of sublimation and Cricut brings a touch of magic to your everyday items. In this blog post, we’ll embark on a coaster crafting journey that not only protects your tabletops but also adds a splash of personality to your drinkware. Sublimation infuses vibrant designs, while Cricut precision cuts bring intricate details to life, creating a coaster extravaganza that’s as unique as you are.
Why Sublimation and Cricut for Coasters? A Perfect Fusion of Color and Precision
Coasters, often overlooked in their simplicity, become a delightful canvas for creativity when sublimation and Cricut join forces. Sublimation brings an explosion of colors, ensuring that every detail of your design is vivid and long-lasting. Cricut, with its precise cutting abilities, allows you to add intricate patterns, shapes, or even personalized messages, turning each coaster into a mini work of art.
Supplies and Tools You’ll Need
- Sublimation Printer and Ink: Ensure you have a reliable sublimation printer and compatible ink for vibrant designs.
- Sublimation Paper: Specialized sublimation paper is essential for transferring your designs to the coaster surface.
- Blank Sublimation Coasters: Opt for high-quality, absorbent coasters that are specifically designed for sublimation.
- Heat-Resistant Tape: To secure the sublimation paper in place during the heat press process.
- Heat Press: A quality heat press is crucial for transferring sublimation prints onto your coasters.
- Cricut Cutting Machine: Whether it’s the Cricut Explore Air 2 or the Maker, ensure your cutting machine is ready for precision cuts.
- Adhesive Vinyl or Iron-On Material: Depending on your design, choose the appropriate vinyl or iron-on material for Cricut cuts.
- Weeding Tools: Essential for removing excess vinyl and preparing your design for application.
Estimated Time to Complete
Approximately 2 hours, including design creation, printing, cutting, and heat pressing.
Step-by-Step Instructions
Step 1: Design Creation
Use graphic design software to create your coaster design. Consider elements that showcase vibrant colors for sublimation and clear lines or shapes for Cricut cuts.
Step 2: Printing with Sublimation
Print your design onto sublimation paper using a sublimation printer and ink. Ensure your image is mirrored before printing.
Step 3: Preparing the Coasters
Place your blank sublimation coasters on a flat surface. Secure the sublimation paper onto the coaster with heat-resistant tape, making sure it stays in place during the heat press.
Step 4: Heat Press for Sublimation
Preheat your heat press to the recommended temperature for sublimation (usually around 400°F). Once heated, place the coasters with the secured sublimation paper into the heat press. Press according to the manufacturer’s instructions.
Step 5: Cricut Cutting
While the heat press is in action, load your Cricut machine with the appropriate vinyl or iron-on material. Load your design into the Cricut Design Space and initiate the cutting process.
Step 6: Weeding and Applying Cricut Design
Carefully weed out the excess vinyl or iron-on material using the weeding tools. Once weeded, position the Cricut design on the sublimated area of the coaster. Cover it with a Teflon sheet and press using the heat press according to the material’s specifications.
Step 7: Admire Your Coaster Collection
Peel away the transfer material from the Cricut design, revealing the final, beautifully personalized coaster. Repeat the process for the remaining coasters, creating a stunning collection.
Conclusion: Coaster Crafting Bliss
With the dynamic duo of sublimation and Cricut, you’ve just elevated coasters from practical items to personalized pieces of functional art. These coasters not only protect your surfaces but also tell a story through their vibrant designs and intricate details. It’s coaster crafting bliss, and the possibilities are as endless as your imagination.
Happy Crafting!


Leave a Reply