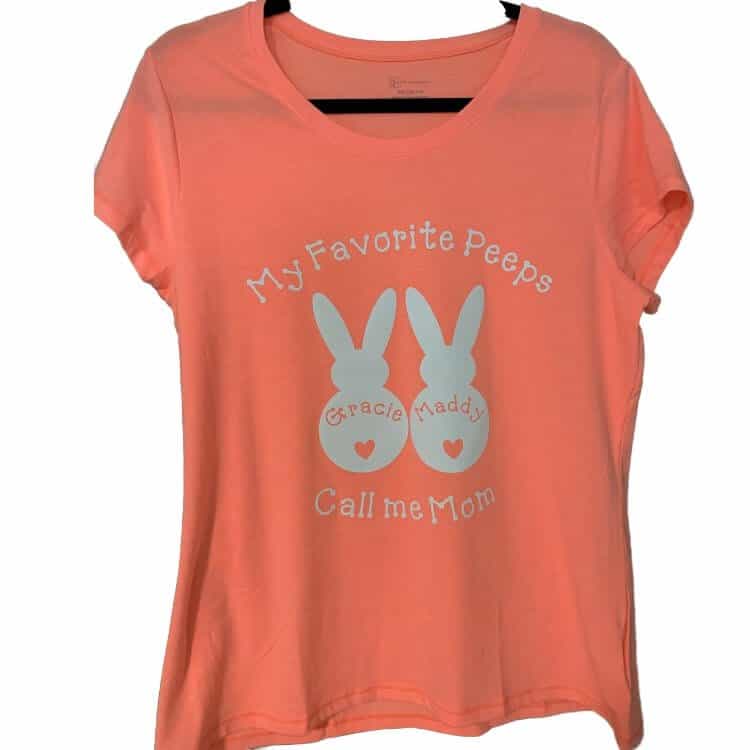
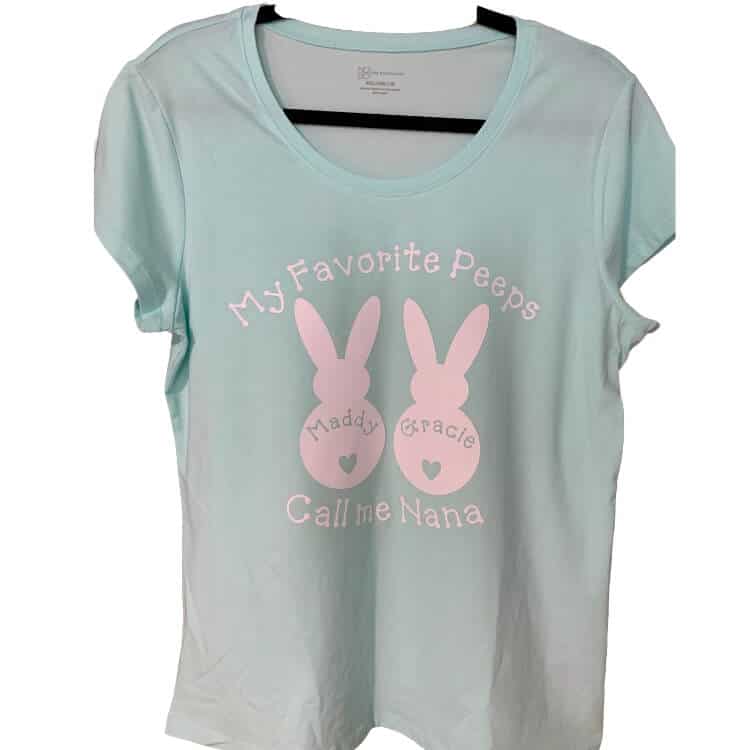
Easter is almost here and so the stores are filled with all the delicious candy that goes along with it! The famous Peeps are among the vast selection. For those that don’t know what a Peep is take a look at the yellow, marshmallow, bunnies below. This inspired me to make a few t-shirts my daughter, grand daughters and I could wear for Easter. My daughter always says “My favorite peeps call me mom!”.

My Favorite Peeps Call me mom T-Shirt steps
Supply list
- Bunny Design
- T-Shirt Kids Size
- T-Shirt Womens
- HTV Iron On Vinyl
- Cricut Maker
- Cricut Easy Press
- Kraft Paper
- Standard Grip Green Mat
- Weeder Tool
Step 1 Create Design
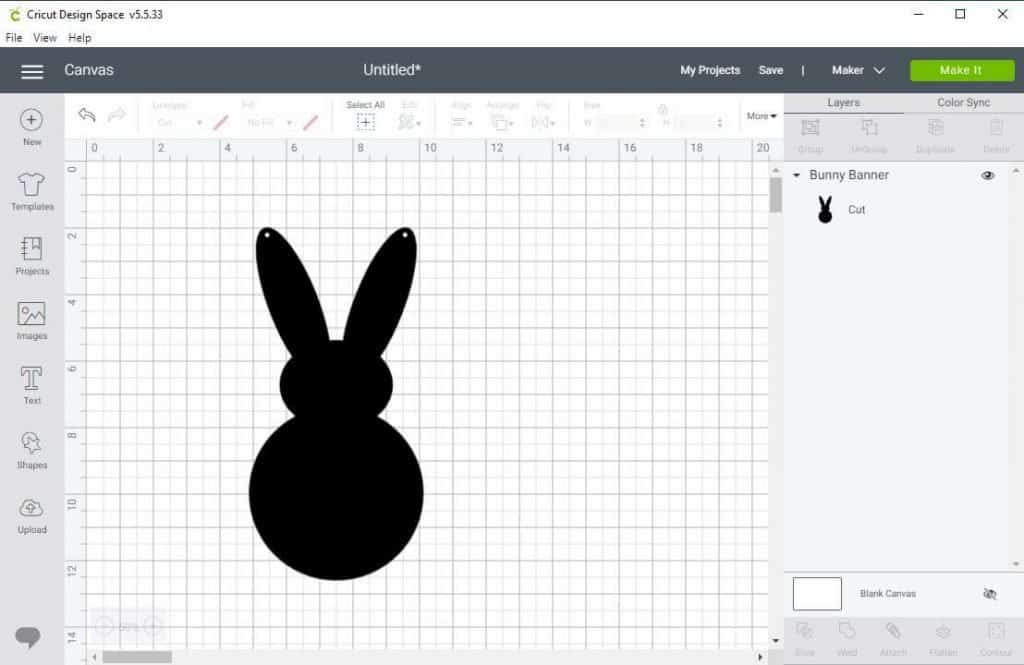
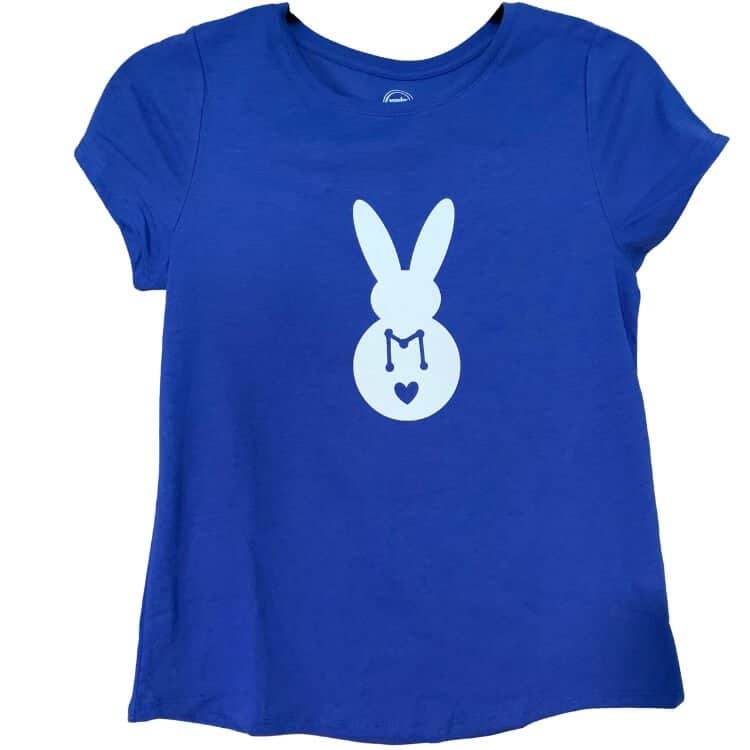
In Cricut Design Space, import the Bunny Design. Click Bunny Design to get the bunny! You will remove the two holes in the ears. This design was made for the Bunny Banner but we are going to use it for this t-shirt as well!
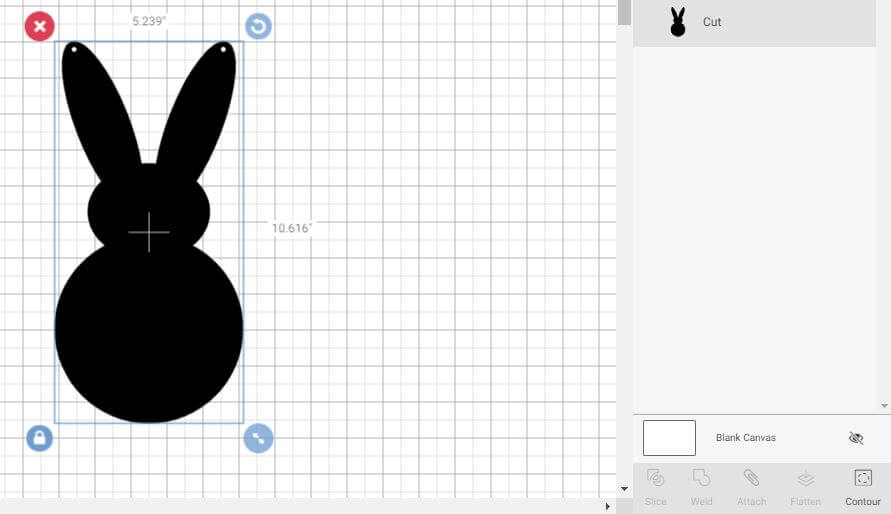
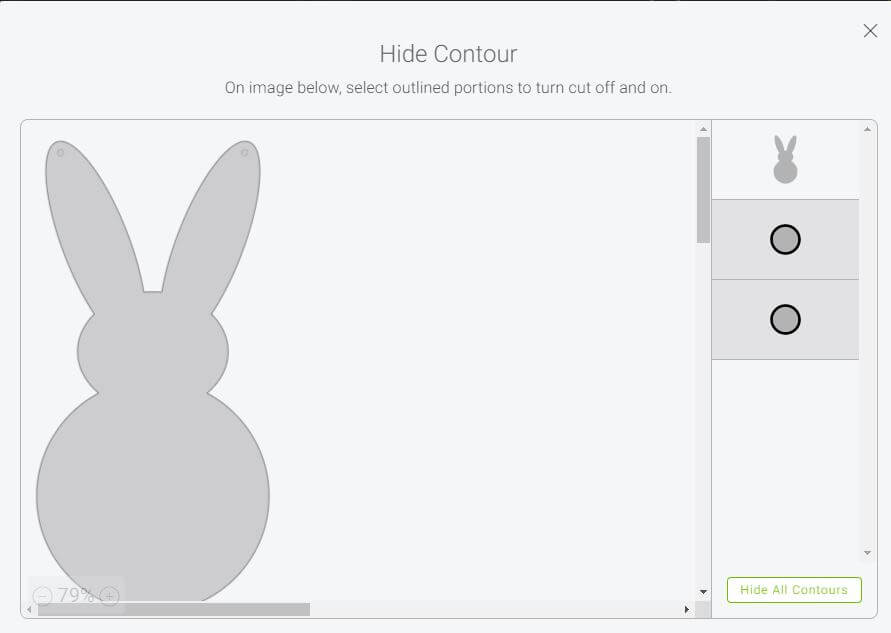
Remove the holes from the bunny’s ears by selecting the bunny, then click on the contour button and select both of the holes so they will be hidden.
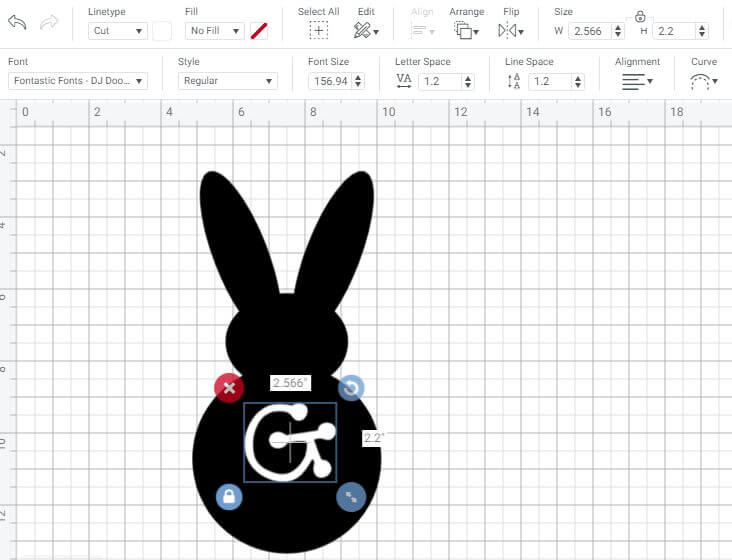
Select the text tool and enter the text you want for your bunnies. I used the Fontastic Fonts found in Design Space. Resize to your liking.
Select both bunny and text box and click on the duplicate button in the upper right and create as many bunnies as you like (1 for each grand kid!). Then just change the letter in each bunny.

Select the text and the bunny using the shift key. Then click on the slice tool on the lower right corner. Then drag the text out of the bunny. Remember there are two layers to remove. Then select the two letters and delete them.
If you have multiple bunnies, you will need to do this for each one.
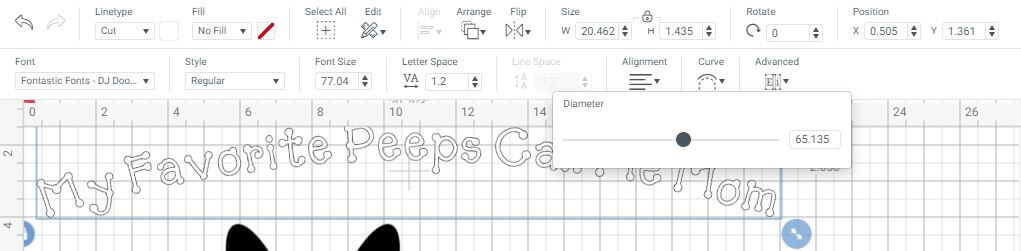
Using the Text tool, create a new box and type in your heading. You can put it all in one, or like we did, put My Favorite Peeps in one box and Call Me Mom in another. Use the curve tool as show above and drag the little black circle up or down to create the curves you want to go around your bunnies.
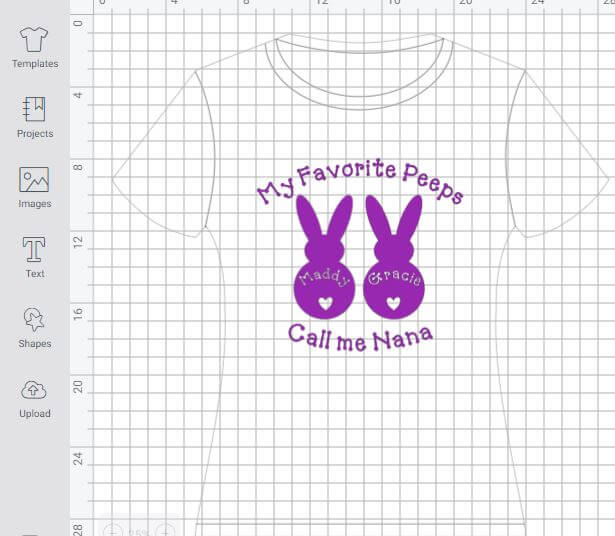
Select the templates button to the left, and select the shirt that best represents what you are using. I like to use the templates to see if my pattern will fit nicely and make adjustments as needed. To resize everything at once, hold down the shift key and select each object then resize it using the lower left corner of the design or use the boxes in the top section.
step 2 send to mat

Once you are happy with your design, click Make It. Then select your first mat and click on MIRROR IT! Yes, don’t forget this step. Since it is an iron on, you will be cutting on the back side of the vinyl so it needs to be mirrored to turn out right side once you iron it on your shirt.
I move the items around to take full advantage of the vinyl and not waste it. Since I was using all white, I also made the whole design one color so it would cut on one mat but you can change the colors on each object if you want to use different colors.
I used the green standard mat for this project. Select the correct material you have for your project and the blade setting. I used the default setting for the Sport Iron on vinyl for Cricut.
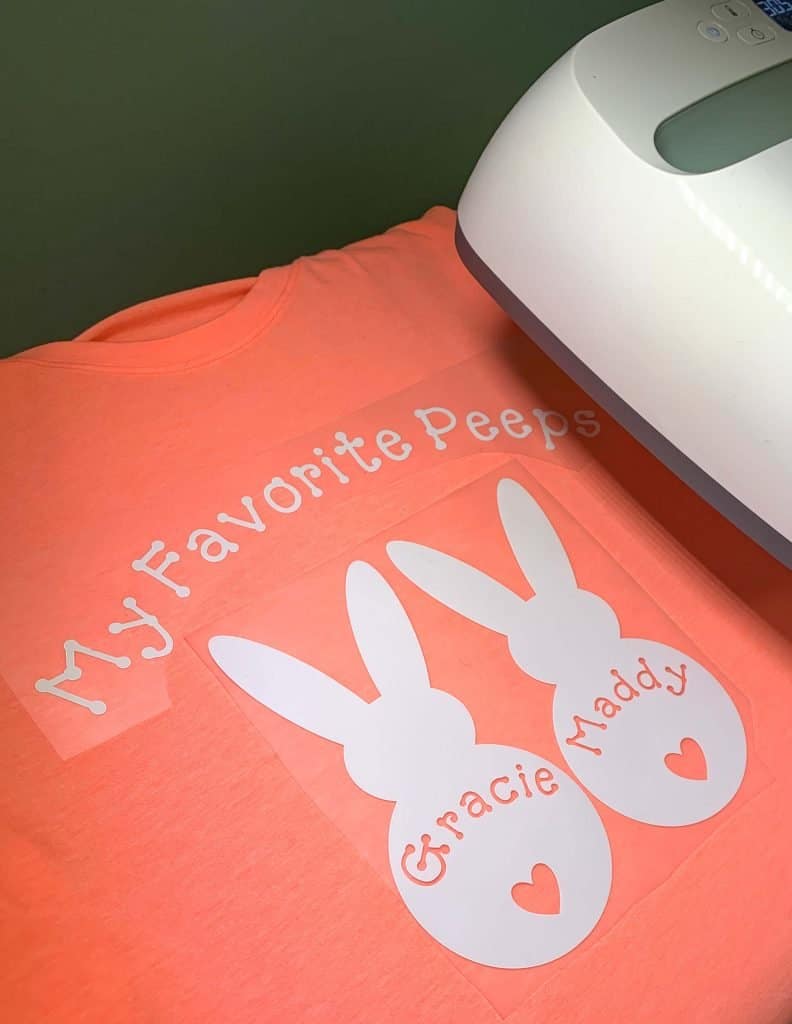
Step 3 Cut and Weed
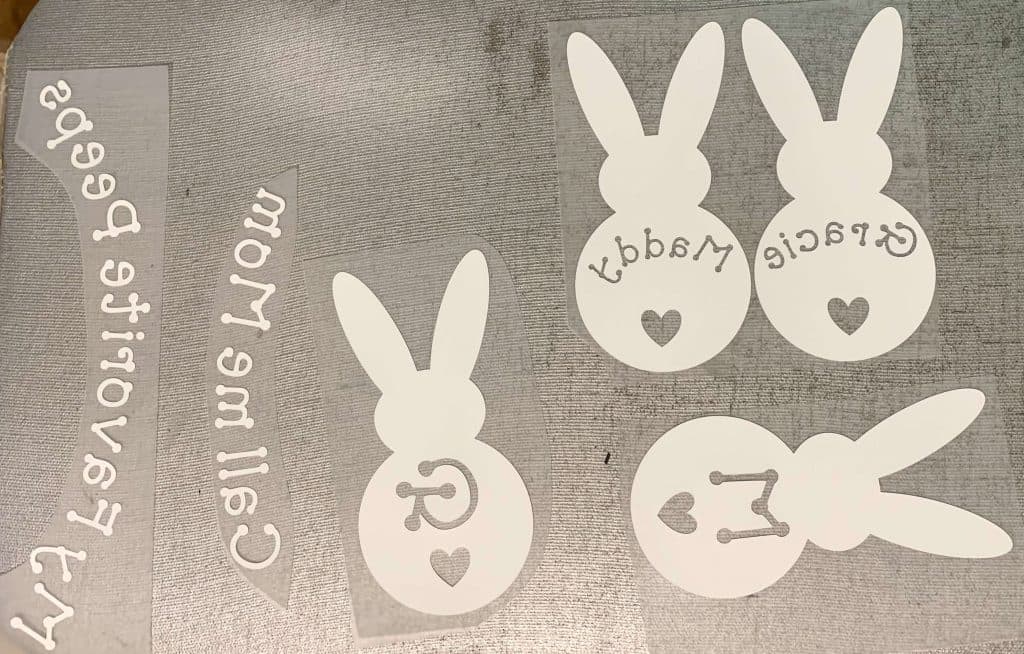
This is what everything looked like once I got them all cut out and weeded! So cute. I also made another batch and changed Mom to Nana! Now we all have matching shirts!
step 4 pre-heat and remove lint
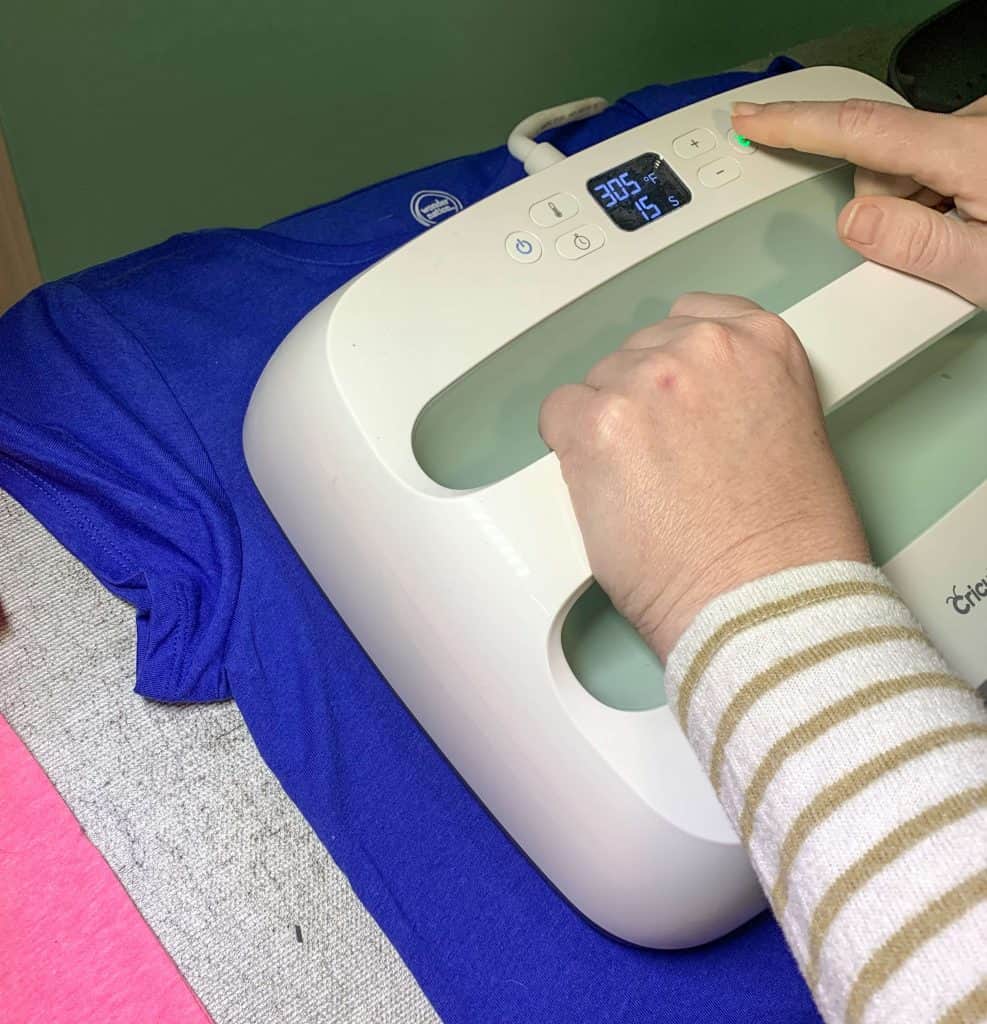
When using the easy press, Cricut recommended using 305 degrees for 10-15 seconds. I used 15 seconds. Pre-press the t-shirt so that it is nice and wrinkle free where you will place the designs. Let it cool and then place the designs in their desired positions.
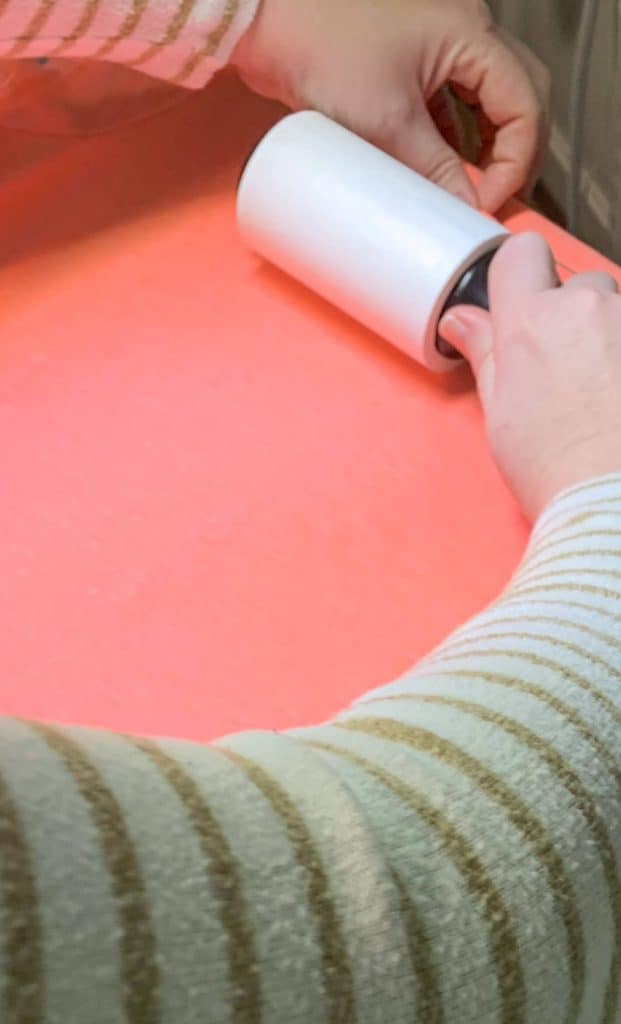
Remove lint from the shirt to prevent things from getting ironed on under the vinyl.
step 5 iron on
Using the same temp 305 and time 15 seconds, apply moderate pressure to iron on the designs. If you need to do one thing at a time, that is fine. Press each one and wait for each one to cool before applying the next.
final product!

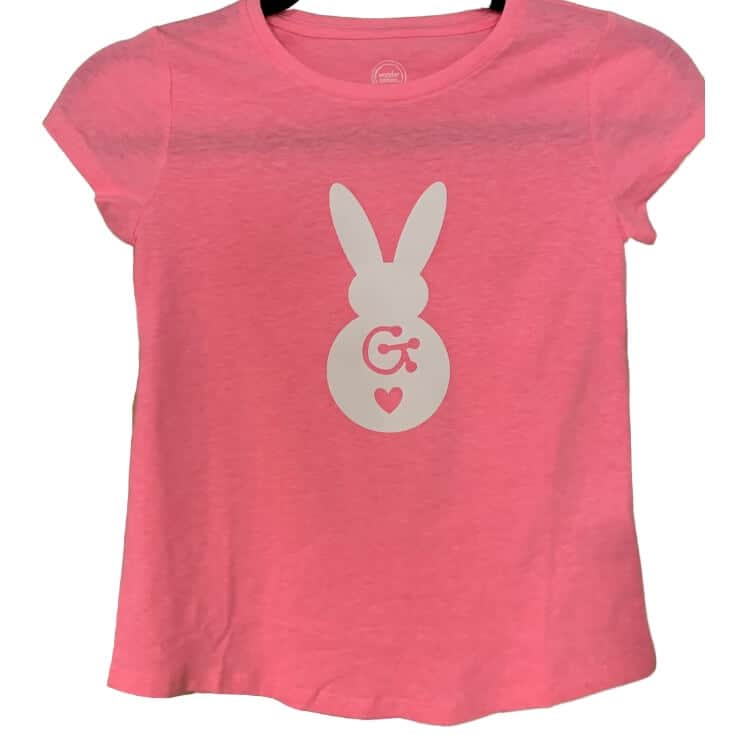
I think they turned out soooo cute! What do you think? We don’t put the names of the kids on their shirts for safety reasons in case you are wondering. That way a stranger cannot call them by name as if they know them. Just a precaution. You can never be too safe!
Love it? Pin it for later:
