Spring is approaching and soon it will be Easter! Why not create a Bunny Banner for your home to celebrate the occasion? I’m going to show you how to use this easy Adorable Bunny Banner Design for Cricut! Oh and did I mention, the file is free for personal use?
Even though I’m going to show you how to create this adorable bunny banner in Cricut, the design is also available for the Silhouette! Not only for Easter but would be very cute for a baby shower or baby room too!

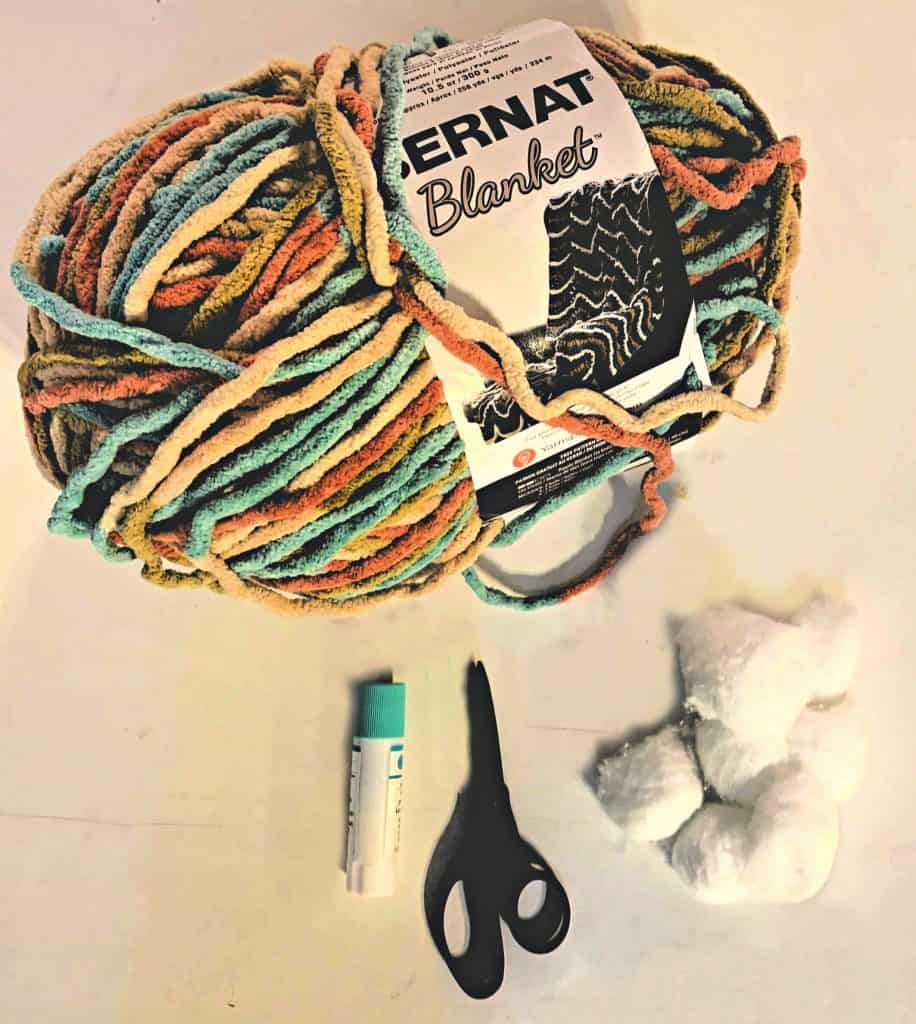
Supplies used
- Baby Blanket Yarn (or other string or ribbon)
- Scissors
- 6 Sheets of Scrapbook Paper 12×12
- Glue Stick
- Cotton Balls
- Cricut Maker
You can get the file for FREE for personal use by joining today!
Here’s a short video to show you how to upload your file to Cricut Design Space and the steps needed to get it just right for your maps!
Steps for creating the adorable bunny banner Design
Once you’ve uploaded and inserted the file (as shown in video) the next steps are:

Step 1 slice the little holes in the ears
Select the little hole at the top of one of the ears, while holding the shift key down select the bunny. Then click on the Slice Tool in the bottom right corner.
Then go back up to the little hole and click on it and move it off to the side.
There is one more hole to remove so click back onto it and move it off to the side.
Repeat this for the other bunny ear.
Then select the cut out pieces and hit the delete key or click on the trash button.
you can always select these things in the menu on the right and delete them that way as well.
Step 2 duplicate the bunnies for lettering

Select the bunny and move it over on your canvas to the far left. Then select the Text tool and select the font you want then type in the letters you will use. This step is optional. You can leave the bunny as is and continue to the sizing and cutting.
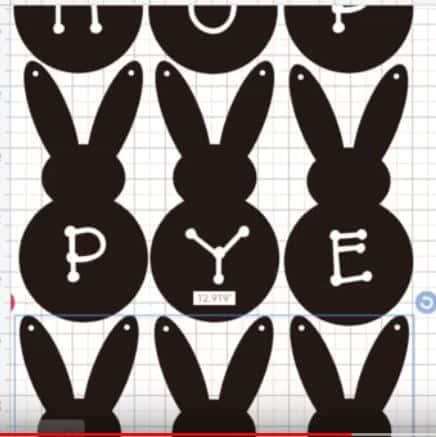
If you choose to use text then you do one, select the bunny and the text box by holding down the shift key and hitting duplicate. Then move the duplicate over and change the text letter. If you continue to use control v, it will continue to duplicate and paste the bunny for as many as you want. If you watch the video, you will see once I had one row, I selected them all and then did a duplicate and pasted three at a time and then six at a time.
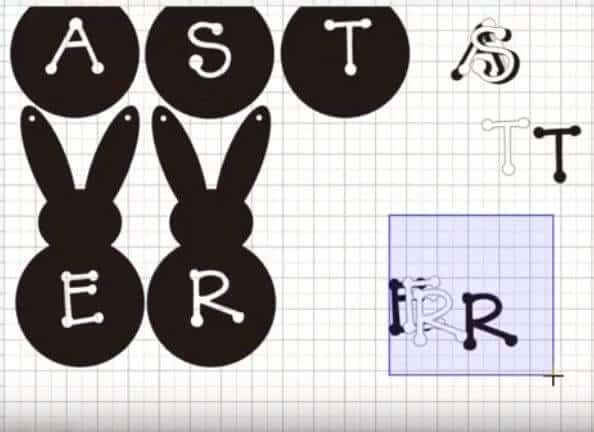
Then start the process of slicing the letters out by selecting the text box, while holding down the shift, select the bunny, then click on the slice button and drag the two images out of the bunny. Repeat for each bunny.
Step 4 Proper Mat sizes

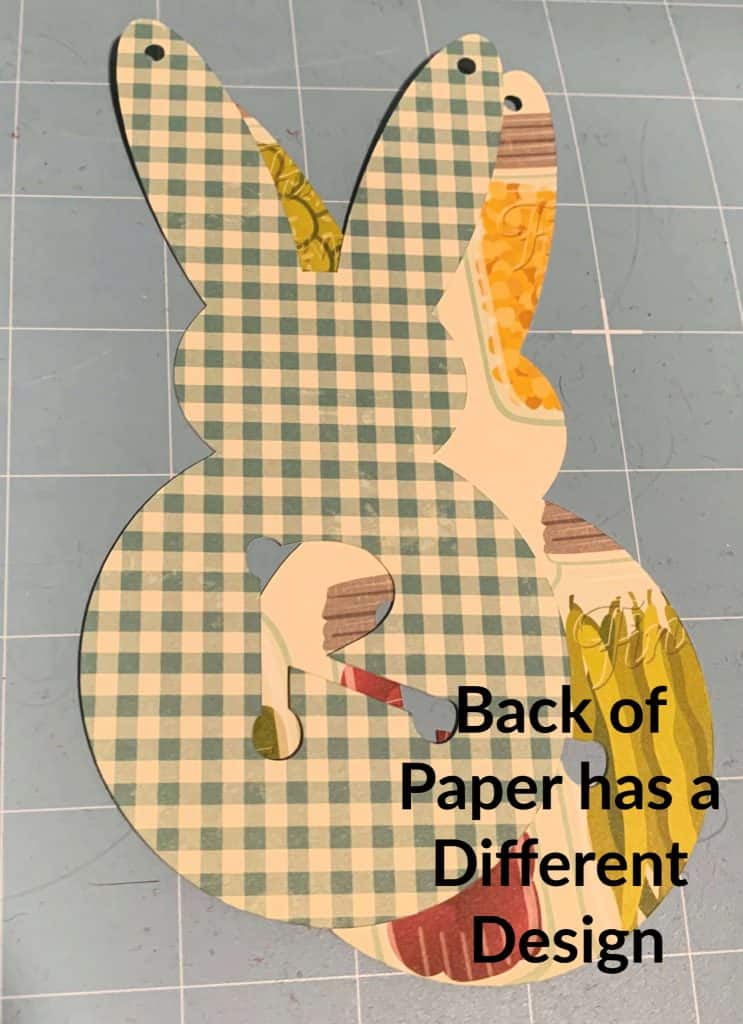
Click on Make It to determine how many mats/paper sheets you will need for your banner. Hit cancel and resize the bunnies to desired size to fit the paper/mats. I decided I would cut two of each bunny so I could glue them back to back to be more sturdy. I’m showing you how I had to mirror the 2nd mat because the paper I chose had nothing on the back side. I’ll explain more further down.

I chose to recolor the bunnies so I could use three different designed papers. I chose every third one so they would offset each other so no two same papers would be next to each other. This was simply done by selecting the bunny then using the fill button to change the color. This ended up on 3 mats.
Step 5 Paper selection
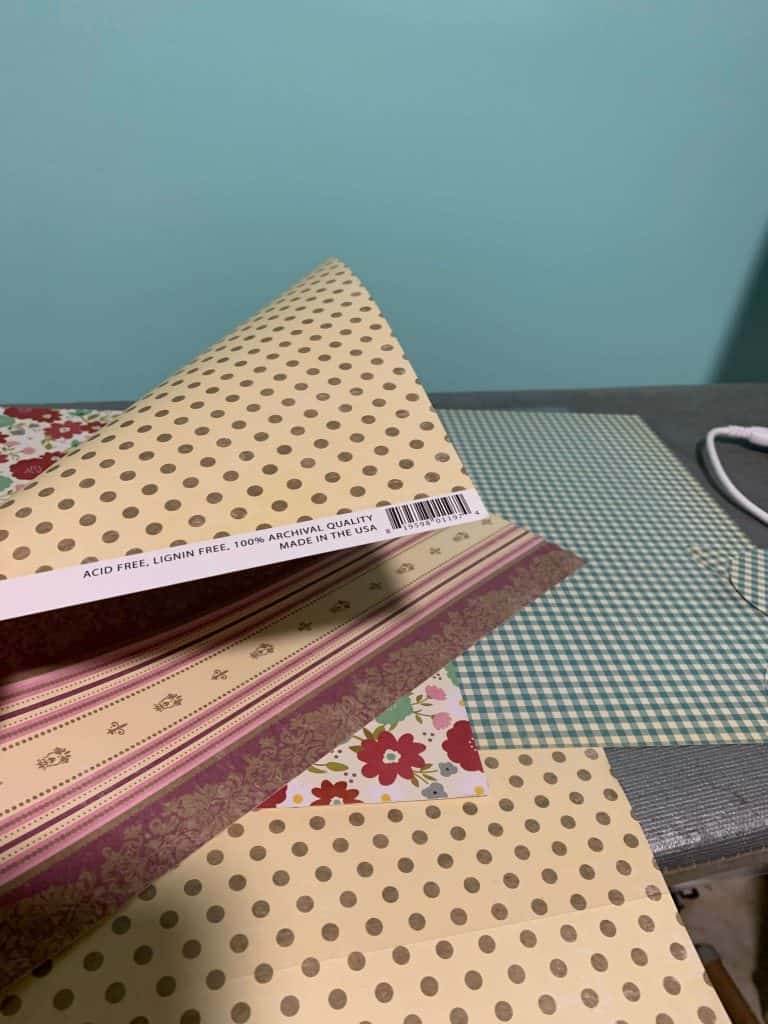
These were my paper selections. The green checked has a different background and so did the polka dots. So I cut the bunnies on each side (or you could mirror on the mat selection and cut on the polka dot side for the 2nd one. I had to do that for the flowered paper because the back was blank.


One trick to make the process easier to remove from mat is to turn the mat over and curl the mat away from the paper. The paper pops off (as well as vinyl) making it easier and helps reduce the risk of tearing.
Step 6 glue bunnies

Glue the bunnies back to back. I used Martha Stewart’s glue stick but you can use any kind. I liked using the glue stick so I could easily move the bunnies around to fit and it dries fast. Just make sure the holes and the letters align.
Step 7 Thread the bunnies

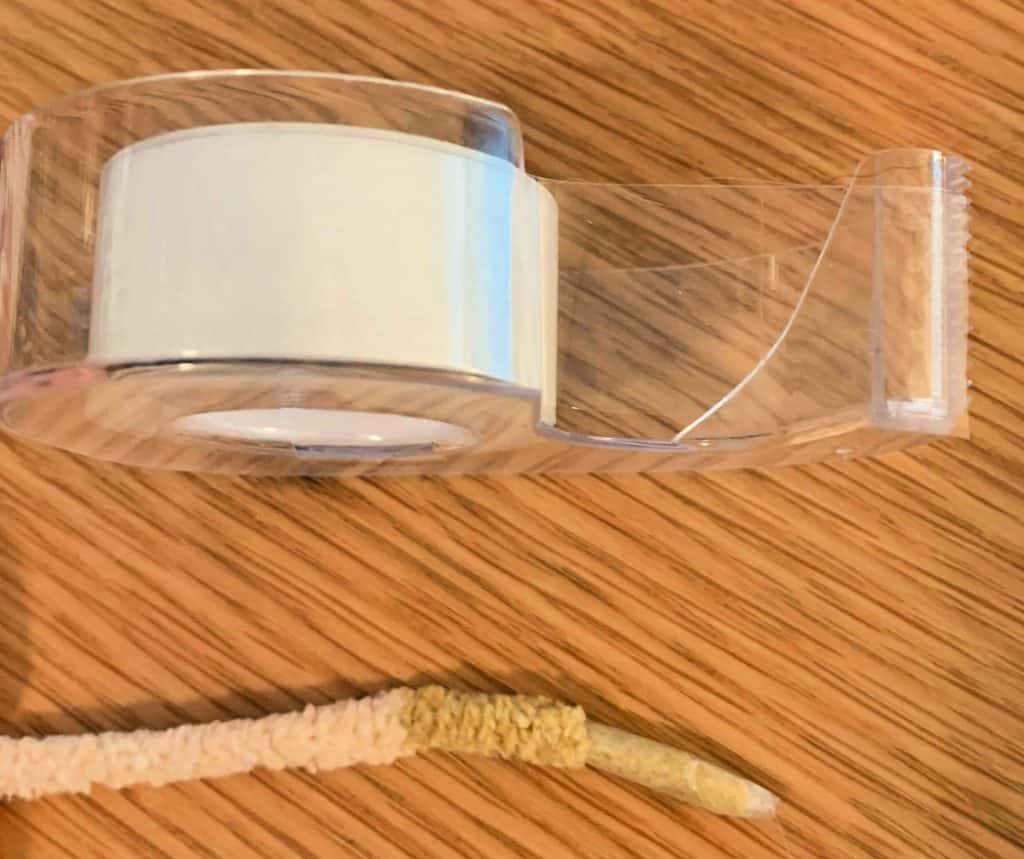
Under, Over is how I threaded each bunny. Use this trick to get a clean edge on the end of your yarn. Place a piece of tape around the end and then cut the tip at an angel. That will help keep the yarn from unraveling as well as feed through the hole on the ear without ripping. Having the paper doubled up really helped make the bunny’s ears more durable.
Step 8 Add Bunny Tails
I used cotton balls and tore off enough to make the fuzzy little tails. Of course you can use the little pompoms but I wanted a more realistic fuzzy look!
Conclusion – there you have the finished bunny banner!
I love how it turned out and it is the perfect size to fit across my mantel!
Oh, and I saved the little letters and glued them back to back to use on another project! Stay tuned!

Pin it for later:
