Have you seen those gorgeous layered Mandalas all over Pinterest lately? Seems to be a very popular thing to make these days on your Cricut or Silhouette. Many people opt to purchase the SVG files on Etsy and there are lots available in all different designs. The biggest question I got when I listed ones that I designed on Facebook was “Can you show me How to create layered Mandala in Cricut Design Space?” My answer, “Well, yes I can!” and here you have it.
I want to start by telling you that making a Mandala with all it’s intricacies is a challenge and usually made from scratch in programs such as Adobe Illustrator or Inkscape or Gimp and those programs can be quite complicated, but if you just want to create one using the designs from Cricut, then you already have a head start!
If you are a member already, you can download the pdf SVG in Resource Library.
If you would like to subscribe to get the password for all the Free Files, simply fill out this form and the password will be sent to you! Be sure to confirm your email so you will know when the next freebie is offered!
In order to create this beautiful project, you will need access to Cricut Access for Cricut Design Space. It is a monthly or annual subscription and can be cancelled at any time. There are a few projects that we show you how to make using files inside the program so even if you sign up for one month and then cancel, you can get all these projects within that month! Cindy also sells her design on Etsy! Check out her shop here!
This will be a little different in that we will be working with 3 layers. Cricut does not have a way to scale an image proportionately to create many more layers in depth and size. You can create more layers by increasing or decreasing the shapes on each layer but that gets complicated so for this training we will stick with 3!
How to Create Layered Mandala in Cricut Design Space
Let me show you what I’m talking about! Here’s a video that will walk you through the steps and then the Step by Step visual training is below.
Open Cricut Design Space
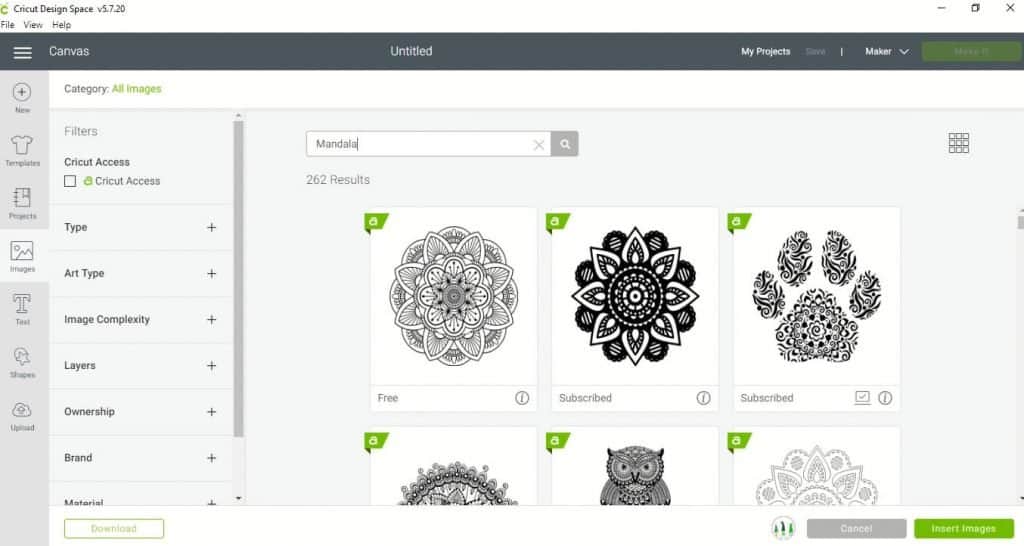
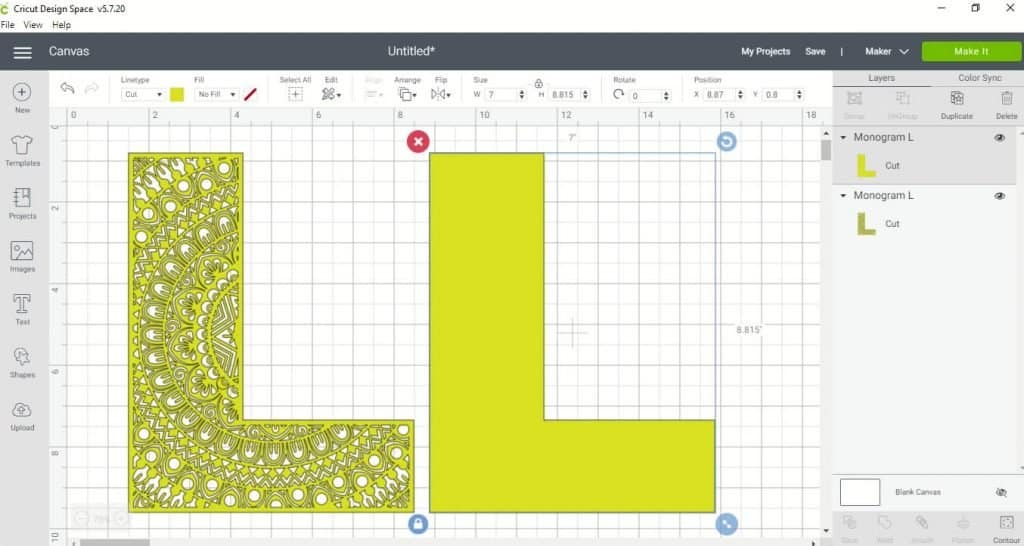
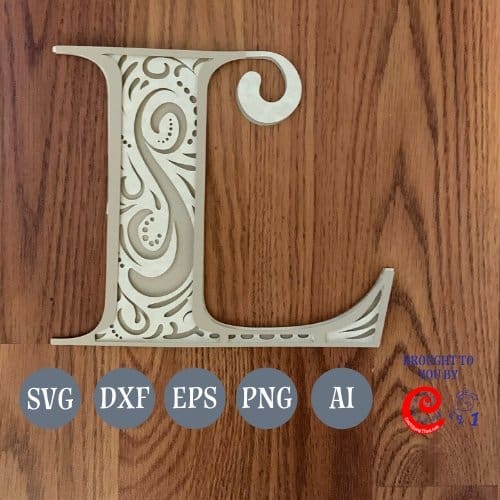
When you are in the new canvas, click on Images and search on Mandala. Now if you already have an idea of what you want to make, add it to your search otherwise just scroll until you see something you want to make. I chose the letter “L”. Insert your choice into the canvas.
You can choose the subscription that fits you best: Cricut Access
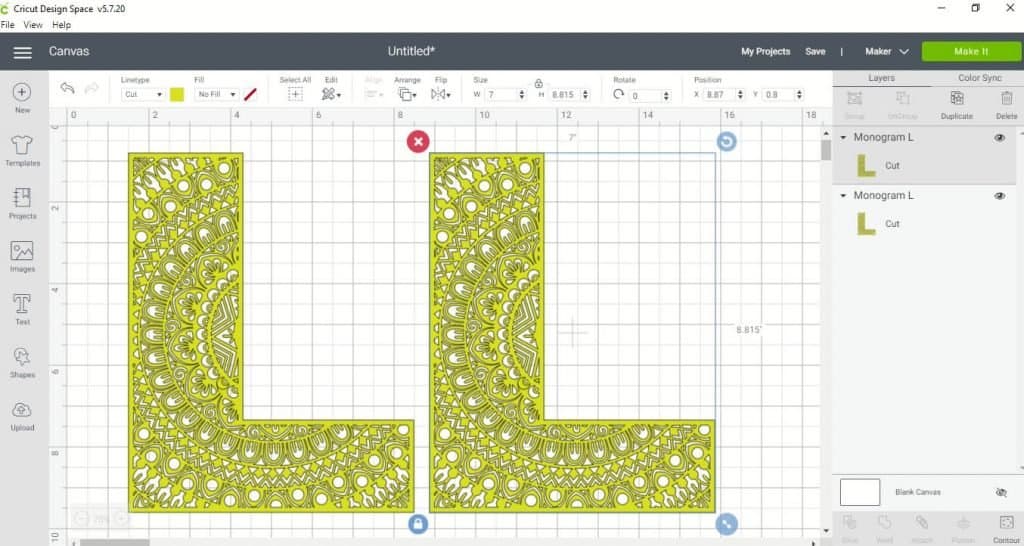
size and duplicate
Next, you’ll want to decide on the size. We will be doing this “L” in 3 layers so be sure the size is big enough to show the detail. I used a width of 7 and a height of 8.815. Then make 1 duplicate of the “L”.
Creating the 3 layers
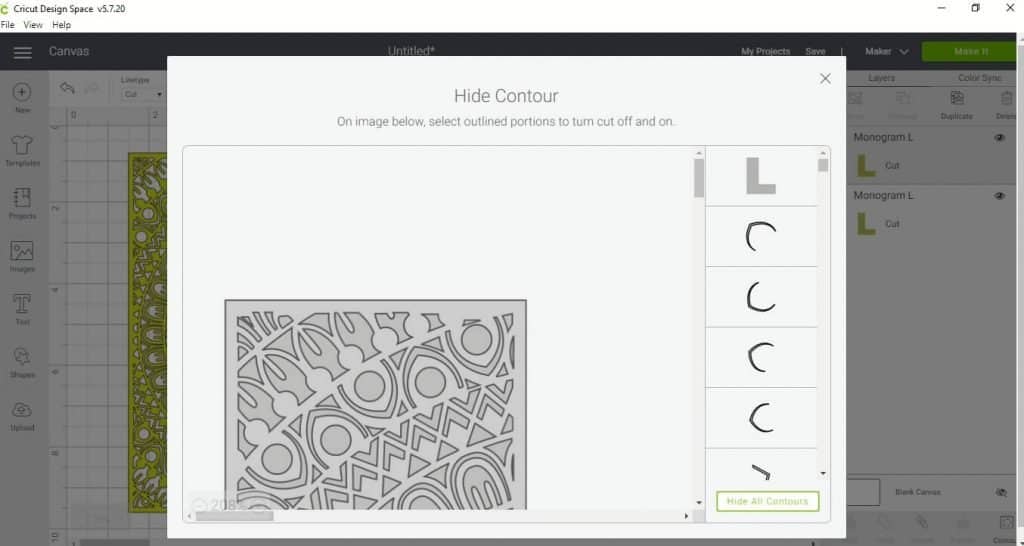
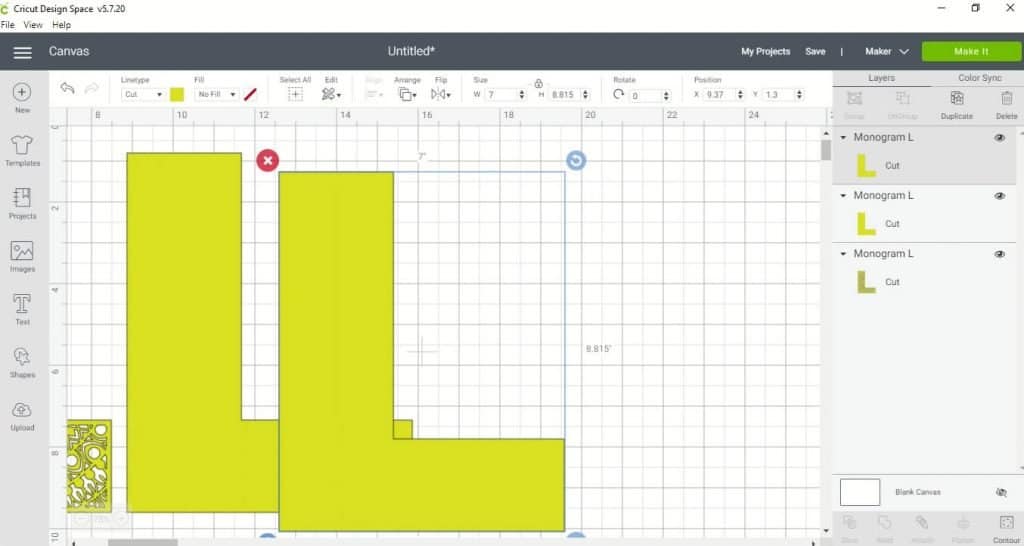
This layer you created will serve as the top and bottom layer so you will need to remove all the detail. Select the “L” and click on Contour. A window will pop open that shows all the elements of your selected “L”. Click on Hide All Contours and x out of that window. You will now have a single layer of one color. Make a duplicate of that “L” for your 3rd layer.
working on layer One
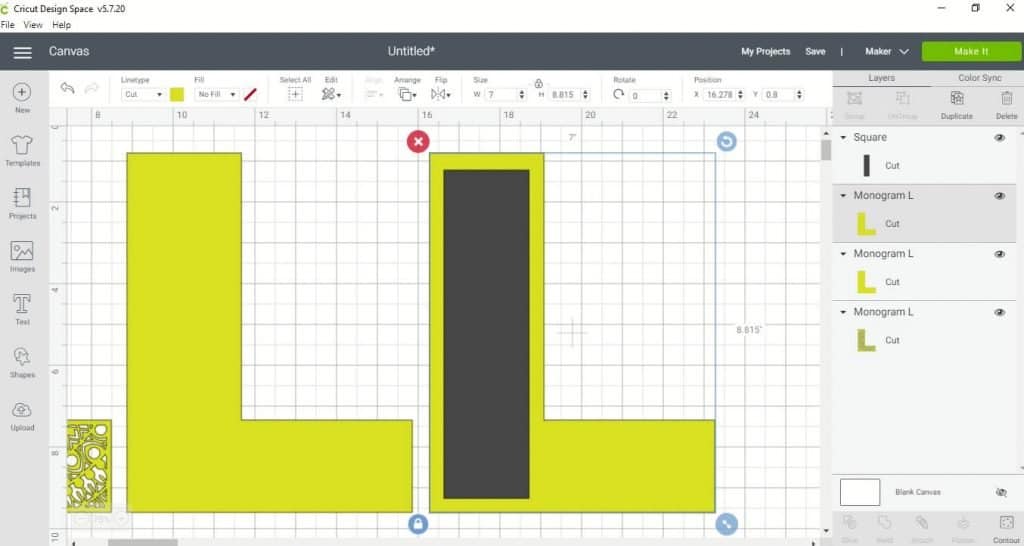
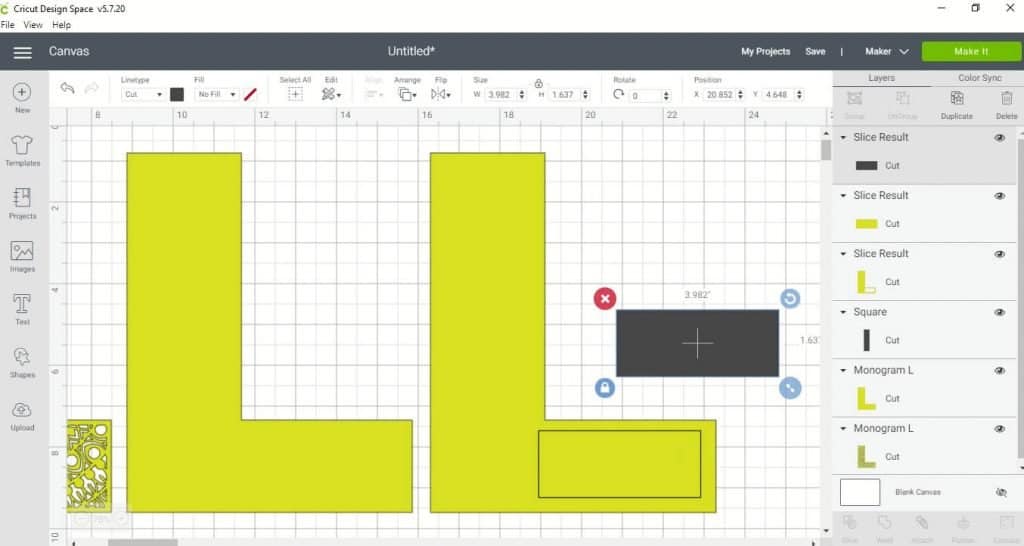
I consider layer 1 to be the top of the Mandala and I like to refer to it as the window. It will sit on top of the middle layer and act as a frame. To do this you will select the shapes and the square and insert one on your canvas. Unlock the dimensions by clicking on the little lock in the lower left corner and then dragging the shape until you create the inside “window”.
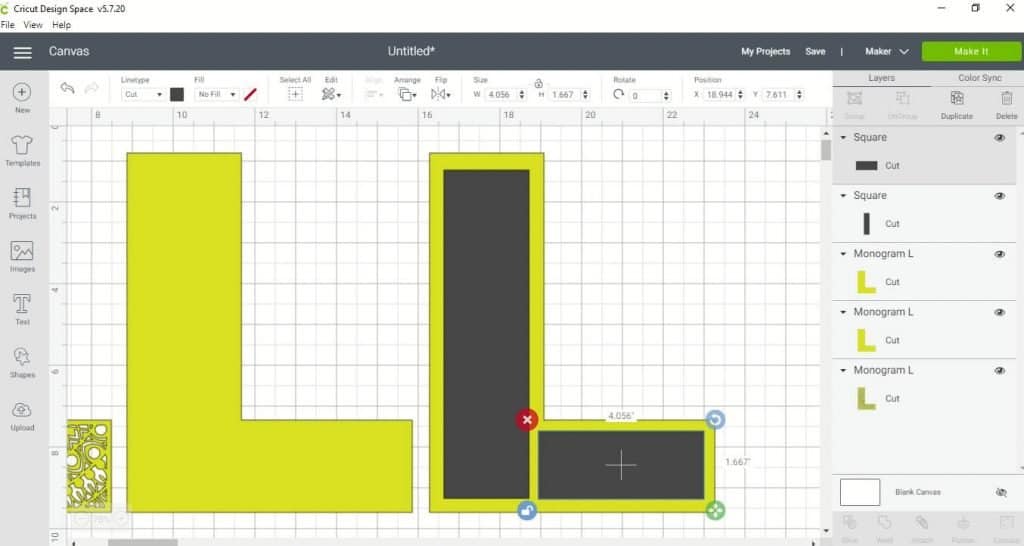
Repeat this for the bottom of the “L” as well. Then holding down the shift key, select the “L” and the rectangle and then click on slice. Leave enough of a border so you can attach a foam dot under it without being seen.
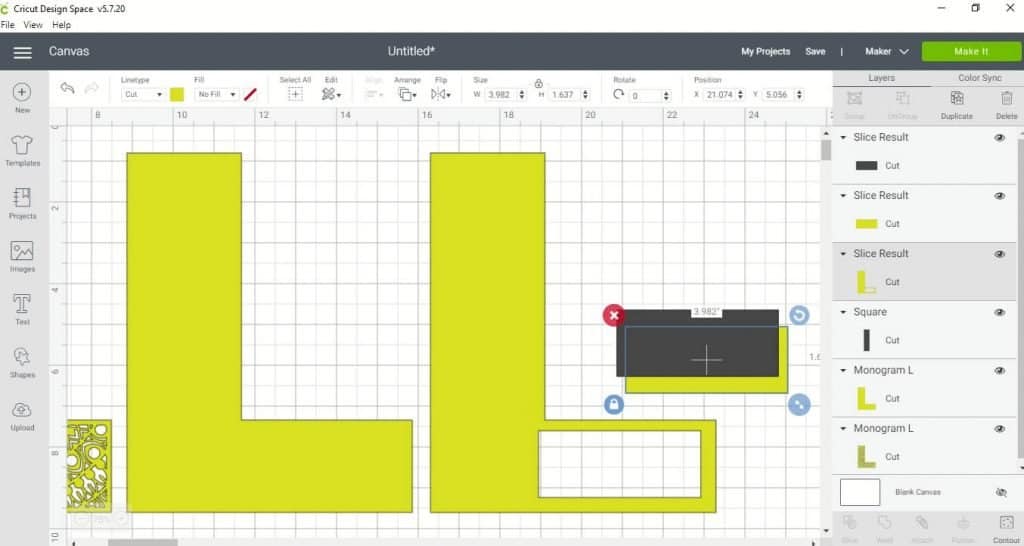
Then click on the rectangle and drag it off to the side. Then click on the outline and click it off to the side and delete both of those. This will leave a see through window in the “L”. Repeat this with the other rectangle. To see it click on the “L” and go to arrange and click on send to back and the rectangle will appear. Follow the same steps to remove that one from “L” as well.
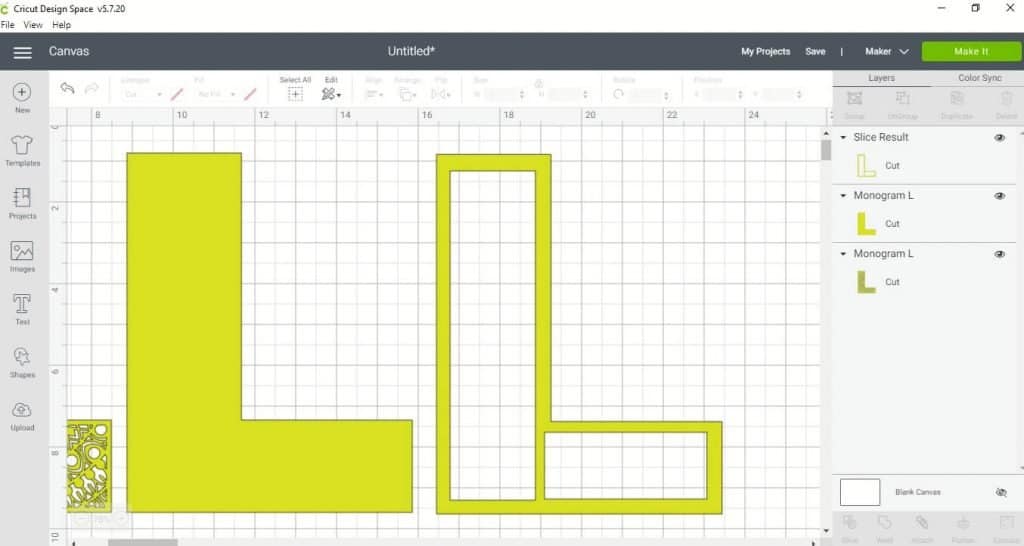
Check your layers
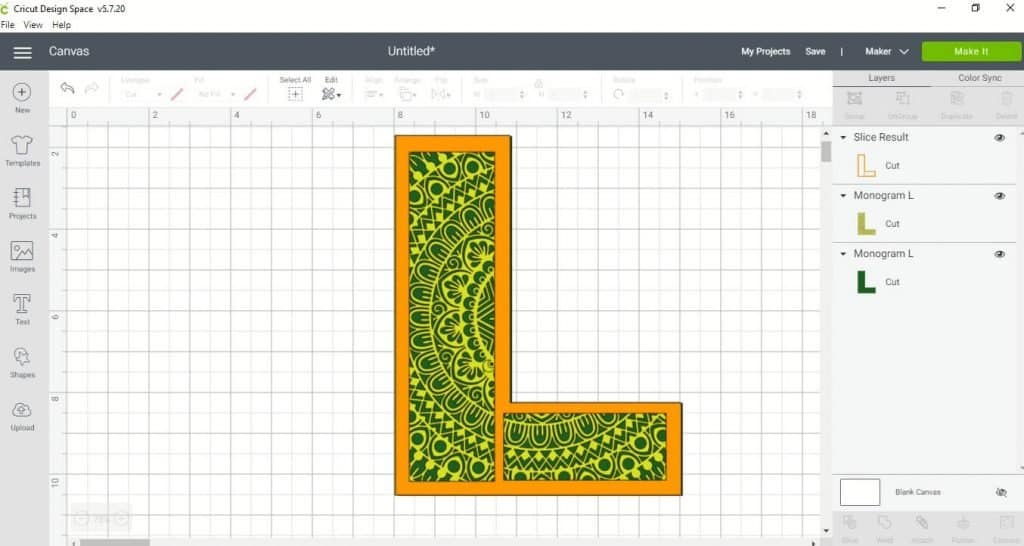
In order to see if you like the results, make each layer a contrasting color and then lay them on top of each other to see if you are happy with the results.
Make it
The next step is to Make the project! If you keep the letters different colors, when you click on Make It you will see the 3 colored mats. If you keep the color for each layer the same, they will try to print on one mat. I used 8.5 x 11 cardstock with the blade setting on more. That’s it! Watch it go!
Be sure to save your project! Show me what you have created in the Facebook Group!
You might enjoy these layered mandalas as well:
Rise and Shine Mother Cluckers
Enjoy the Ride Bicycle
Finding it fun or challenging? You can see all the ones I created in my Etsy Shop Craft Room Time
Or in the Shop on the Blog!
Pin it for later: