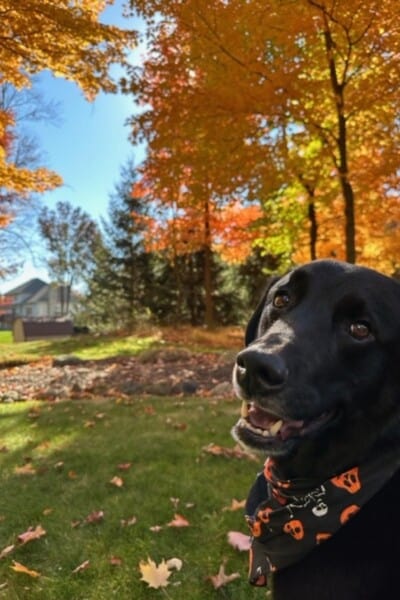
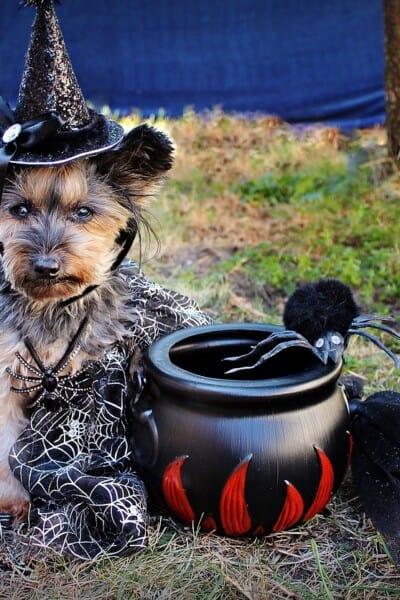
Halloween is a time when magic is in the air, and the line between reality and the supernatural becomes delightfully blurred. While you’re preparing to embrace the eerie, don’t forget about your beloved furry familiars. In this enchanting DIY guide, we’re about to embark on a crafty adventure that will not only add a touch of magic to your pet’s collar but also keep them safe during the spooky season. Let’s discover the art of creating custom Halloween pet ID tags that are both bewitching and practical.
Supplies You’ll Need: Before we start casting our creative spells, gather these materials:
- A Cricut machine (Cricut Maker or Cricut Explore Air 2)
- Pet-friendly metal or plastic blank pet ID tags
- Halloween-themed adhesive vinyl or metal engraving supplies
- A metal hole punch (if needed)
- Split rings or small S-hooks
- A measuring tape
- Your pet’s identification information
Estimated Time to Complete: Creating custom Halloween pet ID tags can take around 1-2 hours, depending on the complexity of your design and whether you choose to engrave or use vinyl.
SVG Options:
- Halloween Bundle Svg,Happy Halloween Svg
- Halloween Pet Tag Sublimation Design
- Jack-o-lantern Halloween Pumpkin Svg
Step-by-Step Instructions:
Step 1: Design Your ID Tags Fire up your trusty Cricut machine and choose a Halloween-themed design for your pet’s ID tags. Whether it’s a spooky silhouette or a cute witch’s hat, make it uniquely your own.
Step 2: Choose Your Materials Depending on your preferences, you can either use adhesive vinyl or engrave the designs onto metal or plastic tags. Pick materials that are durable and pet-friendly.
Step 3: Measure Your Pet’s Collar Using a measuring tape, measure the width of your pet’s collar to ensure that your custom ID tag will fit securely.
Step 4: Cut or Engrave If you’re using adhesive vinyl, cut out your chosen design using your Cricut. If you prefer engraving, follow the manufacturer’s instructions for your engraving machine. Make sure the design is the right size for your ID tag.
Step 5: Attach to the ID Tag If you’re using adhesive vinyl, carefully apply the design to your pet’s ID tag. Smooth out any bubbles or wrinkles. If you’re engraving, follow the machine’s guidelines for attaching the design.
Step 6: Add Identification Information Using a fine-tip permanent marker, engraver, or vinyl, add your pet’s identification information, such as their name and your contact details. This is crucial for their safety.
Step 7: Attach to the Collar Using a metal hole punch (if necessary), make a hole in your pet’s collar where you’d like to attach the ID tag. Secure the tag using split rings or small S-hooks.
Creating custom Halloween pet ID tags is a bewitching blend of style and safety. Not only will your pet look spooktacular with a unique tag, but they’ll also be easily identifiable in case of any Halloween escapades. Keep your pet safe and stylish this season!
With your pet’s custom ID tag ready to make its magical debut, let’s move on to our next Halloween project: “Spooktastic Halloween Pet Bow Ties.” These adorable accessories will complete your pet’s Halloween look, making them the star of the spooky season. Stay tuned for more enchanting, pet-friendly crafting ideas to ensure this Halloween is a true treat for you and your furry familiars!
Wishing you and your furry familiars a magical Halloween season filled with enchantment and adorable accessories!
Happy Crafting!


Leave a Reply