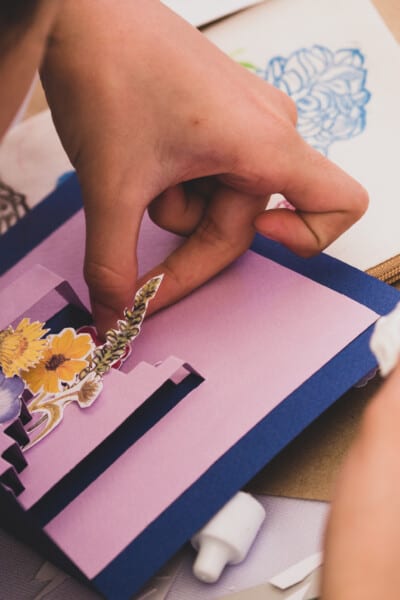
Greetings, dear crafting enthusiasts, parents, and fellow grandparents! If you’re on the lookout for a craft that brings both beauty and warmth to your living spaces, look no further. I’m here, your craft-loving grandmother, ready to take you on an illuminating journey into the captivating world of DIY paper lanterns. Get ready to infuse your home with the cozy charm of handcrafted lanterns that radiate both creativity and ambiance.
Tools and Supplies You’ll Need:
Before we embark on our lantern crafting adventure, let’s gather the tools and supplies that will light up our creative process. A well-prepared crafting station sets the stage for a delightful and enjoyable experience.
- Colored Cardstock: A selection of colored cardstock or sturdy paper for the lantern body.
- Vellum Paper: Translucent vellum paper for the lantern windows.
- Scissors: A pair of sharp scissors for precise cutting.
- Craft Knife: Optional but useful for intricate designs.
- Glue or Tape: Reliable craft glue or double-sided tape for assembly.
- Ruler and Pencil: For measuring and marking guidelines.
- Battery-powered Tea Lights: Safe and convenient for illuminating your lanterns.
- Decorative Elements: Ribbons, twine, buttons, or other embellishments for customization.
Estimated Time to Complete:
Plan for an enjoyable crafting session lasting around 1 to 2 hours. Remember, the goal is to have fun while creating beautiful additions to your home decor.
Shining Bright: Crafting Your DIY Paper Lantern
Today, we’re diving into a project that’s perfect for adding a touch of charm and coziness to your home – crafting your very own DIY paper lantern. These lanterns are not only a beautiful decorative piece but also provide a warm and inviting glow that brightens up any room.
Step 1: Design Your Lantern
- Determine the size and shape of your lantern. You can choose from classic cylindrical lanterns, square lanterns, or even more intricate designs.
- Sketch your design on colored cardstock, making sure to leave spaces for the windows.
Step 2: Cut the Lantern Body
- Cut out the lantern shape from the colored cardstock. This will be the main body of your lantern.
- Use a craft knife if your design includes intricate patterns.
Step 3: Add Vellum Windows
- Measure and cut vellum paper to fit the windows of your lantern.
- Attach the vellum paper to the inside of the lantern using glue or tape.
Step 4: Assemble the Lantern
- Carefully fold the cardstock along the designated creases to create the lantern shape.
- Use glue or double-sided tape to secure the edges and form the lantern’s structure.
Step 5: Customize and Decorate
- Now comes the fun part – decorating your lantern! Add ribbons, twine, buttons, or any embellishments you like.
- Consider using contrasting colored paper to create decorative trims or accents.
Step 6: Illuminate Your Creation
- Place a battery-powered tea light inside the lantern.
- Turn on the tea light to experience the warm and cozy glow of your handmade lantern.
Summary: Crafted with Love and Radiance
Congratulations! You’ve successfully crafted a DIY paper lantern that not only brightens up your home but also radiates the warmth of your creativity. The soft glow emitted by your lantern adds a touch of magic to any space it graces.
Up Next: Crafting Story Magic: Creating Whimsical Pop-up Storybooks with Your Grandchildren!
Until then, keep those colored cardstock and tea lights handy, and let the cozy charm of DIY paper lanterns continue to illuminate your creative spirit. Happy crafting, my fellow imaginative souls!
Previous Post: Crafty Recycling Magic: Transforming Paper Scraps into Stunning Quilled Art!


