Who doesn’t love a Unicorn? Especially when you can hang a fun wreath for the seasons on his horn? That’s exactly what you can do with this 3D Standing Paper Unicorn with Free SVG!

Supplies for 3d standing paper unicorn
- Foam Double Sided Stickers
- Cricut Maker
- 65 to 80 lb Cardstock in varying colors
- Mat (Green)
- Glue (I used Tacky Glue)
- Double Sided Tape
- Painters Tape
- Cricut Brayer
- Cricut Scraper
- Cricut Scoring Wheel
Instructions
This little unicorn has a lot of pieces and I created a video to show you how I put it together. It is long but you can probably fast forward through parts you already know how to do. I recommend watching it to create this guy.
Assembly of the Unicorn follows these pictures.
Start with front


The mane is sandwiched between the front body middle and the back body middle. Attach the main layers together first and then glue to the back of the front body middle. Picture shows how the mane will be in between front and back body middles, but don’t attach the back yet.

Attach the Body Front with foam dots and then the Head Front with foam dots.

Attach 2 layers of ears with foam dots. Then glue the nostrils and the mouth to one of the snouts and attach it to the other snout with foam dots. Then attach the assembles snout on top of the head front lining it up at the bottom of the head front. Attach the white hooves to the back of the front legs with glue and then attach the pink hooves on top with glue dots (sandwiching the legs). then attach to the body front at the top (about 1/2 inch of the legs) with glue. The hooves should come down over the bottom of the front body about 1/2 inch.

Assemble the mane top layers with foam dots and set aside. Add the eyes with foam dots at the top of the snout. Then attach the top main with foam dots. Eyebrows get glued down above the eyes. Optional is to add the eyelashes to the tops of the eyes. Bend the lashes forward and curl with a pencil and glue to the top of the eyes.


Assemble the pink hooves to the legs on top with foam dots. then glue the legs to the back of the body front making sure that they all line up at the bottom.
assemble horn
Take the triangle piece and roll into a horn shape glue. Set aside. Use painter’s tape to hold it together while it is drying. Once dry, use the ribbon to decorate the horn with strips or use very thin paper to glue to the horn.
Assemlbe the back

Fold on the score lines and add two sided tape to the flaps. Attach to the bottom middle back sides. This forms the bottom on which the Unicorn will stand. You can add an additional piece of rectangular paper to front and back later if desired to provide a flat surface and more stability.
The rounded back should be slightly higher (about1/4 inch) in the back so the unicorn will sit tilted back a bit. This will allow him to hold a small candle wreath or paper wreath for the seasons.

Attach the top in the same manner but line up the tops. See the video if this is confusing as it is difficult to show the way the cardstock is bending.

Attach the second set of legs and hooves to the back. Use the front of the unicorn to make sure they are in the right place before you do the next step.

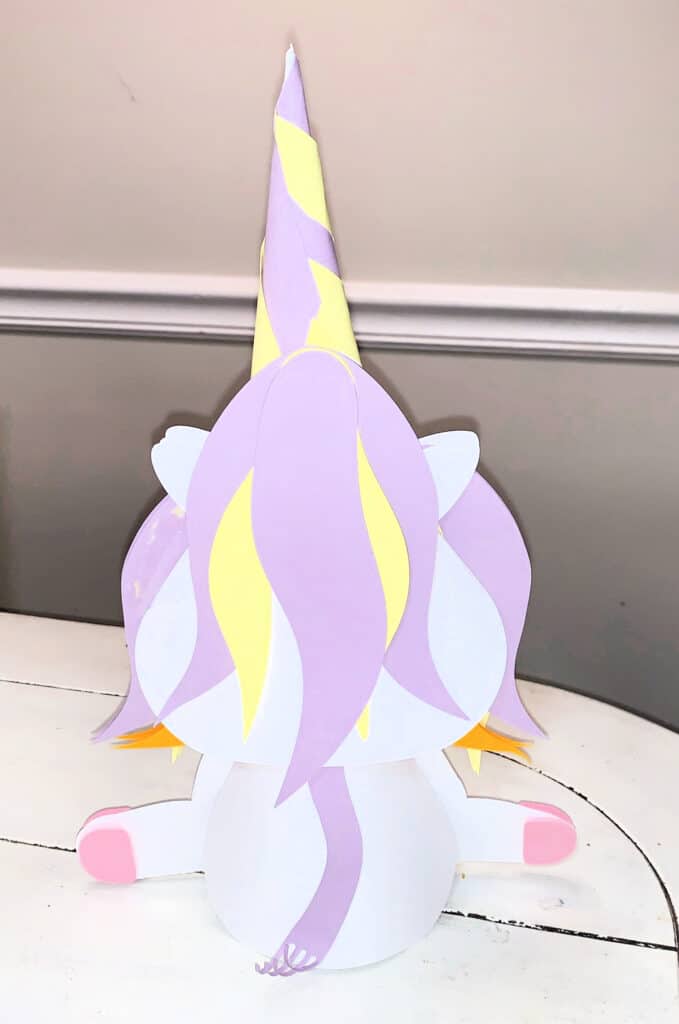
Attach the middle bodies together with glue. Add the mane to the back top and the tail and button to the back bottom.
Now attach the horn over the tabs at the top of the unicorn. slip it behind head front and head back and glue. You may have to squeeze it at the bottom a bit to get it to glue down and hold together with painters tape to get it to stay until dry.
That’s how you assemble the 3D Standing Paper Unicorn with Free SVG!
Take a look at some more 3D Paper Projects:
3D Layered Penguin
Gnome for the Holidays
3D Paper Sloth
Pin it for later
