Create this cute Gnome Valentine Card for Cricut with Free SVG provided to give to all your friends and loved ones! It’s sure to put a smile on their face and they can even take the gnome off the card and frame him!

-
Save
The card is easy enough to make even the kiddos can do it! You can make them as big or as little as you want!
First grab the free SVG!

-
Save
SUPPLY LIST
- Foam Double Sided Stickers
- 65 to 80 lb Cardstock in varying colors
- Mat
- Cricut Scoring Wheel
- Glue (I used Tacky Glue)
- Cricut Brayer
- Cricut Maker
- Shadow Box (optional)
INSTRUCTIONS FOR GNOME VALENTINE CARD FOR CRICUT WITH FREE SVG

-
Save
Upload the project from where you saved it and pick the SVG. It might say Microsoft edge here for you, but it is an SVG open that.

-
Save
You it. can tag it so you can find it later.

-
Save
Save it when it comes in, then select it. There’s a green box that goes around it and insert the image.
Most images that you upload become are already grouped. So I’m going to ungroup it so I can move the gnome over. He’s also grouped, but he doesn’t need anything done to him. Move the two red hearts over just out of the way.

-
Save
You’ll see, there’s a line right here that goes through the black part of the double hearts that is the inside of your card. The score lines already there for your convenience.

-
Save
Select it by clicking on it. Go up to the tool bar and where it says cut in the box click the arrow and select score.
Now it’s a dash line and it’s a dash line going all the way through the heart. Select the Dashed Line and hold the shift key down and select the two hearts.

-
Save
Then hit attached down here in the bottom right corner. N ow those two hearts and the black line is connected and when yo u go to cut, you will be prompted to put in the score blade. It will make that crease so that it’s easier to fold and gives a nice clean fold.
Use one red heart on the back of the card, and one that goes on the inside of the card and we have one that goes on the outside of the card. Use Tacky glue to glue the red hearts to the black.
I don’t like to waste paper, so I will go ahead and try to move these, to another mat to save paper. So I can definitely put the two hearts together here. I can probably move this heart, this hat over here. So I’m only using two pieces of red paper. So I’m going to go ahead and move this one over to this heart and they lay on top of each other. So just pull it down and see how you can arrange it so that you’re saving your paper, the majority of your paper.

-
Save

-
Save
Cricut has these little borders around the edges that are .5 inches and you cannot move any closer or further to, but you can see now we’re saving at least one piece of paper.
Now we have the white,

-
Save
the black,

-
Save
one of the reds, another blank one.

-
Save

-
Save
You can use scraps for the nose and for the white I’ll use white scraps or a smaller piece of white card stock.
Make sure your machine is on and ready to go. Select medium card stock. Use the default pressure.
Fold on the score line. Create a nice crease there. So now we have our card.

-
Save

-
Save
The heart with the cut outs are meant to go on the top, but you can also cut another red heart to put it on the inside.

-
Save

-
Save
I always use the tacky glue it dries fast

-
Save

-
Save
The gnome is also very simple. To make it 3d use the foam dots. Attach the hat to the red background.

-
Save

-
Save
Then attach the beard. Use the white heart from the beard and attach it to the hat . Then attach the nose. Then attach the gnome to the front of the card with foam dots also.

-
Save
Tacky glue the leftover hearts to the back.
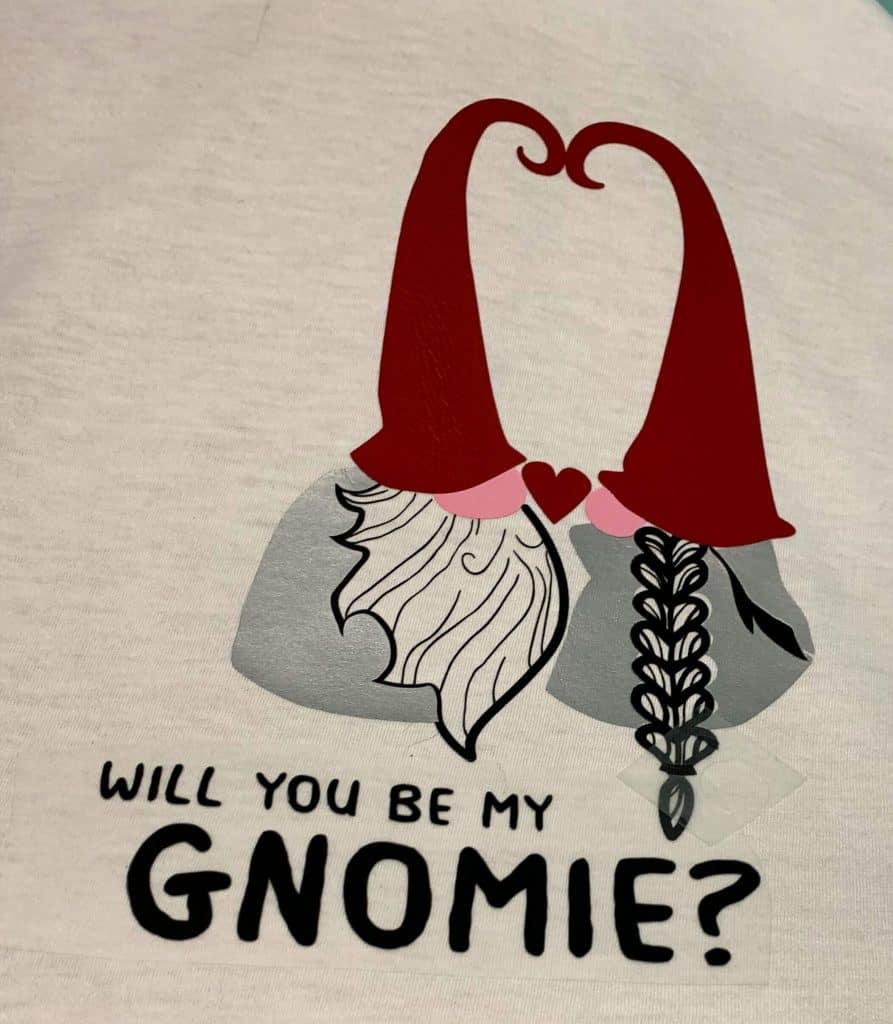
Loving the Gnomes? Try out this Cute HTV on a T-Shirt too!
Check it out here to get the SVG:
https://craftroomtime.com/will-you-be-my-gnomie/

