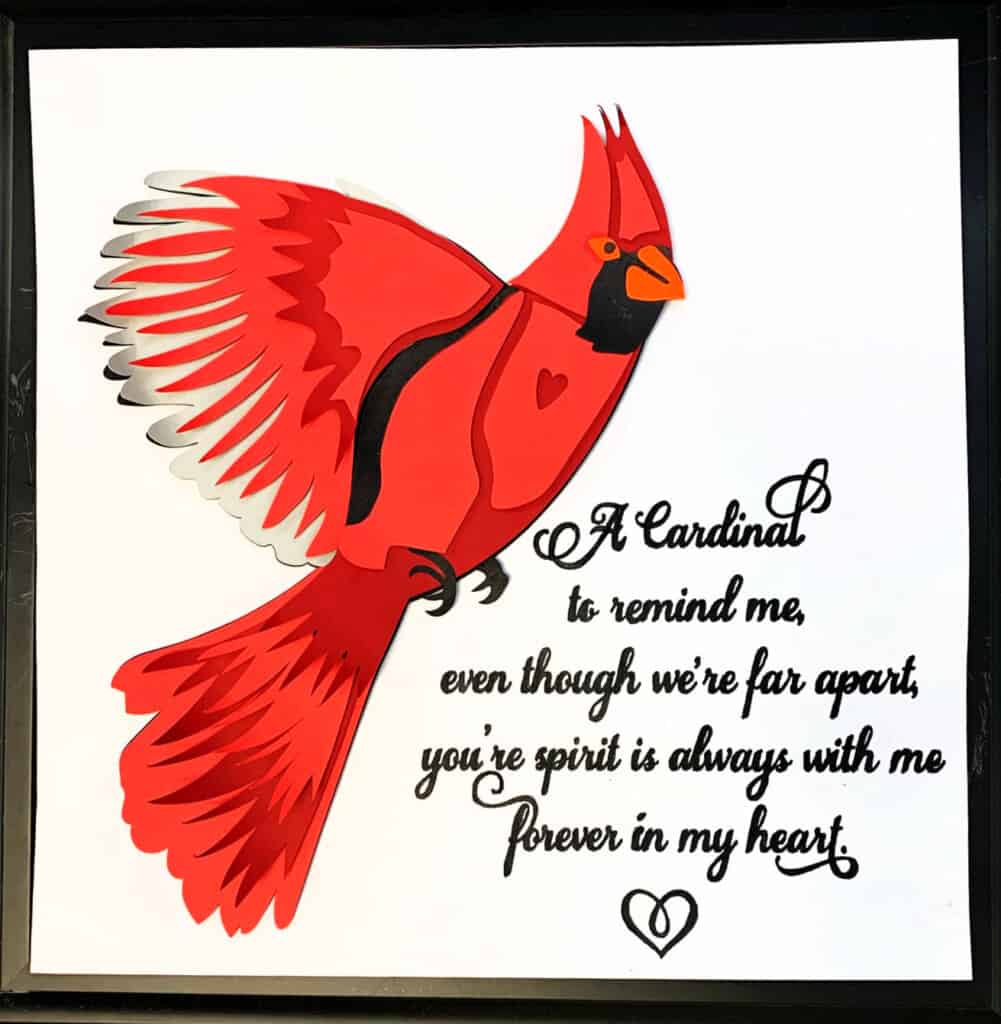
Seeing a cardinal fly by has often brought about peace and comfort as many see it as a sign that angels are near or their departed loved ones are nearby. Making this 3D Layered Cardinal Free SVG made me want to know more about why this is so.
After a little research, I found that the Cardinal was named after the Catholic Bishops or Cardinals as they are known for wearing a little red cap on their head. It’s not far fetched to then think that the tradition of relating the birds to dearly departed or angels being near by.
Whatever the meaning or how it came about, it is comforting and many quotes have become well known regarding this sentiment.
This 3D Layered Cardinal Free SVG was designed with that in mind. Layers of feathers, colors of red and even a little heart went into the design to give the Cardinal depth and beauty. I hope you enjoy making him as much as I enjoyed designing him.
The Free SVG is in the resource library for personal use and if you are not a member, you can sign up to get it and many other freebies! (commercial use designs are in the shop)
Supplies for 3D Layered Cardinal Free SVG
Cricut Maker or other cutting machine
Mat
Foam Double Sided Stickers
65 to 80 lb Cardstock in varying colors
Glue Stick
Glue (I used Tacky Glue)
Cricut Brayer
Instructions

Upload your project by uploading the image and browsing for your SVG and opening it. And then go ahead and upload it once it shows in your screen here, select it with the green box around it and insert your image onto your canvas.

The Cardinal is already grouped and sized to go on 8.5 by 11 cardstock . Ungroup the whole thing and move the Cardinal off to the side. Unless you want to resize him, he is ready to cut.

Starting with the words, select the group and click n attach. At this point you can cut them out of vinyl leaving it as a basic cut, or we can change it to a print then cut.

If doing a print then cut, use the offset feature set at 0.25 , check the box to weld and apply .

Change the background to white so that it doesn’t print out. White won’t print but it will cut.

Select all of that just by drawing a box around it with your cursor and hit the attach button. Continue to Make It.

It is going to instruct you to print this first and then you’ll come back in and ask you to cut it. And, and then when it’s going to do is it’s going to cut around all the offset you created in white.
It you didn’t do the offset, it will cut it out in a square. But if you did the offset, then you can print it on some really pretty paper and then put it on a background, print it black and white, and then print and put it on a background as well. You can use a clear sheet of vellum and print this on it and then attach it to your, pretty background as a couple of different options . If you’re not doing the print then cut, then just cut it out of vinyl and attach to your background.

Check your mats to make sure you are saving paper.
Select the materials. If you are using glitter cardstock you can select glitter for everything and just print it that way. That works just fine. Whenever I’m using cardstock , I like to use more pressure.
When you’re using glitter cardstock as well, I use more pressure and then you just load your mat and cut away.

This is the order of the layers.

Start with the wings. Add foam dots to the back of the layers and attach in order.

To ruffle the feathers, take the pencil and curl the paper around to give them some lift so that they will look like feathers.

That’s it for the wings.

Glue the feet into place. One in between the black layers and one goes at the base of the second red layer. (shown later)

Add the face layers next.

Add the body layers next.

Add the other foot at the base of this red layer as shown.

Then assemble the tail and use the pencil again to ruffle the feathers and you are done!

I hope you enjoyed making the Cardinal!
Want an easy to read flip book for this project? Click on it and use the double arrows at the bottom to take it full screen! You can also download it too!