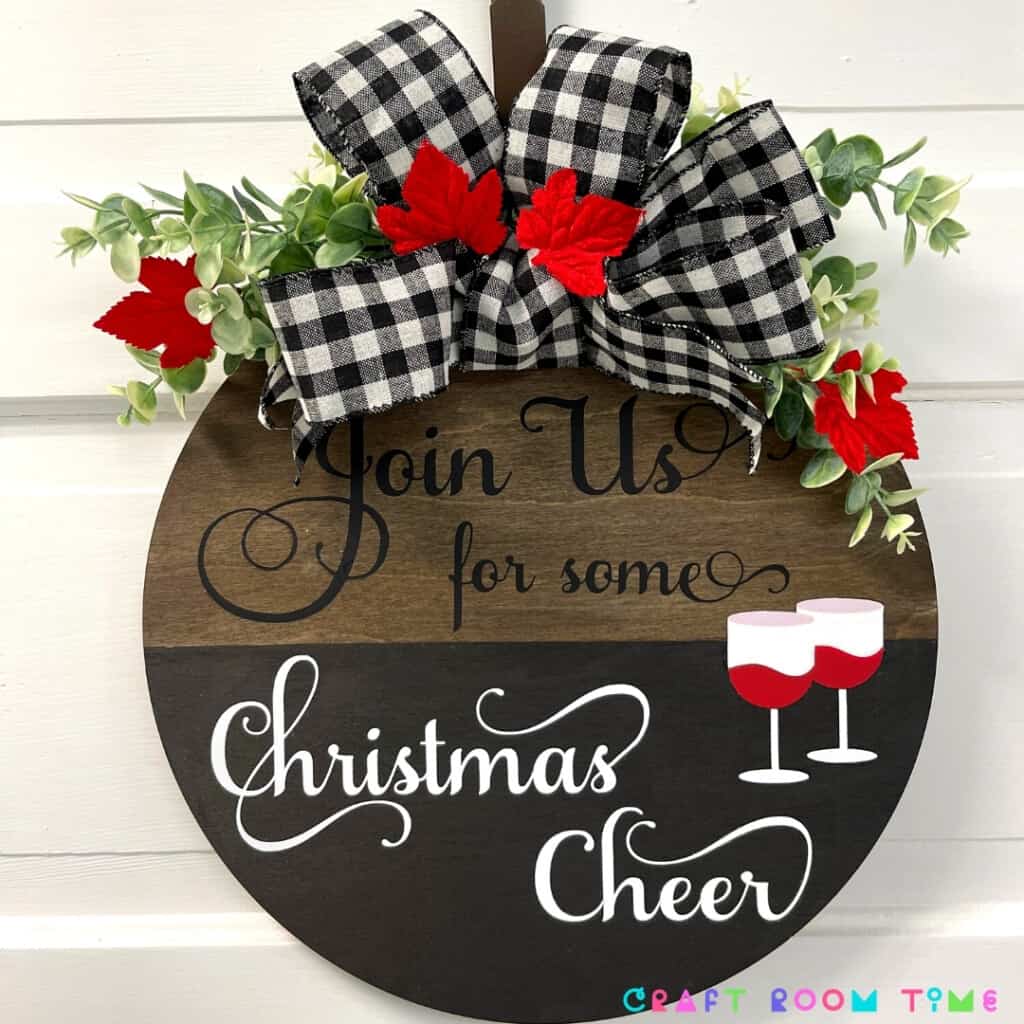
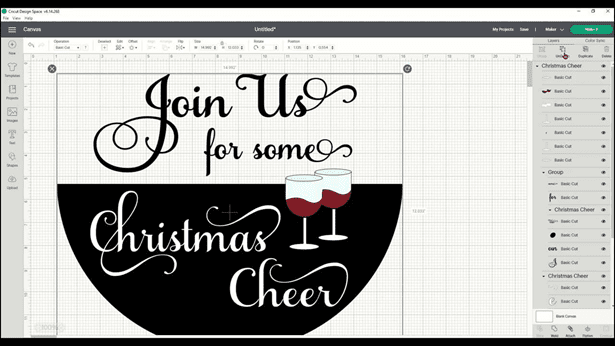
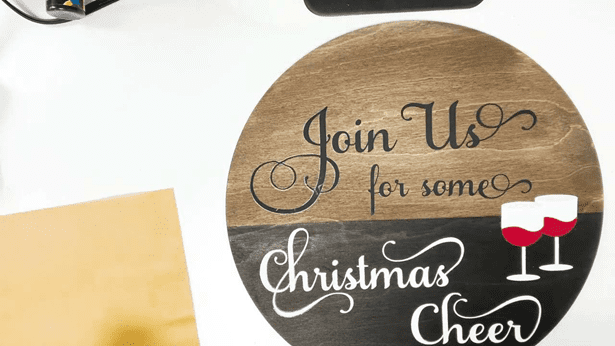
The holidays are always such fun and having family and friends over for a cup of cheer sounds even better right? I thought it would be cool to make a sign that greeted our holiday guests to our party as soon as they arrive at our door! Nothing is more welcoming then a fun wood HTV door hanger asking them to Join Us for some Christmas Cheer! It will set the mood right away! LOL
This Sign is so easy to make and does not require a lot of supplies – that’s always a bonus! Use the glasses filled with cheer or leave them off. you could even put a fun gnome on there too – in fact, I’ll include one in the FREE SVG for you to decide!
The Free SVG is in our library and if you are not signed up to get the super secret password the be sure to do that at the end of this post!
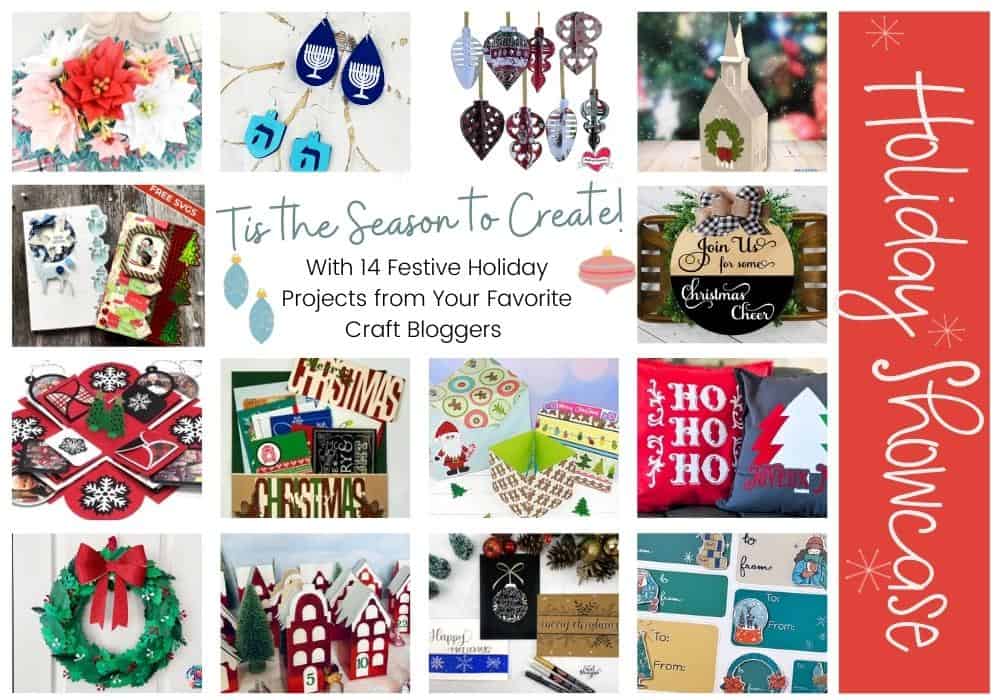
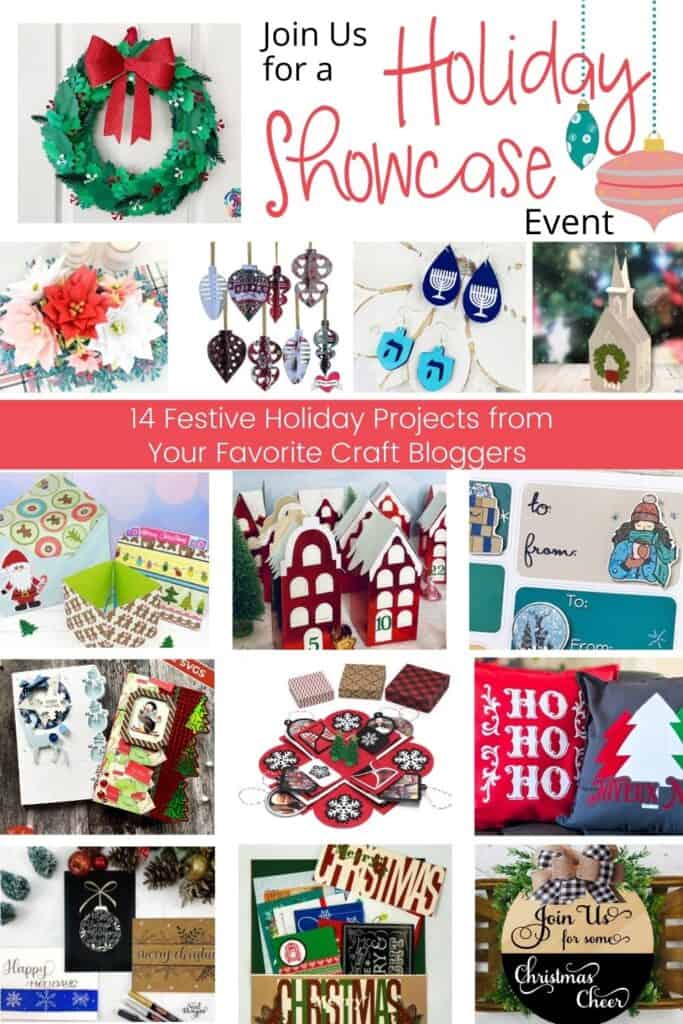
Before I get into the ins and outs of this fun project, I wanted to let you know that this is part of the Tis the Season To Create Holiday Showcase featuring 14 Holiday Projects from MY FAVORITE Craft Bloggers!
Check out the bottom of the post for all the links to these awesome Cricut Crafts and get to know my blogging friends!
Video Instructions
If you’d like to watch the entire process, I’ve created a video that shows how to get the file ready in Design Space as well as how to assemble the sign and bow! Take a look…
This post may contain affiliate links and we may earn compensation when you click on the links at no additional cost to you. For additional information, please see my full disclosure policy.
Supplies for the Wood HTV Door Hanger
Here are all the supplies I used and recommend for this project:
15″ Round Wood HTV black, white, red and light blue – my favorite
Acrylic Black and Brown Paint
Foam Brush
Ribbon of your choice
Greenery of your choice
Wired Ribbon of your choice
Floral thin wire
Green mat
Scraper
Brayer (My favorite tool)
Easy Press
Easy Press Mat
Scissors
Staple Gun (optional) Hot Glue Gun or E6000
Cricut Maker
Parchment Paper
Flip Book for Project
Have you seen the flip books? They are fun and easy to use too!
If you would like to see the whole process in a flip book, you can go here. Sometimes being able to flip a page at a time is also a nice way to learn!
Instructions for Design Space and Assembly
Getting Image in Design Space
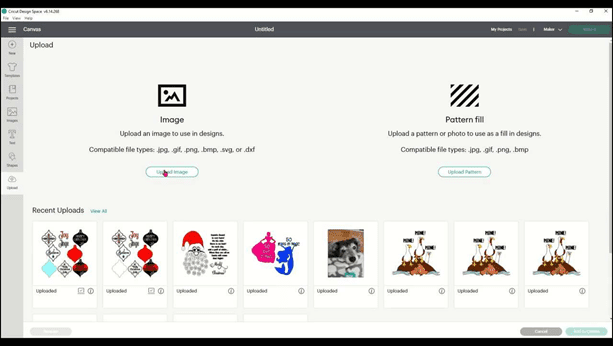
Upload the image
Find the SVG where you saved it
Click on upload
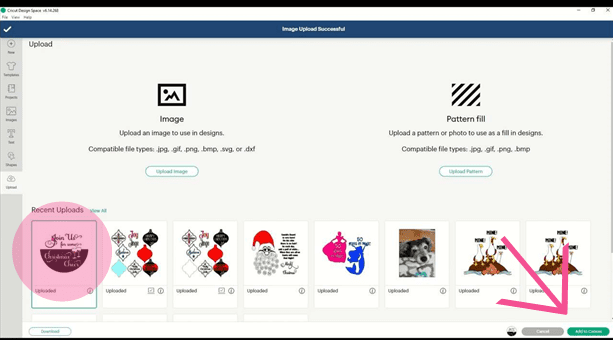
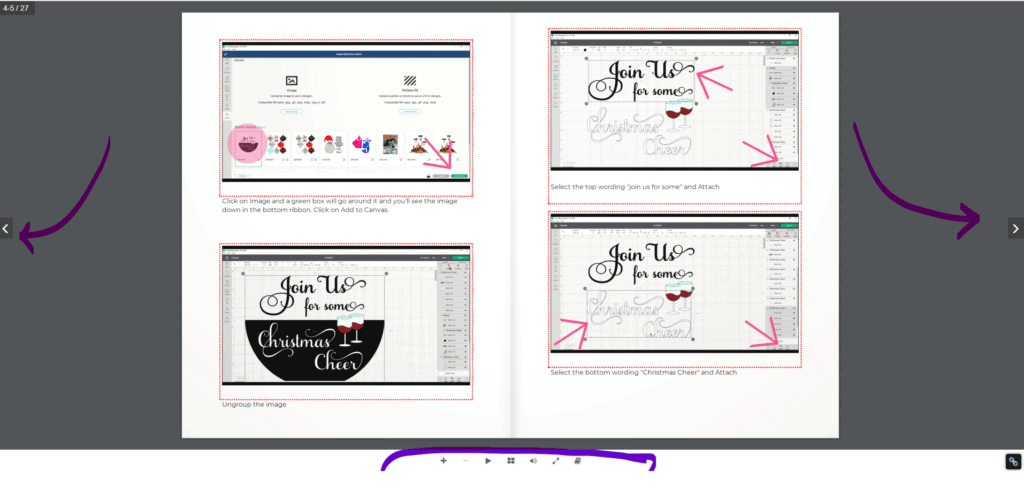
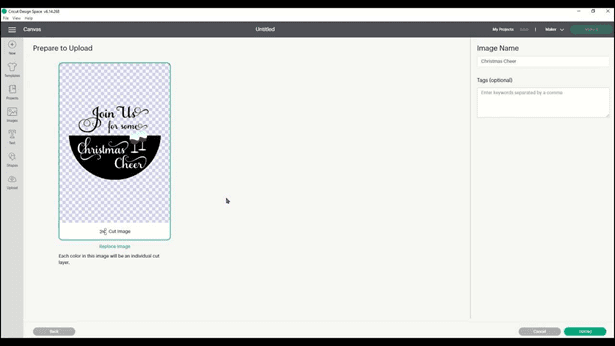
Click on Image and a green box will go around it and you’ll see the image down in the bottom ribbon. Click on Add to Canvas.
Ungroup the image
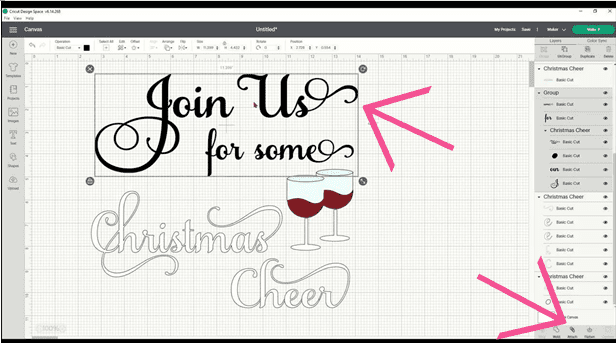
Select the top wording “join us for some” and Attach
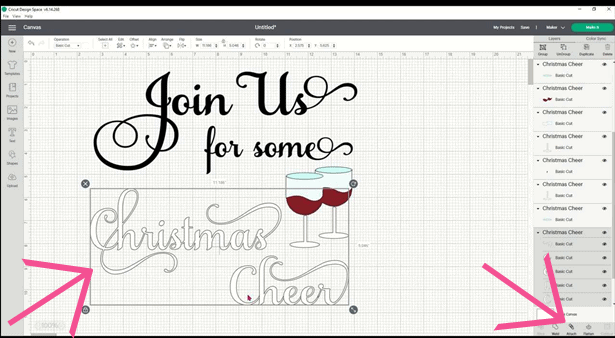
Select the bottom wording “Christmas Cheer” and Attach
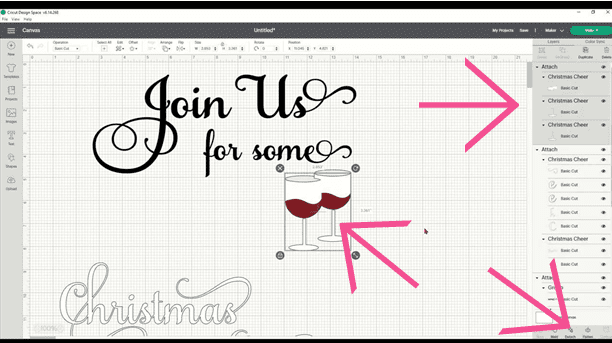
You want to grab the wine glass part and the stems and attach. You may need to use the layer panel to select them. Click each layer and hit the shift key as you select them so they are all dark grey then click Attach
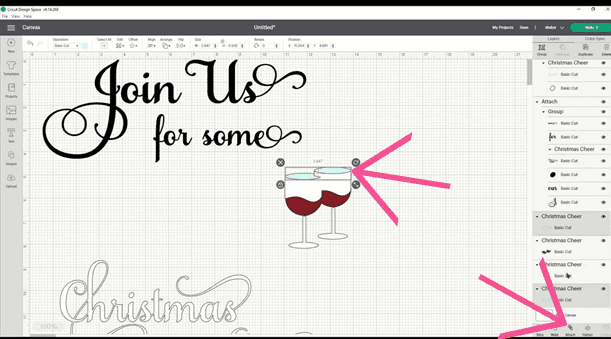
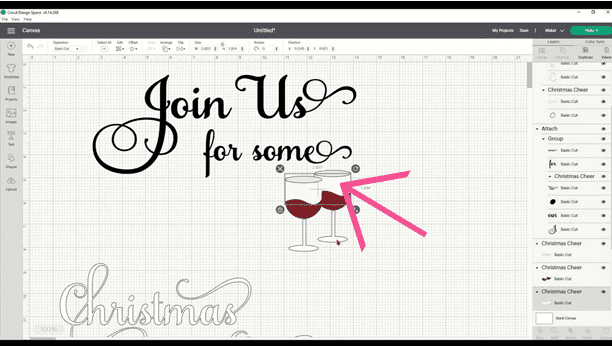
Select the wine tops (rims) and attach
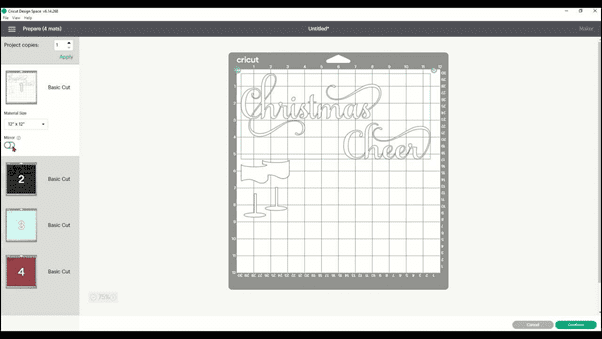
Click on Make it and Go through each mat and Mirror every mat
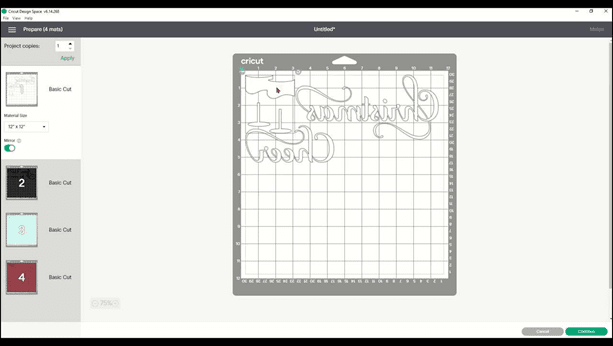
Go through each mat to see if you want to move things around to save vinyl and then click continue
On the next screen select your material. I used the Heat Transfer (non- Cricut) setting but you need to choose the material that you will be using for your sign. I leave the pressure at default. Then go ahead and cut.
I suggest using the Brayer to adhere the vinyl to your mat. I used a blue mat for my project.
Assembling the Door Hanger
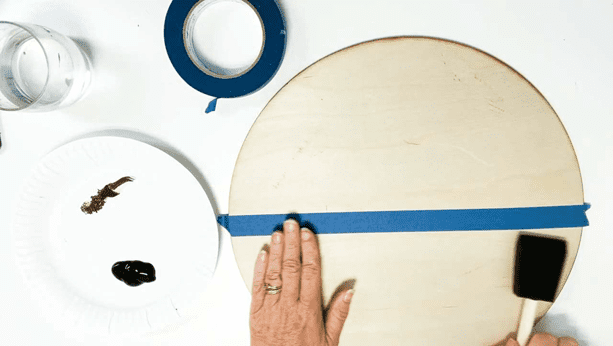
Prepare the wood by using blue painter’s tape across the center
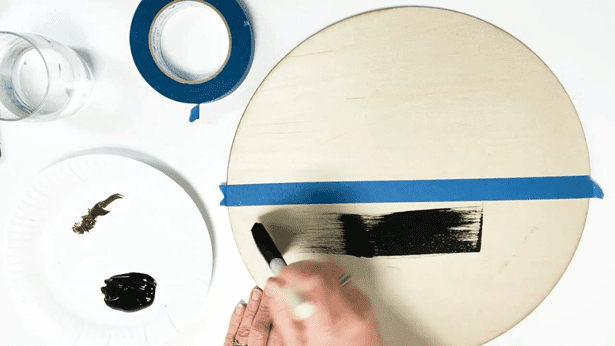
Using the black acrylic paint and foam brush, paint the bottom of your sign and let it dry completely.
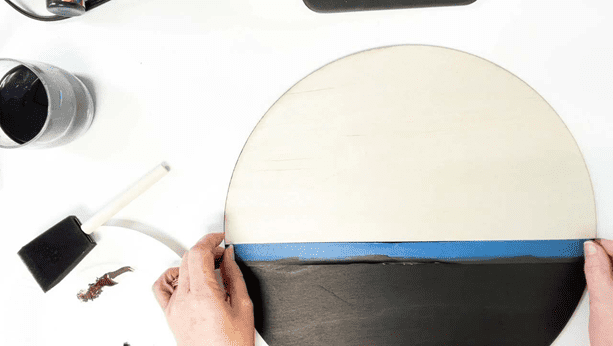
Remove the painter’s tape and place it over the black (you can do either top or bottom first – same thing)
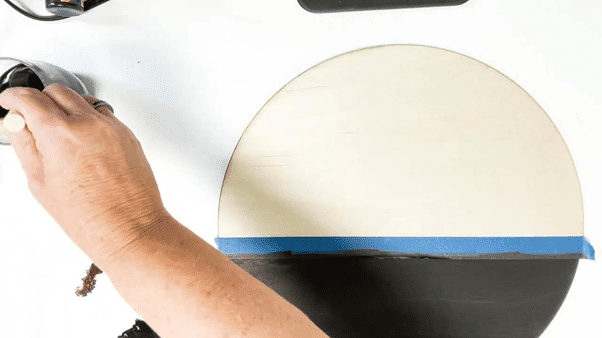
Water down the brown paint. The more water, the lighter the “stain” will look. This is really referred to as a wash. I find the vinyl sticks better to acrylic versus stain so this is what I do.
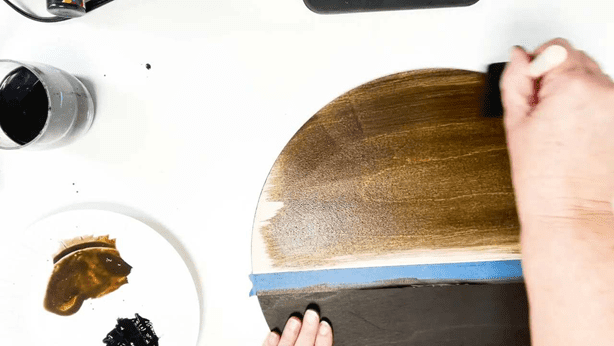
Paint the top and add more water until you achieve the look and color you want. It will dry a shade or two lighter. Let it all dry really good before you apply vinyl.
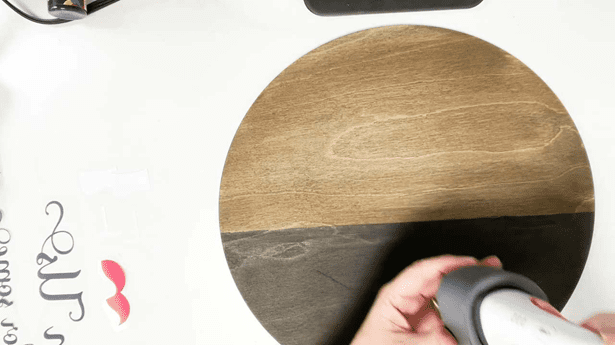
I’m using the Cricut Mini Press on Medium Setting.
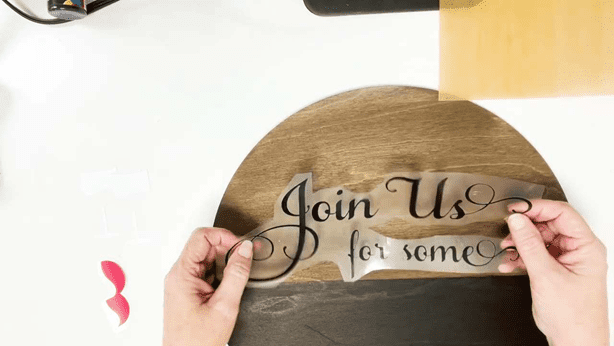
Lay the top part down until it is centered and slightly above the black.
Iron the vinyl on by pressing on it (don’t go back and forth or it may move the vinyl and cause wiggles.
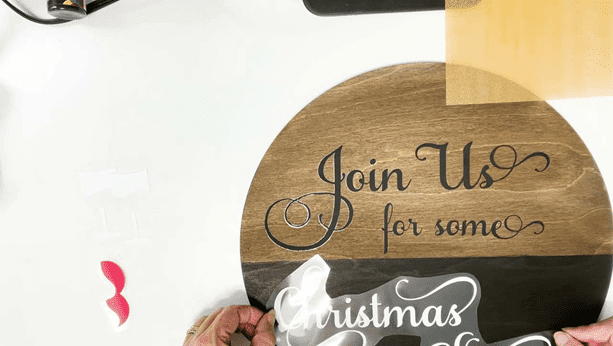
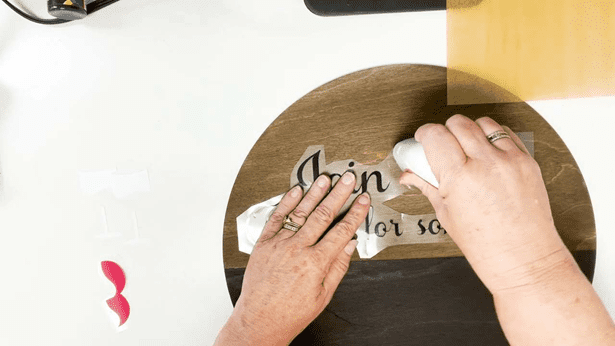
Then you’ll want to place the bottom words and the glasses to make sure you have enough room and know where to iron on the words.
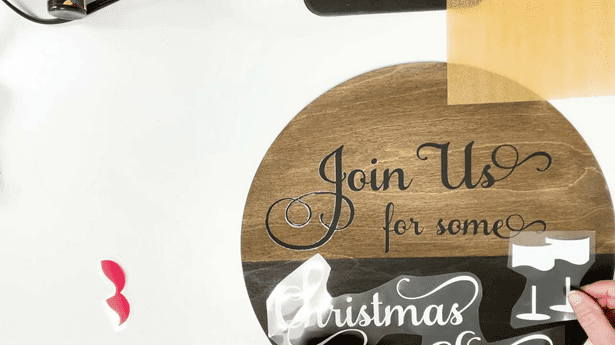
Go ahead and iron on the Wine Glasses first
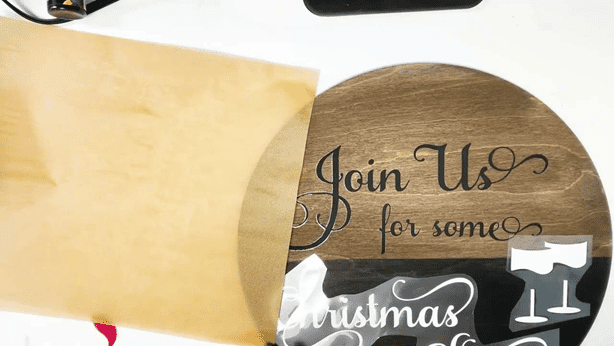
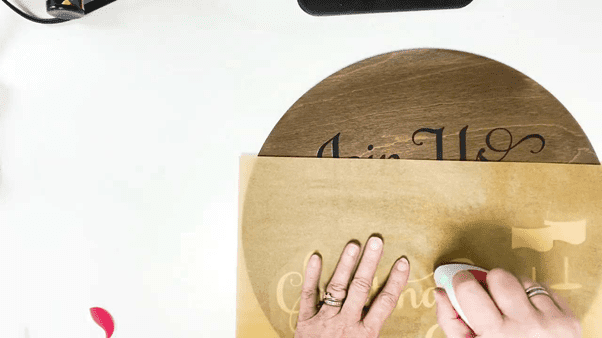
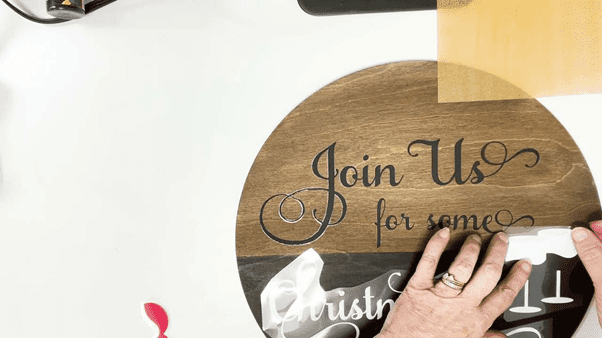
Use the parchment paper to cover and iron on the words
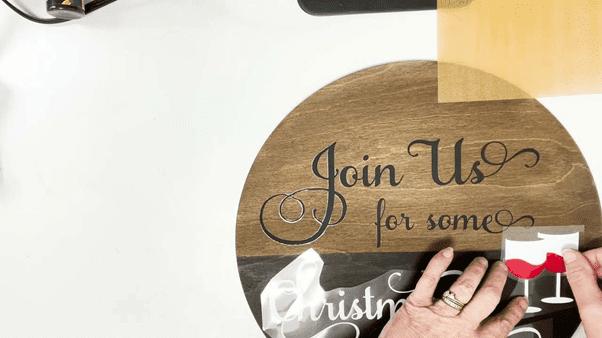
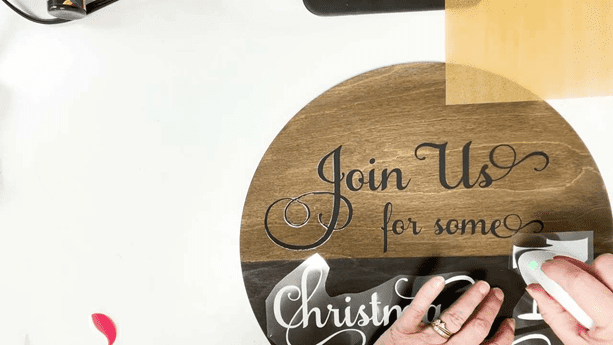
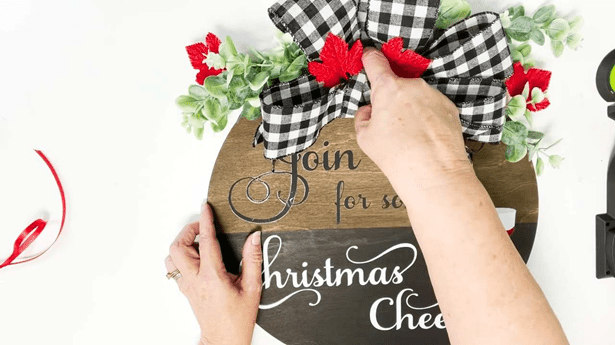
Add the red to the glasses and cover with parchment paper and press
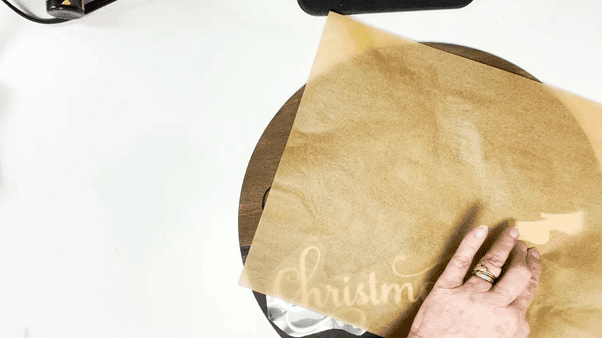
Then add the blue tops, cover with parchment paper and press.
Making the Bow
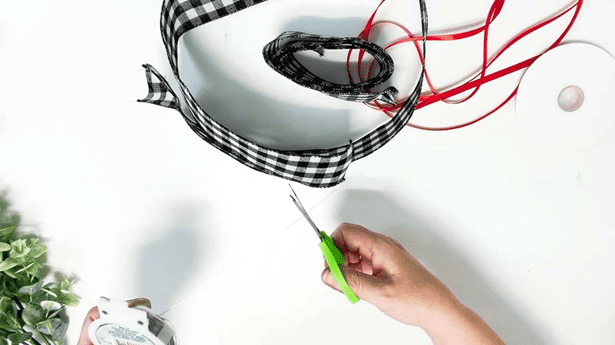
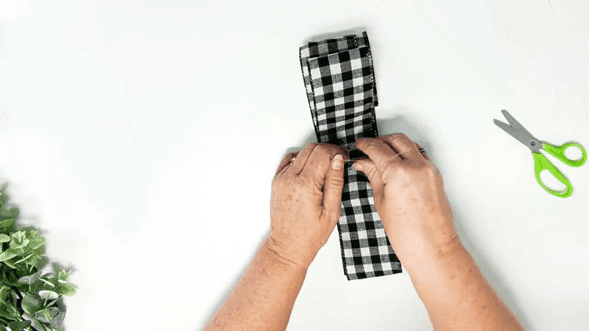
Use about 4 feet of ribbon for a full bow. Fold the ribbon in 8 inch segments over and over
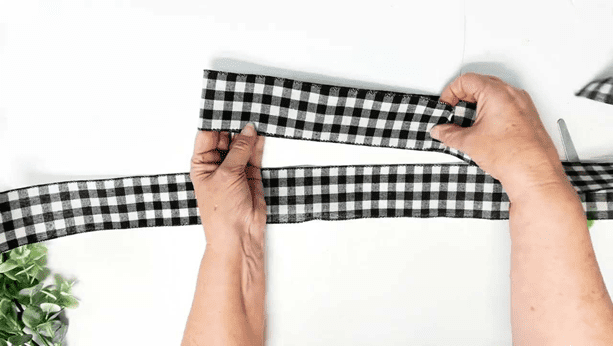
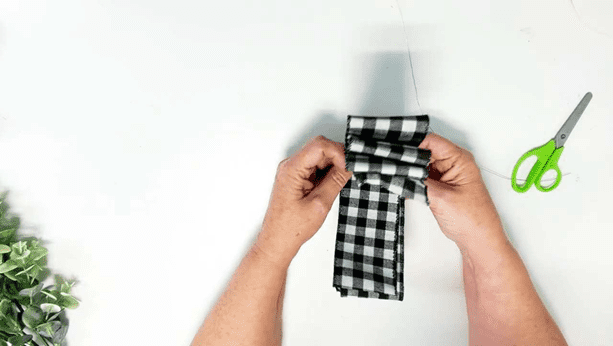
Find the center and cut into the center on both sides leaving about a 1/4″ in the middle.
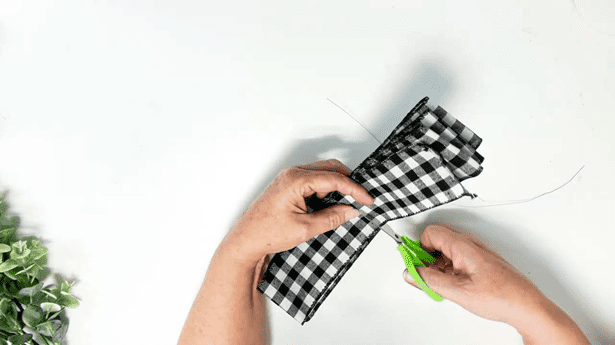
Take about 6″ of the wire and wrap around the center and twist to secure
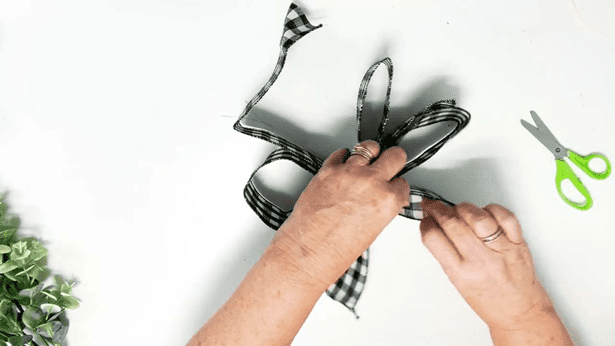

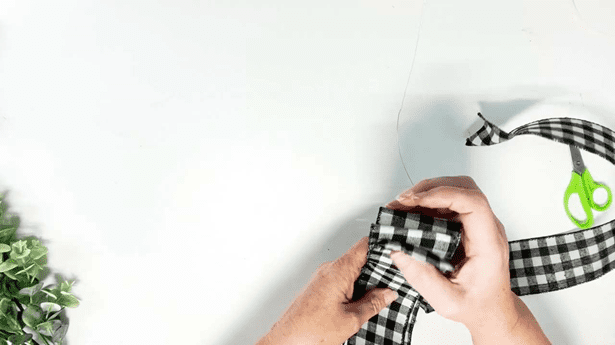
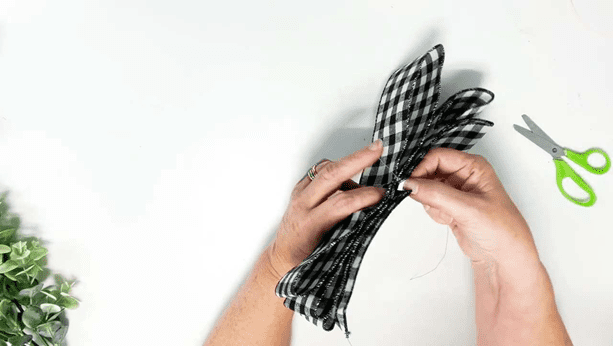
Fan out the bow and take one of the free edges and wrap around the center
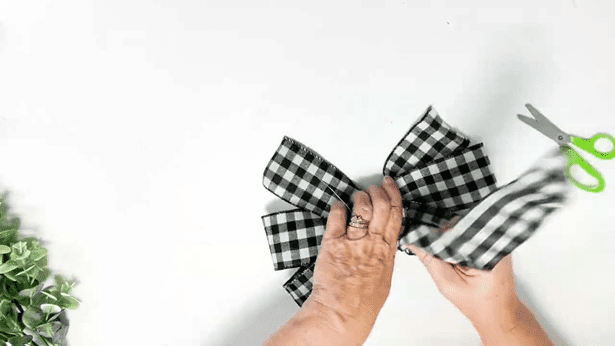
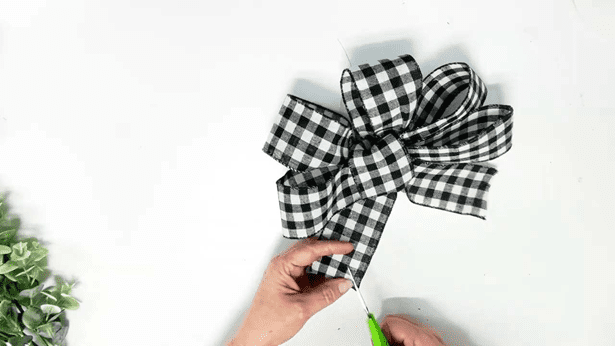
Cut the edges in a V shape
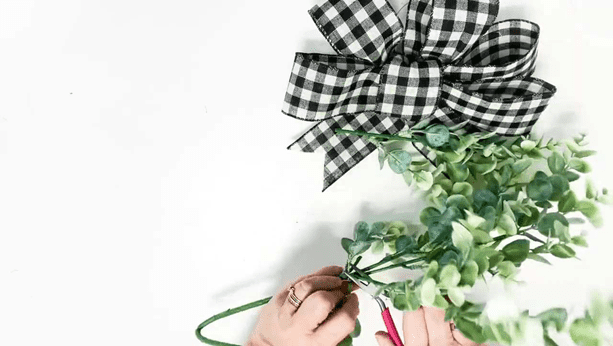
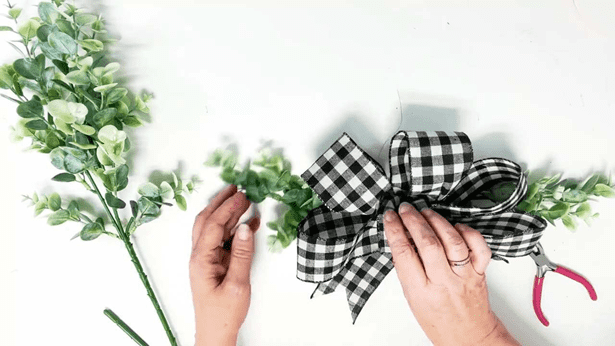
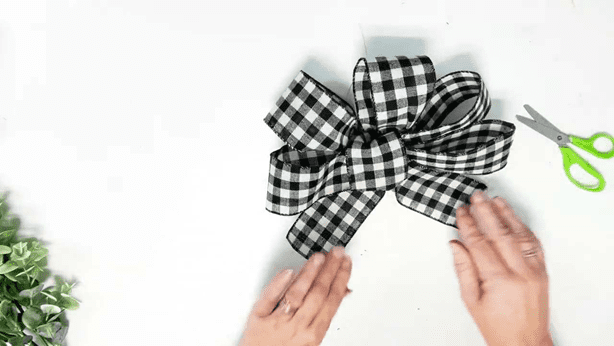
Cut your greenery to go behind the bow and wire them together

Hot glue the bow to the greenery in a few places so it is secure
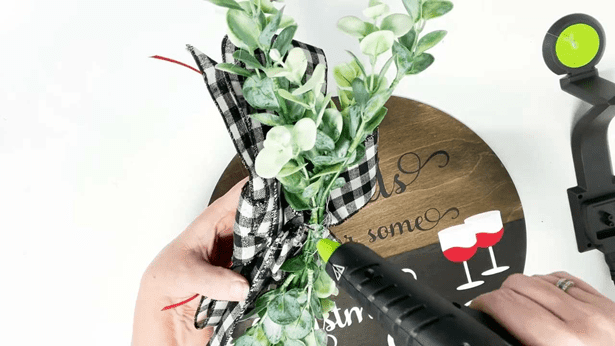
Hot glue the bow and greenery to the wood, especially in places so the bow won’t cover the words.

Hot glue under the top of the bow to the wood also. You can use a piece of wire for a hanger or add one to the back of the wood. You can also staple the bow to the wood but use the smallest staples available.
The Free SVG is in the resource library for personal use and if you are not a member, you can sign up to get it and many other freebies! (commercial use designs are in the shop)
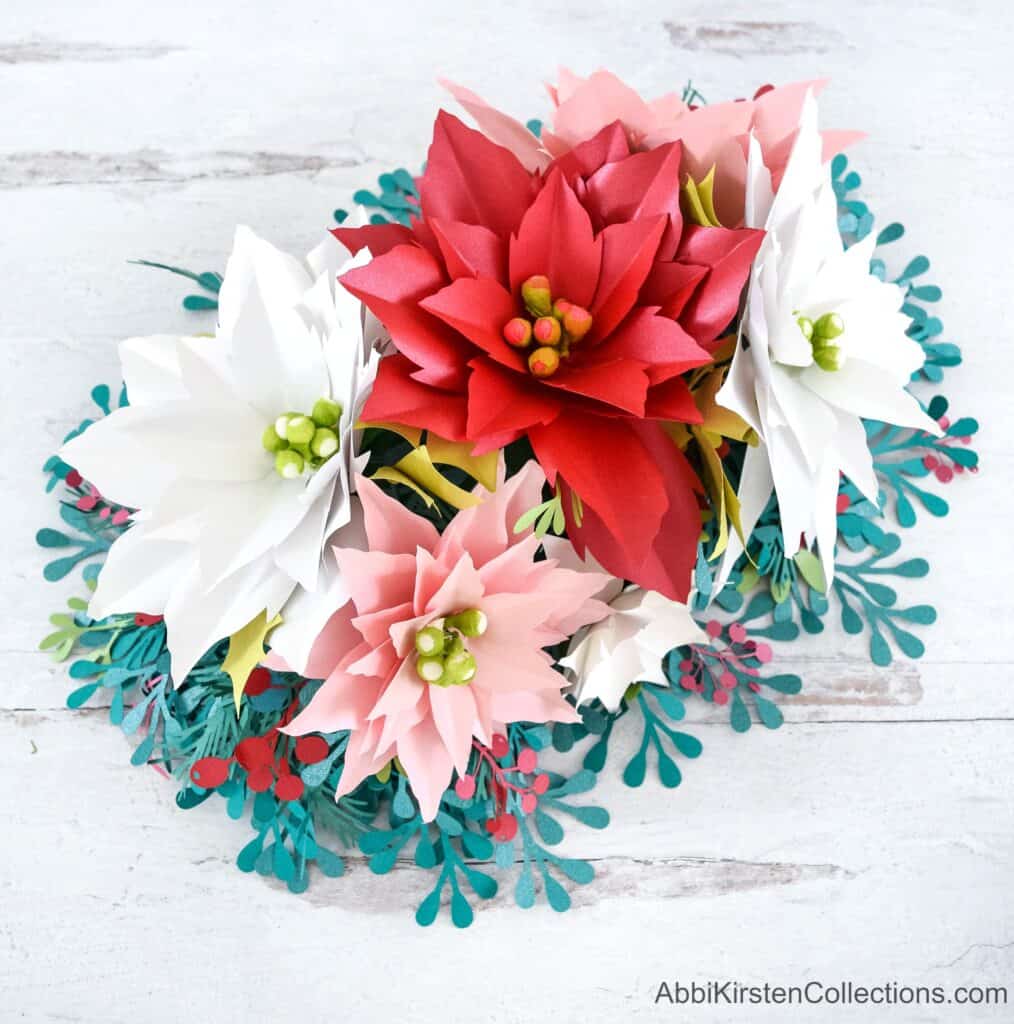
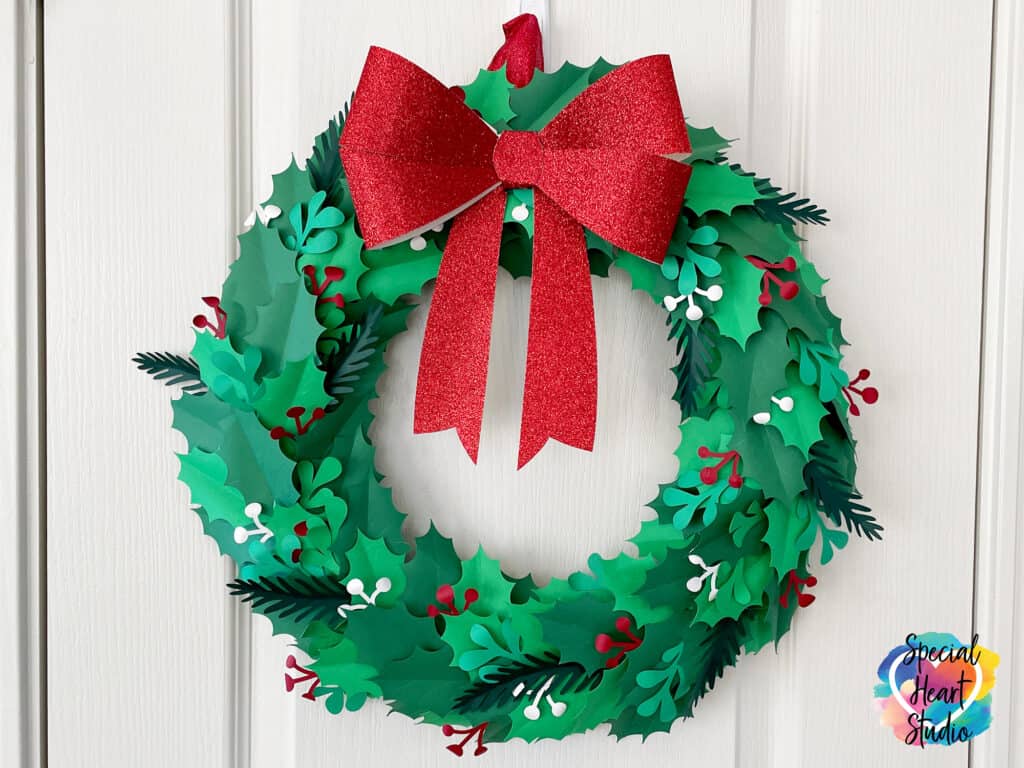
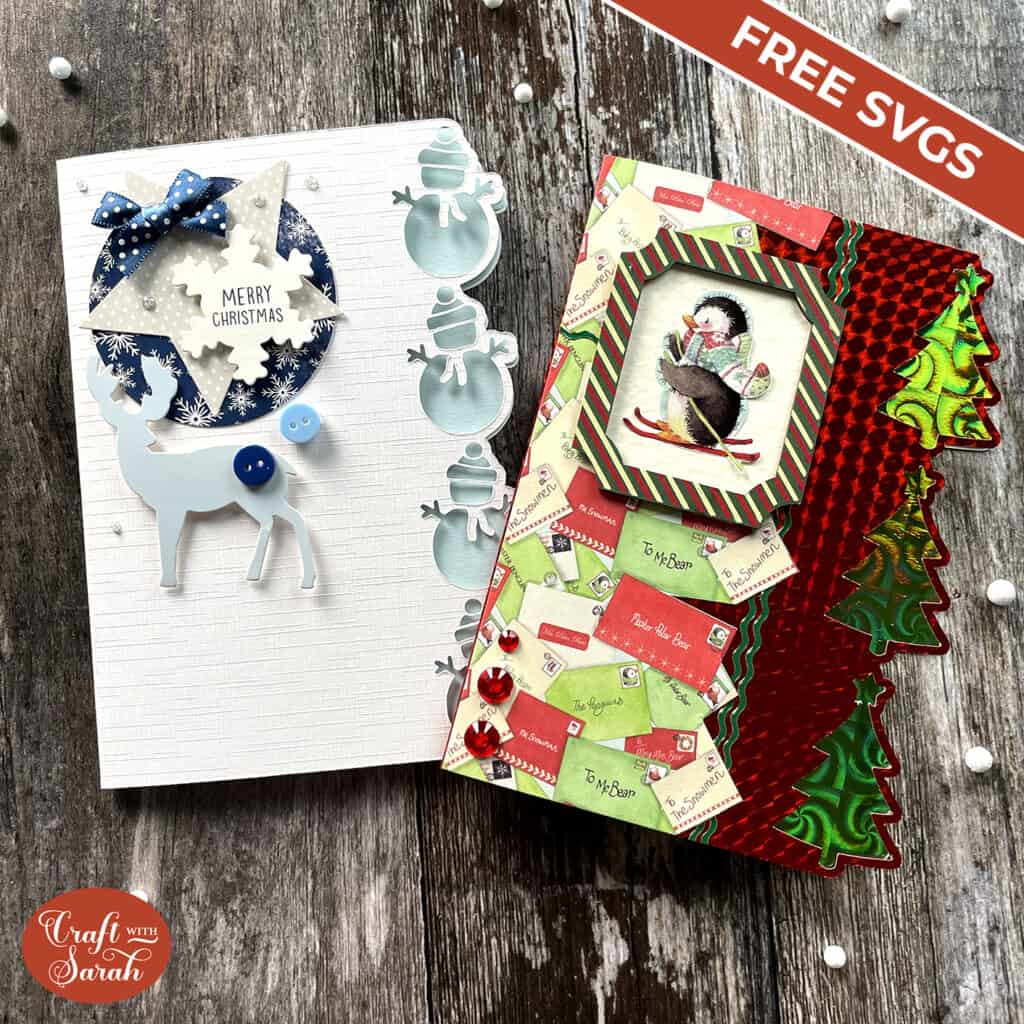
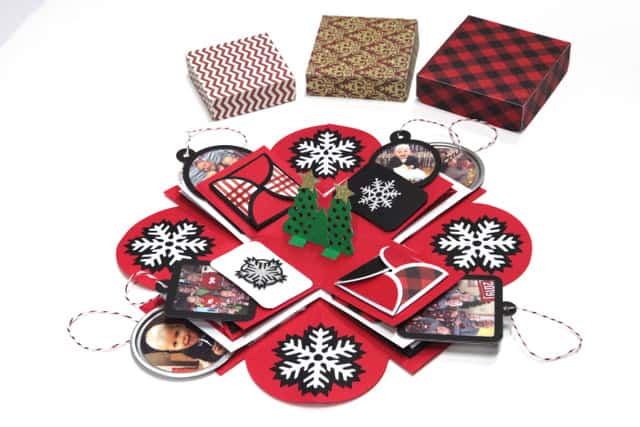
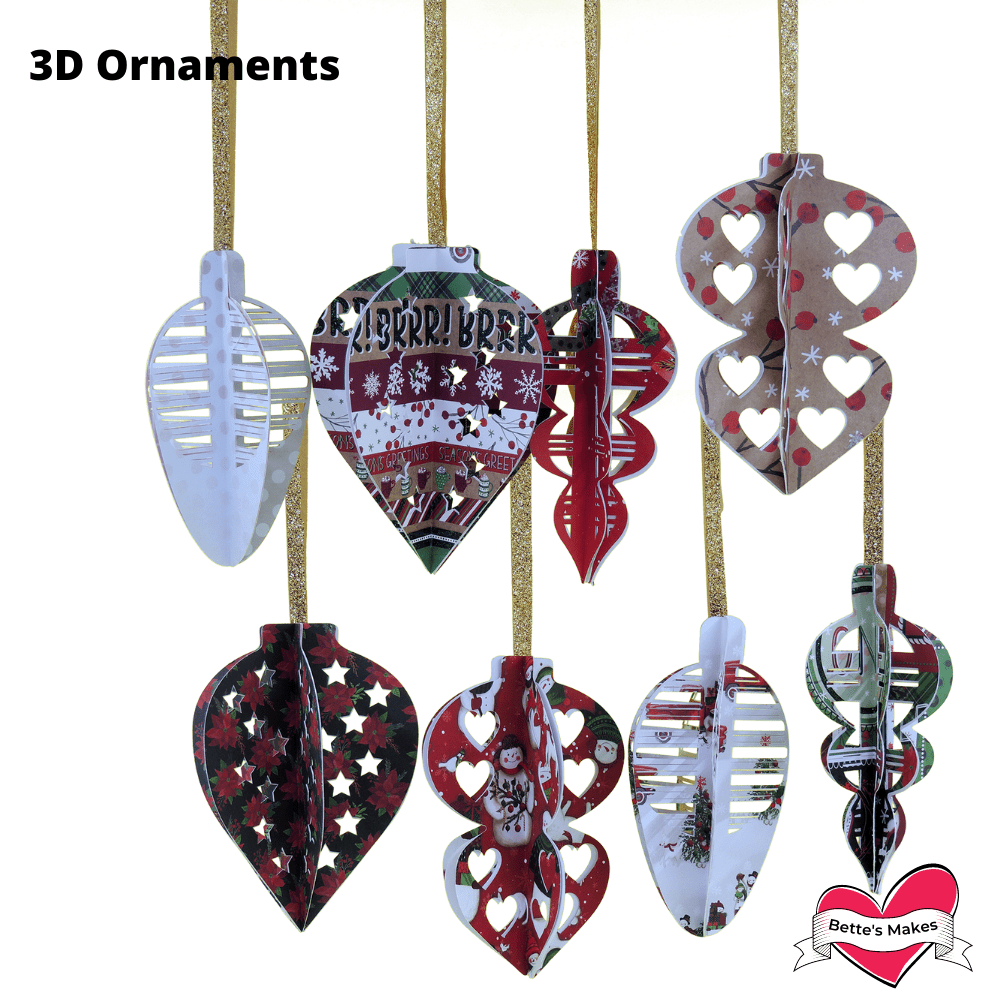
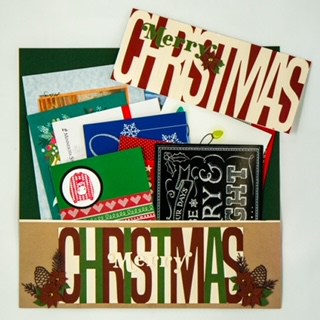
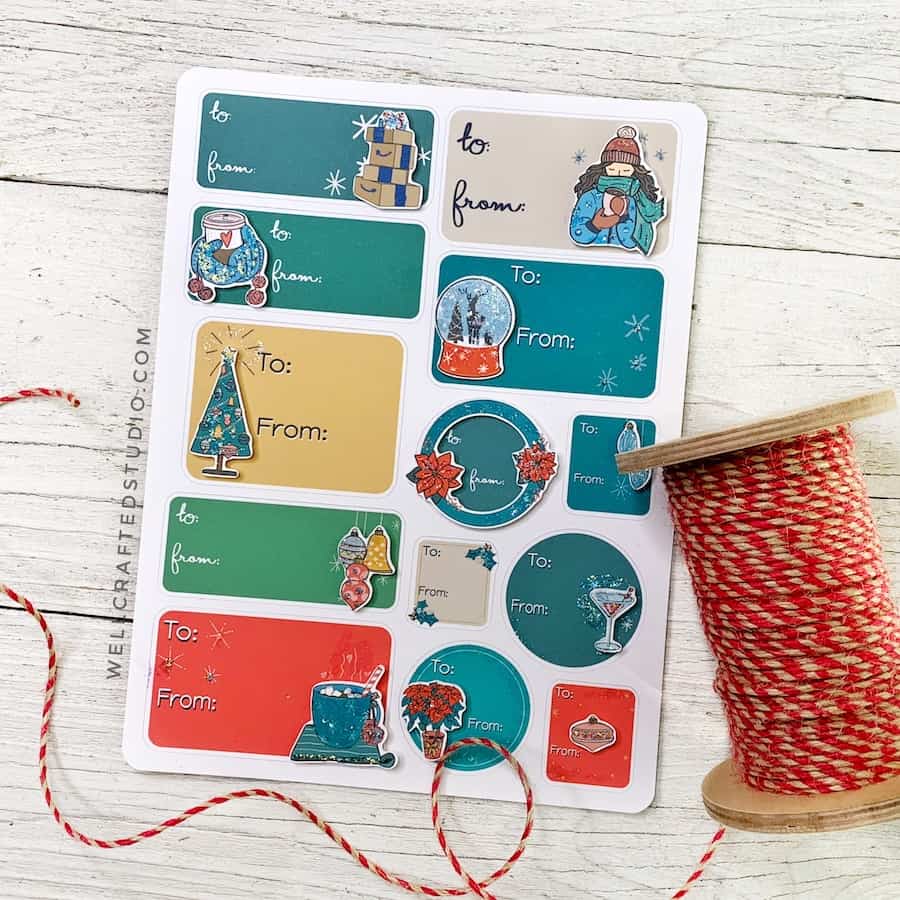
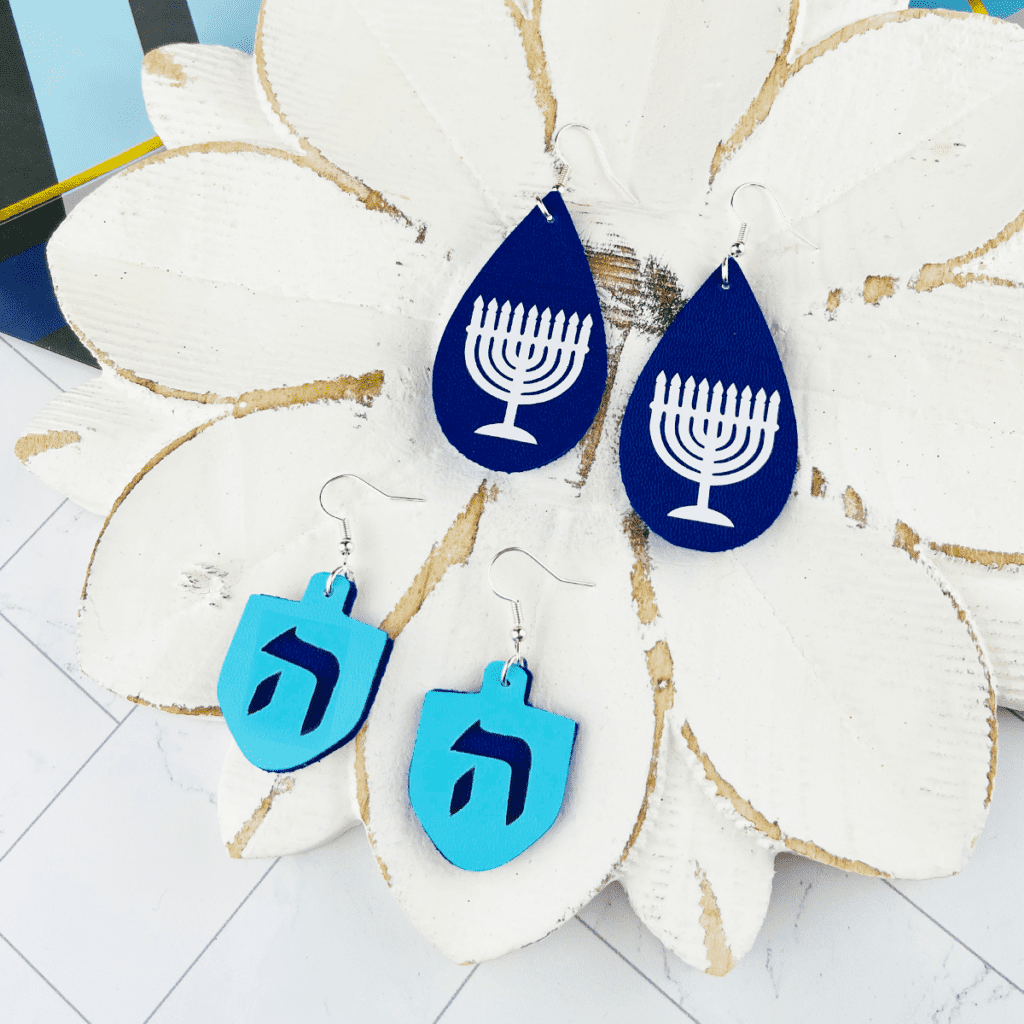
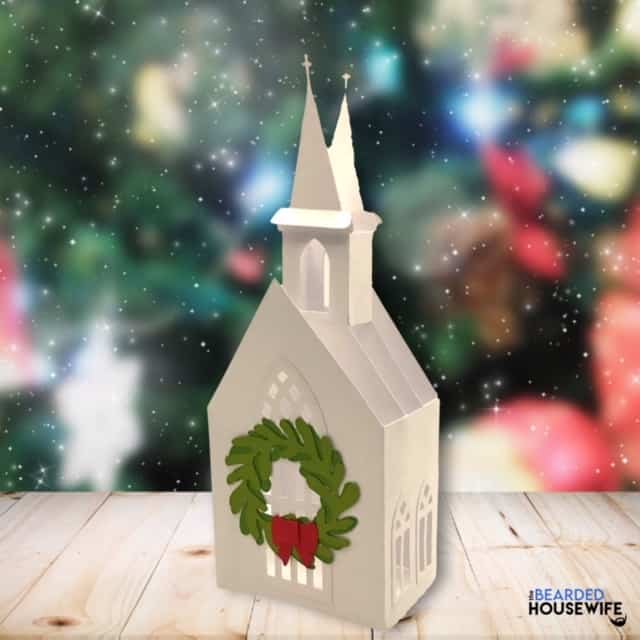
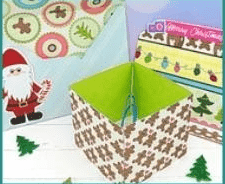
14 Projects in the Holiday Showcase
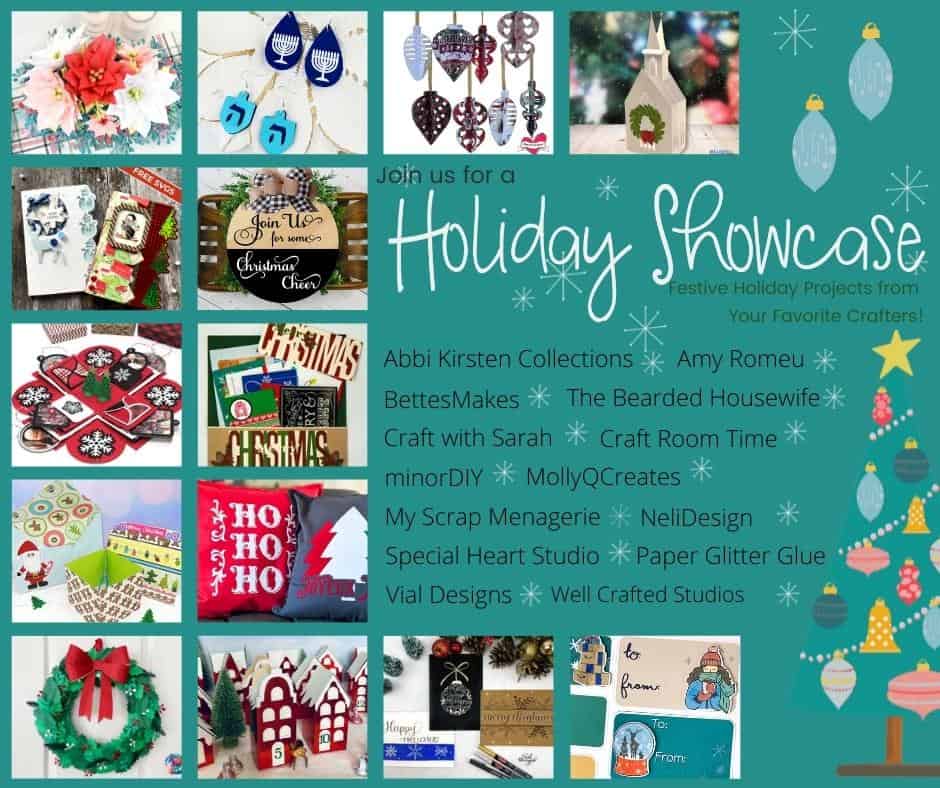
Click on any of the photos to go to the website to learn how to make the projects and get the Free SVGs!
SAVE THIS POST FOR LATER ON PINTEREST:
You might like the free SVG for this sign too…
And this Christmas round up of all different kinds of Crafts:
This is so pretty, I love it.
I signed up to get this SVG and keep getting one for “Best Dad”
Love your ideas and can’t wait to make some myself!