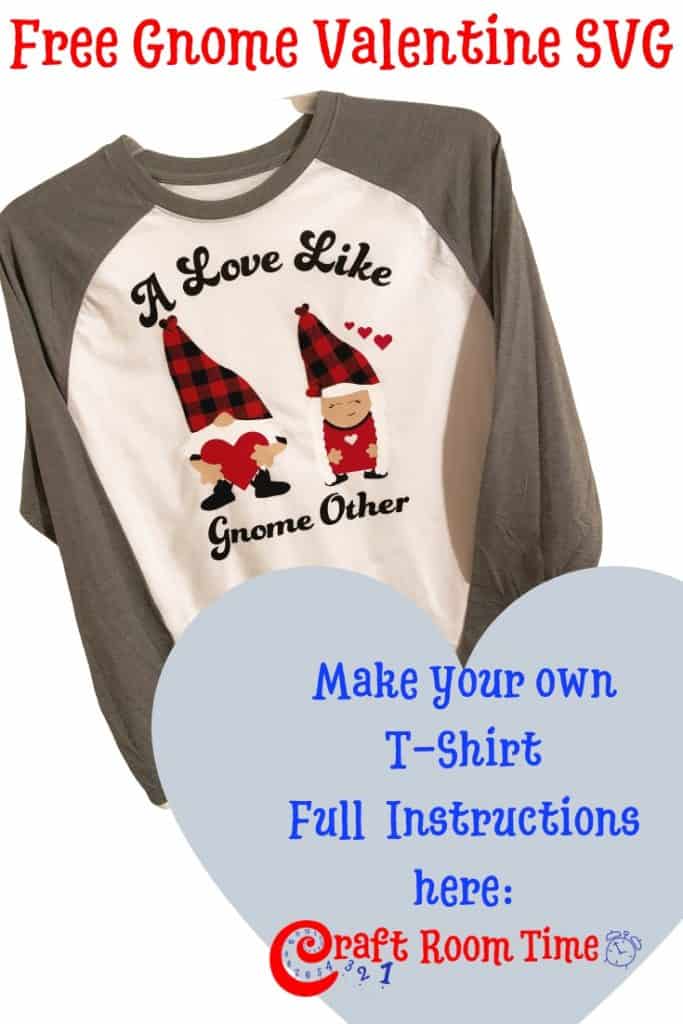
With a little help from my Cricut Maker, I was able to make a T-shirt with layered heat transfer vinyl in no time at all! Maggie offers this design on her blog for free personal use and also for paid commercial use.
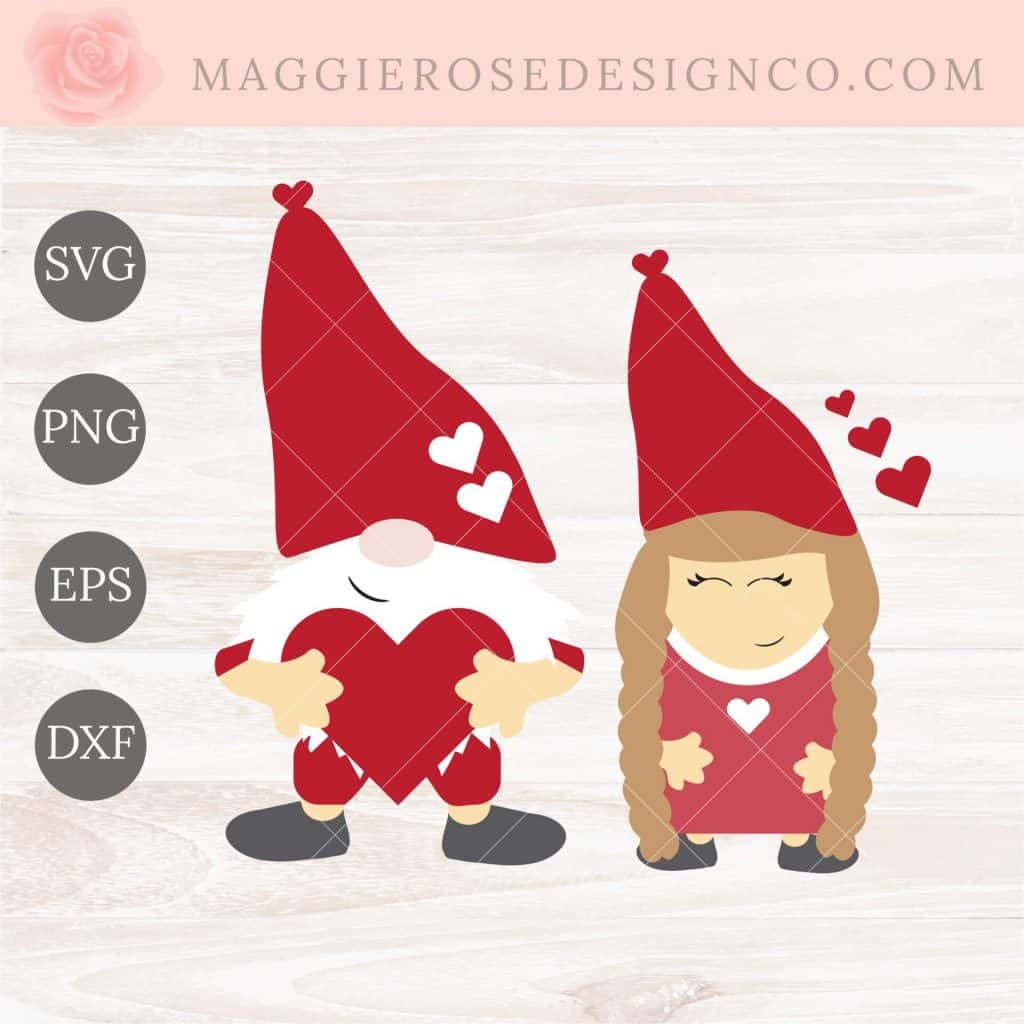
A friend of mine, Maggie at Maggie Rose Design Co. created this adorable Valentine Gnomes SVG and I just had to have it to create a Valentine Gnome T-Shirt. I love gnomes and have them scattered throughout my home. So it only seemed fitting to have some clothing as well.
For more incredibly cute Gnome designs check these out in the shop:
Valentine Gnomes T-shirt
I would love to share my process to make this easy design using Cricut with you!
Supplies needed
- Cricut Maker
- Heat Transfer Vinyl (Red, White, Peach, Black, Buffalo Check (Optional)
- Weeding Tool
- Brayer
- Mat 12×12
- T-Shirt Blank
- Easy Press 2
- Easy Press Mat
Step 1 Download the Valentine Gnomes SVG
Steps to Download an SVG (or DFX for Silhouette):
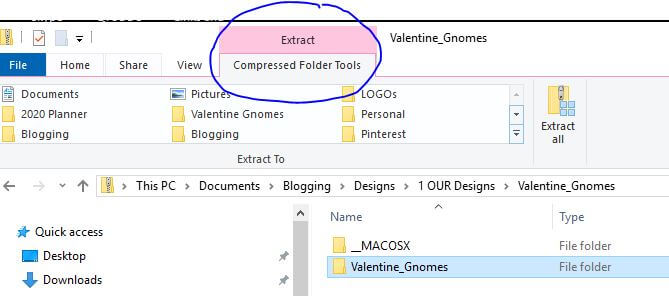
After you get your Valentine Gnome SVG file you will get the opportunity to download a zip file to your computer. Once you have that file on your computer you will double click on the zip folder and up in the tool bar you will see an option to Extract All.
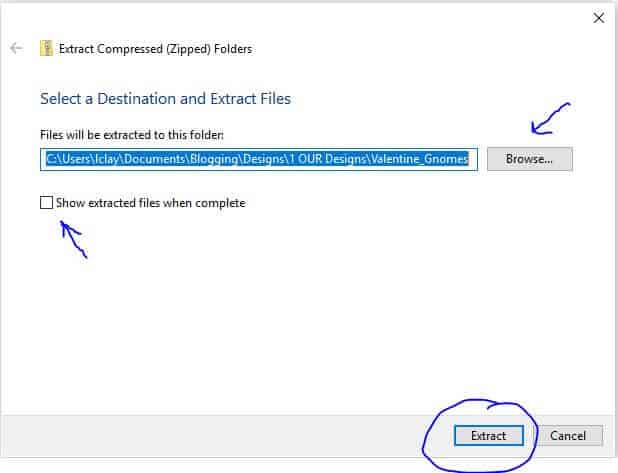
Then a screen like this will pop up and you can save it to the pre-populated path or browse and save it somewhere else.
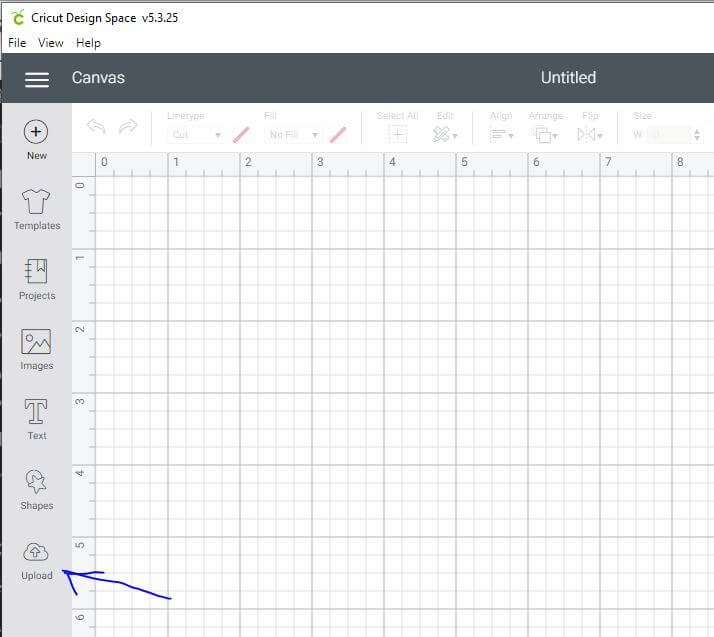
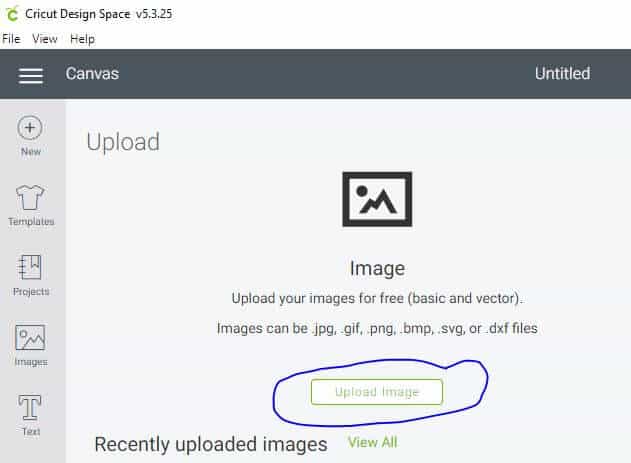
Step 2 Upload the svg to design space
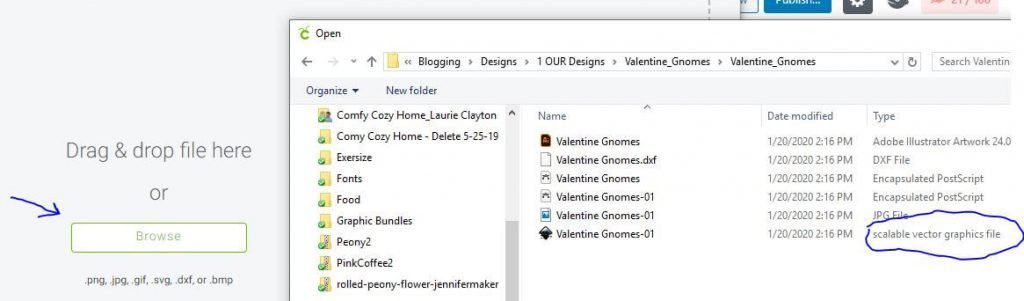
For Cricut, you will open Design Space and go to upload. Then Click the button to upload the SVG File. Browse to find the file you unzipped and look for the SVG file. See Pics below.

Click Upload 
Click Upload Image 
Find the SVG File and Select it
Step 3 Open a new project
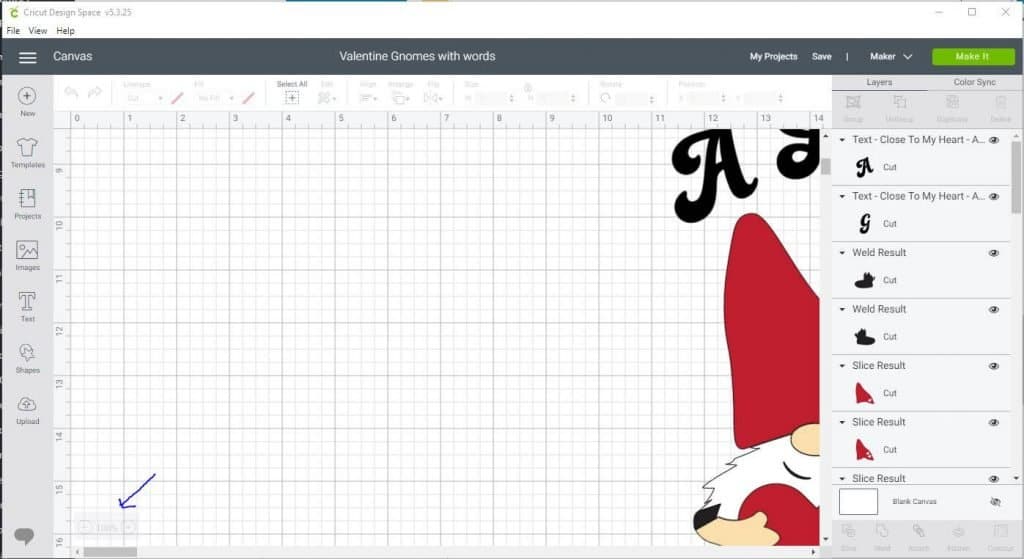
When your file opens up on Design Space it may be very large. Down in the lower left hadn corner, select the + to enlarge or – to shrink the image so you can see the full thing on your screen.
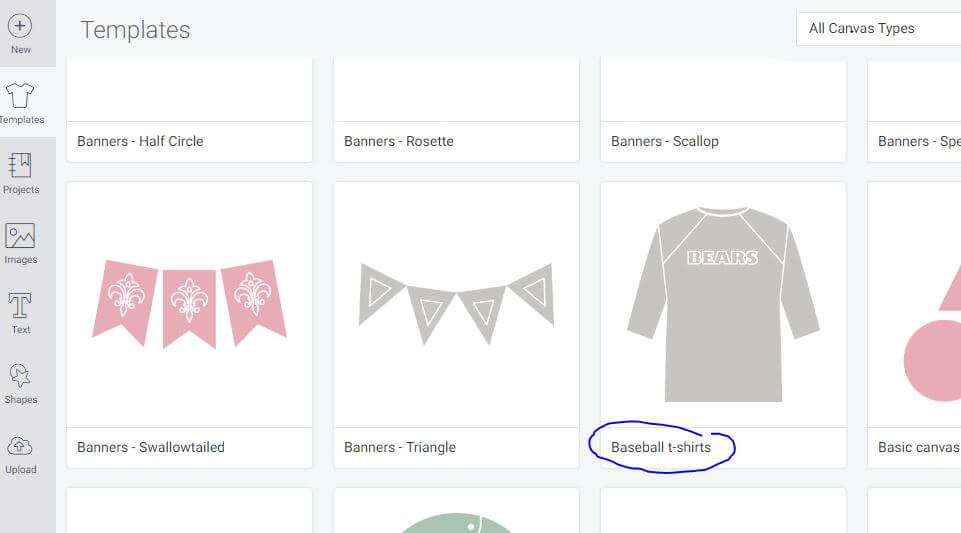
Once you’ve done that, select templates
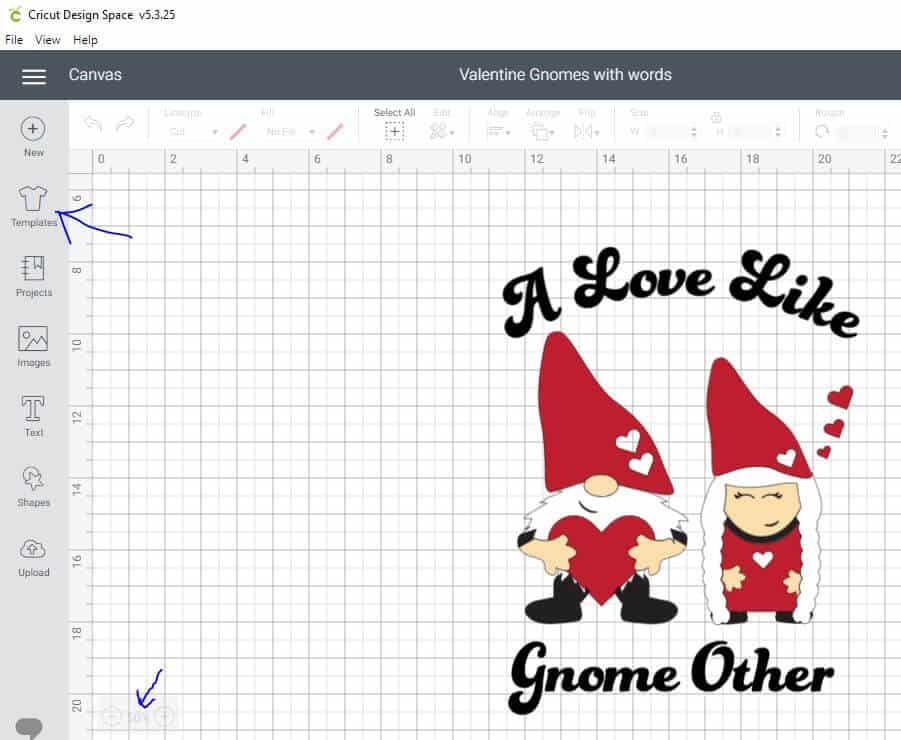
Select the type of shirt or object you will be putting your cute SVG on. In my case I selected the baseball t-shirt template.
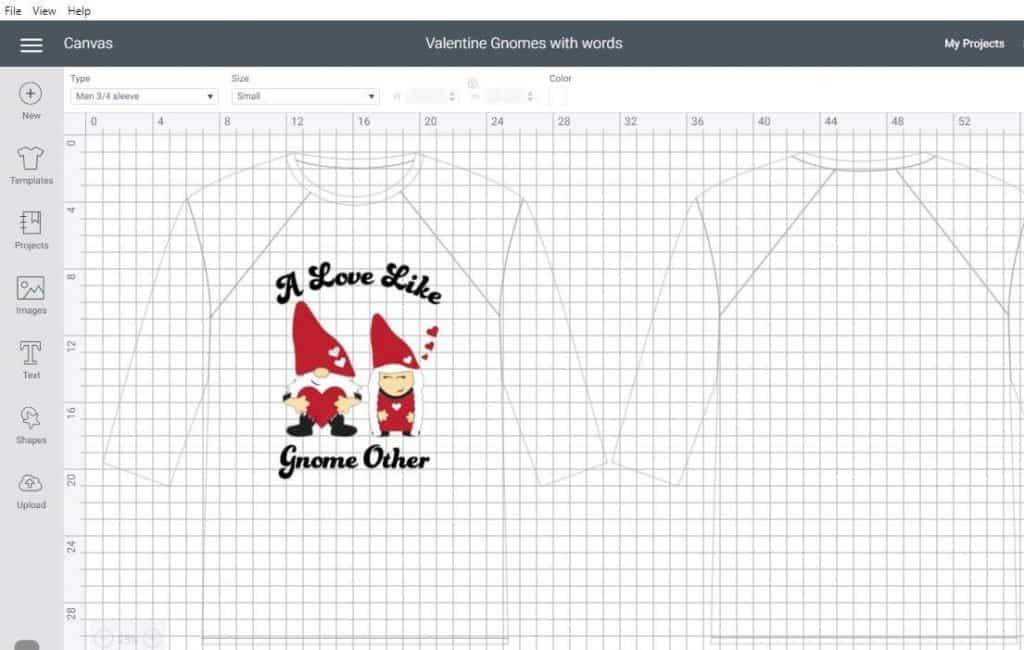
Then you will see the outline of the t-shirt front and back appear in your screen. Select, size and move the design to where you want it on your t-shirt so you cut the right dimensions!
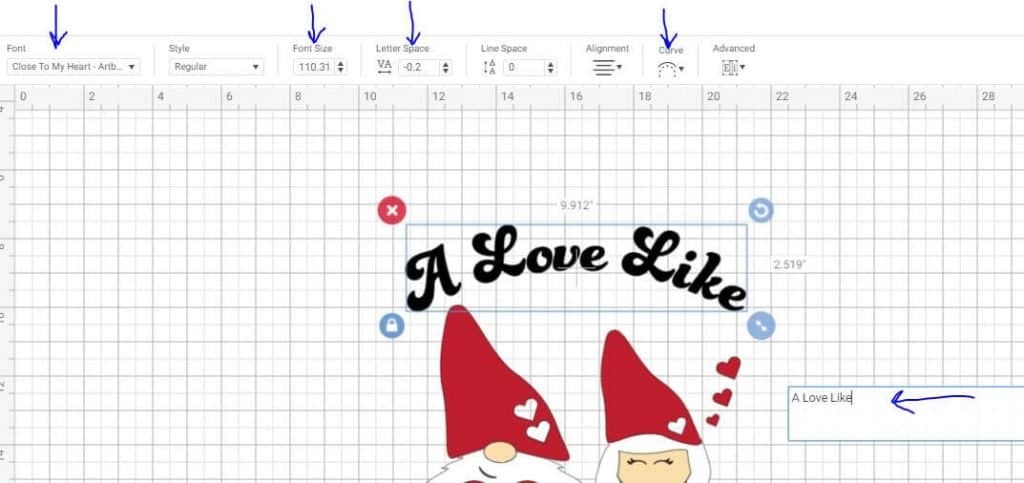
For the words, I used Close to My Heart font found in Design Space. Just Type it out, apply the curve to the top one and lower the letter spacing until it is touching like cursive. Then move it where you want!
Now you are ready to cut! Because Cricut uses color to determine which mat things print on, be sure to color them appropriately if you want to cut from different colors. I need to tell you at this point, I did decide to do a buffalo check for the hats so I’ll show you how I moved them to another mat and cut them out separately. Click on Make it Button in the top right corner to get started.
This will bring up this screen and allow you to look at each mat separately just as it is set to print. Now here you can move the objects around to take full advantage of saving as much vinyl as possible! You can hide objects or move them to another mat by clicking on the little blue dial in the upper left corner of each object or rotate it around by using the semi circled arrow in the upper right corner.
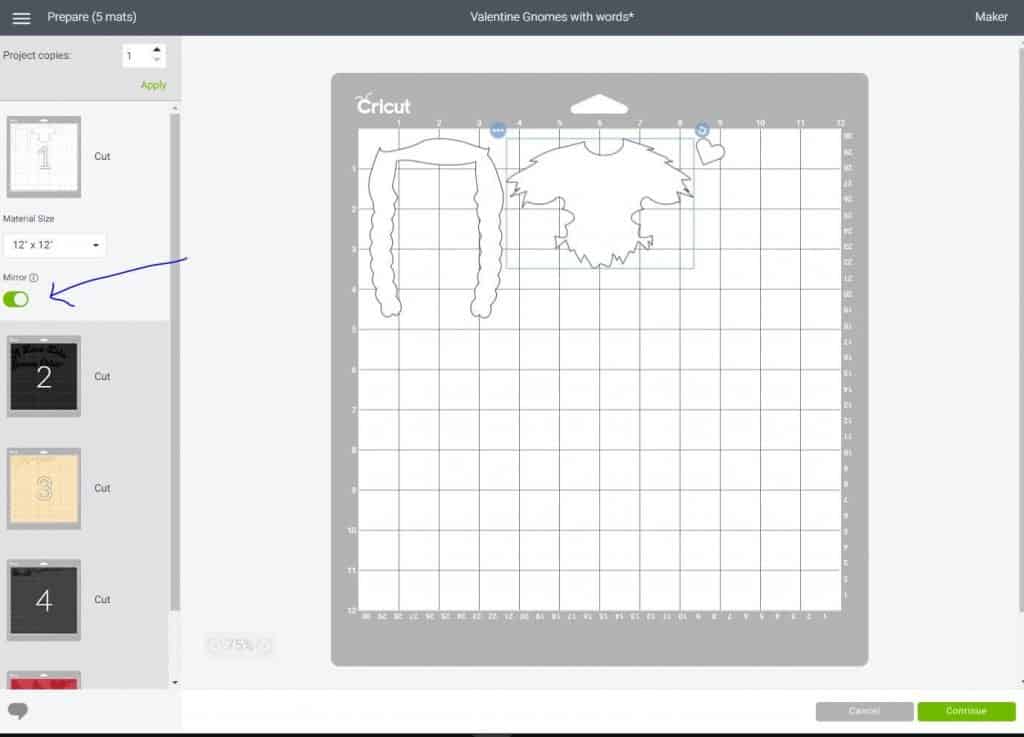
When doing Iron On with the transfer tape facing up (shiny side), you will want to mirror the image first or they will be backwards on the shirt once you iron it on. This is IMPORTANT! Also note that the screen is designed to look just like your mat so you can rest assured it will cut out exactly as shown.
For the buffalo plaid for the hats, the iron on was on the back (no transfer tape) so I did NOT mirror the hats (and I moved them to another mat as well).
Once you have the mats done the way you wan them, select continue. Make sure your Cricut is attached to your device first!

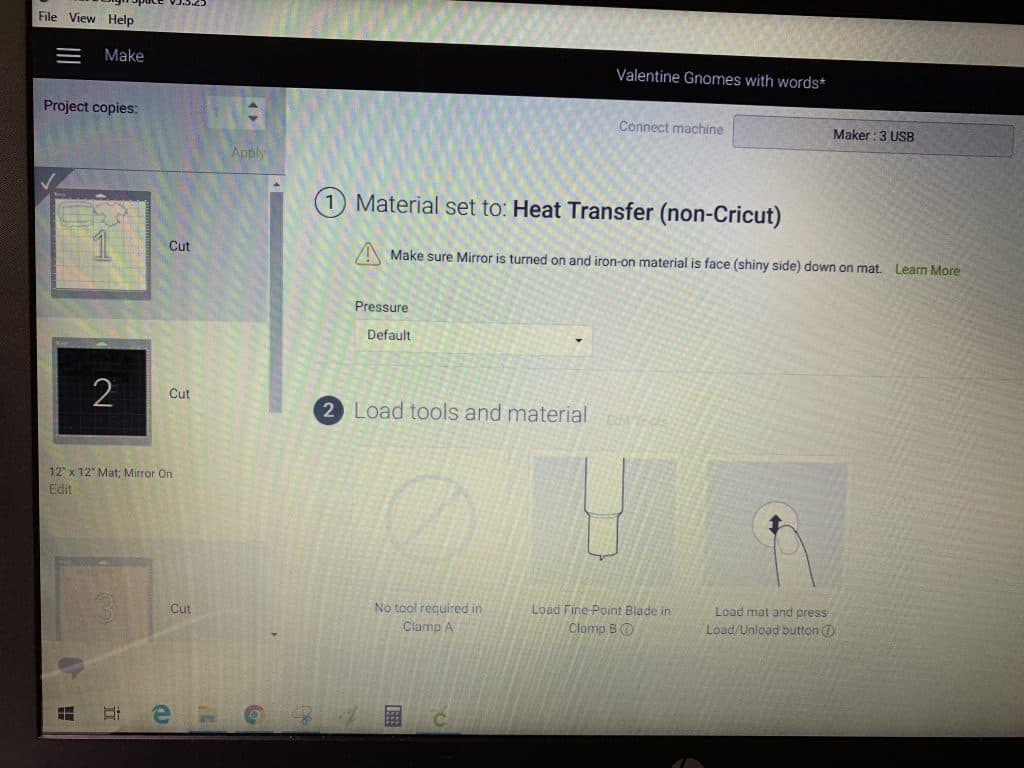
You will then get a screen that asks you to choose your material. I chose the Heat Transfer (non-Cricut). According to the manufacturer of the HTV I used, it suggested the fine blade and the pressure. For the cricut, I selected Less Pressure in the drop down box. Then you click on ok.
Step 4 Cutting the vinyl
Now you are ready to load each mat with the appropriate color and cut!
I use a brayer on the vinyl so that there are no wrinkles and all the vinyl is securely attached to the mat before cutting. It’s no fun when the vinyl starts to bunch up under the blade.
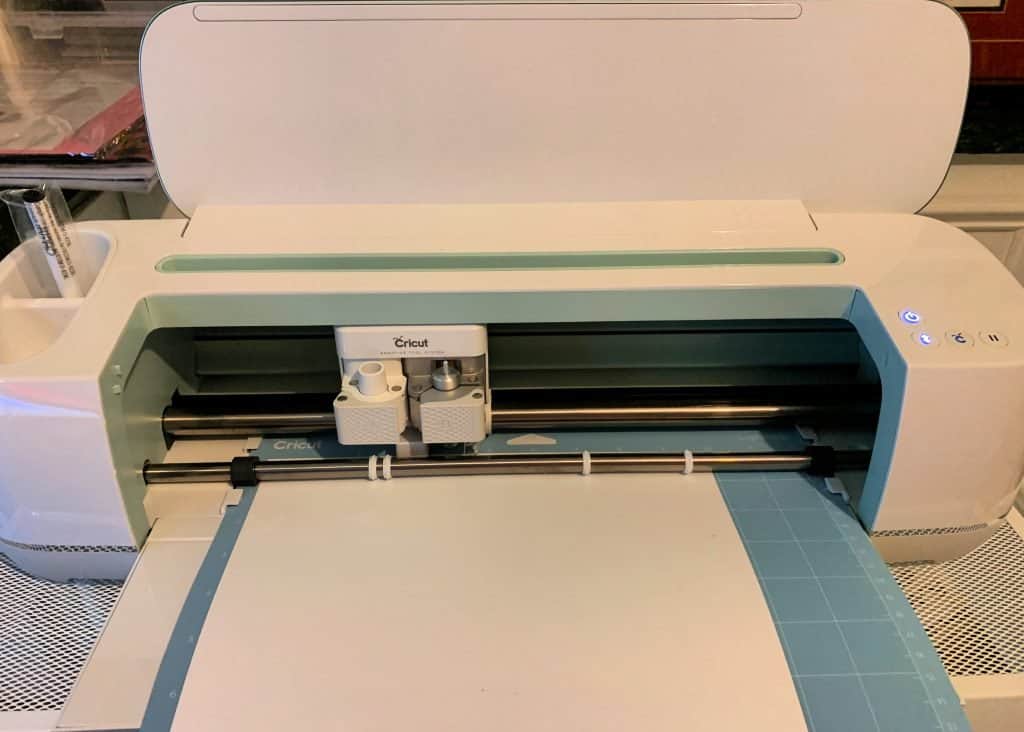
You will see the cricut machine telling you what to do by the highlighted buttons on the right. The first one loads the vinyl into cutting position and then the 2nd button will light up and you will push that and watch it go! Once it is done cutting, the first button will light up again so you can push that to release the mat from the machine. Be sure to allow enough room behind your machine so the mat can travel back and forth. For 12 In mats, leave 10 inches and for 24 in mats, leave 22 inches.
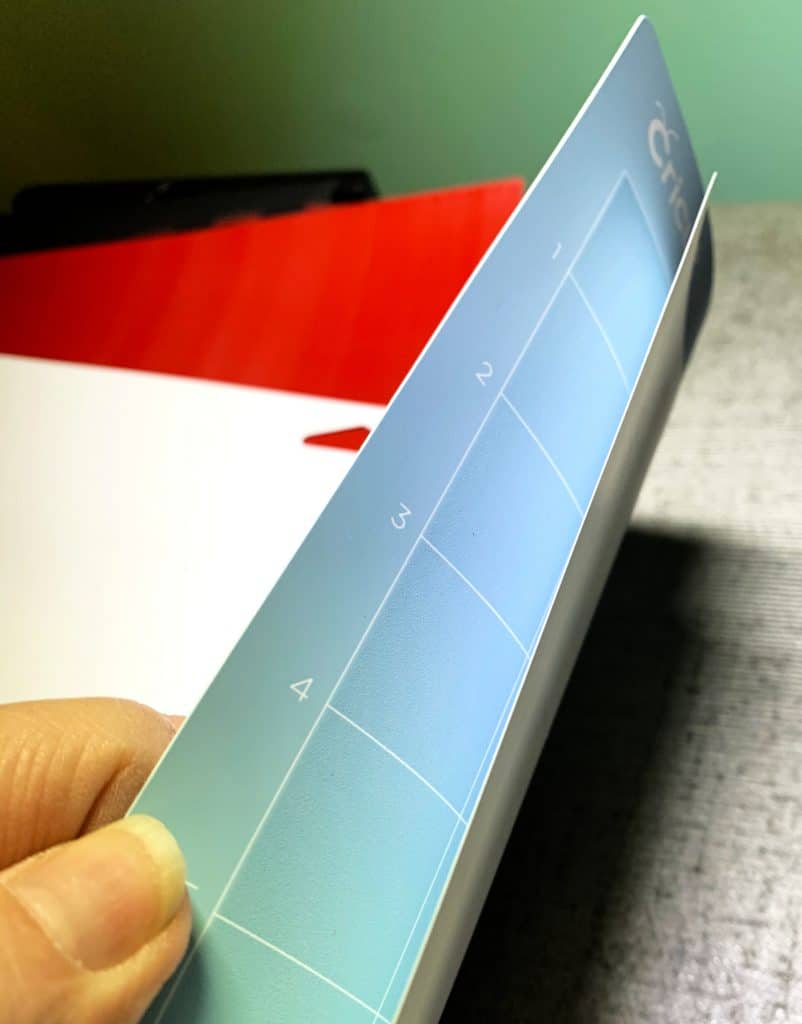
To remove the cut vinyl from your mat, turn the mat over and curl it and you will see the vinyl separate from the mat. This way you will not rip your vinyl.
Now you are ready for the next color! The screen moves through the mat sequence as it is laid out on the screen. Repeat this process for each color until you have all your design cut out. You can see it moved to mat 2 automatically on the screen (mat 1 is greyed out and mat 2 is selected).
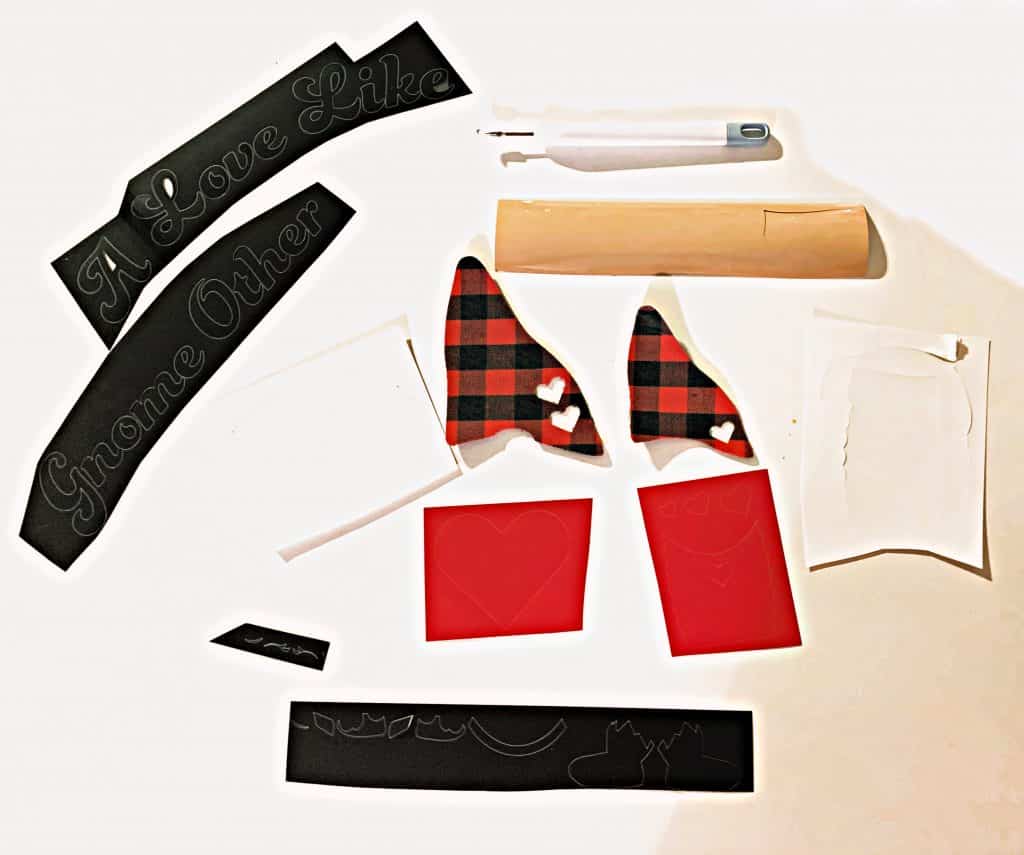
Once they are all cut out you want to separate the pieces leaving the transfer tape on them. You will be layering them one step at a time so you need the individual pieces.
Step 5 Applying the vinyl to the t-shirt
Take your t-shirt and lay it flat on the easy transfer mat. Put a plain white cardstock or cardboard inside the shirt where the vinyl will be placed to give it a good sturdy surface.
You can layout your design on the t-shirt to get an idea of where it will go and then remove all the pieces except for the beard and the hair.
Set the easy press 2 to the temp according to the manufacturer’s recommended settings for the vinyl. For the vinyl I used it was 305 degrees for 15 seconds. So I set it and then put it over the designs until the time went off. Let that cool and then remove the transfer tape.
Be sure to remove the transfer tape on all items before you do the next layer!
Then lay your next layer down. In the case of the heart, I placed it over the beard. (You can slice the heart out if you know how to do that in design space). I do not show a photo of the second layer. It was the heart and the face.
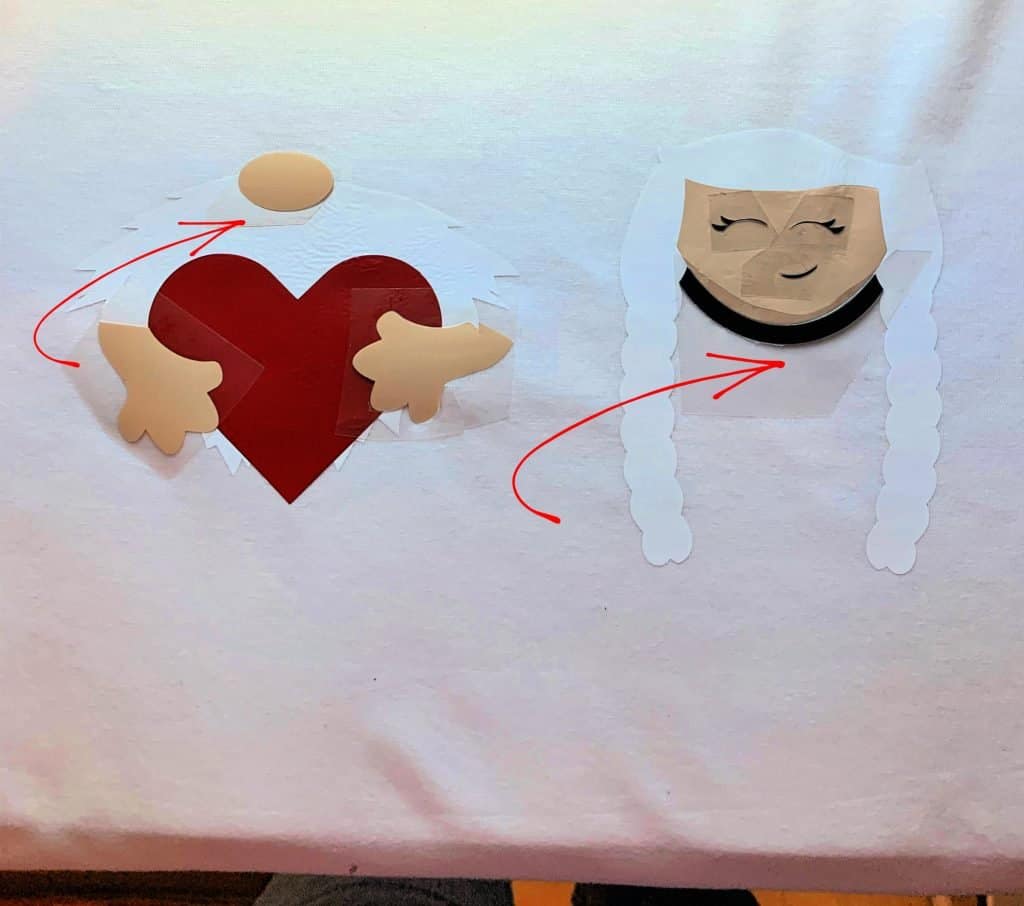
The next layer consisted of the hands and nose for the man and the collar, eyes and smile for the lady. Using the same heat setting and 15 seconds.
Then came the black sleeves, boots, red dress.
Then the ladies hands, the hats and small hearts.
Lastly the lettering on top. Then the lettering on the bottom.
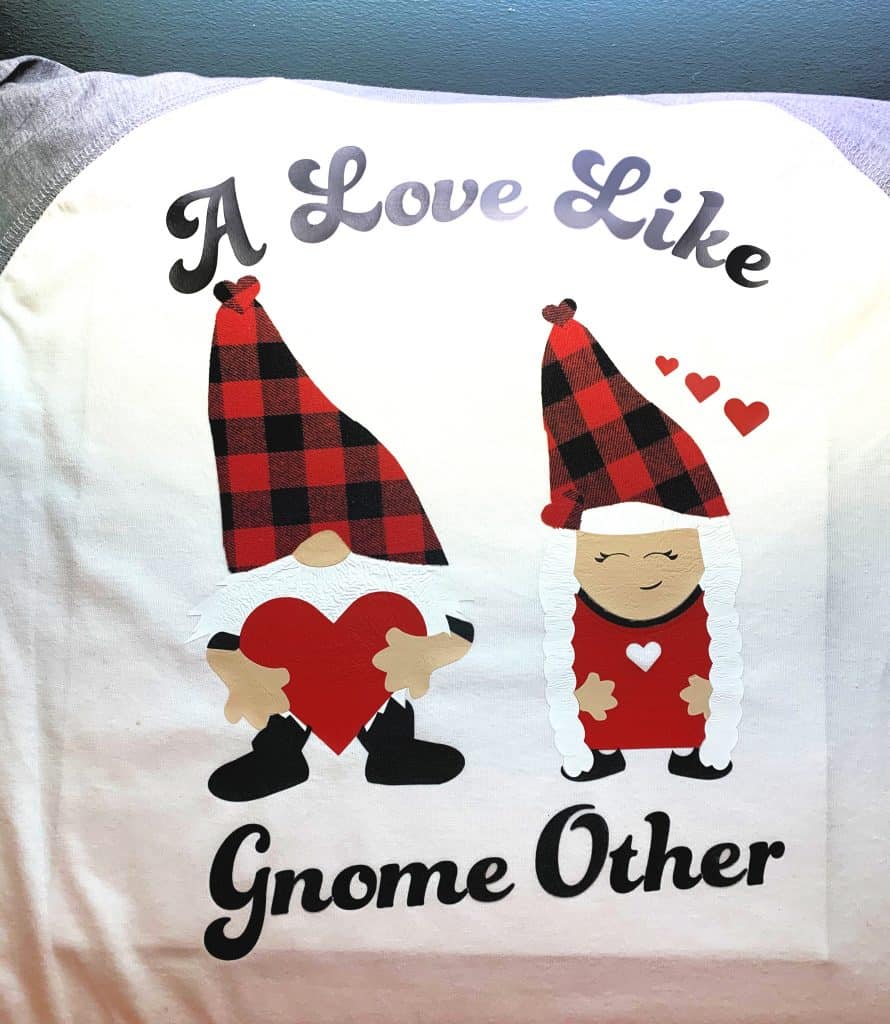
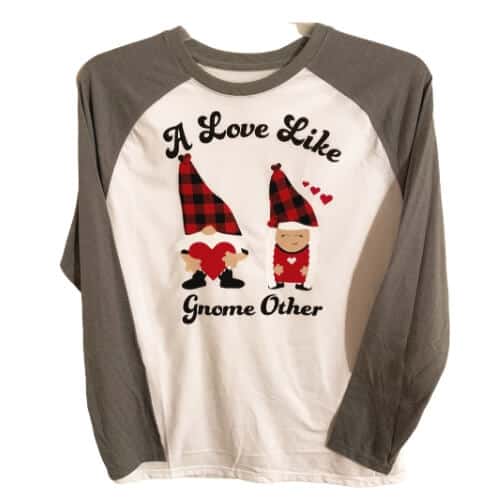
This is how it looked after the last pressing. A thing to note is I tool the transfer tape off too soon on the beard and hat and you can see it left it kinda crinkly. I didn’t mind because it looks more like hair that way – so a happy mistake!
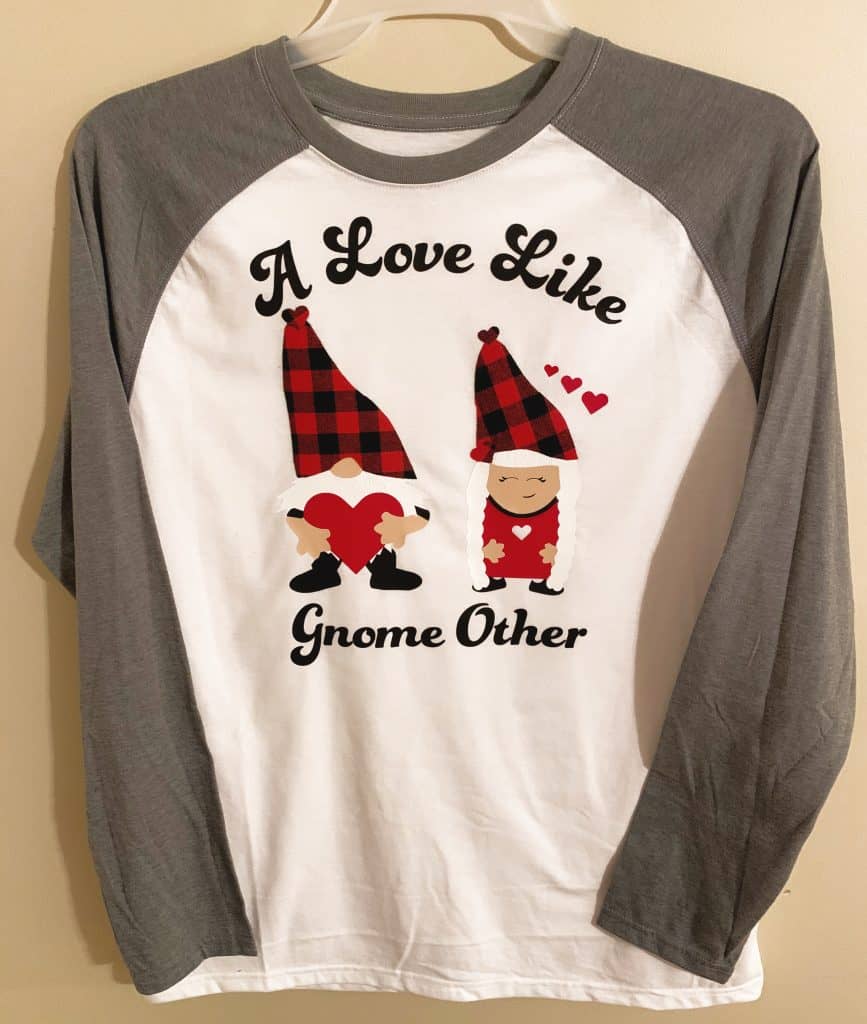
Here’s what it looks like all done! I love it and can’t wait to wear it for Valentine’s day!
Thank you so much to Maggie at Maggie Rose Design Co. for her adorable Valentine Gnomes SVG!
Be sure to check out all her other fun designs as well!
Tell me what you think of these cuties!
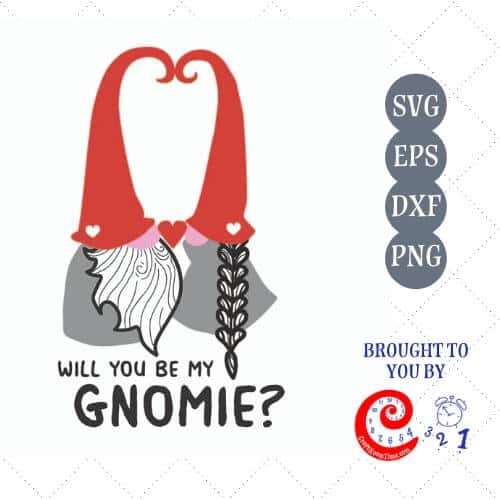
If you like Gnomes, check out this post with Will You be My Gnomie? with free file!
Check out two more Gnome SVG files available in the shop!
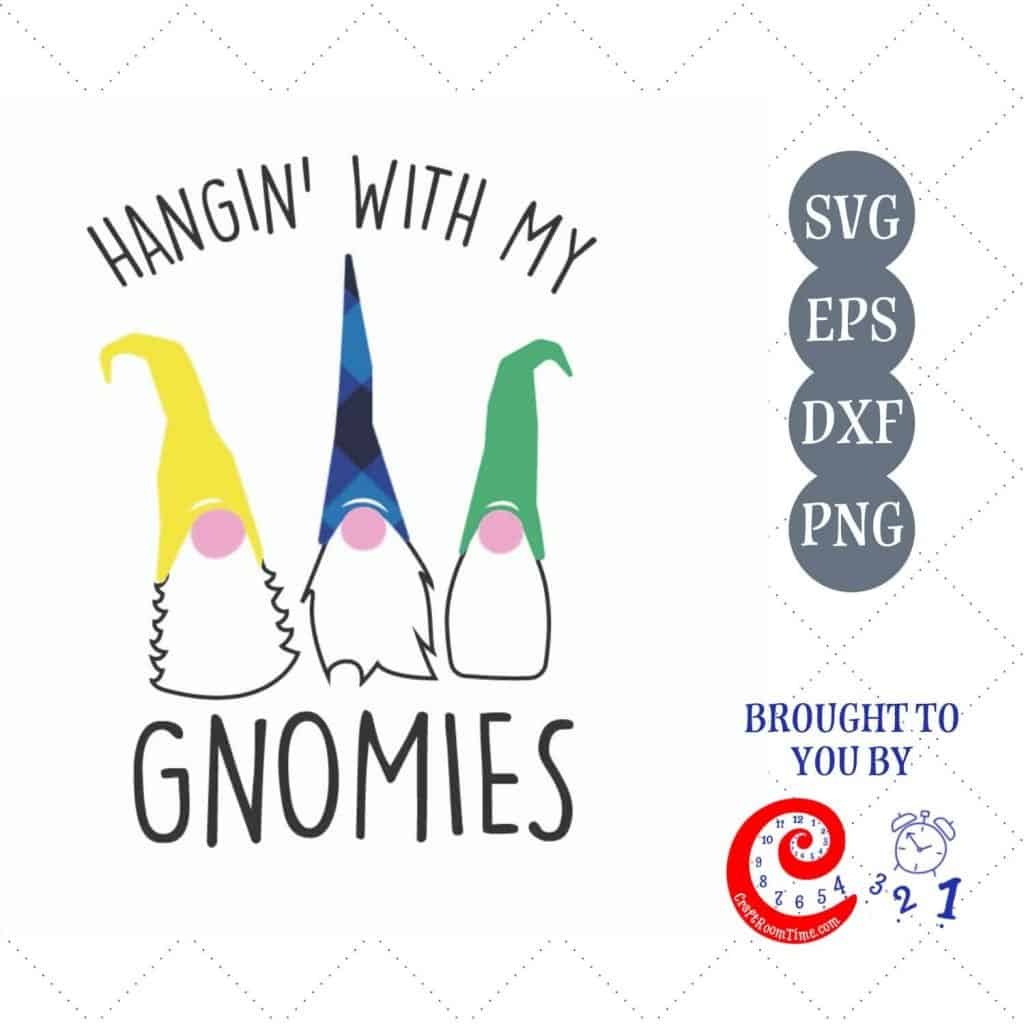
Hanging with My Gnomies
Will you by My Gnomie
Pin it for later: