Welcome back, fellow seasoned Cricut enthusiasts! In our previous article, we embarked on an exciting journey, uncovering two mind-blowing Cricut hacks. But the exploration doesn’t end there! Today, we’re diving deeper into unexplored territory, unveiling two more techniques that will take your crafting game to new heights!
The Power of Unexplored Territory
As experienced Cricut users, we know the thrill of discovering unknown techniques that expand our creative possibilities. Techniques 3 and 4 are no exception. They push the boundaries of what we thought was possible with our Cricut machines, igniting our passion for innovation and pushing our crafting skills to the next level.
Technique 3: “Perfect Alignment Made Easy: Precision Layering with Cricut’s Alignment Markers”
One of the biggest challenges in crafting is achieving precise alignment when layering multiple pieces or colors. With this technique, we’ll discover a game-changing method using Cricut’s alignment markers. Say goodbye to misaligned layers and hello to flawless, professional-looking designs!
Step-by-Step Guide:
- Start by designing your multi-layered project in Cricut Design Space or import a design from your preferred software.
- Cut out the different layers using different colors or materials.
- Place the base layer on your work surface and align the provided Cricut alignment markers on the corners or key points of the design.
- Carefully align and place the subsequent layers on top, matching the alignment markers.
- Press down gently to secure the layers together, ensuring they are perfectly aligned.
- Proceed with adhering or transferring the layered design to your desired surface.
This technique will save you time, frustration, and wasted materials. No more eyeballing or guessing—just precise layering like a pro!

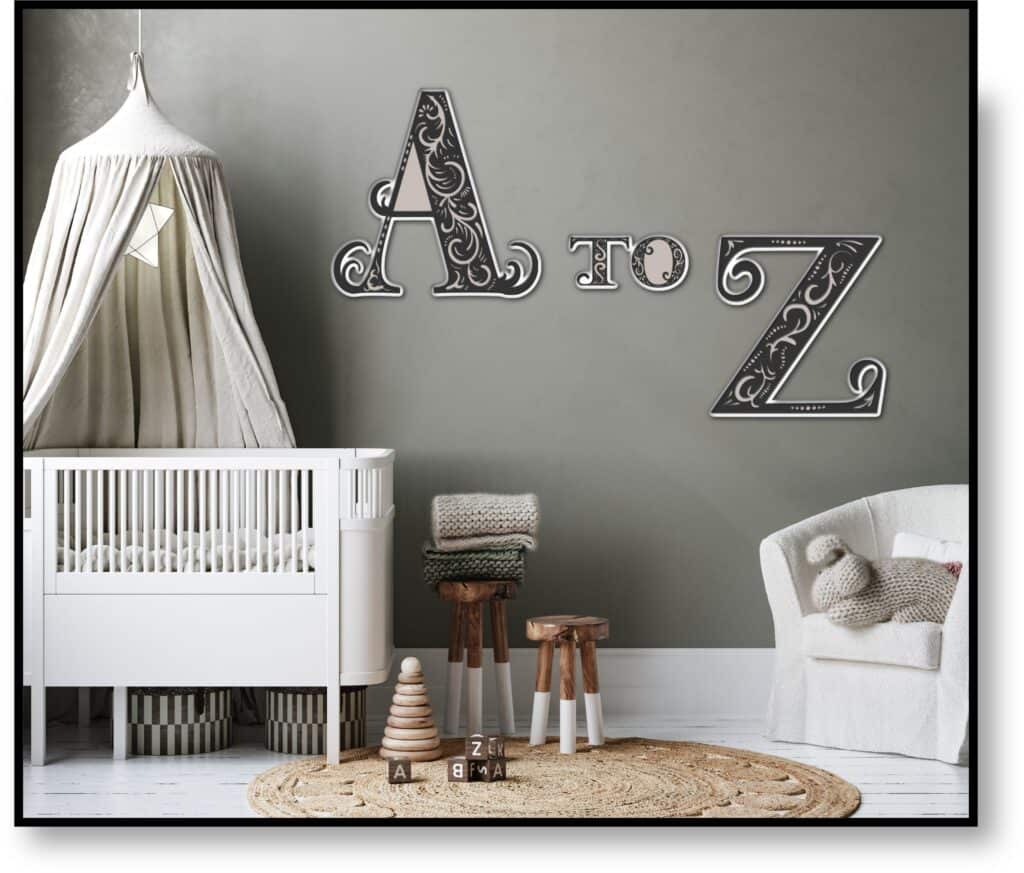
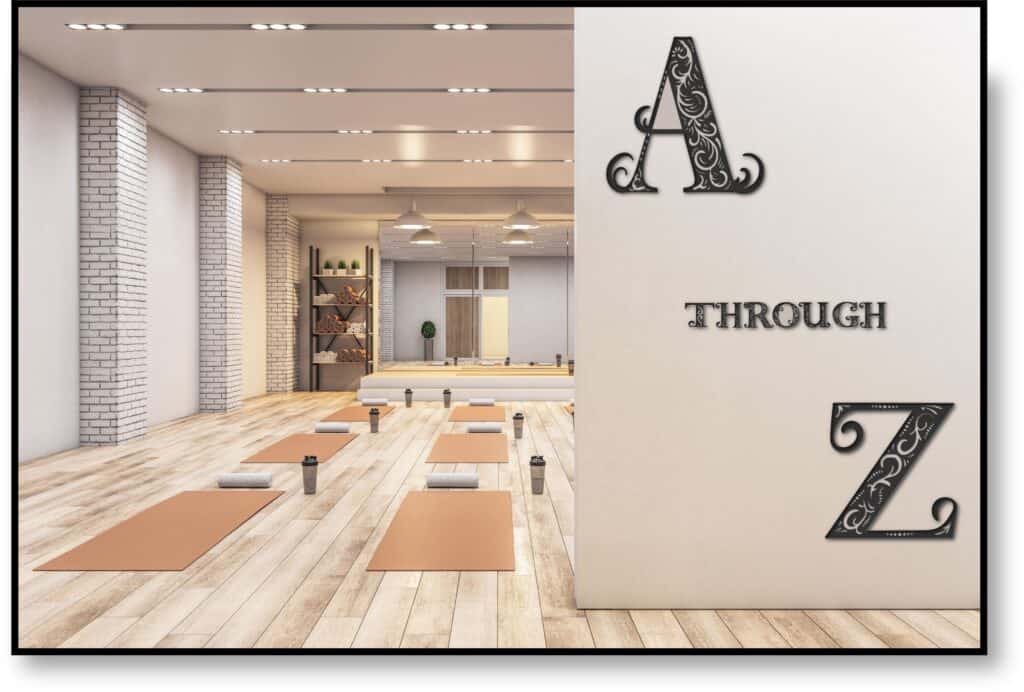
Ready to test these techniques? Check out these SVG Mandala Letters to make the more amazing wall art, personalize notebooks, decorate furniture, whatever your incredible imagination can think of!
<<<- CLICK THE PIC
Mandala Promo Code: UNLEASH2023 FOR 50% OFF
Technique 4: “Embossing Elegance: Elevate Your Designs with Cricut Embossing Techniques”
Are you ready to take your crafting to a new dimension? Get ready to explore the art of embossing with your Cricut machine. This technique will add texture, depth, and a touch of sophistication to your projects, leaving everyone amazed!
Step-by-Step Guide:
- Start by selecting a design or pattern you want to emboss. It can be a pre-made design or one you create in design software.
- Load the embossing folder of your choice with your chosen material (cardstock, vellum, or other compatible materials).
- Prepare your Cricut machine and choose the appropriate embossing stylus or tip.
- In Cricut Design Space or your preferred software, set the linetype of your design to “Draw” or “Score.”
- Send your design to the Cricut machine and watch it beautifully emboss your material, adding texture and dimension to your project.
- Carefully remove the material from the embossing folder, and voila! You’ve created an elegant embossed design.
Embossing opens up endless creative possibilities, from intricate patterns to personalized stationery or eye-catching home decor. Get ready to impress with your newfound embossing prowess!
Ready to test these techniques? Check out these SVG Mandala Letters to make the more amazing wall art, personalize notebooks, decorate furniture, whatever your incredible imagination can think of!
CLICK THE PIC ->>>
Mandala Promo Code: UNLEASH2023 FOR 50% OFF
In the next part of this series, we’ll continue unveiling more hidden Cricut techniques (Techniques 5 to 10) that will leave you amazed and inspired. So, stay tuned, fellow Cricut lovers, as we unlock the secrets of creativity with our beloved Cricut machines.
We’ve delved into two more remarkable Cricut techniques that even seasoned users may not have known about. The precision layering technique empowers us to achieve flawless alignment, adding a touch of professionalism to our multi-layered designs. And with the art of embossing, we can now create textured and sophisticated projects that captivate the eye.
As we continue to explore uncharted territory and unlock the secrets of our beloved Cricut machines, let’s embrace the joy of discovery and push the boundaries of our creativity. Stay tuned for the next installment of this series, where we’ll reveal even more hidden Cricut gems (Techniques 5 and 6). Get ready to be inspired and amazed as we embark on this crafting adventure together!
Happy crafting!


Leave a Reply