Spring is in the air! It’s the time of year when the sun starts shining, flowers start blooming, and everything feels fresh and new again. Sure, allergies might be driving you crazy, but it’s a small price to pay for all the beauty and rejuvenation that spring brings. And what better way to celebrate this season of renewal than with some fun and creative cutting machine projects? In this blog post, we’ll be sharing three projects with a spring theme that are not only stand-alone but also complementary if you choose to do all three.
Project 1: Spring Flower Wreath
Supplies:
- Cutting machine
- Cardstock in various shades of green and pink
- Floral wire
- Wire cutters
- Hot glue gun
- Wreath form
- SVG floral options:
- 3D Sunflower Flowers
- Practical Flower Bundle
- Flower Candy Holder (the flowers are super cute so just cut them and the leaves out for this project)
- Leaf Silhouette Bundle
Estimated duration: 2 hours
Directions:
- Use your cutting machine to cut out a variety of flower shapes from the pink cardstock.
- Cut leaf shapes from the green cardstock.
- Cut a piece of floral wire to fit around the wreath form.
- Begin attaching the flowers and leaves to the wire using the hot glue gun. Overlap them slightly to create a full wreath.
- Hang your beautiful spring flower wreath on your front door or inside your home to add a pop of color to your space.
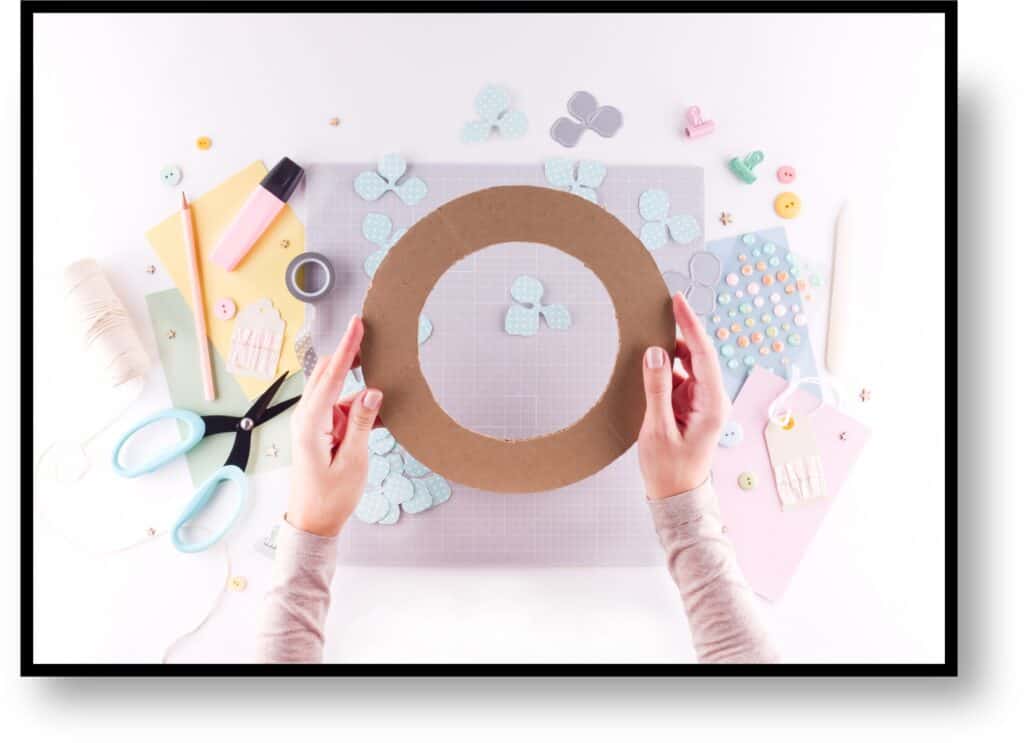
Simpler Option:
Skip the floral wire and form. You can make a wonderful spring wreath worthy of any door or other decor by layering the leaves and flowers and using craft glue. If you want it to be sturdy, cut a ring from a piece of cardboard (use one of those many Amazon boxes we all have!!) and glue your floral elements to it. It’s easier, cheaper and just as amazing!
Project 2: Springtime Paper Banner
Supplies:
- Cutting machine
- Cardstock in various shades of blue, green, and yellow
- Twine or ribbon
- Hole punch
- SVG Options:
- Butterflies
- More Butterflies (resize to make fun layers)
- Bees
- Floral Alphabet (if you want a personalized or celebration banner)
Estimated duration: 1 hour
Directions:
- Use your cutting machine to cut out a variety of flower and butterfly, etc. shapes from the different colored cardstock.
- Use the hole punch to make two holes at the top of each shape.
- Thread the twine or ribbon through the holes to create a banner.
- Hang your beautiful springtime paper banner in your home to bring some cheer to any room.
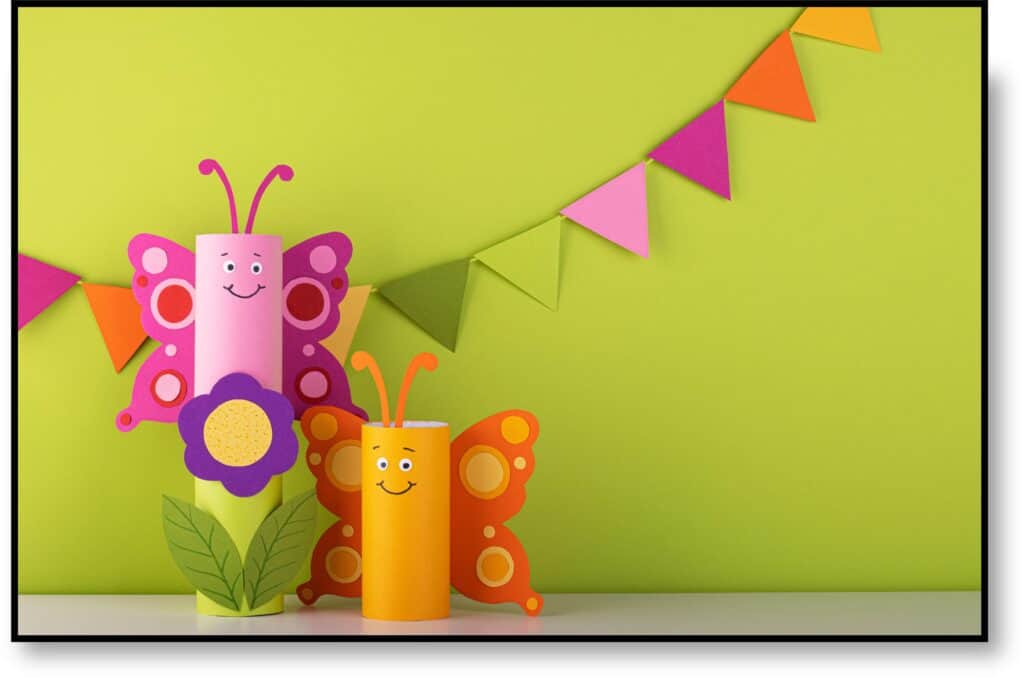
Fun option: create fun toilet paper roll butterflies, bees, etc. with the kiddos. Make it a fun afternoon craft that can be added to the banner or create a banner with the rolls. It’s a great way to engage their amazing minds and use something we all have stuffed in a craft bin somewhere.
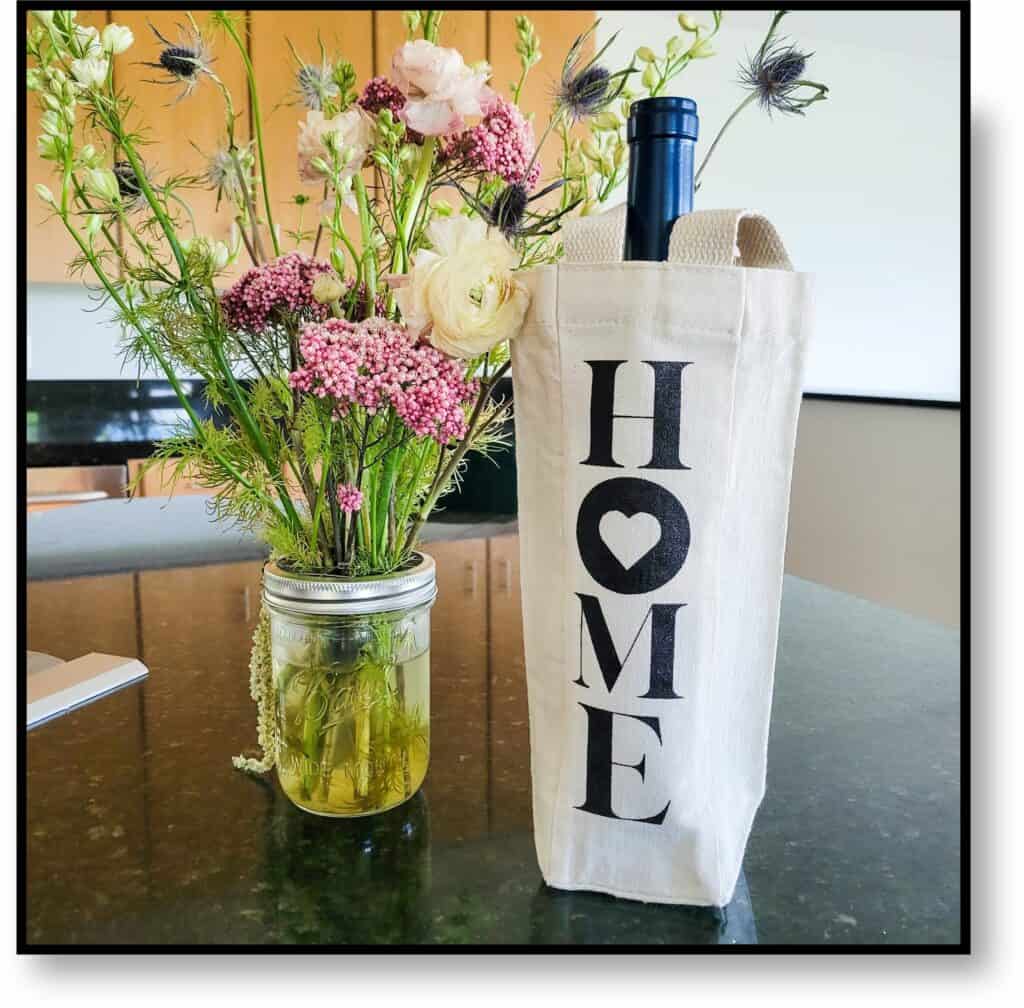
Project 3: DIY Springtime Tote Bag
Supplies:
- Cutting machine
- Canvas tote bag
- Iron-on vinyl in various colors
- Iron
Some fun options:
Estimated duration: 1 hour
Directions:
- Use your cutting machine to cut out a variety of designs from the iron-on vinyl.
- Arrange the shapes on the tote bag in a pleasing pattern.
- Following the instructions on the vinyl packaging, use an iron to adhere the shapes to the bag.
- Show off your new DIY springtime tote bag on your next grocery shopping trip or use it as a stylish beach bag.
As the world awakens from its winter slumber, there’s no better time to embrace the beauty and energy of spring. Whether you prefer to bring some color into your home or add a touch of style to your wardrobe, there are endless ways to celebrate the season. By tapping into your creative side and exploring the possibilities of cutting machine projects, you can infuse your life with the joyful spirit of spring and make the most of this season of renewal.
Happy (Spring) Crafting!