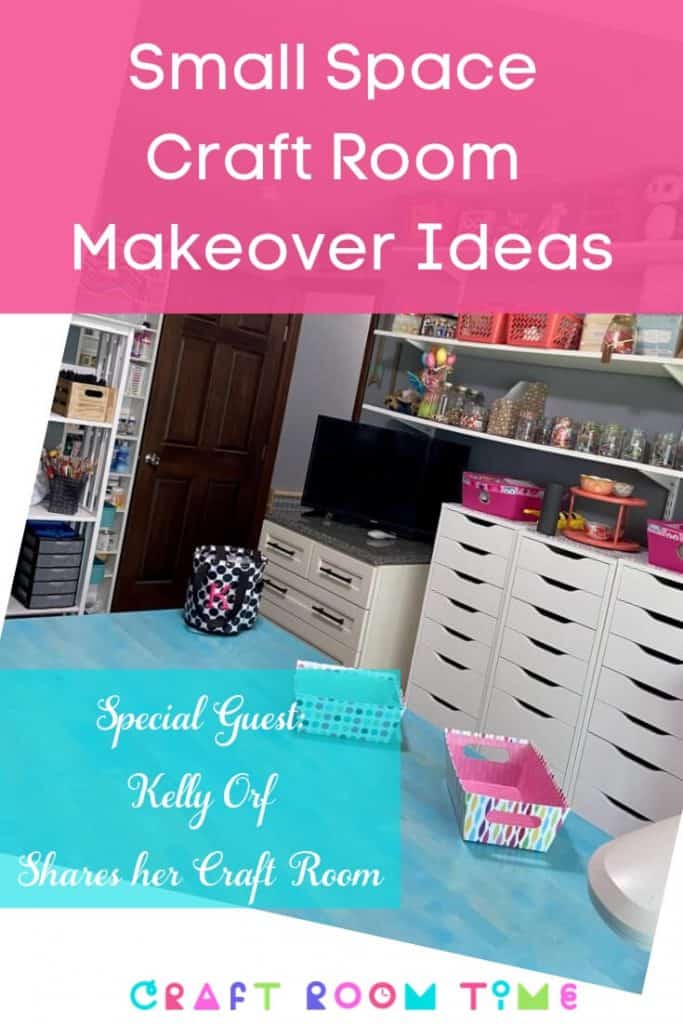
I’d like to thank my guest, Kelly Orf, for providing how she made use of all her space in her Small Space Craft Room Makeover!
There are so many out there with small spaces to set up their crafting in that it always helps to get ideas and see photos from those that have done a great job in utilizing their space. Kelly has graciously shared her room with us and provided us with a lot of detail that may help you with craft room ideas for small spaces.
Need help with your craft room? Get on the waiting list for the next go around of the Craft Room Organization Mastermind!
https://craft-room-time.ck.page/85c63cc837
Interview with Kelly on her Small space craft room makeover
Question: Please tell me a little about yourself. Such as what you craft, how you got started, what your favorite hobbies are, etc.
Kelly: I am 48 years old, I have been married for 28 years, and a mother of three great kids. They are older now, I have a 28 year old daughter, a 25 year old son, and a 22 year old daughter. I as of now do not have any grandchildren.
My son is the only one married and not in a huge rush to have kids. I am ready though anytime that they are lol! The empty nest syndrome has definitely kicked in.
I started crafting about 12 years ago. When I first started I mainly just scrapbooked. As I got more comfortable crafting I started making cards. I mainly focused on cards and scrapbooks until about 5 years ago.
Everything changed when I purchased my Cricut explore. I then started to use my Cricut to scrapbook, decorate my house, larger paper crafts, and T-shirts. I just recently purchased a Cricut Maker and I love it. In the past couple of years I have also started to paint, I am trying to learn to sew, and I would love to learn so much more.
Similar storage and organization links kelly uses:
- Rolling Cart available here
- 7 Drawer Storage Units
- 5 Drawer Storage Units
- Pegboard Organizer
- Storage Cube Organizers
- Mini Drawer Organizer
- Project Cases
- Magnifying Lamp Set
Question: Where is your craft room located in your home? and how big is it?
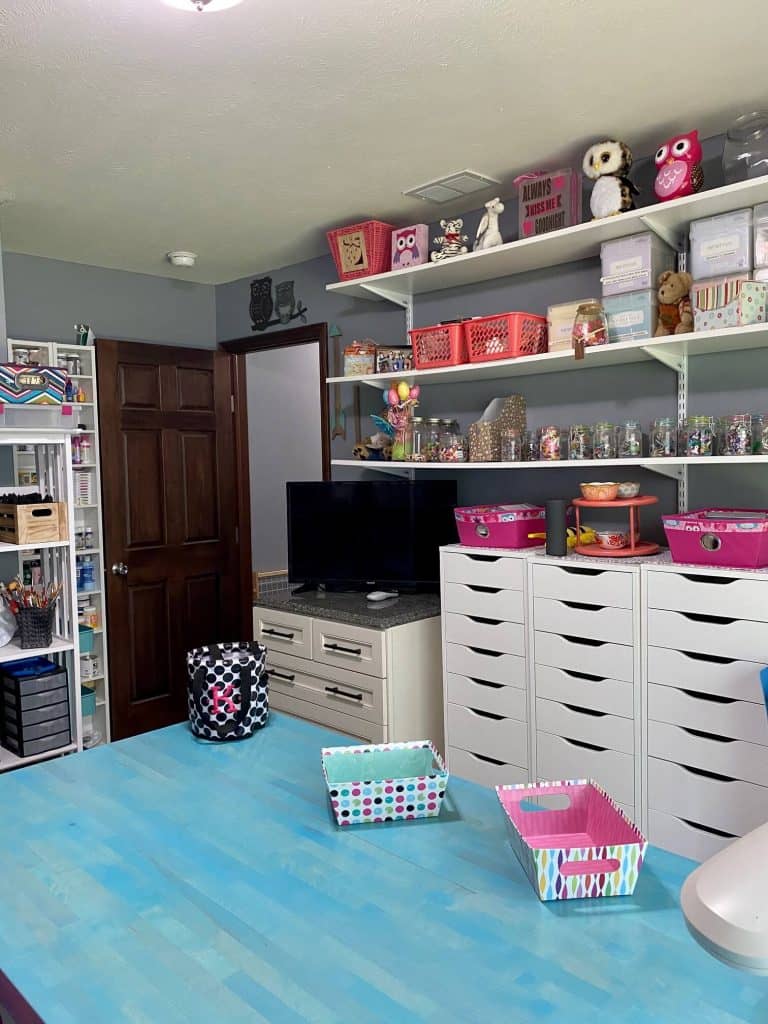
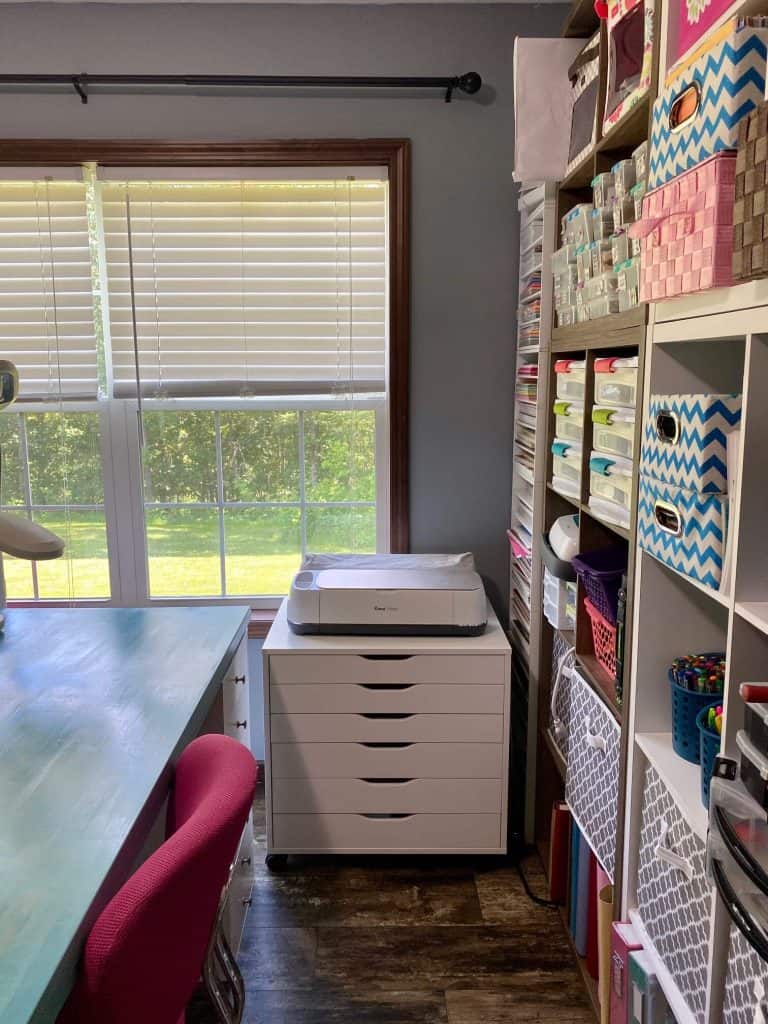
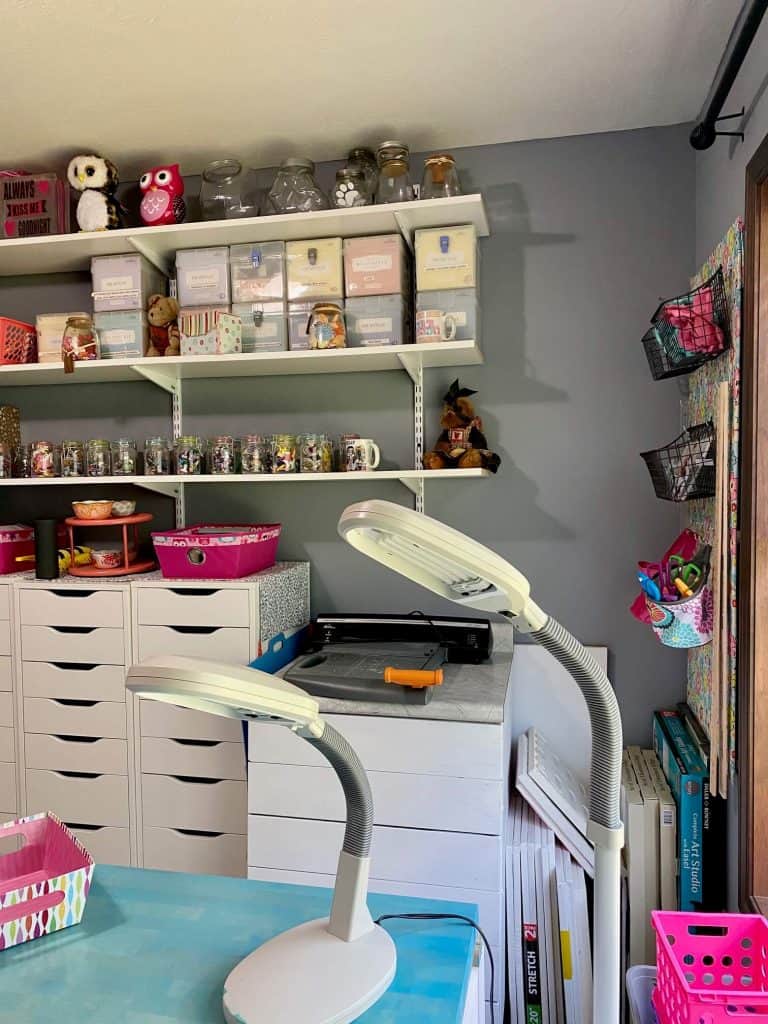
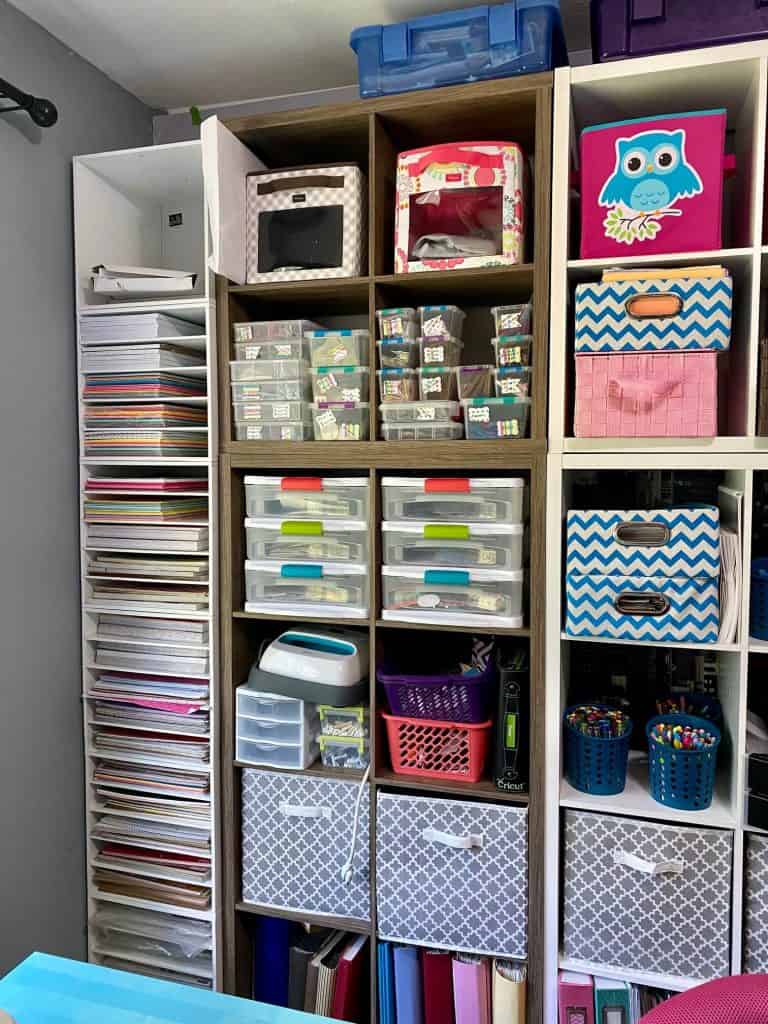
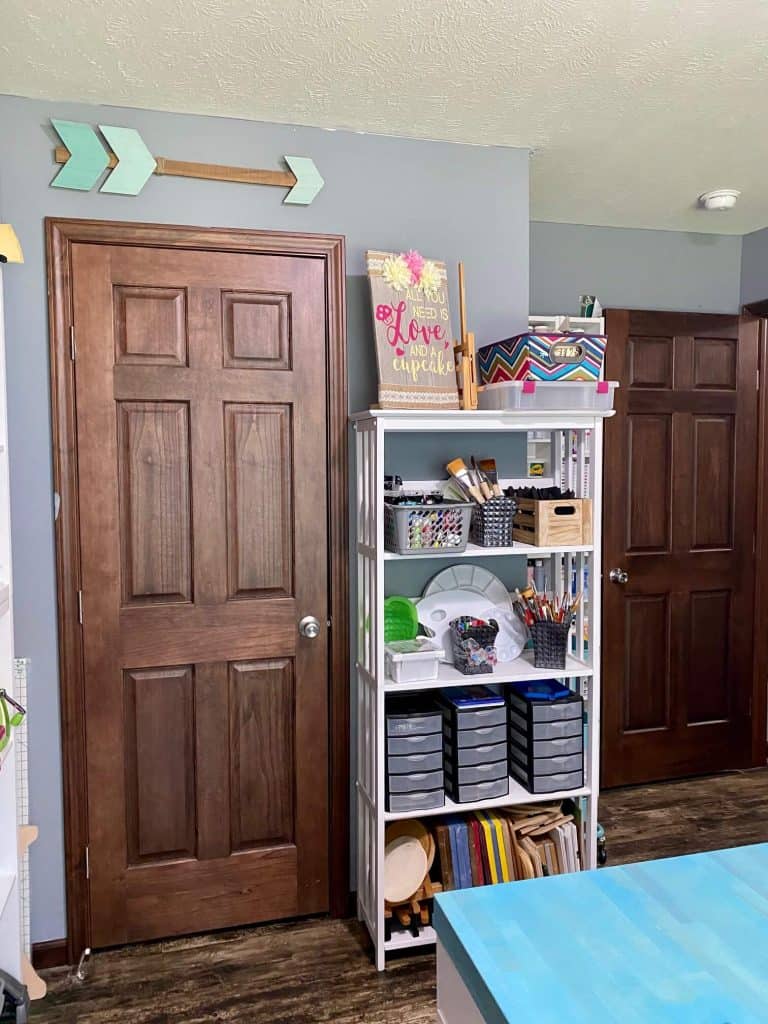
Kelly: In a spare bedroom. The room itself is 12’ X 10’ with a closet and entryway. It is not a huge room, so I really tried to utilize every inch that I could. Before I had all of my craft supplies shoved into my office. It was not pretty and was not organized.
My daughter recently moved out so I decided to use her room as my craft room. Since this room was completely empty it gave me the opportunity to move things into the room very slowly and do basic organization as I went.
I also was able to go through all of my craft supplies and purge or donate what I really did not need or use. By doing this I gained a lot of space so that what I do buy in the future isn’t just piled somewhere and cluttering up my room, I will be able to easily find a home for it.
This room is always changing with me adding more colorful and better made baskets, and decorating it as I go. I love color, so I’m trying to use lots of pops of color. Also by me just moving things around that work better to how I craft.
Question: How did you come up with your craft room design?
Kelly: I drew it out on graph paper. That worked really well with only a few errors.
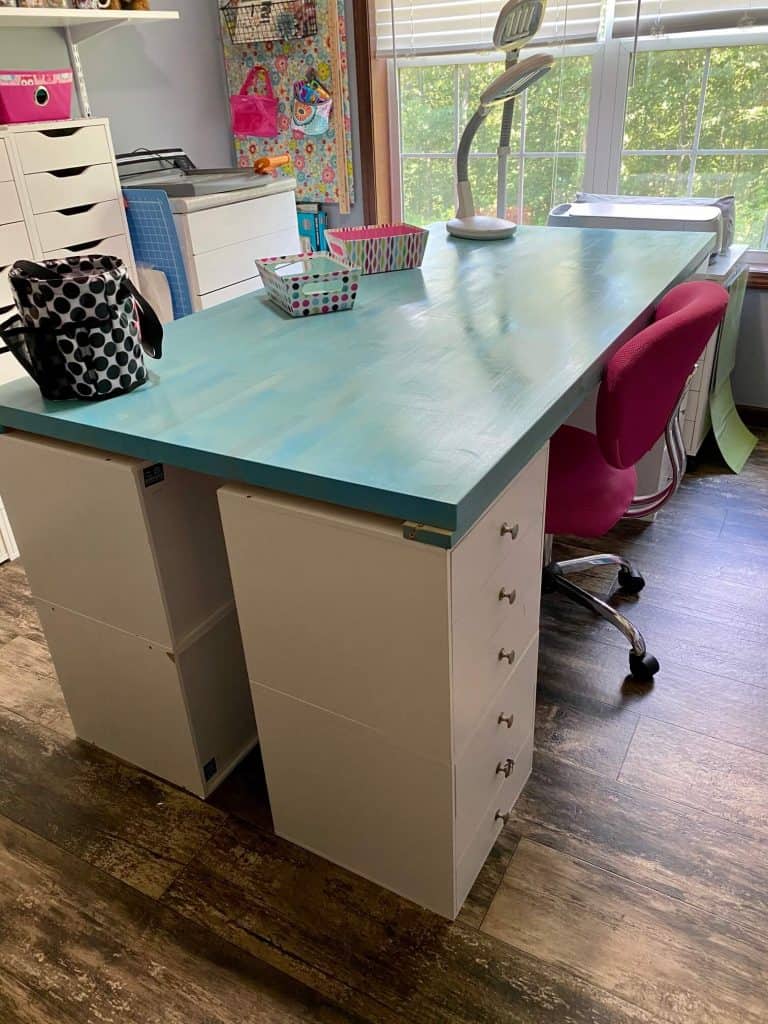
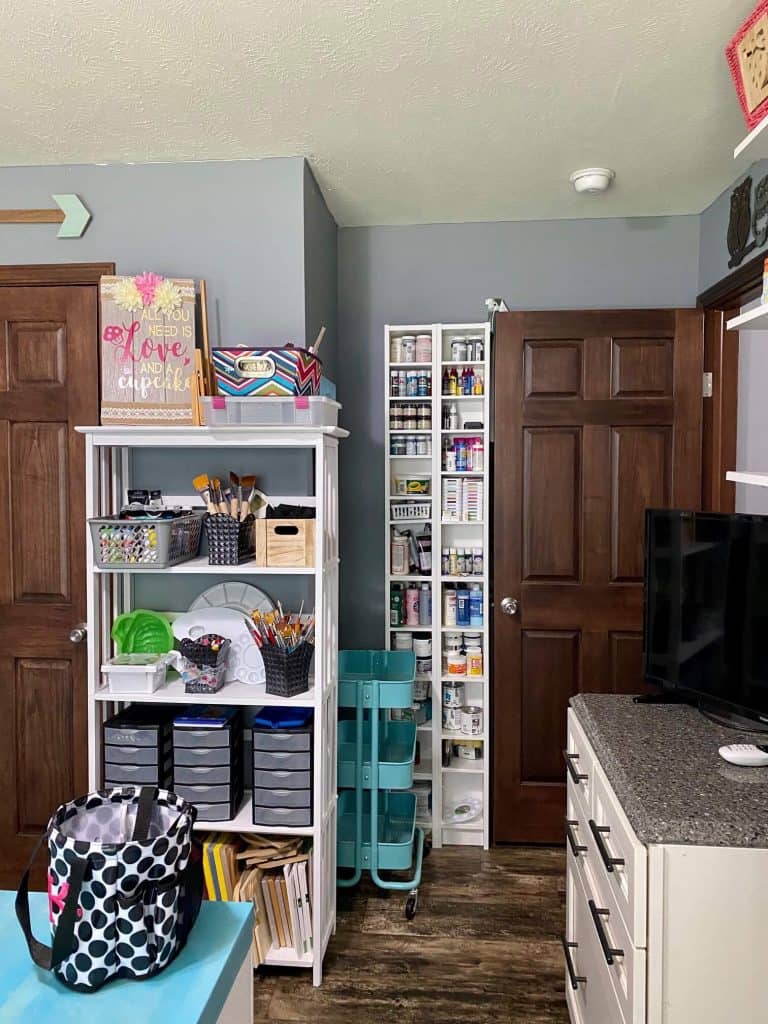
The top is a 3’W X 6’L butcher block Counter top that I Purchased at Menards. I stained with a teal colored stain and a poly top coat. I don’t really like keeping a lot of organizers on top of my desk. I like a lot of room to work.
Question: What is your favorite thing about your craft room?
Kelly: My cubed storage and my desk.
Question: If you could add (or take away) to your room what would that be?
Kelly: I am not crazy about the 8’ shelves on the one wall. I am not sure what else I can do in that space.
Question: What is the most challenging thing you had to deal with when organizing your craft room and how did you solve the problem?
Kelly: The size of the room. My room is not that big so I tried to utilize every inch that I could. I placed my desk in the middle of the room and placed storage around the perimeter. That is also why I went so high on both large walls. I have always Read that you should go up if you need more space when you organize.
Question: If you could give one piece of advice to others wanting to create a room such as yours what would that be?
Kelly: To look on Pinterest, and Facebook to get an idea of different designs and things that you really love. Make a list of the items that you find that you want to incorporate in your craft room.
Then you really need to think about what supplies that you have and what organizational furniture that you like and will need. Then I suggest that you use graph paper and draw out a diagram of how you want your furniture organized.
Then start with a completely empty room and slowly move your craft furniture and supplies in your room. As you do this purge and donate any craft supplies that you do not need. Also, implement simple organization as you move your craft supplies in don’t feel like it has to be completely organized at first.
Once you get your furniture in it’s correct place then you can organize, decorate, and make any adjustments as you need.
In conclusion Kelly adds this advice:
Take your time when setting up your craft room. Have fun and enjoy the process, and know that it will always be a work in progress. I also sent you an email that has all of my pictures and a lot more information on my craft room.
I love Kelly’s use of her small space and the craft storage ideas she implemented taking full advantage of her small space craft room makeover! What is your favorite take away from this?
For more posts on Small Space Craft Room Ideas, check out these articles:
2 Craft Room Tours Big and Small
Wardrobe Makeover for a Small Craft Room
Small Space Craft Room Organization Ideas
Craft Room Design and Organization Series
Pin it for Later: