Making Valentines is just as fun as giving them! Get the kids involved in making their own Valentine’s this year with this print and cut tutorial for your Cricut!
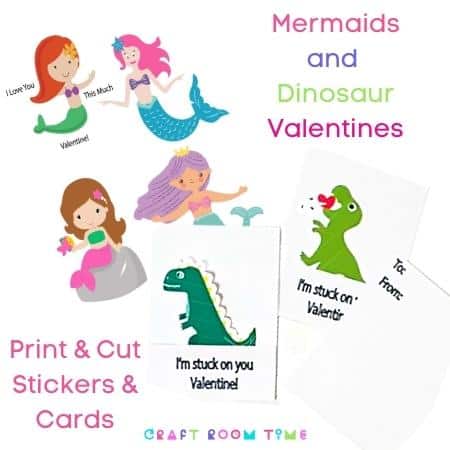
Choose from Mermaids for the girls and Dinosaurs for the Boys. The Free SVGs are used to show just how cute they can be.
Their friends at school will be impressed when they get handmade stickers which is also a great alternative to candy.
Don’t have a Cricut?? No problem. Use the PDF to print then cut them out with scissors! Easy and fun.
Watch the short video to see how to do this in Design Space…
This post may contain affiliate links and we may earn compensation when you click on the links at no additional cost to you. For additional information, please see my full disclosure policy.
Supplies for Print and Cut
Cricut Maker
Green mat
Brayer
Sticker Paper
White Cardstock
Cricut Micro pen
Cricut Scoring Blade
Tacky Glue or Double sided tape
Instructions for Design Space
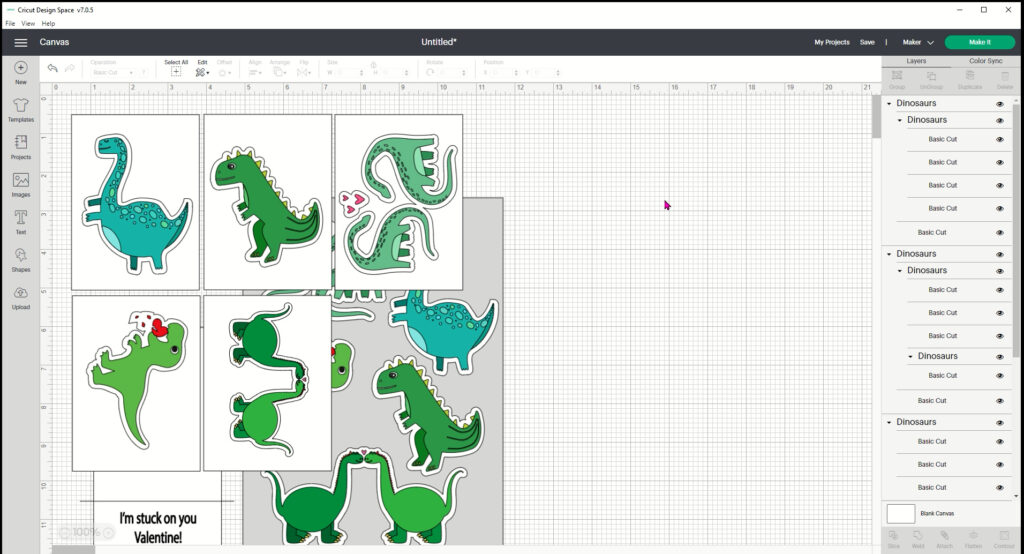
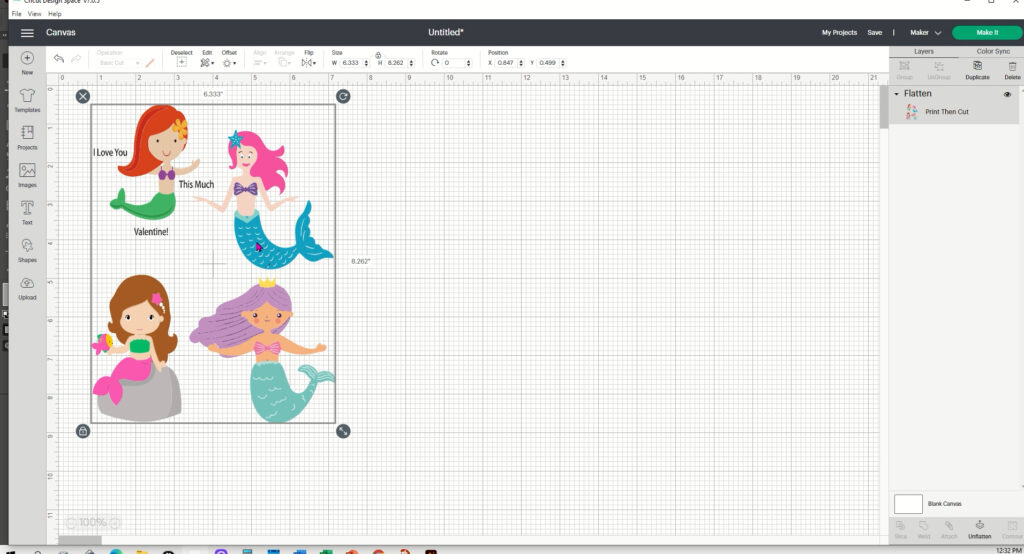
Upload the file and ungroup it.
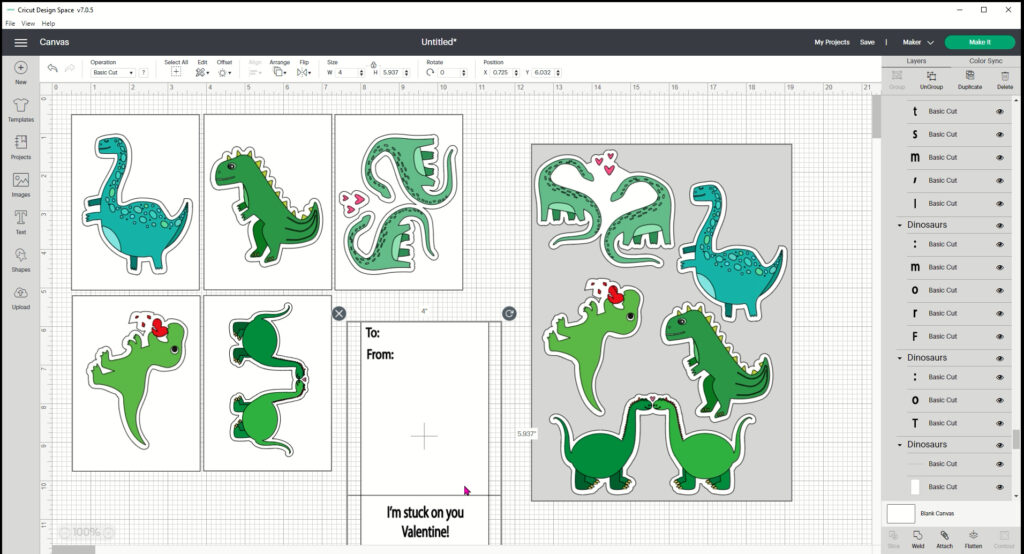
Move the pieces apart. First select the Card with the writing on it.
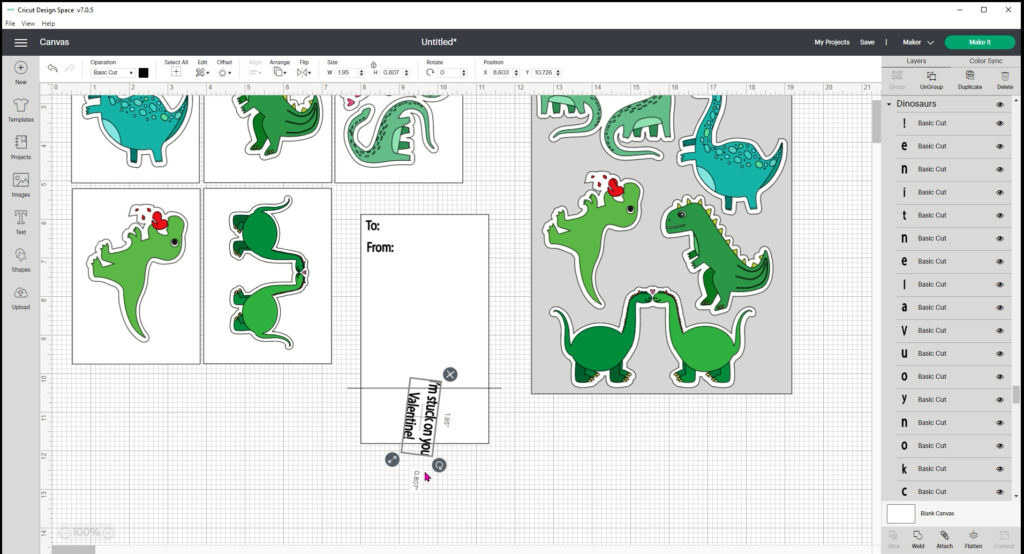
Rotate the writing around by using the little circle tool on the corner and rotate it upside down. you can also go up to the toolbar and select flip vertically.

Then select the 4 cards and click on flatten.
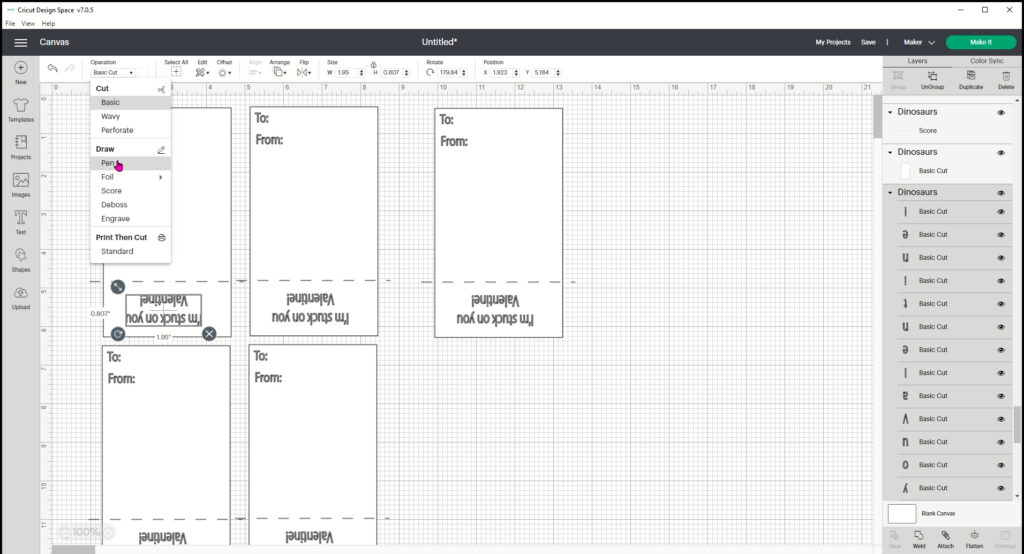
Hide everything except the Cards with words. Select the text and change it to Pen. Do this for the “To:, From” and the I’m stuck on you Valentine”.

Select the line and change it to a score line. Then select all the words on the card, the score line, and the card and Attach. Do those two things on one card so you can then copy and paste to make several cards at once.

Go to Make it and check your mat then continue.
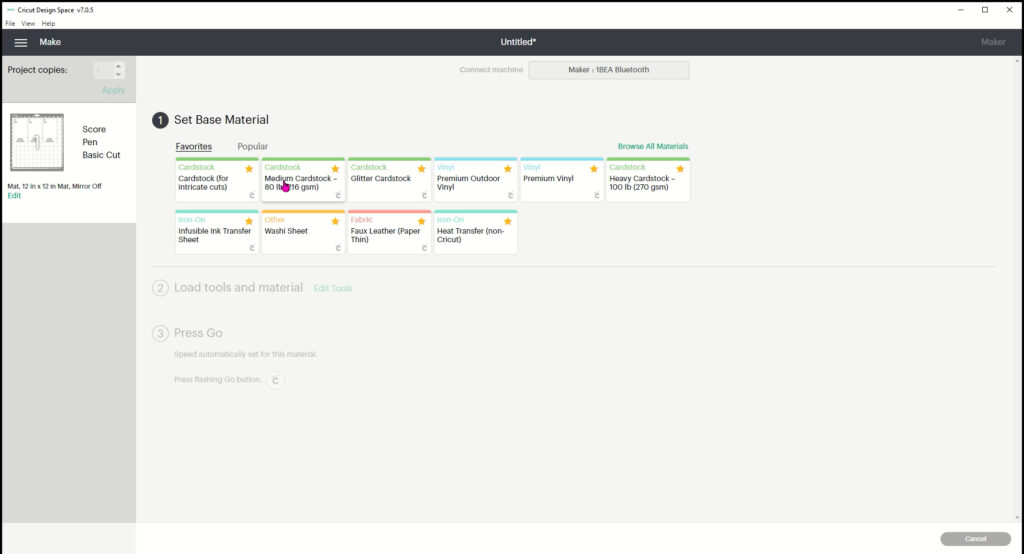
Select Medium Cardstock with more pressure.
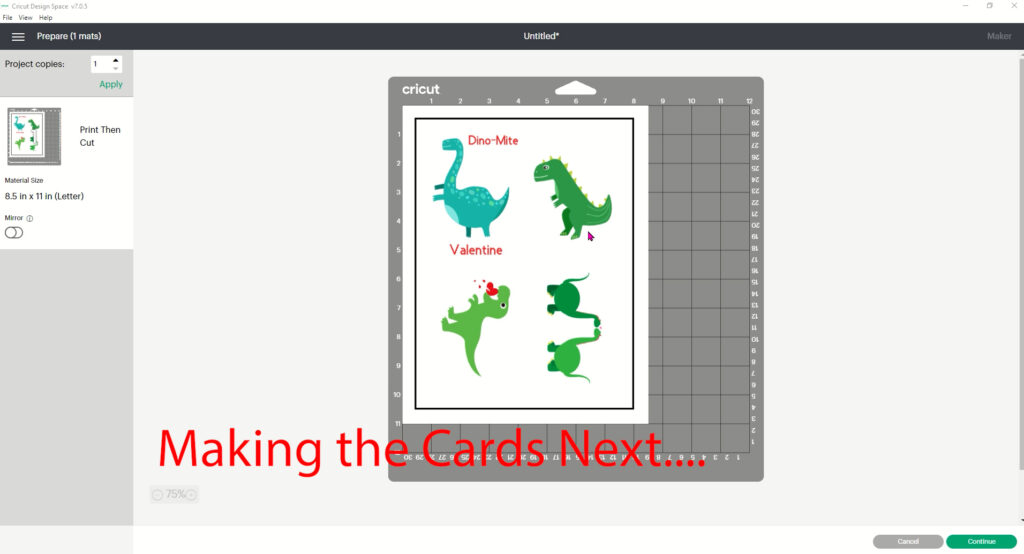
To Make the Dinosaur cards, go back and unhide them. Then proceed to make it. Check the mat and click continue.
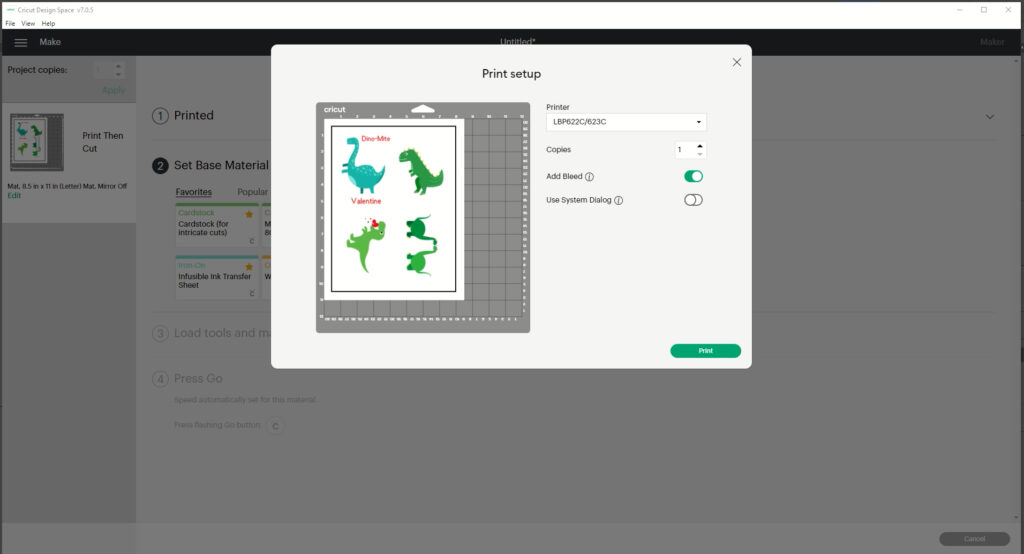
First it will prompt you to print. Select your printer, turn off bleed.
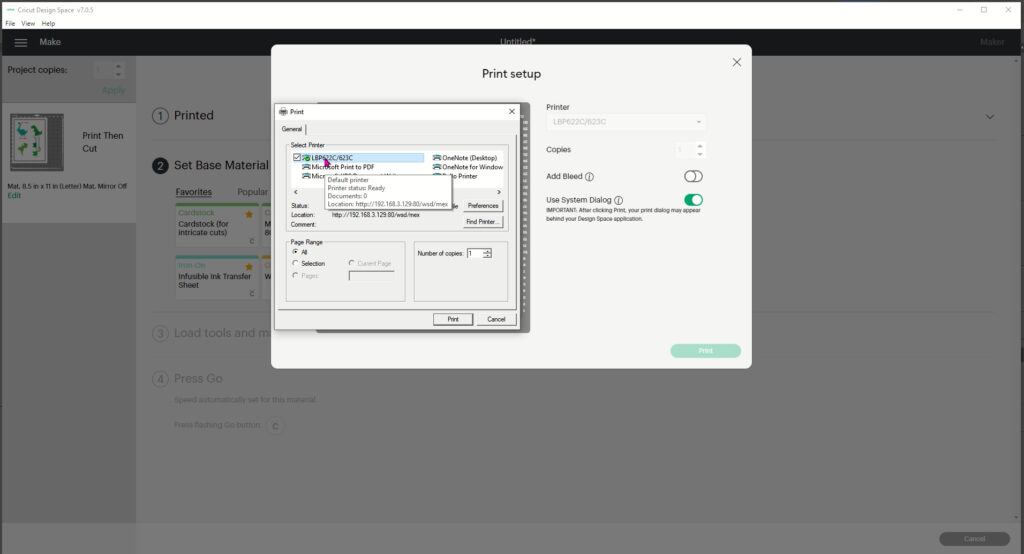
If you select Use system dialog, then your printer menu will come up and you can make changes to the printer there as well.
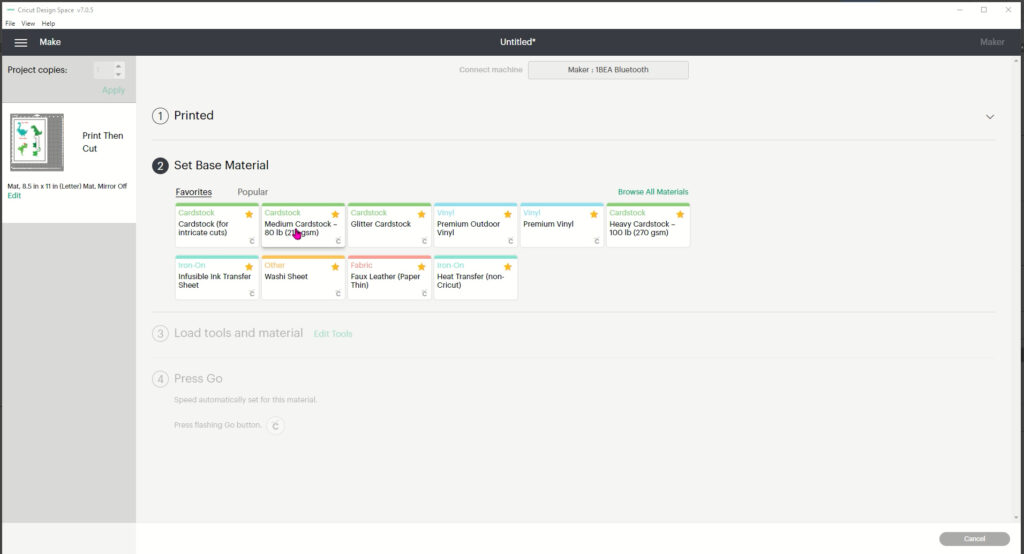
After it prints, place it on your mat and then select medium cardstock with more pressure and cut.
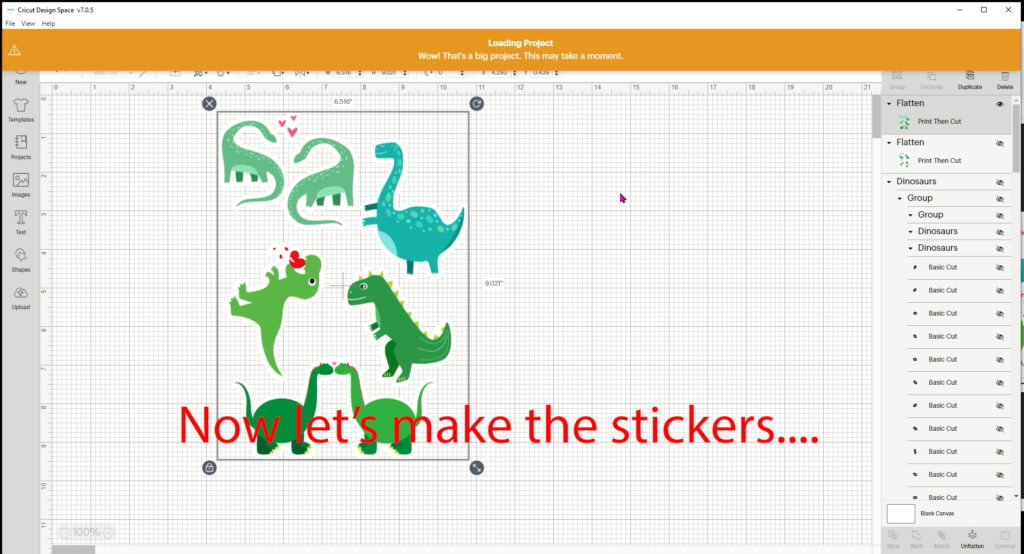
To make the stickers, go back and unhide the stickers. Ungroup and remove the grey block behind them. It is there just to show you what they look like. Then go to make it.
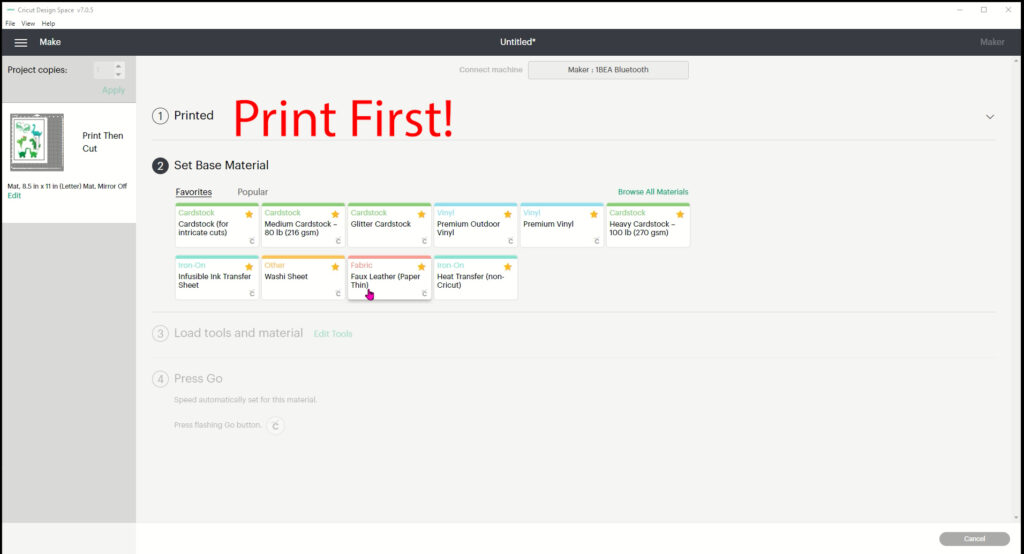
Print just the same as we did before but use the sticker paper in your printer and check to see which way the paper needs to be loaded in the tray so it prints on the correct side.
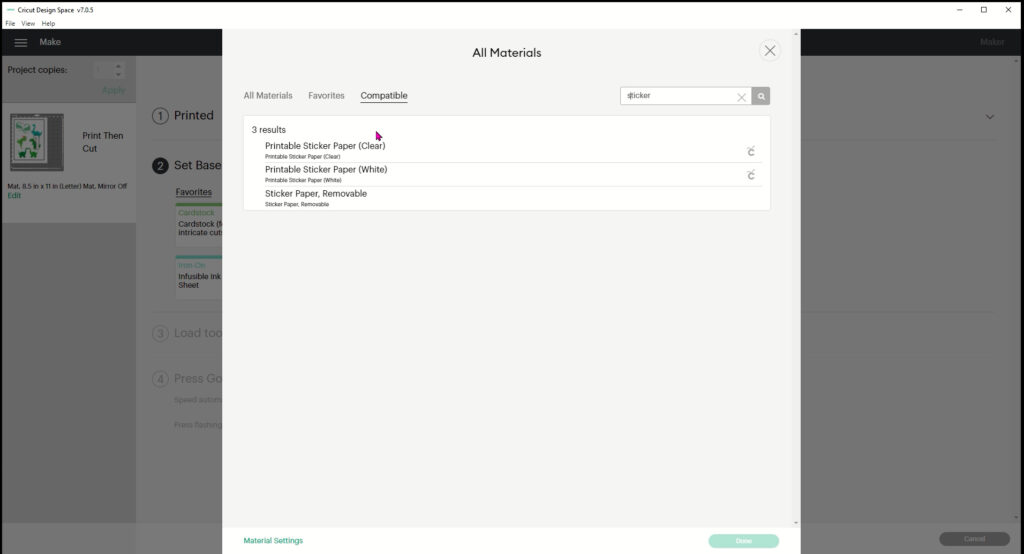
Then select your material and cut.
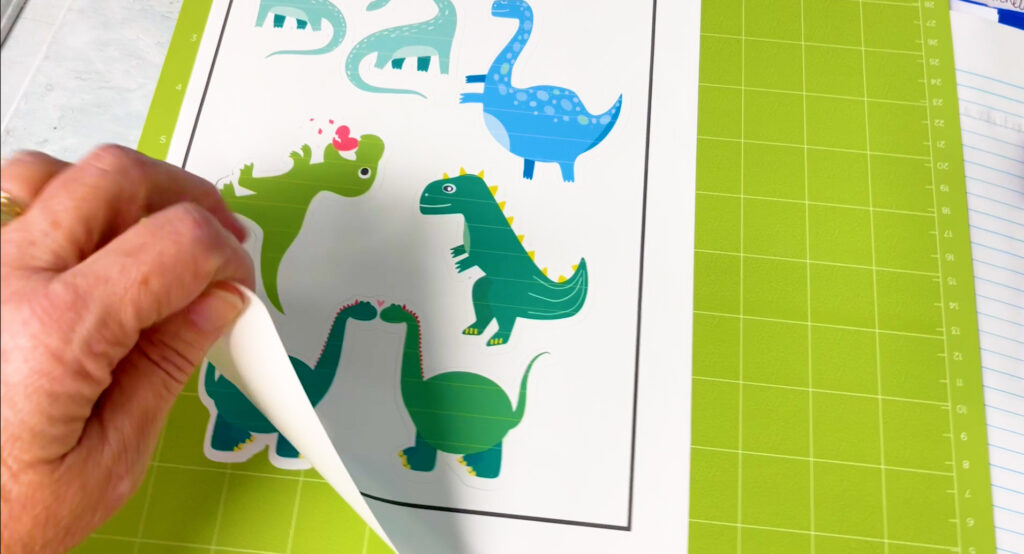
Choosing the White or Clear sticker paper will cut the stickers all the way through (Die Cut).
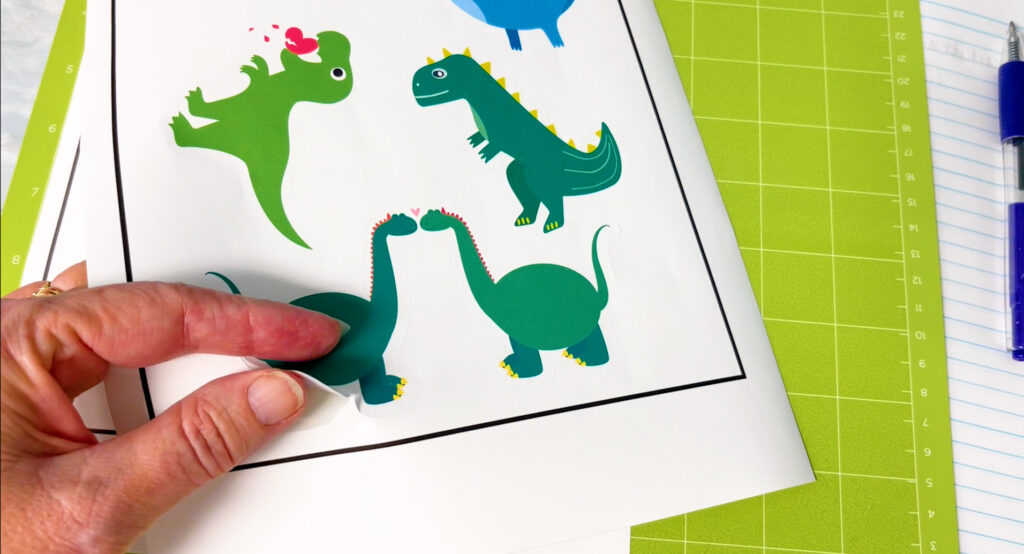
Selecting the removable will keep the sticker on the full sheet so you can peel them off one at a time.

Repeat the process for the Mermaids!
Remember to flatten first and then go to make it!
More Valentines…