
These wooden door hangers are so popular and I just love making them. For the holidays, I wanted to make a Believe sign with a nativity scene on it and I think this one turned out great!
I think you will love just how easy it is to make, especially if this is your first go at HTV on wood. I’ve had a lot of success using HTV on wood and I know if you give it a try, you will too! You an use either the Cricut Mini Press or the Easy Press. they both work well making these signs.
Watch my video for step by step instructions in both Design Space and for the Assembly.
This post may contain affiliate links and we may earn compensation when you click on the links at no additional cost to you. For additional information, please see my full disclosure policy.
Supply List – Every think you need to make this sign
- HTV (black)
- 15” Wooden Round from Mr. Peacocks
- Cricut
- Mat
- Brayer
- Scraper
- Weeder Tool
- Easy Press Mat
- Easy Press Mini
- Parchment Paper
- Foam Brush
- Paper Towels
- Acrylic Paint (brown & black)
- Wired Ribbon
- Greenery
- Floral Wire
- Painter’s Tape
Instructions
First Download our free SVG.
The Free SVG is in the resource library for personal use and if you are not a member, you can sign up to get it and many other freebies! (commercial use designs are in the shop)
Then upload the SVG in Design Space.
If you need help doing this step, refer to this post with full instructions. How to Download and Upload ZIP Files.
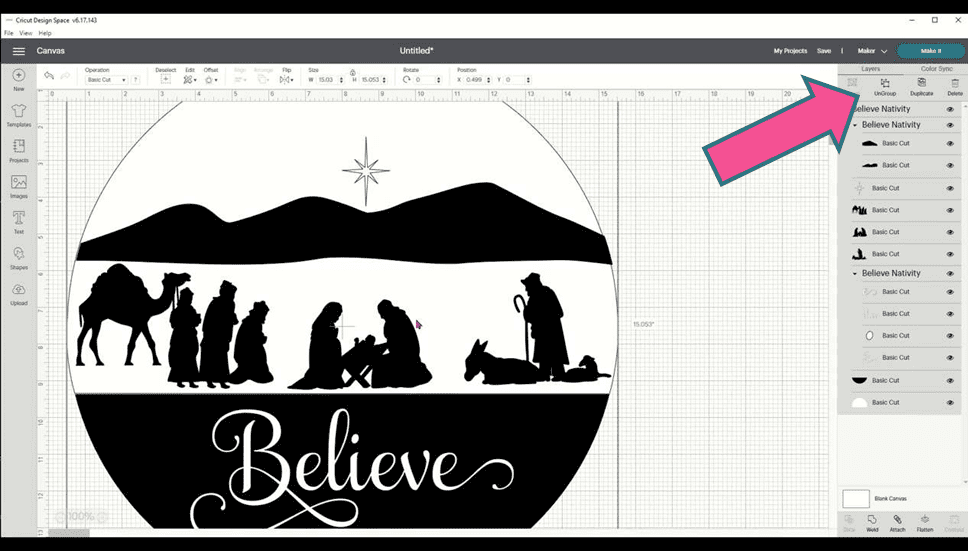
First Ungroup the Design
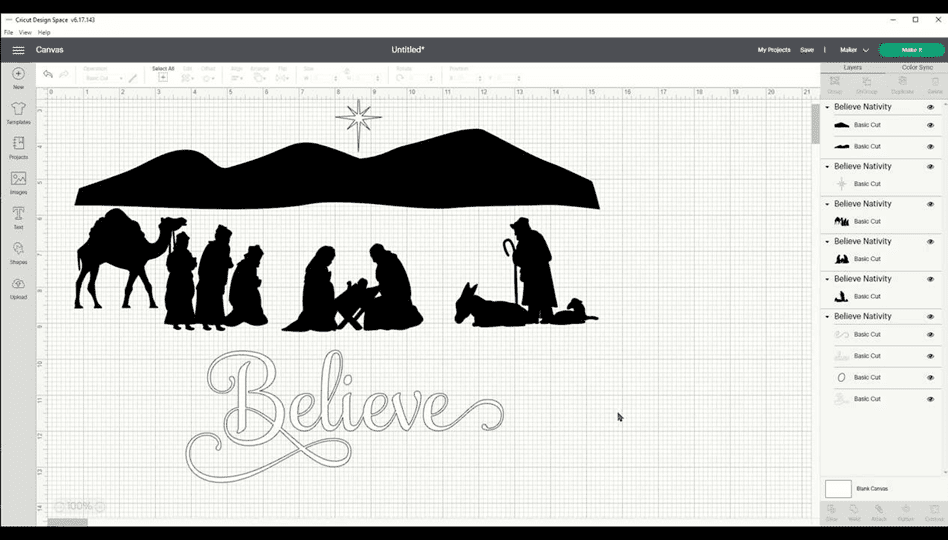
Delete the black bottom half and the white upper half of the circle. They are there for reference only.
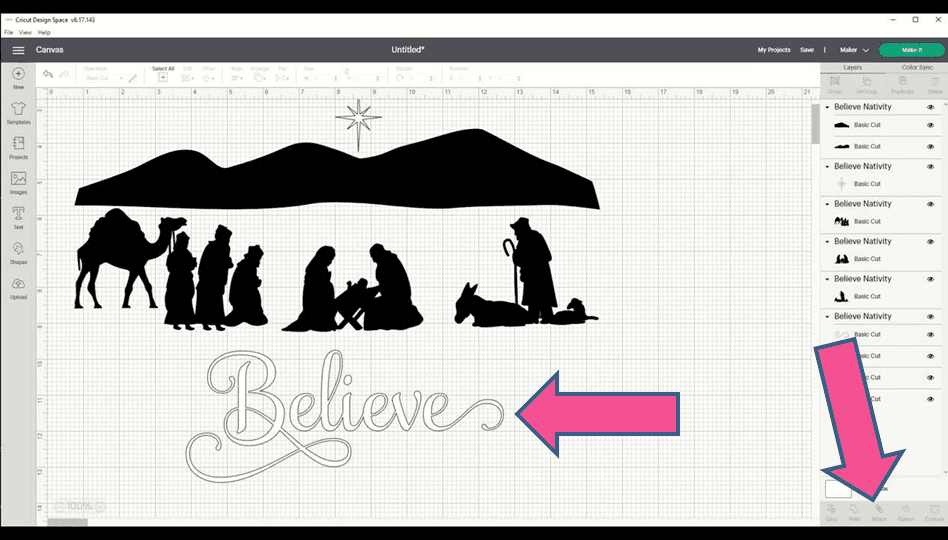
Then select the Believe and attach.
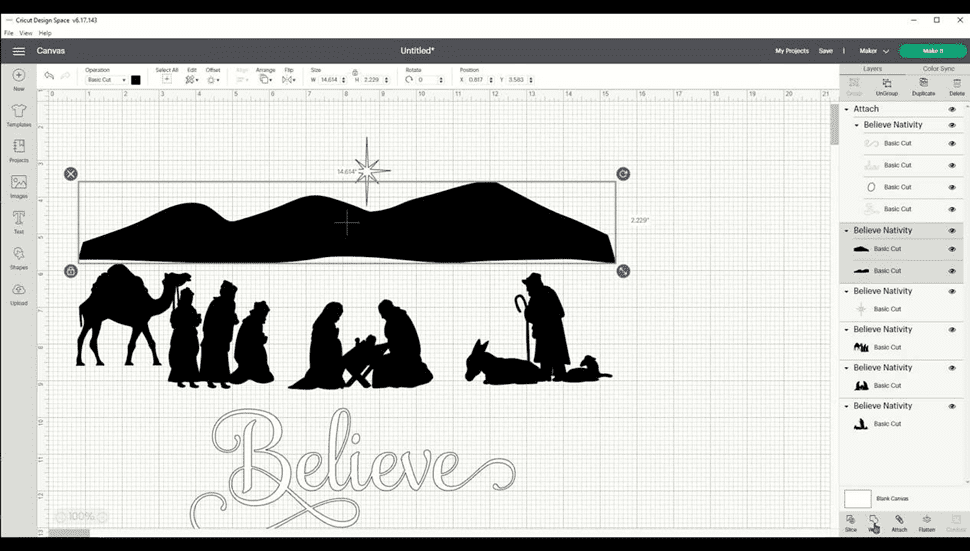
The mountains are in 2 pieces in case you do not have a 24 inch mat. Cut each half and then attach them by adding one half to the wood and then the other. If you have a 24 inch mat, select both and weld.
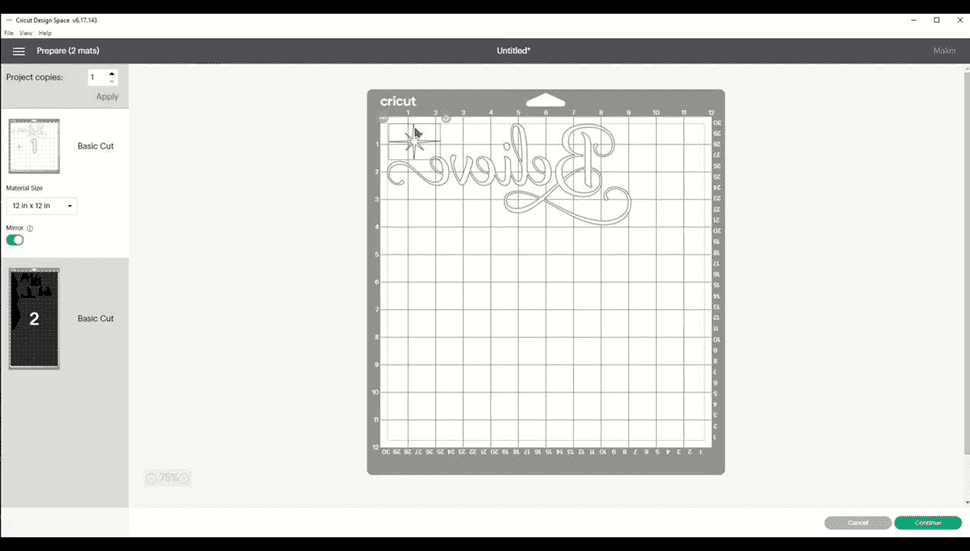
Be sure to mirror both mats and move the objects around to save vinyl. Here I moved the star.
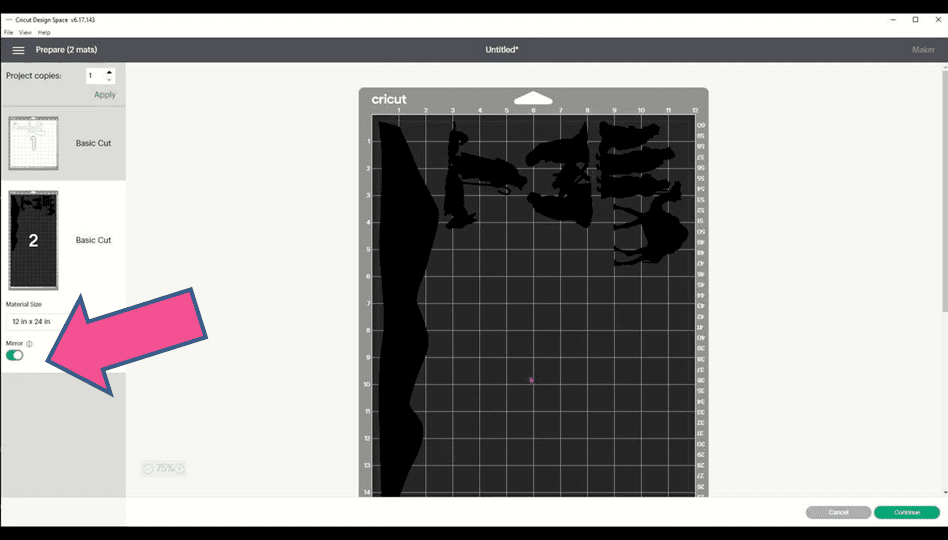
Here I moved the figures.

Select the Heat Transfer Vinyl or Iron On Vinyl for your material.
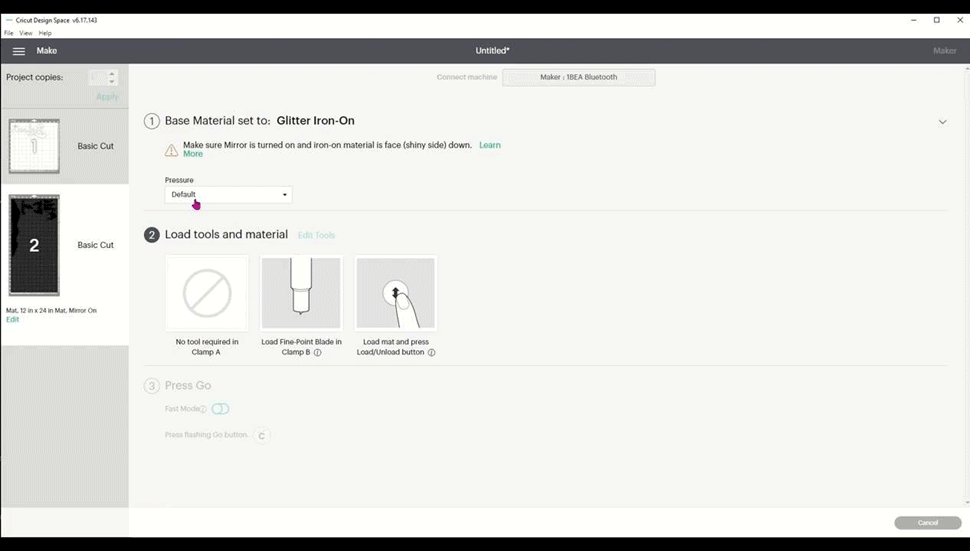
Notice I used Glitter Iron-On for the Believe and the Star.
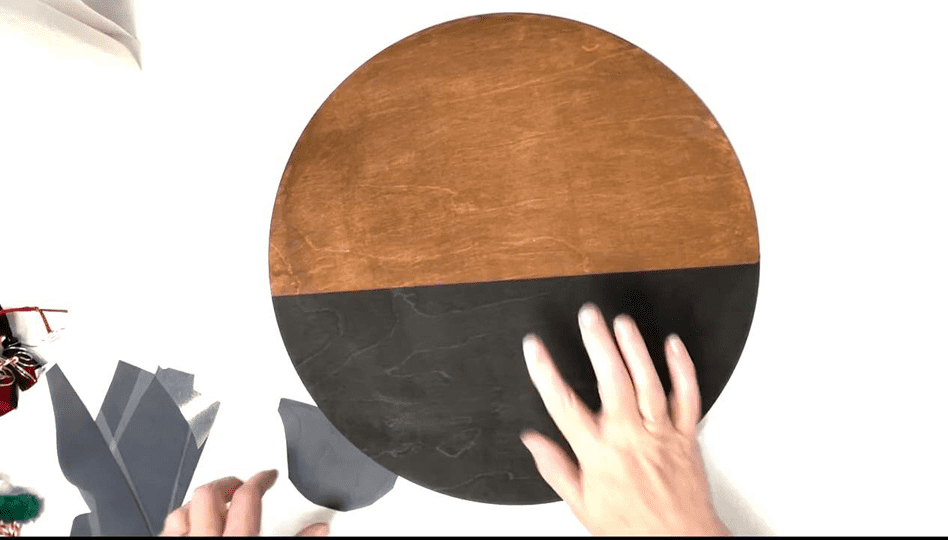
For your sign, paint the lower 1/4 black and use a wash of brown on the top (brown acrylic paint watered down). I find the vinyl sticks better to the paint versus using a stain.
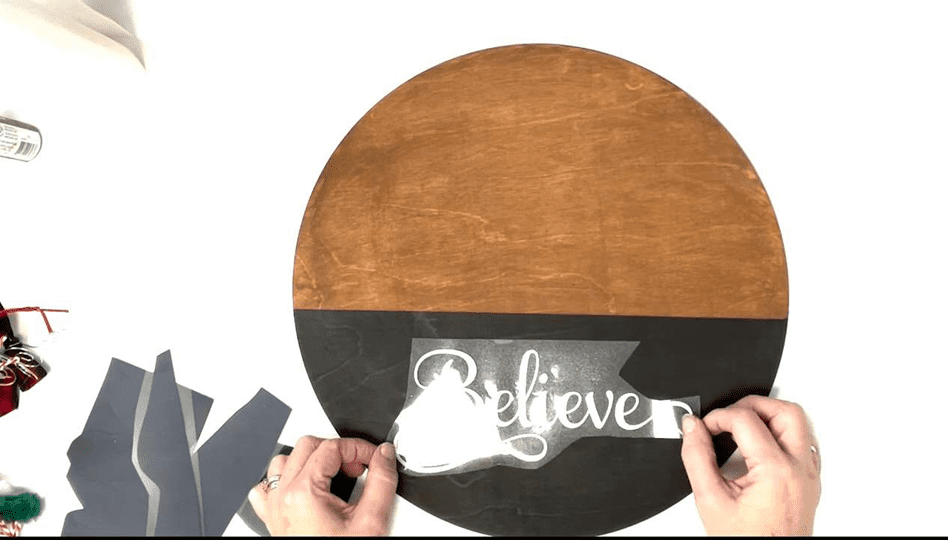
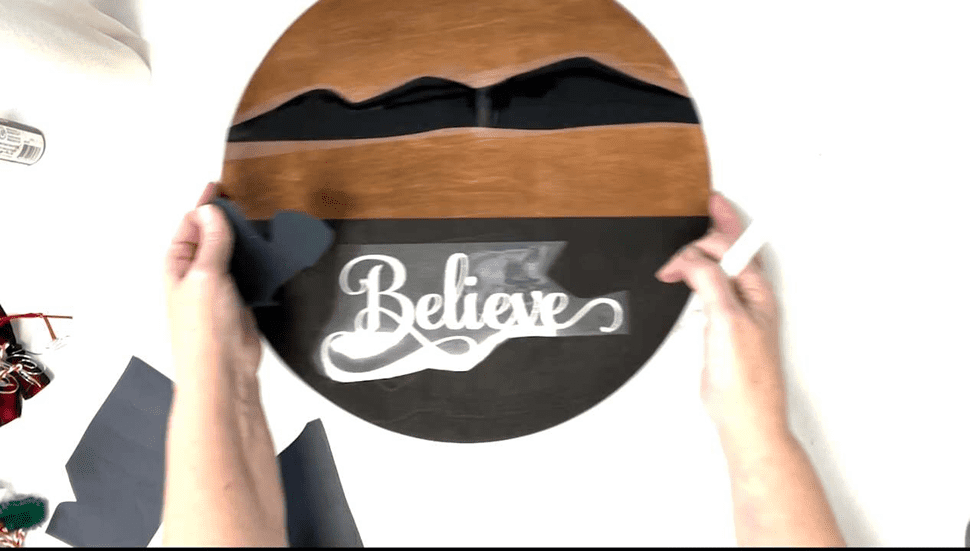
Place the Believe in the lower portion and using the Cricut Mini press at the 2nd light level, apply pressure and heat for about 40 seconds while moving the iron around.
Check to see if it is adhering to the wood. If not, continue to heat again for about 30 seconds until a good bond is formed. Let it cool and remove the transfer tape.
Next, lay down the mountains and the figures to see where everything will go. Then remove the mountains and use the mini press to attach the figures.
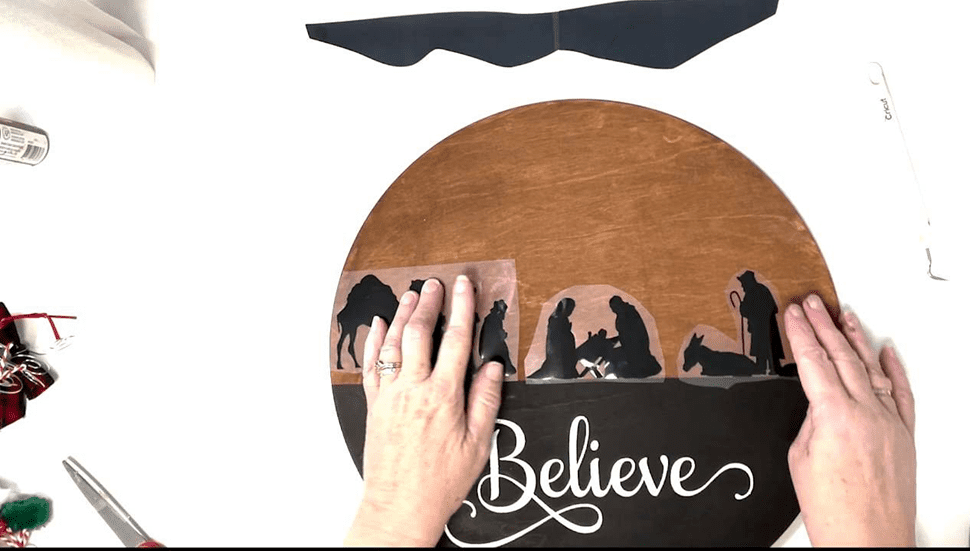
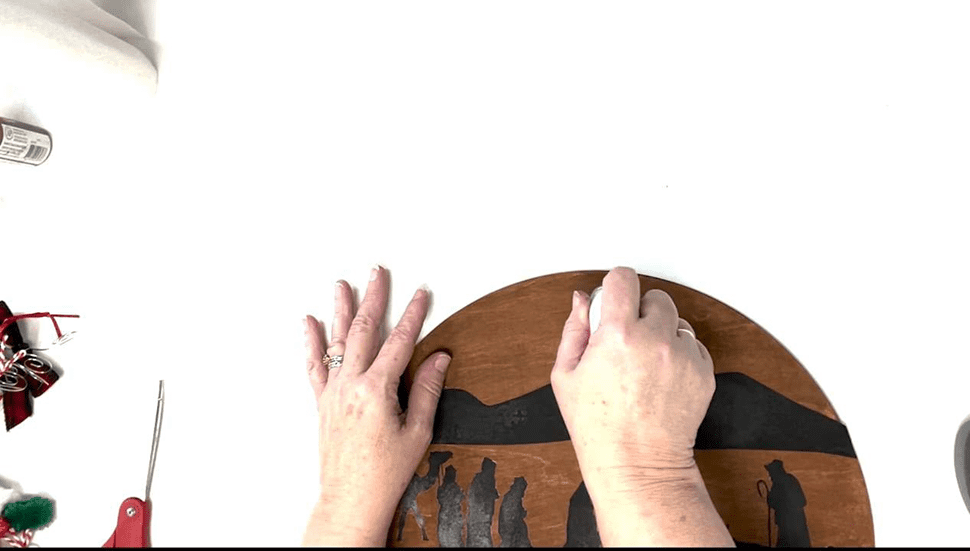
Then apply the mountains. If you used two pieces, then put on one and then the other. If they over hang the wood, then simply use a nail file or a piece of sand paper to remove the overhang.

Lastly, apply the star.
Once it is all done, spray a coat of Kamar Varnish or other protective sealant over the entire sign. Let dry.
Add a bow to your liking to the top. Check out our other blog posts on making signs to see how to create these pretty bow. It’s really quite easy once you get the hang of it. I’m even playing with the idea of creating a removeable blow so you an use it on all different signs you make. That would save time and make storing them much easier.
I’d love to see your signs that you make. Please take a minute to check out our Facebook page Craft Room Time or join our Facebook Group for Cricut lovers! I love giving away prizes there!
Like making signs? We have quite a few!
Love this!