Making stencils for furniture with the Cricut is not hard to do at all! I especially love using them on antique or vintage pieces that I plan to paint to let some of the original wood and character show through. They become works of art!
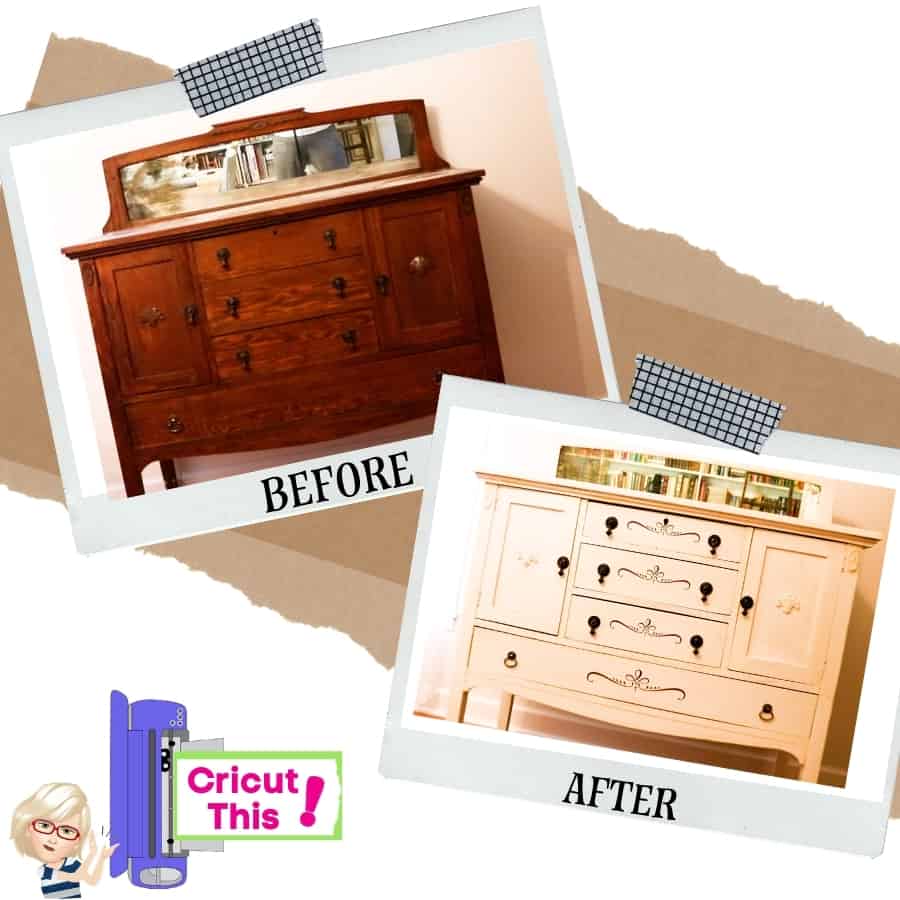
In the latest design series by Comfy Cozy Home, we show you how to take an antique buffet and make it fresh and new for a farmhouse dining room using a stencil made from the Cricut! There is a full blog tutorial on how to prep and paint your furniture here.
You can easily design your own stencils and use the patterns throughout your décor to give it that design look. I chose glyphs from the Samantha Font to make my stencils for the dining room and throughout this series, you will see how the design was incorporated into different projects to bring the room together.
In this tutorial, I’ll show you how I used the Samantha Font in Adobe Illustrator to make an SVG, how I brought it into Design Space and made all my other designs from just this one upload.
Supplies
- The Samantha Script Font (on sale at the time of post)
- Vinyl
- Transfer Tape
- Cricut Weeding Tool
- Cricut Cutting Machine
- Cricut Brayer
- Mat
- Adobe Illustrator
Instructions
For full instructions on how to make the stencil in Adobe Illustrator using the Samantha Font, please watch the video above. I show you how I made it into and SVG and loaded it to Design Space.
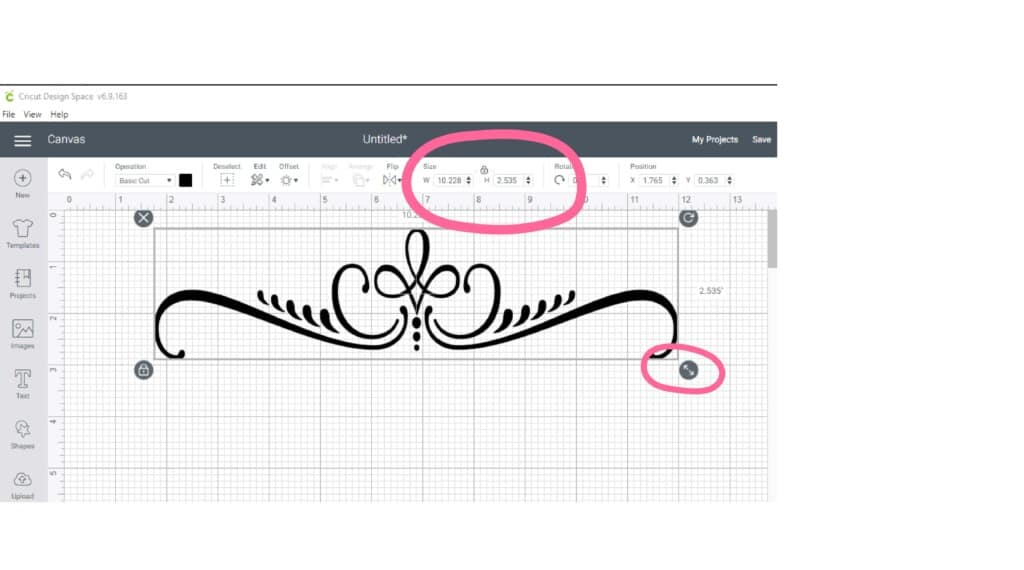
Using the Stencil (see sign up below to get the stencil or watch the video to see how to make your own SVG), upload to Design Space and resize to fit your drawers between the knobs.
Use the sizing tools on the corner of the design to make is smaller or larger or type in the values in the Size Boxes as shown above.
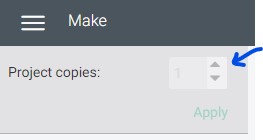
Duplicate the stencil for how many you would like to cut here, or you can put in the number of project copies and it will prompt you to reload your mat, or you can also cut the one several times during the cutting process by unloading the mat, reloading it and pressing the C button again. If you have more than one size (a drawer that is bigger so needs a bigger stencil) then I found it easier to just put as many as you need on the canvas before going to Make It.
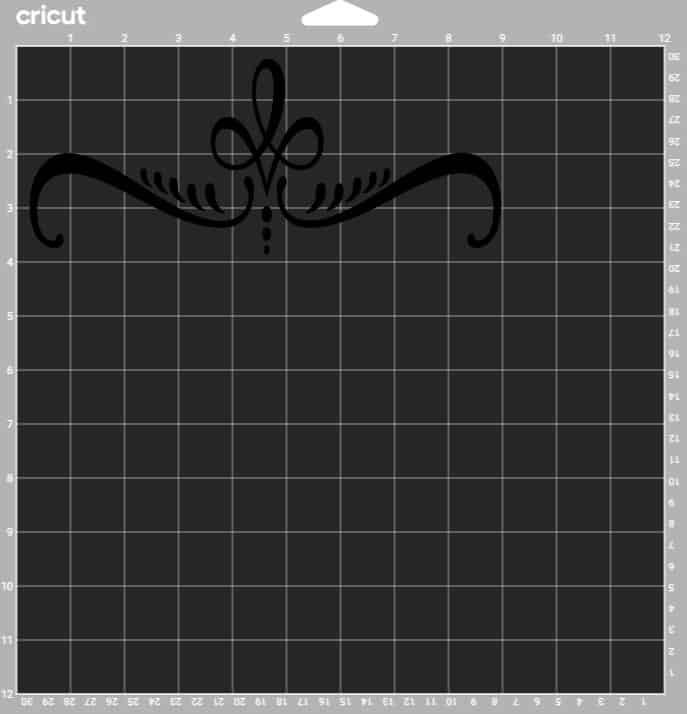
Once you go to Make It, check your mats to make sure you are taking full advantage of the placement to save vinyl.
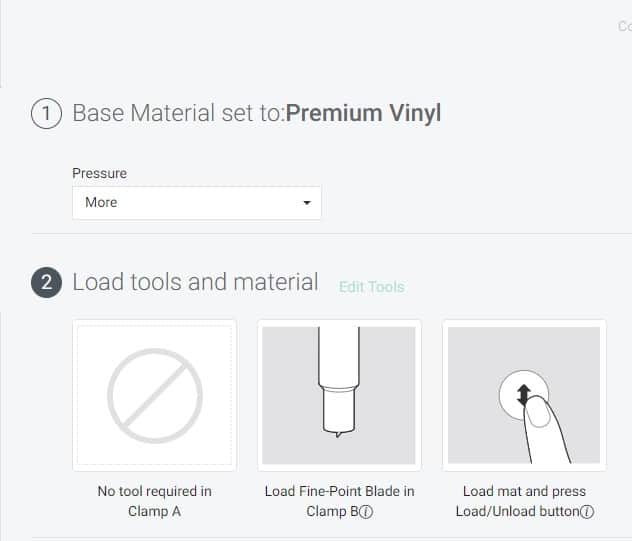
Continue on to material and select the material you are using. I used Oracle 651 Vinyl, so I chose Permanent Vinyl Setting with More Pressure.
Continue to cut. I used the Green Mat for my project and Cricut Transfer Tape to put it on the drawers.
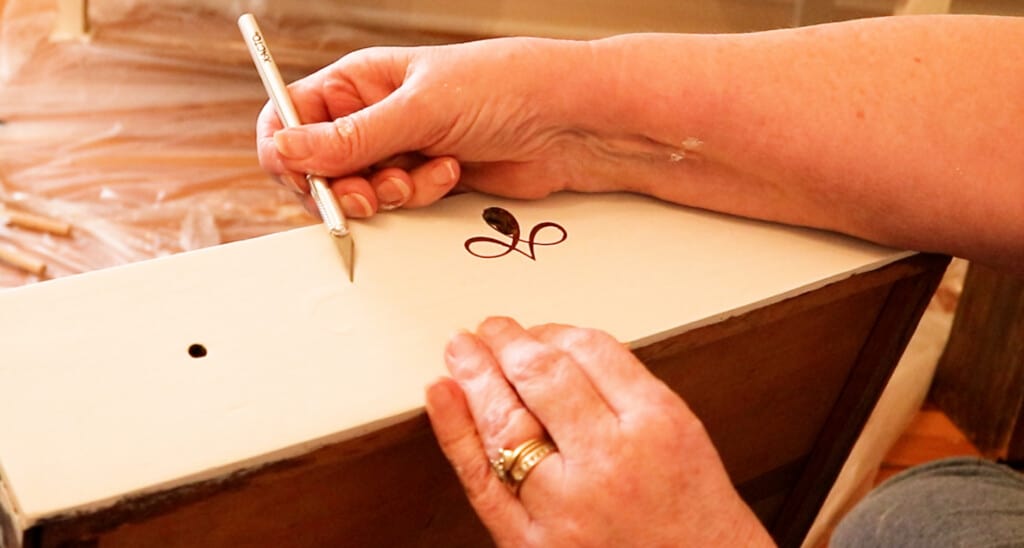
That’s all there was to it. When removing the stencil after painting over it, I used an exacto knife and carefully took off each piece. You can also use the Cricut Weeding Tool to do this.