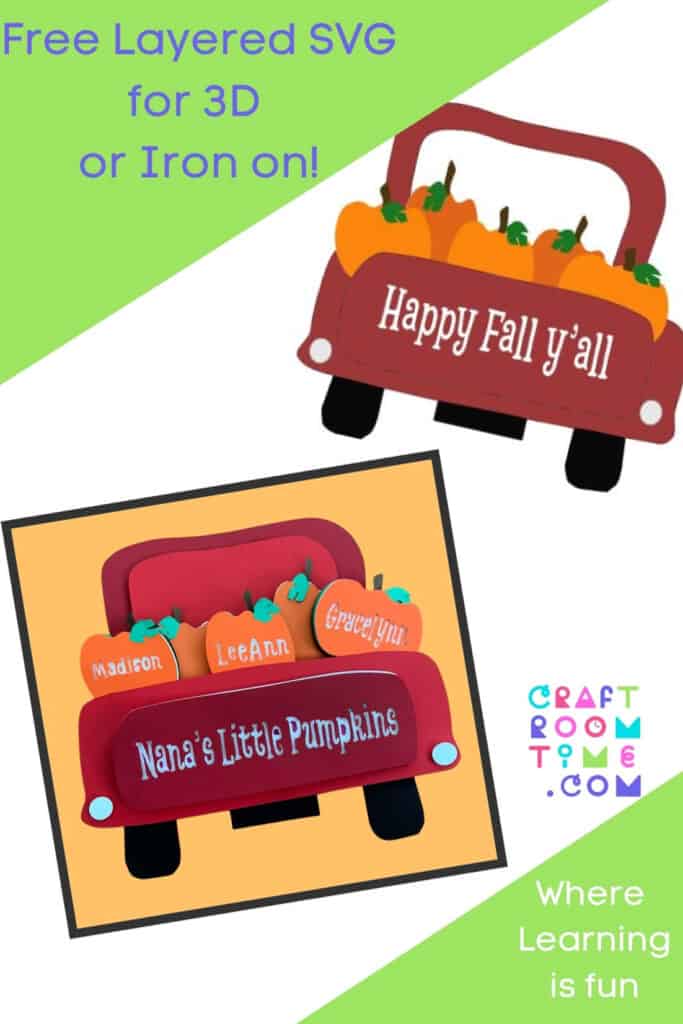
Fall is just around the corner and I just love it when all the fall colors start showing. Who doesn’t? I created this cute Little Pumpkins Fall Truck free SVG for all of you to create your own colors of fall for your home!
Easy to insert any kind of sentiments to the truck and the pumpkins with some easy instructions. I’ve include them in this video for how to cut and assemble the paper truck as well as the iron on truck with pumpkins!
There are two files included. One is for the layered paper truck and the other is a flat truck to cut with vinyl or HTV for Iron On. Use your imagination to put the files to work for you!
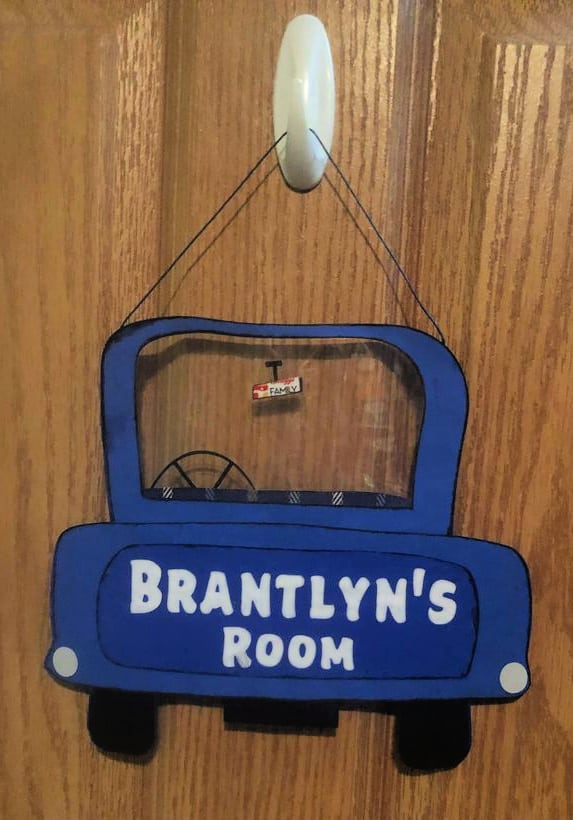
Look what a fellow crafter Barbrah Stump did with the file! Made this cute little door hanger for her grandson! I love it!
Supplies for Little Pumpkins Fall Truck Free SVG
- 65 to 80 lb Cardstock in varying colors
- Foam Double Sided Stickers
- Shadow Box
- Cricut Maker
- Mat
- Weeding Tool
- Circut Iron On Vinyl
- Cricut Easy Press
Instructions for 3D Paper Truck
Step 1
Upload the SVG file called “Layered Truck”. For instructions on how to do this read this: How to Download and Upload SVG Files
Step 2
Your truck will come without any words on it. Decide what you want to include and then add the text in Design Space. Choose your font, size and placement on the tailgate and/or pumpkins. Then slice the words out of the shapes. See video for complete instructions on how to do this step. SAVE your file and give it a project name that you will remember.
Step 3
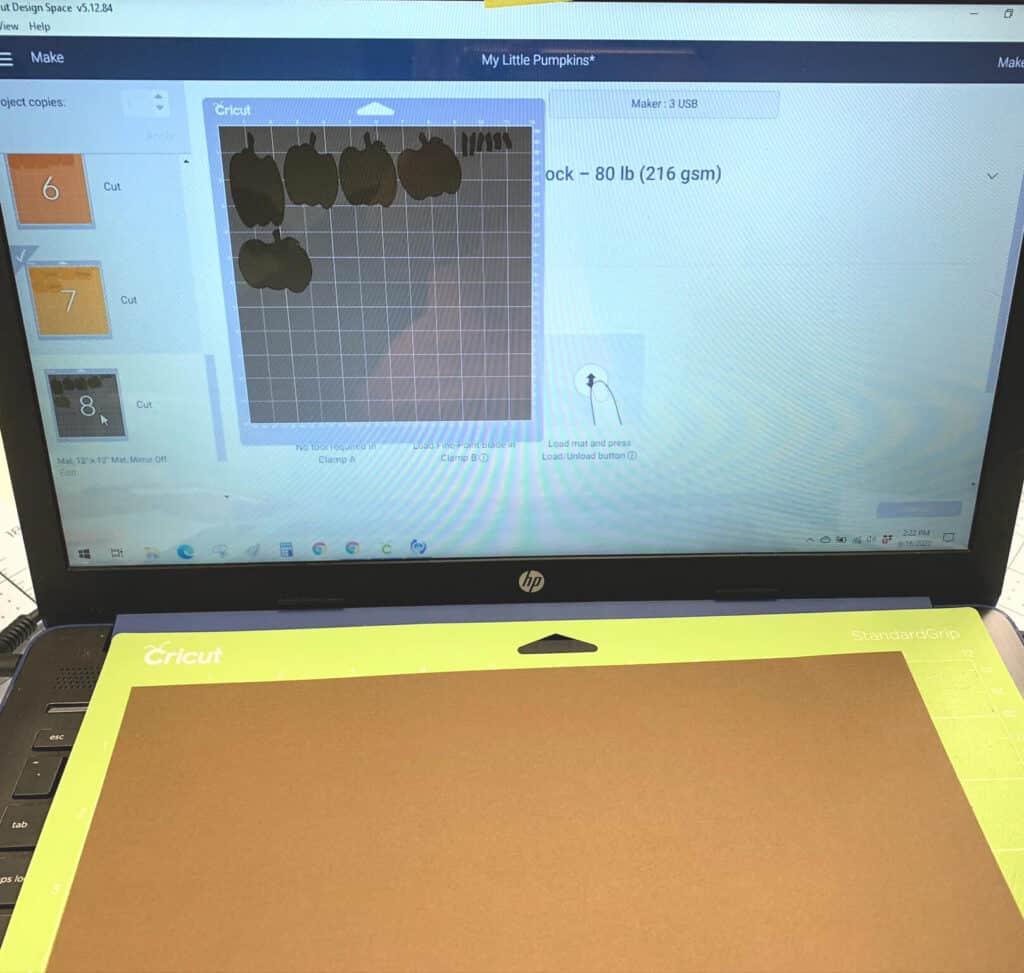
Once you are satisfied with the layers, click on Make It. Check the mats to see if you want to change anything. Once you select continue, you cannot change the mats.
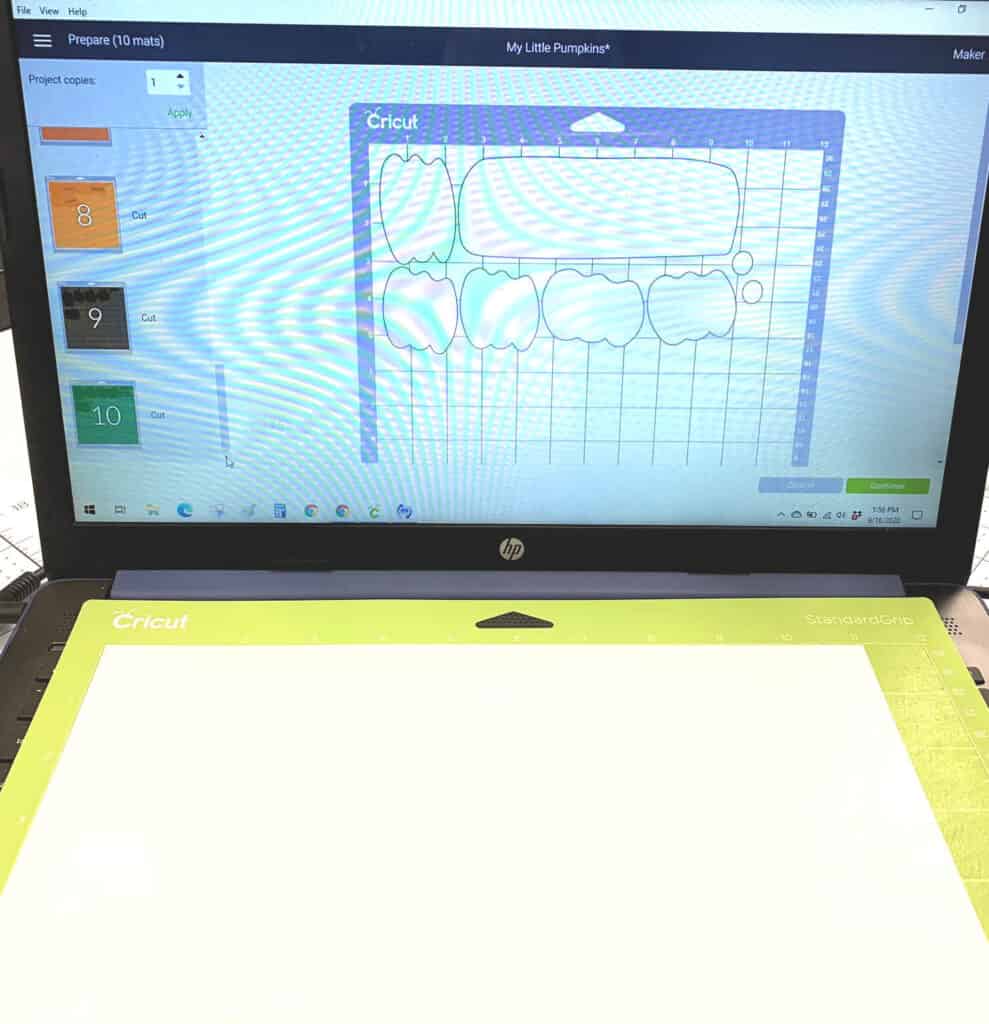
The headlights were tinted with grey so you may want to change them to white, or move them to the white mat (see video).
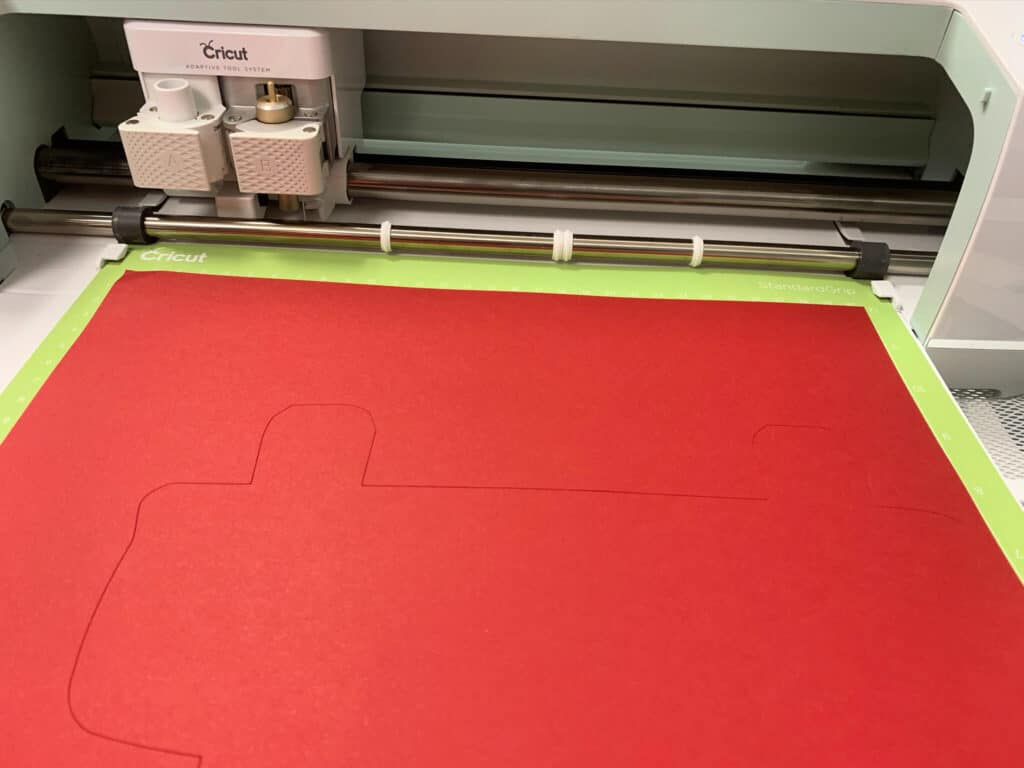
Step 4
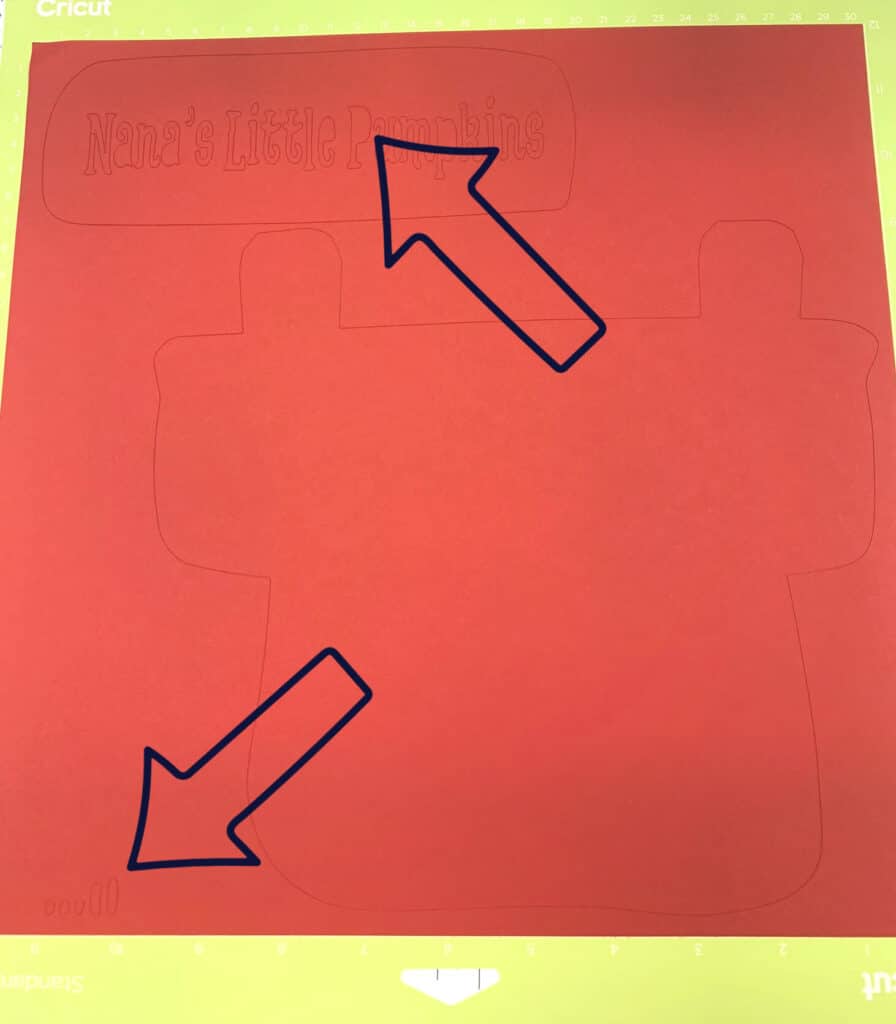
Click on continue. Choose your cardstock setting. I used 80lb with the setting to more. Begin to cut all the mats. I did end up turning the red mat around to cut the tailgate as they were on two different mats.
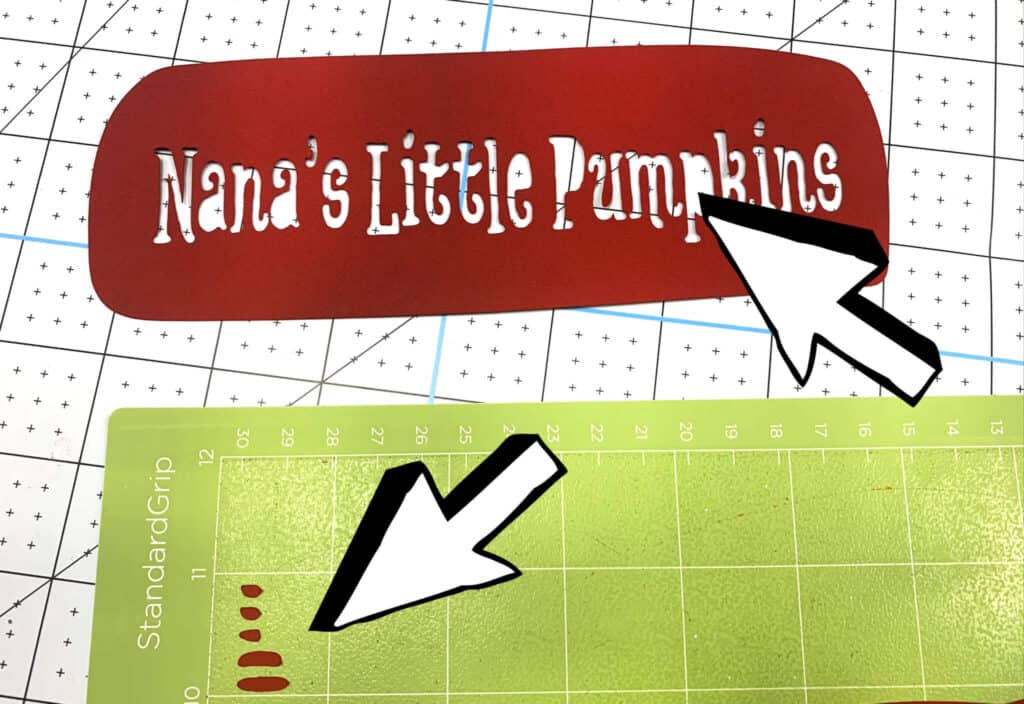
The little pieces of the words ended up cutting as well. I don’t use them. Instead I use a sharpie to fill in the dots directly on the white. I show this in the video as well.
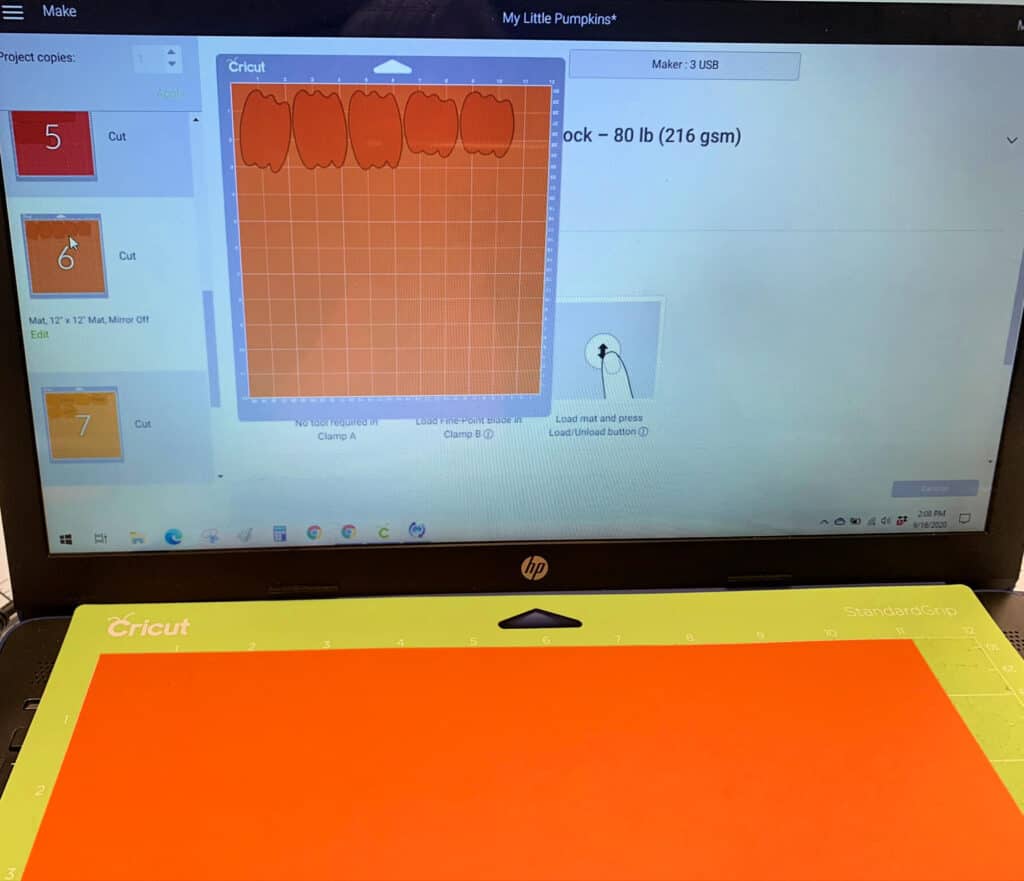
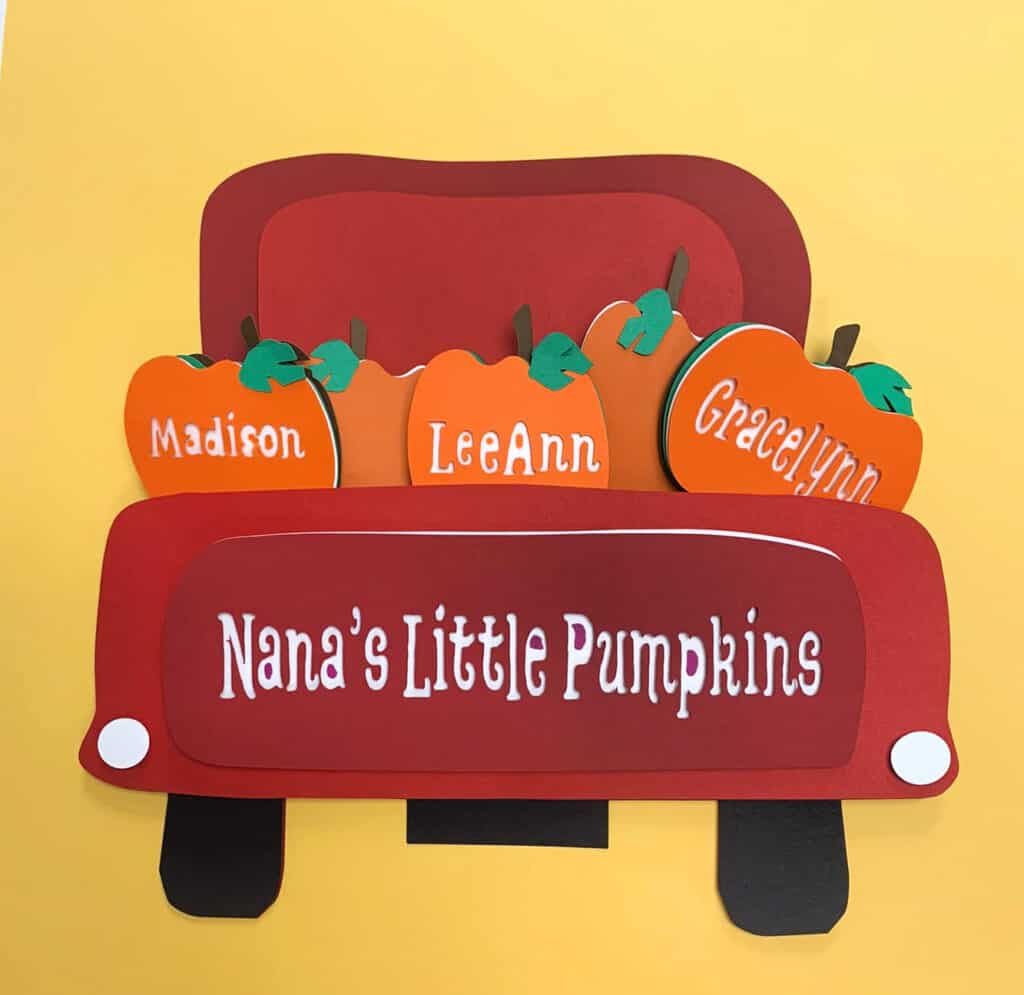
For the pumpkins that weren’t sliced with the grand kids names, I used a darker orange cardstock so they would appear to be further inside the bed of the truck to add dimension.
You will also see that the stems of the pumpkins also cut. You don’t have to use them. Just hide or delete these little pieces before you cut. If you do cut them and want to use them to give more of a 3D look to the pumpkin, you will need super tiny foam dots.
Step 3
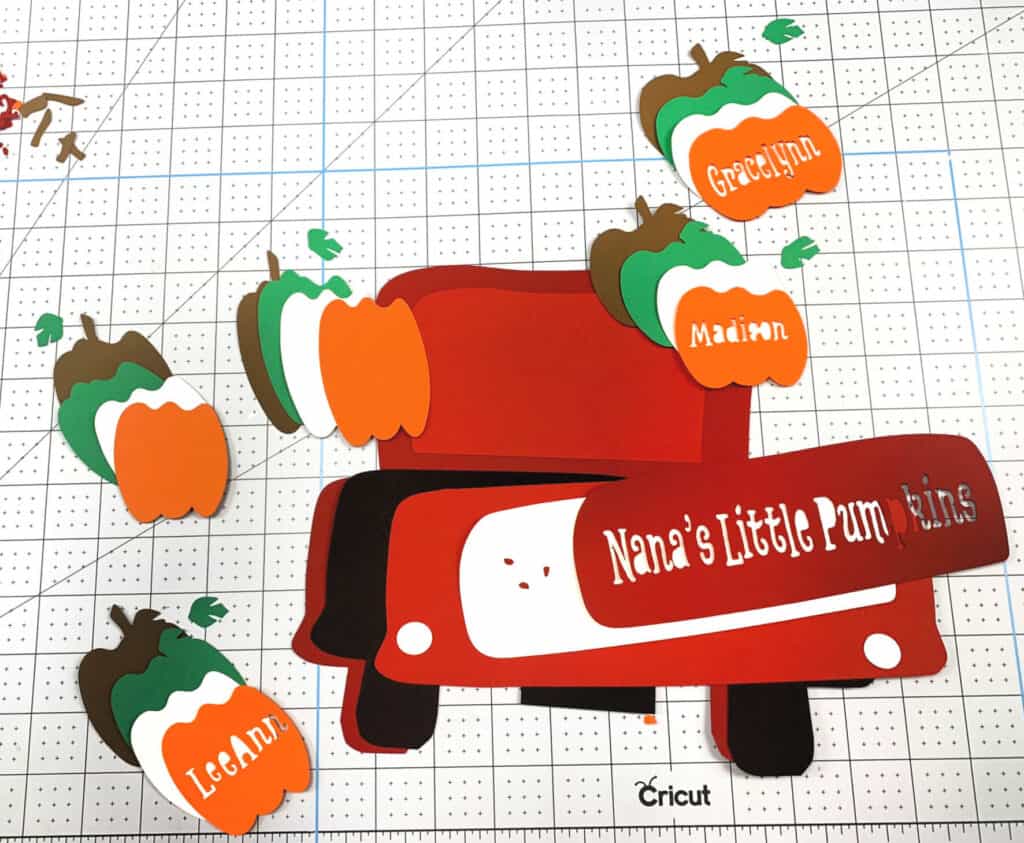
This is everything that cuts for the layered paper truck and the order in which they should be assembled.
I did not use the little red dots as mentioned above, not the tiny pumpkin stems. I did use an extra layer of foam dots (on on top of the other) behind the red red tailgate (the one under the white layer). This made enough room to put the layered pumpkins behind it.
Instructions for the Iron on or vinyl
Upload the SVG file called “Flat Truck”. For instructions on how to do this read this: How to Download and Upload SVG Files
The flat truck does not include all the layers as the other file. It is designed so as not to waste vinyl that you will not see and would make the iron on rather bulky. Watch the video to see what is included in the flat file.
Proceed with the steps as mentioned above and cut the design out of iron on HTV or vinyl depending on what you want to make.
We love to see the crafts that everyone makes and others enjoy it as well. We have a Facebook Group “Craft Room Time” were we do giveaways for people just like you that share with us!
Pin it for later: