This may be a bit premature, and will be out of order since I have a Fall/Thanksgiving idea that I will be publishing in the next week, but as I walked through the hallowed halls of my local Costco I was overwhelmed with the Christmas décor and presents already stuffing their boundless shelving, and I couldn’t resist.
Twinkling lights, stuffed Santas and gift packages for every occasion, made it impossible for me to ignore the pending celebrations even if we have barely crossed into November. Those maroon rolls of summer sausage always bring me back to my childhood when my father would slice one up and fry them until they were crispy, crunchy slices of spicy goodness.
So, while I may be going out of order and we may not be in December, I’m never one to discourage the Christmas spirit, in myself or others, so I’m going to embrace it with this super fun layered, 3D SVG that’s perfect for any holiday décor.
Supplies:
Christmas 3D Believe SVG File -> Download
Card stock (heavy weight, minimum 80lb)
Glue (optional)
Scrapbook Paper (optional)
Fortunately, this is a super easy project that depends more on your patience on putting it together than anything else. It’s designed to fit an 8X8 shadow box but you aren’t limited to that size especially if you already have a shadow box but it’s a different size. In fact, in the following pictures I specifically used a 10X10 shadow box and embellished the final output with Christmas themed scrapbook paper and I think it looks so much better!
As with the shadow box, you can use whatever colors you want for the layers. I also played around with the different layers to find the best fit for my décor. The best thing about these designs is you can make them fit into whatever works best for you!
Now, let’s get started!
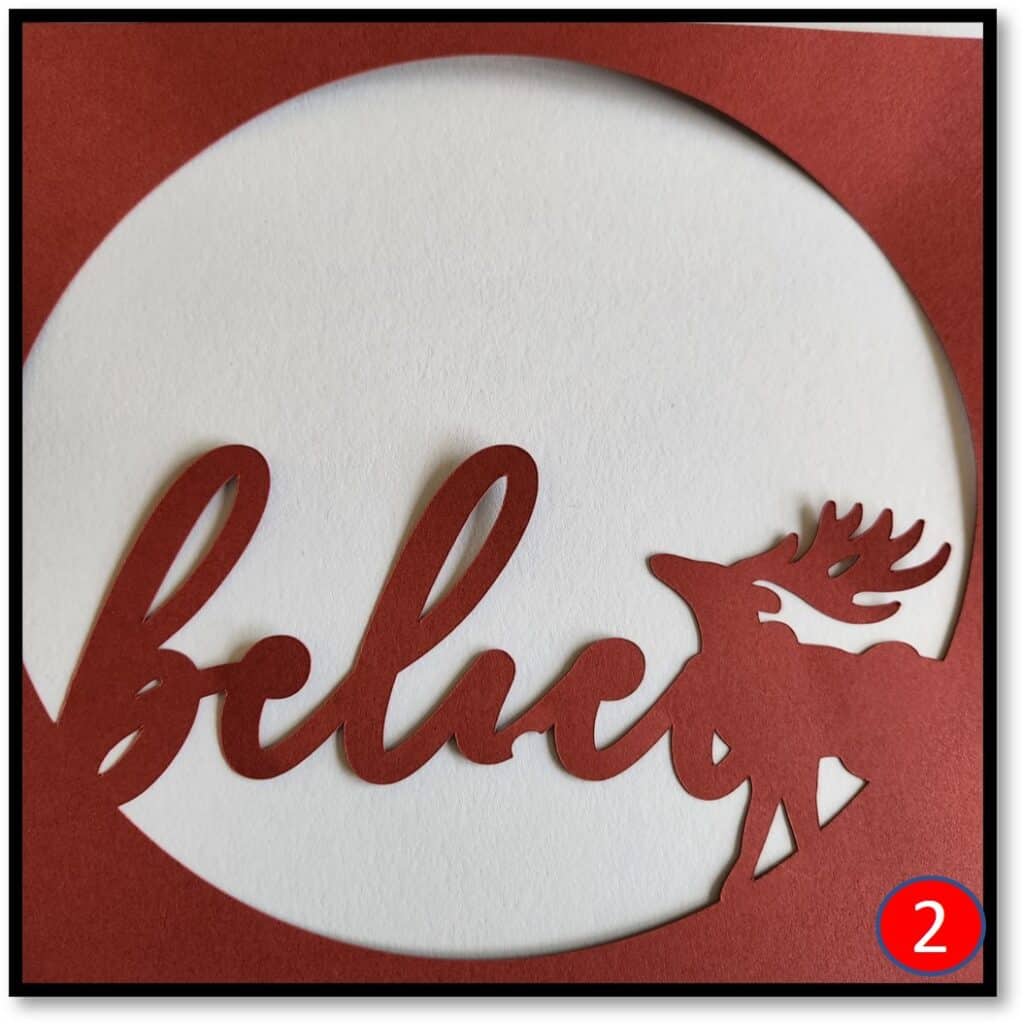
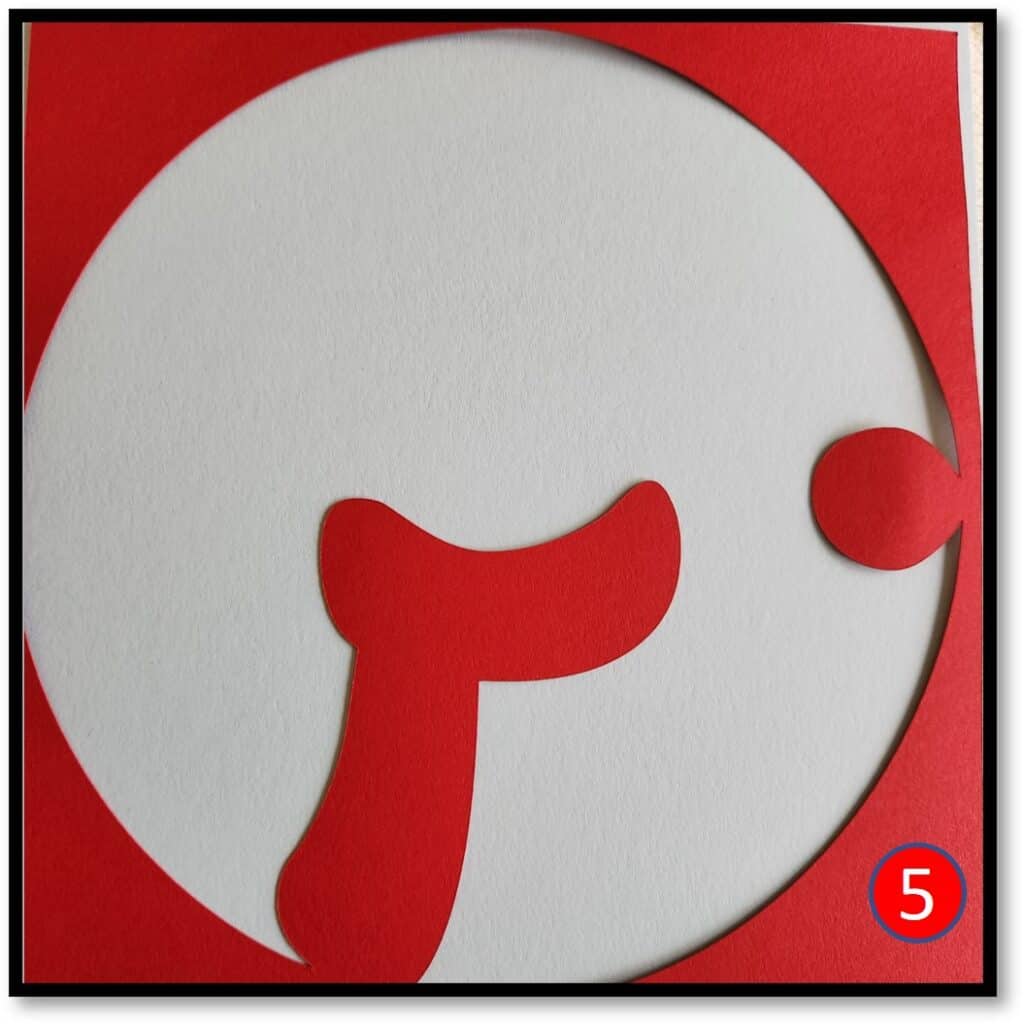
Here’s the comparison to the file output and the actual output:


Don’t panic! I’m not done yet. I don’t have the background added just yet but I wanted you to see the difference between the file version and my cut version. I used different color card stock as I wanted more blue but since I know that’s more of a personal preference, I created the file itself to showcase all Christmas colors rather than specific preferences.

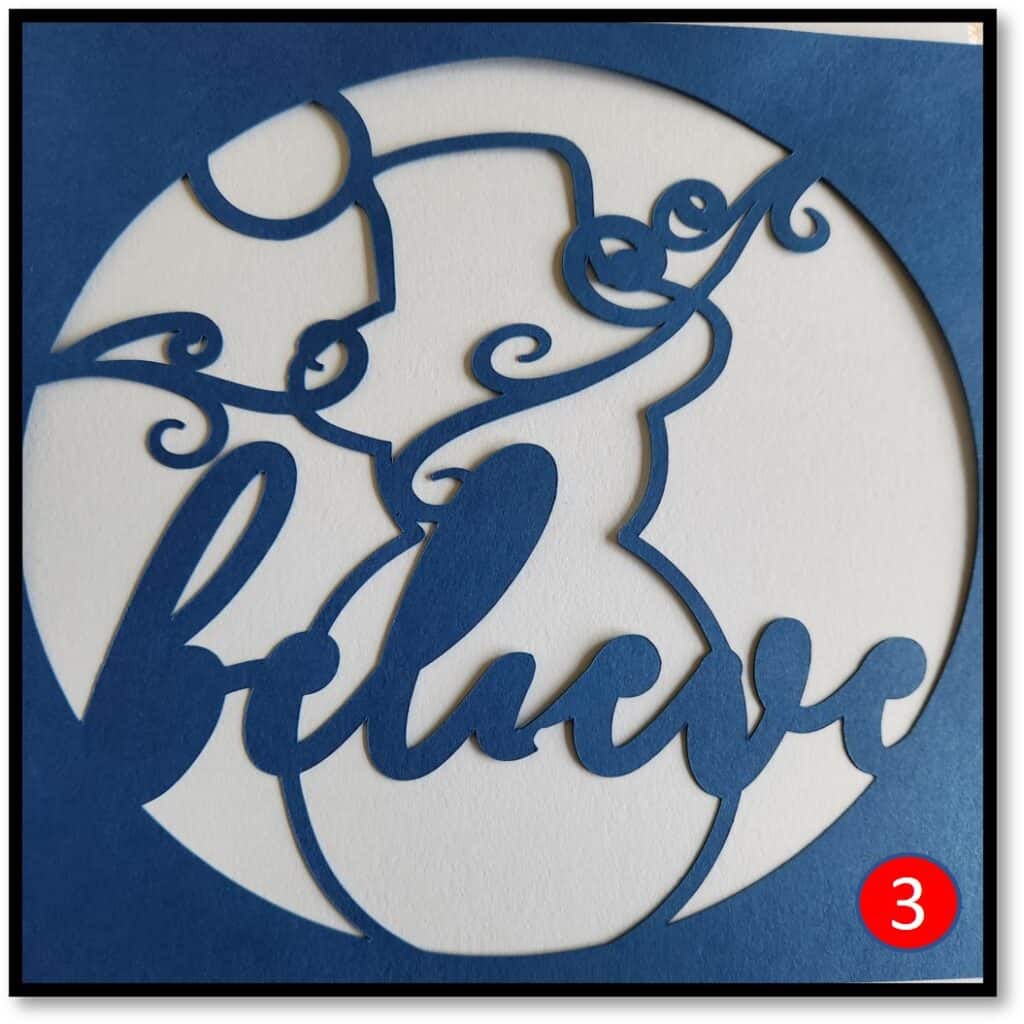
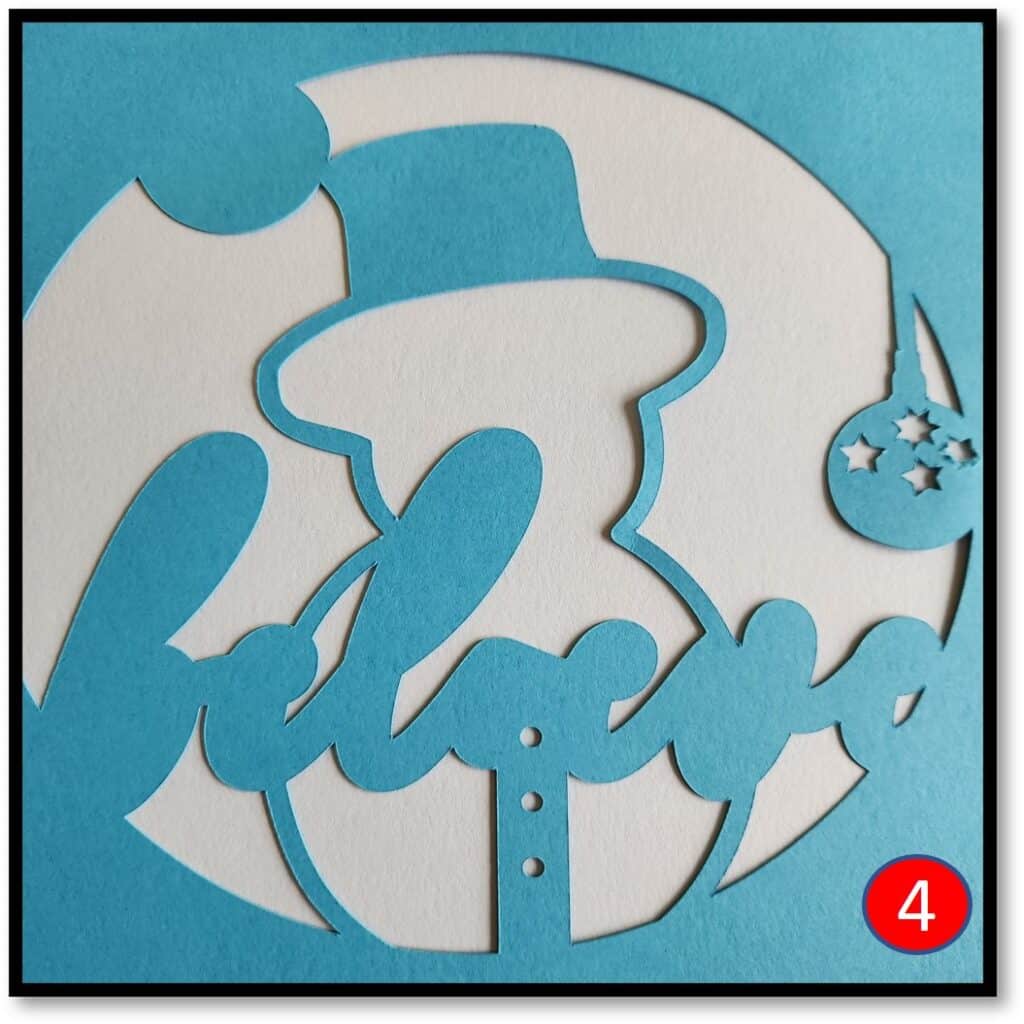

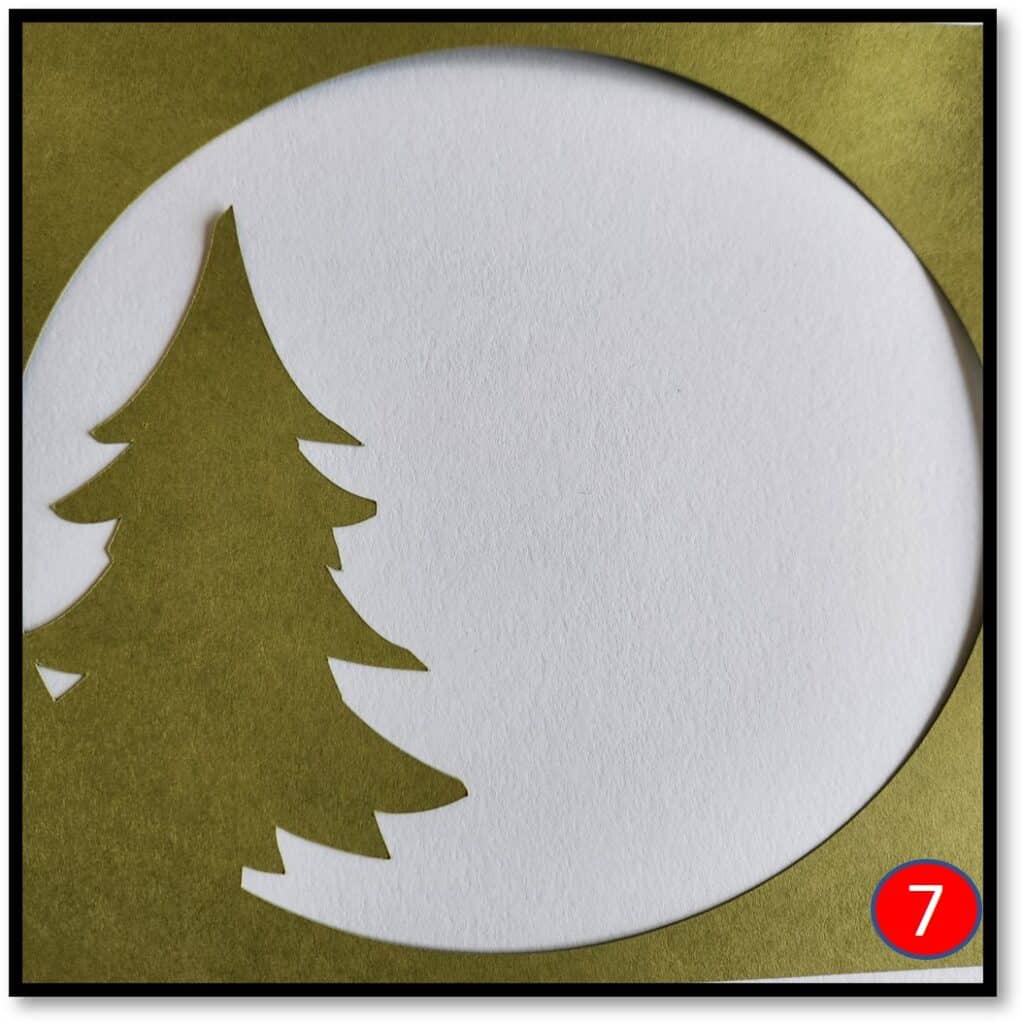
Once I finished cutting out the different layers, I glued them together. That isn’t absolutely necessary especially if you use an 8×8 shadow box but since I’m using a 10×10, I needed to make sure the layers didn’t separate. You can use tape as well. Chewed gum?? Whatever you have on hand that’s sticky will work.
Now to the embellishments should you choose to go that route. As I mentioned I used a 10×10 shadow box intentionally as I don’t want anyone spending money when they don’t have to. If you already have a larger one on hand there’s no reason why you can’t use it.
I used Christmas themed scrapbook paper to add the background as well as the mat and it filled the space perfectly! Be careful it doesn’t overwhelm the picture, of course. You want to use paper that complements your cut files but doesn’t take center stage.
There is a second file included in the download for the mat. It’s sized for a 10×10 shadow box and will fit this 8×8 cut file perfectly. Of course, if you have a different size shadow box, you’ll need to update the mat to whatever is appropriate OR if you don’t want a mat, you can always update the cut files to fit whatever size shadow box you have. Be careful when resizing! If you distort the cuts themselves, they won’t lay on top of each other appropriately.
Final output:
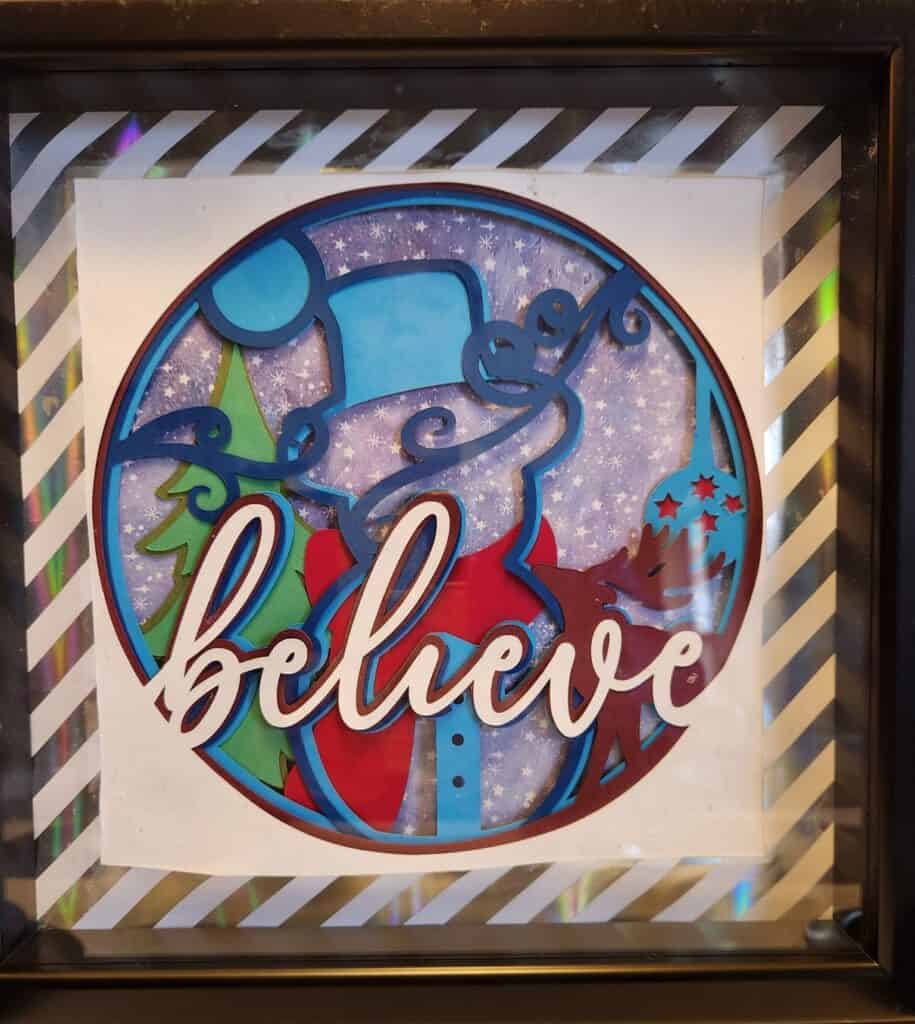
I seriously need to invest in some professional lighting!
I did my best to avoid the shadows and reflections but, I think, it’s clear enough for you to see the details which is what’s important. I used stars for the background and shiny silver stripes for the mat which both complement the cut files perfectly.
I hope you enjoy putting this together as much as I did and be sure to let us see your final product! It’s always fun to see the different versions that people put together.
Happy Crafting!