Stickers are so much fun! Kids and Adults love them because they let your personality show and it’s an easy way to personalize your things. Cricut makes it so easy to make stickers. All kinds of stickers. Your imagination can go crazy! The process of how to make stickers with the Cricut is very simple. Let me show you how to make stickers with Cricut in easy to follow steps! Get the Free SVG too at the bottom of this post!
The Free SVG is in the resource library for personal use and if you are not a member, you can sign up to get it and many other freebies! (commercial use designs are in the shop)
Using the Print and Cut in Design Space is how this is done. The limitations with size for now with Cricut is 6.75 wide by 9.25 high. That does limit the size of your stickers but most stickers are smaller in size so this should be good for now.
There is a way to “trick” the cricut using masking tape (a lot of tape) and I just did not think it was worth all that time and effort to get a few more stickers or a little bit bigger ones. I believe that Cricut is working on a solution but at the time of this post, it is not known when that will be.
I’ve seen so many cute stickers that people have made and I made an easy sticker file you can use to get started. See the bottom of this post to get the file for free!
If you want to watch the short video to see how this is done, see below. Please be aware that I did not use the UV protective spray on these stickers. To make your stickers waterproof, you will need to spray them before removing from the backing.
This post may contain affiliate links and we may earn compensation when you click on the links at no additional cost to you. For additional information, please see my full disclosure policy.
Supplies
- Cricut (Makers/Explorers/Joy)
- Mat (I used the green mat)
- Sticker Sheets (Cricut has many colors to choose from not just White)
- or Amazon Sticker Sheets (white or clear are available) these are printable vinyl. Add a clear layer of UV resistant sealer spray to boost waterproofness & durability
- Krylon UV Matte Spray or Krylon UV Gloss Spray
For this project, I used the Amazon Matte Stickers and I did not spray them in the video but I will be doing that for all my stickers so they are waterproof.
Instructions
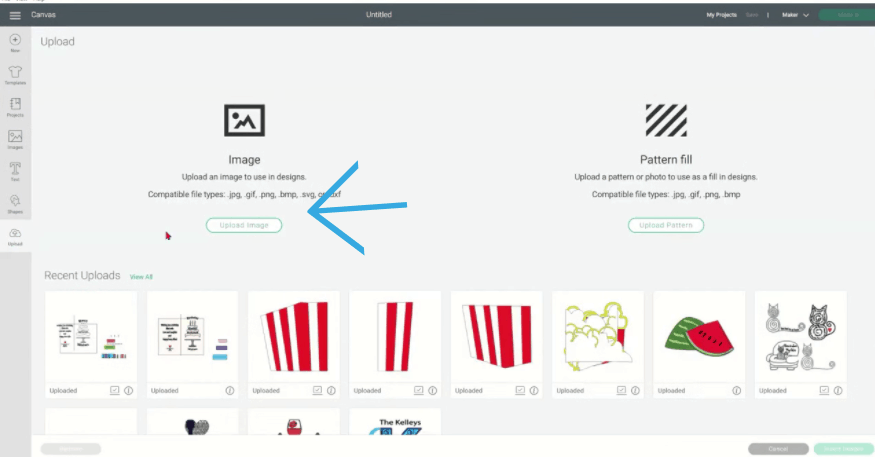
Go to go into Design Space and upload the PNG. Click upload and browse to find the PNG . We’re using the PNG because we’re doing a print to cut.
If you need help doing this step, refer to this post with full instructions. How to Download and Upload ZIP Files.
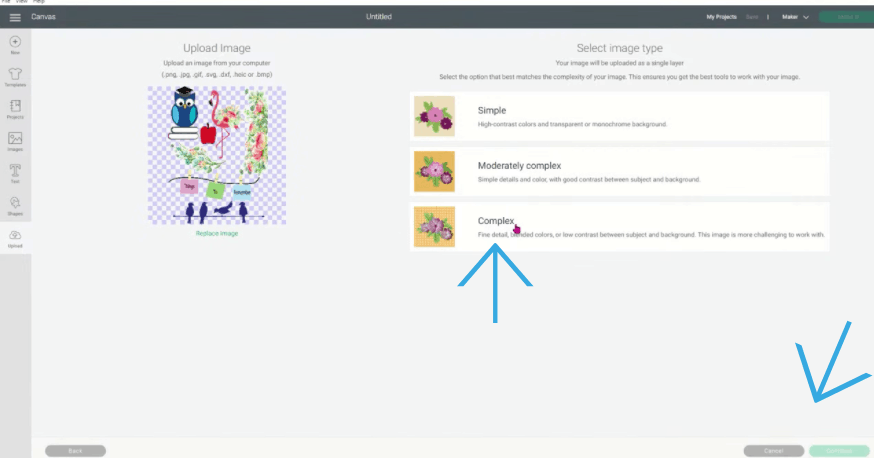
Click on Complex and Open.

Select the print then cut image on the right and then hit upload.
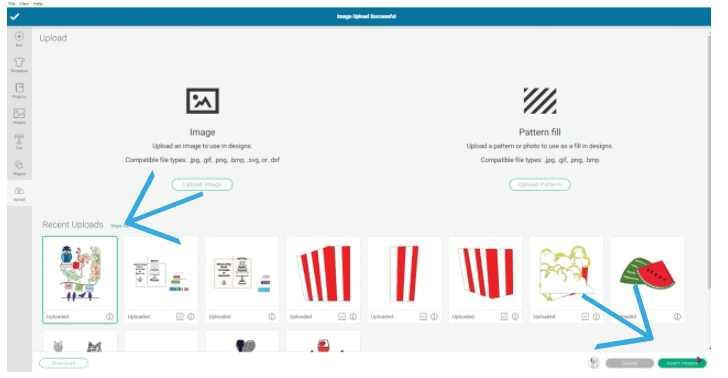
Click on it again and hit insert images, wait for it to load.
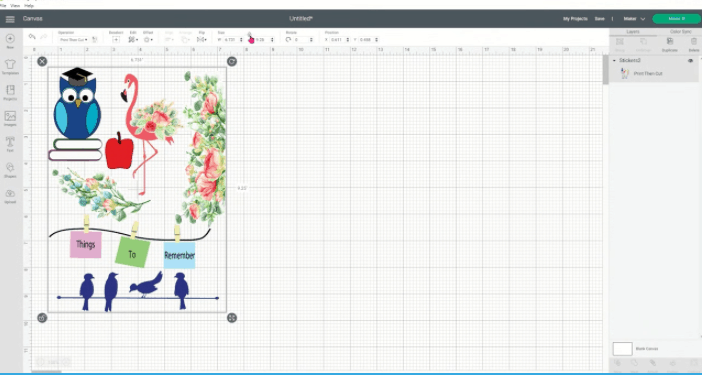
Unlock and change the size to 6.75 wide by 9.25 high. You can do this in the toolbar at the top or on the image corners (unlock then click and drag)
Go to Make It.
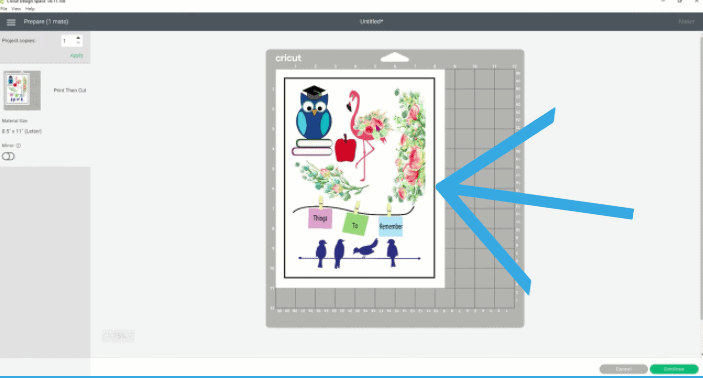
You’ll see it puts this black registration box around it. That’s fine. The cricket will not print or cut that. it’s going to print this box, but that’s what the cricket uses to, just find where your stickers are.
You’ll see it puts this black registration box around it. That’s fine. The cricket will not print or cut that. it’s going to print this box, but that’s what the cricket uses to, just find where your stickers are.
Be sure that your cricket, isn’t too brightly lit or the light won’t be able to be seen by the cricket. what I do is I just hold my cover down on it so that the light can read the registration marks and then cut the stickers appropriately. Then you’re going to want to go to continue.
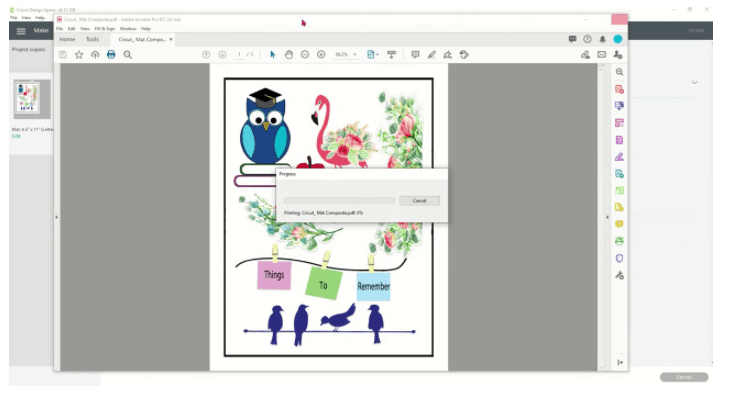
Now, two things about sending to the printer.
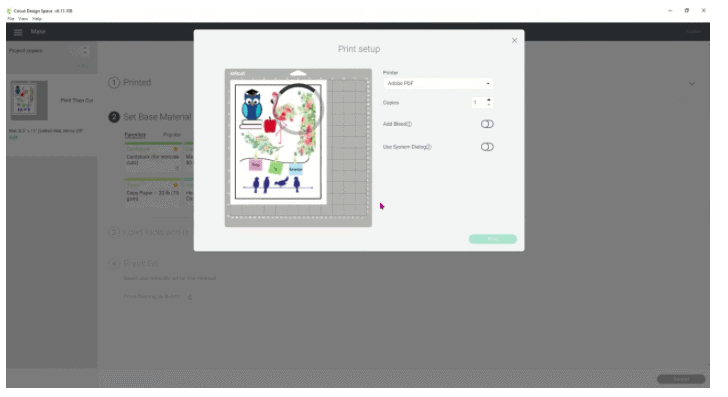
If you send it to a printer and your printer prints lines through your design, that is a Cricut issue. It’s not a printer issue I have found. So what I do now, instead of sending it directly to the printer, first of all, I turn off bleed. You don’t need that. the bleed puts a line around everything it doesn’t do anything more to enhance your sticker. It just puts a border around it so you don’t need it. So take off the bleed and then save it as a PDF.
I have found printing from the PDF, that the colors are much more brighter then I print them from Design Space . I’m using the Epson, EcoTank 47 60 to print these and the colors are much more vibrant if I do it through a PDF versus sending it through Design Space directly to the printer.
Select the washy sheet to cut. That setting works well with most sticker papers I have found.
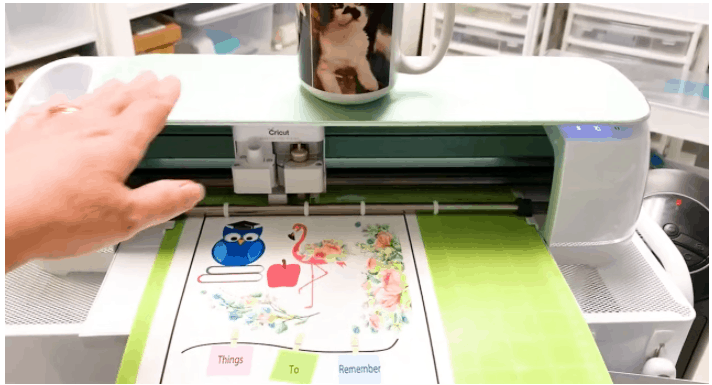
This is how I load my machine. And I do have my top down and I just have a coffee cup sitting on top of it to hold it down while I worked. So I loaded my machine. Be sure that you’ve got your paper all the way to the ends of the mat at the top and the side so that it doesn’t miss guide and miss print.
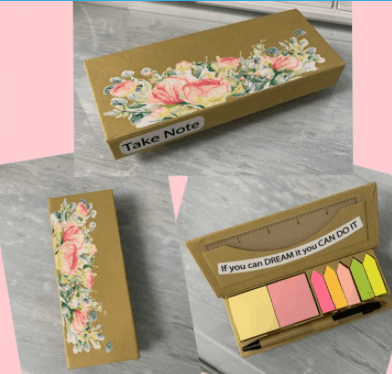
To protect your stickers, I recommend spraying them with an acrylic spray like Krylon UV Matte Spray or Krylon UV Gloss Spray. Spray and even coat and let dry for at least 5 minutes to let it set.
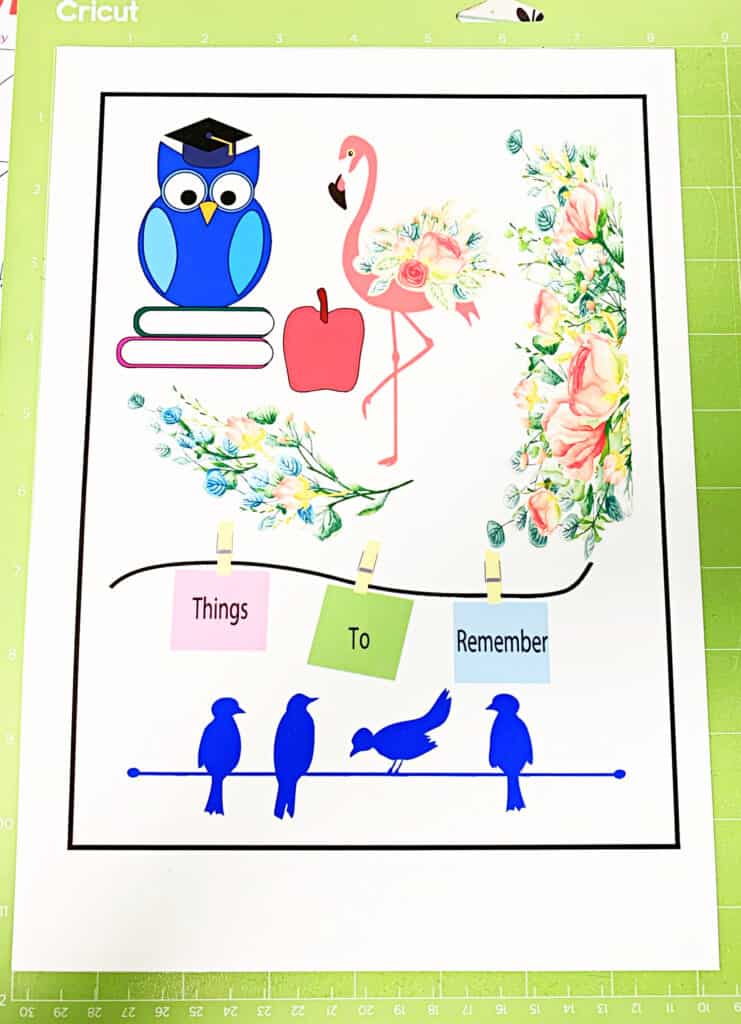
Now your stickers are ready to be applied to anything you like! I applied them to this handy Post it note holder.
The Free SVG is in the resource library for personal use and if you are not a member, you can sign up to get it and many other freebies! (commercial use designs are in the shop)