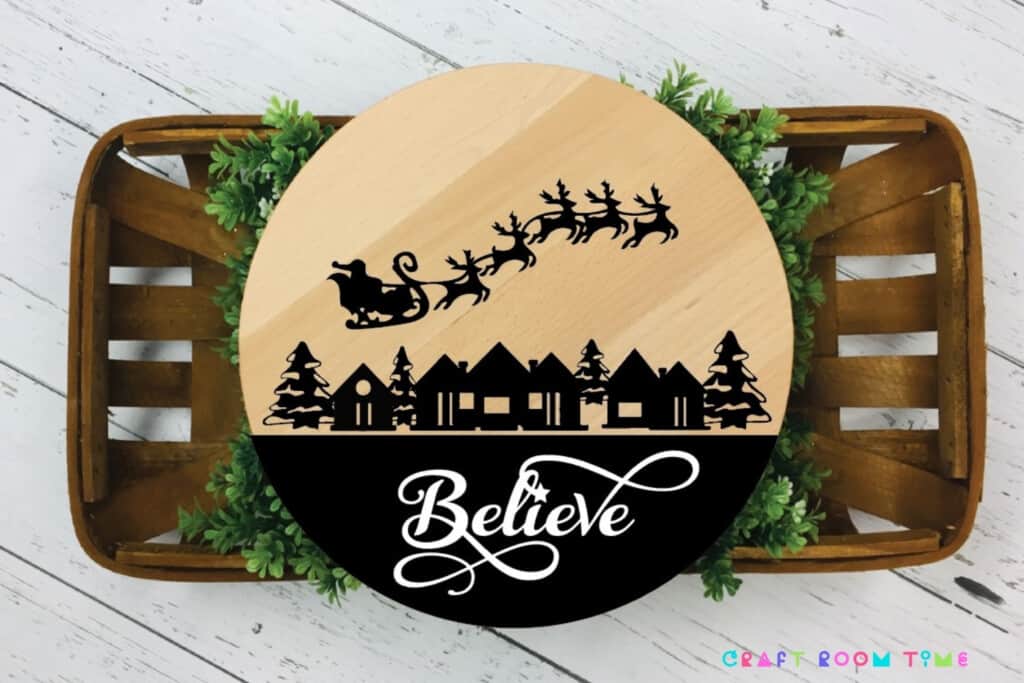
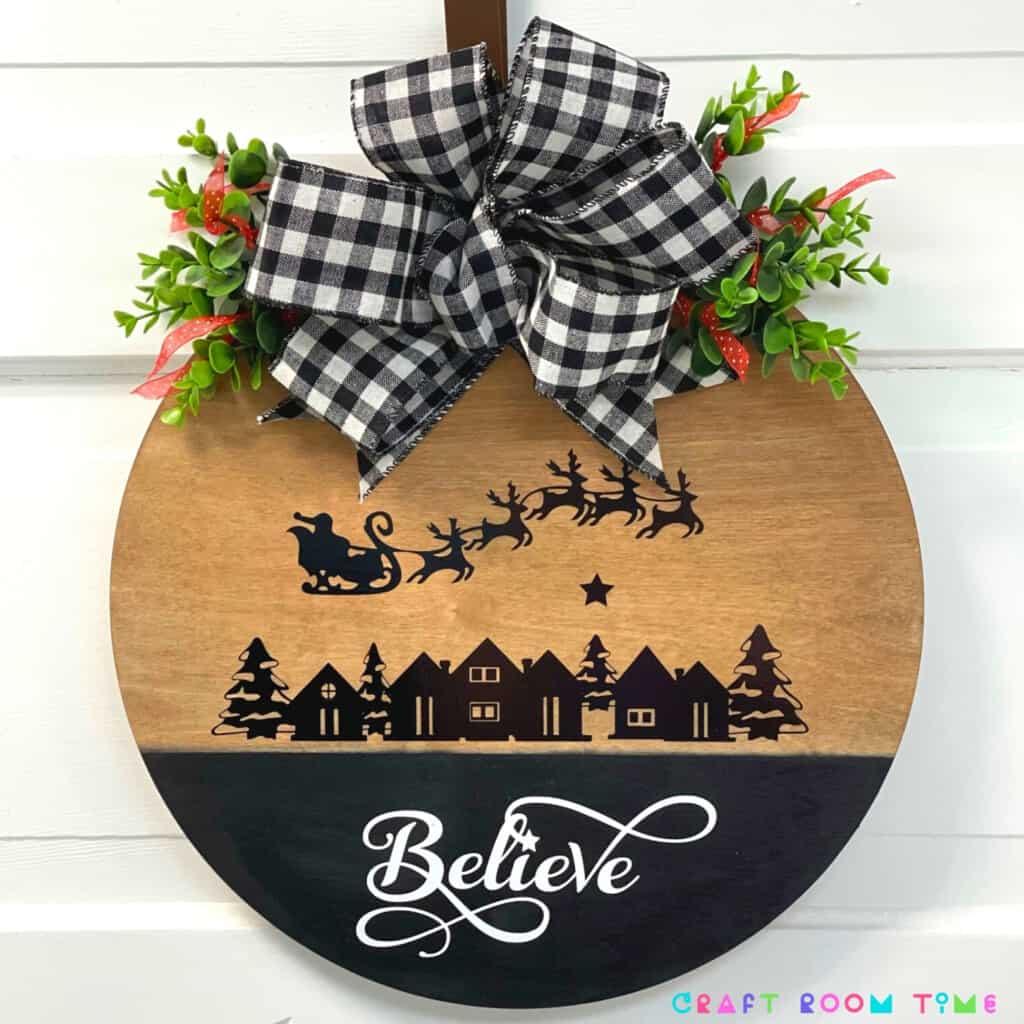
The popular wooden round signs for your front door seem to be so complicated to make, but they are not! I’m sharing how to make a Believe in Santa round wooden sign here so you can make one yourself for Christmas in July!

I’m including the Free SVG at the end of this post. Feel free to use it for personal use and if you want to use it to make signs to sell for Christmas time, you are welcome to purchase the commercial version in our shop here!

Top it with a festive bow and add some greenery and a bit of fun ribbon and you’re set to hang it on your door!
Here is a detailed step by step video to show you the process – because sometimes a visual is just what we need!
Supplies
- Cricut Machine
- Cricut Mat
- Cricut Brayer
- Cricut Scraper
- Transfer Tape
- Wood Round
- Cricut Permanent Vinyl (White and Black)
- Weeding Tool
- Buffalo Plaid Ribbon
- Sage Eucalyptus Bush
- Red Ribbon (polka dot)
- Polyurethane
- Acrylic Paint (burnt umber and black)
- Wire
- Staple gun
Instructions

If you need help doing this step, refer to this post with full instructions. How to Download and Upload ZIP Files.

It comes in grouped and everything should be aligned . Nice and pretty. Ungroup it . T he believe is its own object. It’s not sliced out of the black. The black is just to give you a reference of what it will look like if you paint the bottom of your round sign black and then put the white believe on top of it.
However, you can slice these out. Just know that there are three different parts. There’s the little E there’s the in between the I L I E V and then the B. So you would have to slice those out of the black, make a stencil, and then you can paint that on your side if you want to.

Go ahead and hide that I’m going to select my whole believe and then I’m going to attach. So now our believe is all in one piece.

Select everything on the town attach those as well. What it is attaching is all these little pieces of the windows.
Go to Make it.

Look at all the mats and move all the black to one mat and rearrange to save vinyl. There should be the sleigh, the town and the star.

Select your material – Premium Outdoor Vinyl.

Select More pressure in the drop down.

Lay out your cuts to see where you want to place them so you know where to paint the bottom black. Leave enough room for your bow at the top

Use a straight edge to draw a line with pencil and apply painters tape above the line where you are going to paint the bottom black.
Apply the black paint on the bottom and be sure to paint downwards over the tape so you’re more apt not to get paint underneath the tape. Paint the sides as well.


Use a sponge brush to do the rest of this project. Remove the painter’s tape. Put about a dime size of burnt umber acrylic paint on your plate and mix with water until you get the consistency of what a stain would look like. Runny like milk. Apply to the top half and go with the grain of the wood. Do as many coats as you need to get the darkness you want. Let it dry completely, overnight is best.

Start with the houses. Weed your vinyl. Apply the transfer tape. Using the scraper tool ,scrape it on (burnish) really well.

Then put the houses about a quarter inch above the black and burnish on top of the transfer tape so the houses will stick to the wood.
Questions about whether you should poly urethane this first and then put the vinyl down come up often. I didn’t use stain, so I’m not doing that first. I’m going to do it after I’m going to cover the entire sign. I am going to protect it with polyurethane. I f this was going on a covered back porch or inside , you don’t need to do that step.

Continue by adding the Believe using the same burnishing method to transfer tape and from transfer tape to wood.

Apply the Santa and the Star in the same fashion. At this time, you can apply the polyurethane over the top.
Use two coats and let them dry completely in between coats and after.

To make the bow, I used wired ribbon, greenery, thin wire, and red ribbon.

Cut the greenery so that it will lay on the sign under the bow.

Staple the greenery to the board. I used 1/4″ staples. I also wrapped some red ribbon around the stems for a pop of color.

Measure the wired ribbon to 10 inches and fold the ribbon accordian style so you have at least three to five layers (more makes the bow fuller).

Cut a V shape out of the Middle of the layers on both sides. Leave about 1/2 inch in the center.

Take the thin wire and measure about 30 Inches, double it over in the middle of the wire, wrap around the center of the bow.

Secure the wire as shown. Wrap it around to the other side and twist it so you have two pieces to attach to the board.

Fluff out the layers and twist and turn until you have them how you like them.

Use one of the ends to wrap around the center as shown.

Insert the wires under the stapled stems on both sides.

Take the wires under the bow to the back and create a hanger in the back behind the bow.

Twist the wires into a circle so it will hang from the nail. Cut off any excess wire.

It turned out really cute! Next time, I will make the vinyl pieces bigger so that it fills from side to side. This wood round is 15 inches and the SVG is meant to fit on a 12″ (due to mat size).
Check out our 27 Crafts to Make for Christmas in July. You’re sure to find a gift or two to make this year!
Pin it for later so you can always come back!
For more Christmas in July, check out these posts by my blogging friends Christine and Bette!


I’m already signed up, do I need to sign up again in order to get his svg?
No you don’t. On your email, you get the password to the resource library. All the files are there to download once you get in!
thank you for all your time and ideas … i can’t wait to make this for the holidays 🙂 <3
Can’t wait to try making this, love the detail in how to diy
Super cute!
I love this sign and how perfectly detailed and easy to follow the instructions are. Now I just need to figure out how to justify my Santa belief when my whole vibe is normally skepticism and rage. 😅
Thanks for the great step by steps
I love this craft and look forward to trying it!
So pretty, I LOVE THIS.
Beautiful!
I would love this SVG file. TY
Hi Lynne – if you subscribe (above) it will download for free. If you’d prefer not to subscribe you can purchase the file from Etsy (santa sleigh over town with believe svg). I hope that helps!
🙋🏼♀️…….is there ANY way of doing the Christmas Wood Round Believe sign w/o a cricut?
Thank you
Have a healthy 2023!!
Hi Ashlyn, yes, you absolutely can, it just may be more difficult. Are you just talking about the Cricut, specifically, or cutting tools, in general? Any cutting machine will work but if you don’t have a cutting machine you can use an X-acto (or similar) knife to cut out the shapes. Of course, your end result won’t be as crisp but it will work. I hope that helps! Please reach back out with anything additional. Michi