Did you even know your Cricut could cut wood? Makes me giggle saying that you know… How much wood could a wood chuck…. So how much wood can a Cricut cut? Follow along as I show you tips and tricks on how to cut wood with the cricut.
This post may contain affiliate links and we may earn compensation when you click on the links at no additional cost to you. For additional information, please see my full disclosure policy.

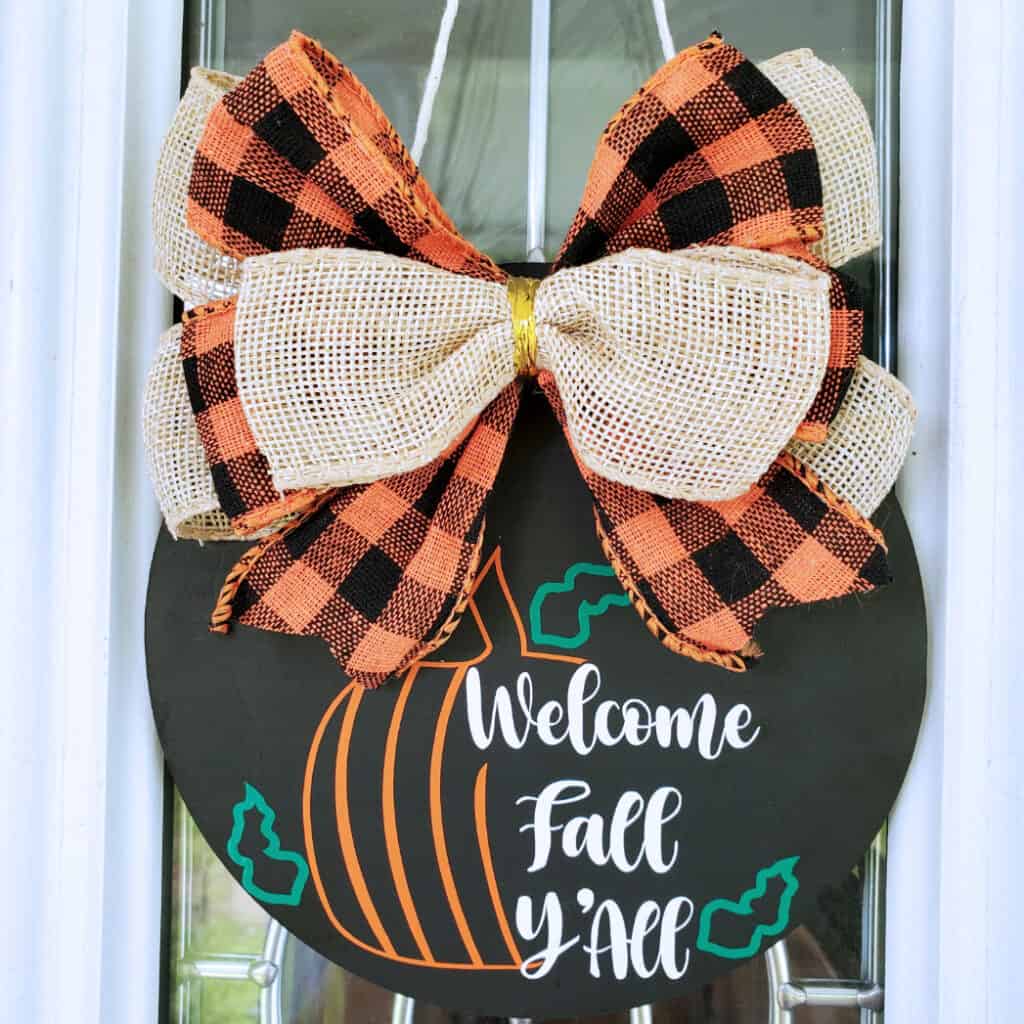
Well it depends is the answer. First off the Cricut Knife Blade has to be purchase and used for this project and the Cricut can only cut certain kinds of wood and only in certain thicknesses. For this Fall Round Pumpkin sign project we uesd Basswood. The thicknesses it can cut are 1/32″, 1/16″, and 3/32″.
Things to look for in the wood you select
Make sure the wood has minimal bow or warp to it. It should be as free from blemishes and knots as possible. Never have a design that will cut over a knot. Do not glue wood pieces together, only use a single piece to cut through. If you need more than one piece to complete your project, choose similar color grains.
The max size you can cut is 10.5″ x 11.5″ on a small mat and 10.5″ x 23.5″ on the larger mat
The minimum size is .75″ x .75″. Think of the diameter of a pencil.
Make the design to cut at least 1/4″ away from the edges to prevent damaging the blade.
Before you cut, move the white rollers all the way to the right. It’s a good idea to do a small test cut first.
For thicker wood, Design Space is programed to tell you approximately how long the cut can take. It may take several passes so keep that in mind.
Types of Wood Cricut can Cut with the Knife Blade
- Wood Veneer – very thin sheet of wood that is applied to another surface for protection or decoration. Cricut Natural Wood Veneers are thin slices of real wood, but they made them 2-ply for durability and versatility. They can be stained, painted, molded, glued, and layered.
- Mat Board – 2 ply or 4 ply
- Balsa Wood – The thicknesses it can cut are 1/32″, 1/16″, and 3/32″.
- Basswood – The thicknesses it can cut are 1/32″, 1/16″, and 3/32″.
- Chip Board – not wood but thick cardboard
Tips for cutting wood on your Cricut
- You can only cut wood on the Cricut Maker
- You need the knife tool to cut wood.
- You need a strong grip map and the wood must be taped on all 4 sides. Masking tape is great for this.
Troubleshooting
- If your material moves as it is being cut, your mat may not be sticky enough. Make sure you have used the brayer for a firm hold and use painter’s tape
- If your material is not completely cut, your blade may be dull and need to be replaced.
- Occasionally, the machine may stop during the cut, but additional passes are still required. If this happens, follow what the on-screen prompts in Design Space® say.
- If the machine continues to stop in the same area, do not remove the mat from the machine. Repeat the process. It may take several tries.
- If the machine cannot move past the point, there may be imperfections in the material keeping it from cutting. Remove the mat from your machine, discard the wood, and begin the cut again with a new piece of wood.
Supplies
Cricut Maker or Maker 3
Cricut Knife Blade
Strong Grip Mat (Purple)
Brayer
Painter’s Tape
Basswood sheet
Chalkboard Paint Black
Permanent Vinyl (Orange, Green, White)
Fall Bow (options) or make your own
Hot Glue
Instructions
Place the Basswood on your mat and tape it down on all 4 sides with masking tape or painter’s tape.
Use your brayer to run over the top to make sure it is stuck to the mat.
Check your knife blade for any nicks or dents. It can affect your cut if your knife blade is dull or has imperfections. Tip: poke it in a ball of aluminum foil to remove any debris and sharpen it a tad.
In Design Space, click on new to start a new project and click on shapes then select the circle.
Change the size to the size you want your wood piece to be. I chose 6×6 for our little door hanger.
You can do this by using the corner arrows on your design or by typing in the dimensions straight in the tool bar as shown.
Cut your shape using the settings as shown.

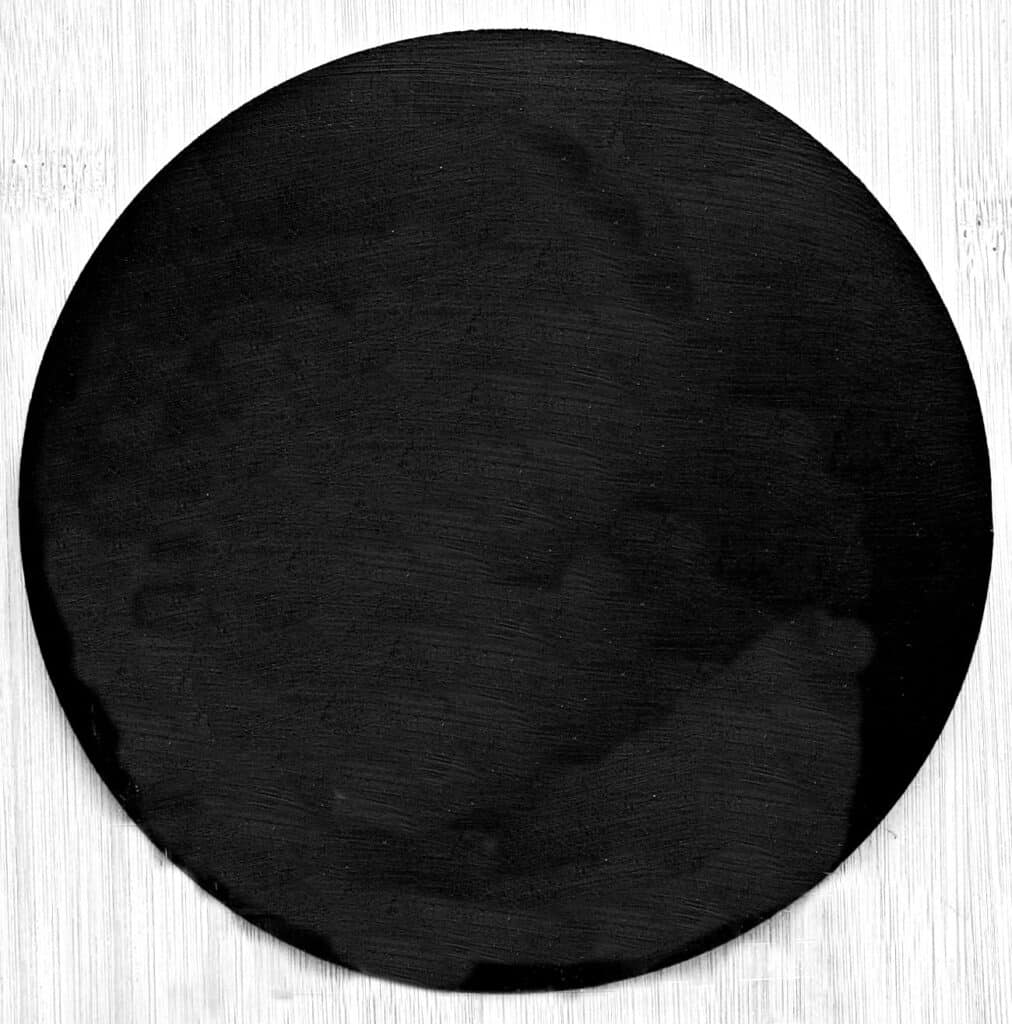
After your shape is cut out you will want to paint your shape using chalkboard paint. I did 3 coats, letting each coat dry for an hour before applying the next one. Then I let it dry for 24 hours.

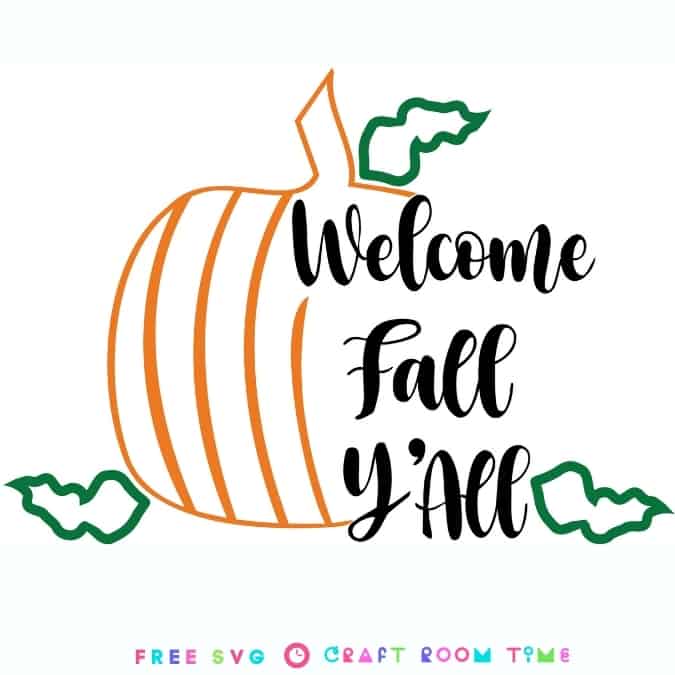
Next upload the free SVG design into Design Space. Select all the text either on the image itself or on the right layer panel as shown. Hold down your shift key as you select them and they will appear darkened as shown below. Then click on weld or attach at the bottom of the layers panel. Both features will keep the wording together as shown when you go to the next step and cut.
For this project, I used Permanent vinyl. If you use HTV, be sure to mirror your images first.
Check each mat to make sure that you are utilizing best placement to save vinyl.
Cut the pumpkin using your favorite vinyl cut settings, I used Permanent Vinyl.
Then transfer the pumpkin to a piece of transfer tape, leaving enough room for the words as well.
Next cut the lettering using white vinyl and
Cut a piece of transfer tape big enough for both designs and layer the text next to the pumpkin like this:
Then you will want to place it on your wooden circle as desired and use a scraper (or credit card) to rub the words onto the board.
Cut your leaves and place them where you like. You don’t have to use all the leaves or you can add more. you can also contour the middle out and make them solid if you like. I did mine like this:
Heat up your hot glue gun and attach your bow where you like.
To hang, you can use twine to the back of your piece with a glue gun.
This is just one example of using the Free SVG but you could also make a cute window cling, or a pillow or a reverse canvas! So many options! I’d love to see what you come up with!
The Free SVG is in the resource library for personal use and if you are not a member, you can sign up to get it and many other freebies! (commercial use designs are in the shop)
We love to see the crafts that everyone makes and others enjoy it as well. We have a Facebook Group “Craft Room Time” were we do giveaways for people just like you that share with us!
See our other Fall crafts:
https://craftroomtime.com/reverse-canvas-fall-gnome/
https://craftroomtime.com/layered-paper-pumpkins-for-fall-with-free-svg/


I love this file, but I do have a question before I cut it.
I know you cut the Basswood Circle 6″, but what size did you make the design to get it to fit on the 6″ circle? Thanks!
I need totry to do this sometime…
Thank you. You made this easy to do.
love this
Too cute