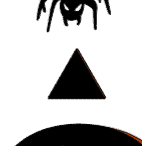
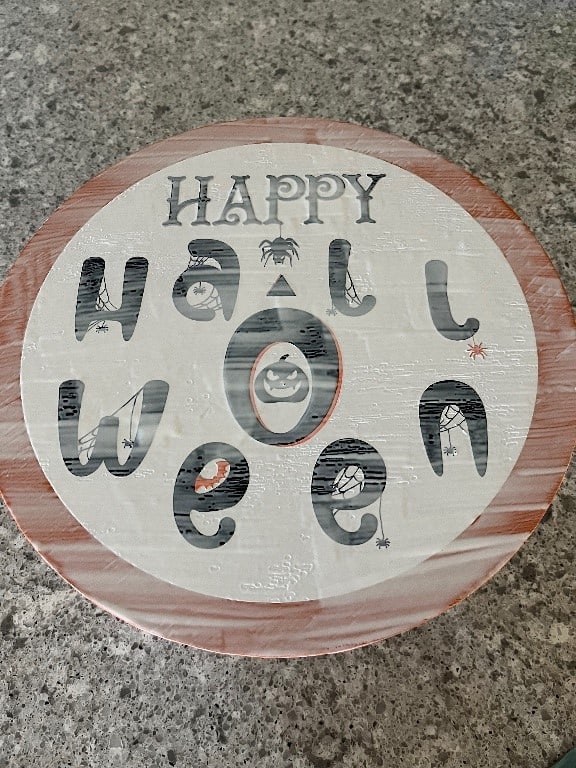
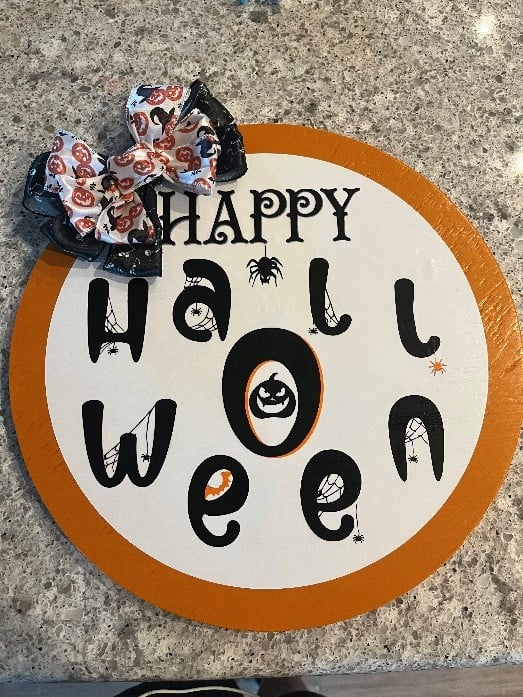
***NOTE: The SVG download file is slightly different from the one I’m showing here as I had a few challenges with the cobwebs. I didn’t want to make your life harder (this is supposed to be fun!) so I changed the design a bit to make it easier to cut out and apply.***
It’s that time of year again and I have already been seeing signs, round wood ones, to be specific, celebrating the sugar laced, chaos and coma inducing, too-cute-for-words kids’ costumes holiday, so I decided to get started with my own celebratory contribution.
No, I didn’t go out and buy a Costco sized bag of candy and begin foraging. I thought I’d try my hand at one of those wood, circle signs for our front door.
Now, it may seem a bit premature but how many of you have been in stores recently and have seen Christmas and Hannukah decorations?? It may not be the month for Halloween just yet but if retailers are already pushing for Christmas and Hannukah then I don’t think I’m jumping the gun for Halloween.
If you haven’t rolled up your sleeves just yet, maybe you’ll consider this to be your fledgling attempt at celebrating along with me!
Supplies:
- Round piece of wood (size is up to you)
- Orange vinyl
- Black vinyl
- White vinyl
- Gray vinyl
- Transfer paper
- Mod Podge (optional)
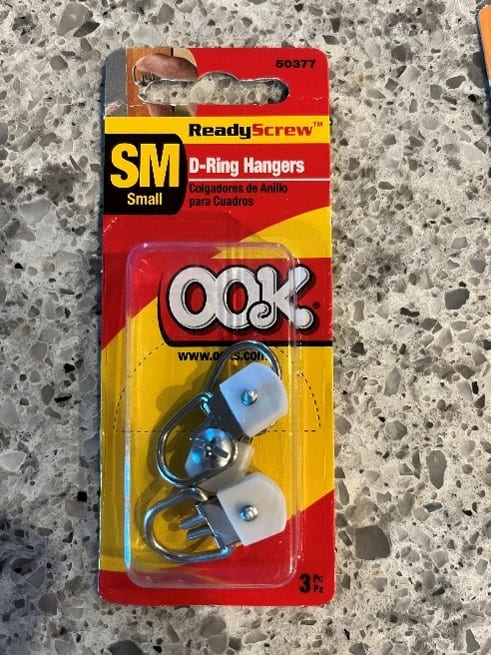
- Ook D-ring hangers (optional)
- Ook mirror cord (optional)
- Download SVG File $1 -> HERE
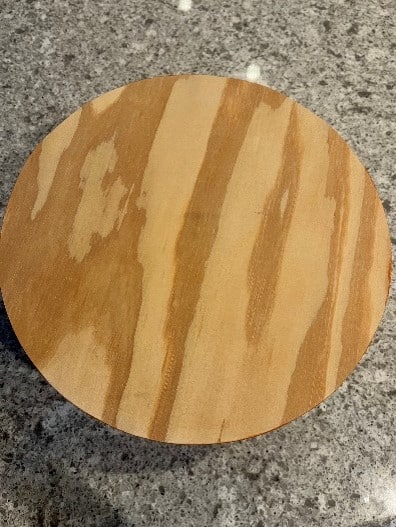
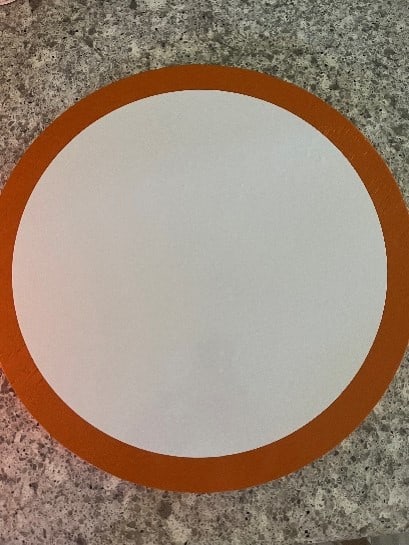
You can buy your wood rounds from a number of different places from Target to Amazon (affiliate links included) to Home Depot or just about any home goods store. Alternatively you can create your own. I did this using my router and circle guide. I like this approach as I have an abundance of wood lying around and it gave me the flexibility to create any size I wanted.
In this particular case, I cut my circles larger than Cricut lets me cut vinyl. Ooops!
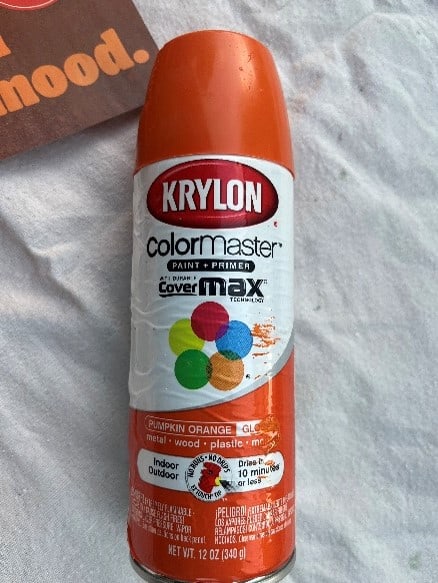
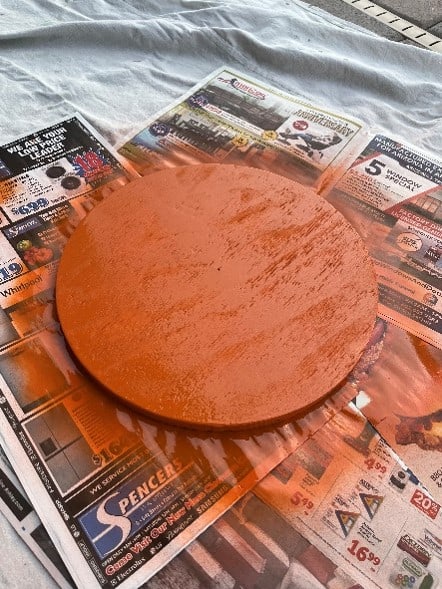
Instead of wasting the wood round or having to cut it again I decided to spray paint the first layer orange (Pumpkin Orange to be more precise) so that all subsequent layers would fit on my 12 x 12 cutting sheet
REMEMBER: The SVG download file is slightly different from the one I’m showing here as I had a few challenges with the cobwebs. I didn’t want to make your life harder (this is supposed to be fun!) so I changed the design a bit to make it easier to cut out and apply.
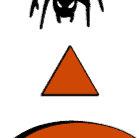
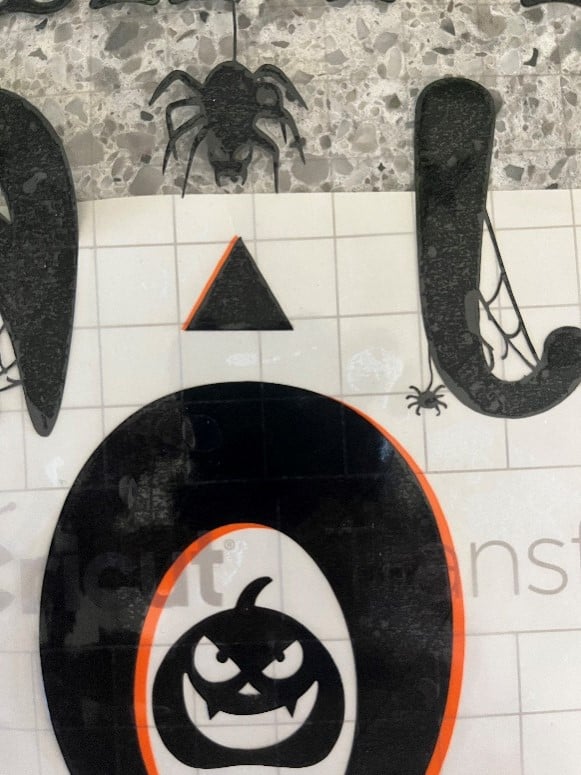
Once you have the image you will see that I have already grouped together the colors – black with black and orange with orange. You can resize the images to the size of the wood round you have.
In order to get your layered designs to line up when you are sticking the vinyl layers together, the best option is to create a small shape in each color and line them up. As you can see from this design I have chosen a triangle and I have put it in the middle of the design. Each of the triangles should be grouped with the same color images.
Once you have attached the different colors you can go ahead and cut the images and weed them.
Download SVG File $1 -> HERE
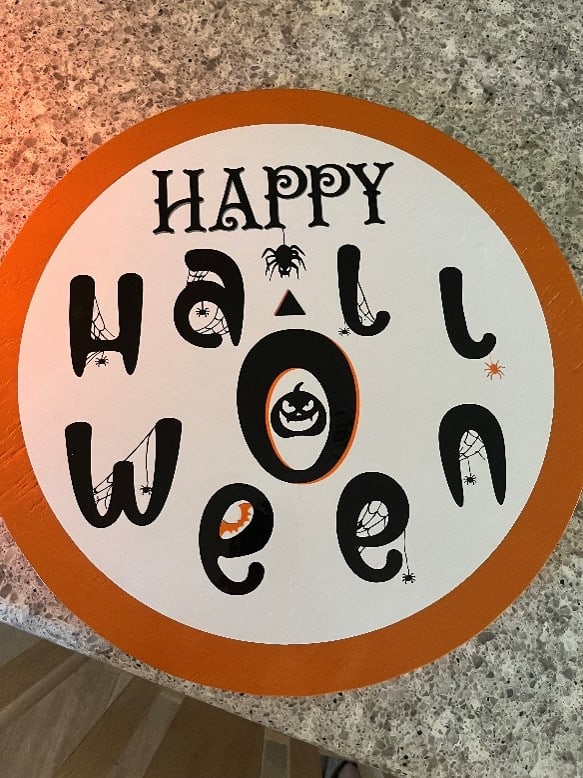
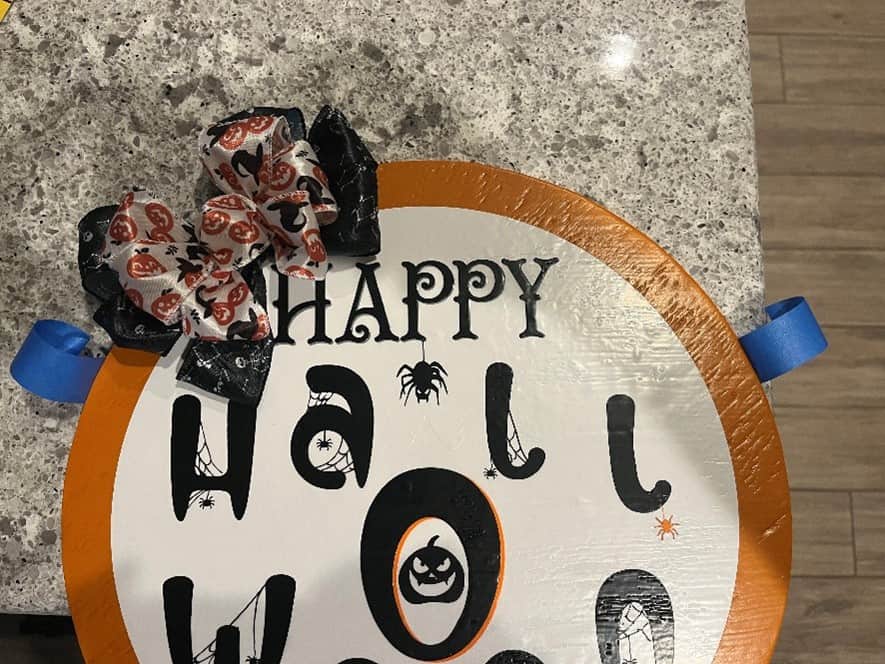
Now comes the fun part! Putting the design together. I chose to put the white circle onto the wood first and then layer the other images together.
I layered black then orange then gray.
I cut a piece of transfer paper about the same size as the black design. Because this is a larger design I laid the transfer tape starting in one corner and spreading across the design
Download SVG File $1 -> HERE
I then turned the design over to peel back the transfer paper
I then laid the black images over the orange images. With the triangles lined up the orange O creates a shadow behind the black O.


Repeat with the grey design.
MAKE SURE YOU REMOVE THE TRIANGLES!
Now everything is on the transfer paper you can go ahead and lay it on your wood round. I have to confess I didn’t measure to put this exactly in the middle, I just eyeballed it but I think it came out pretty well.
Download SVG File $1 -> HERE
The next part is optional. Some say “vinyl is final” and nothing should go on top of it. This time I elected to add a coat of mod podge over the top to ensure that the vinyl stays put. Whether this is needed is a combination of personal choice and the type of seal you put on the wood.

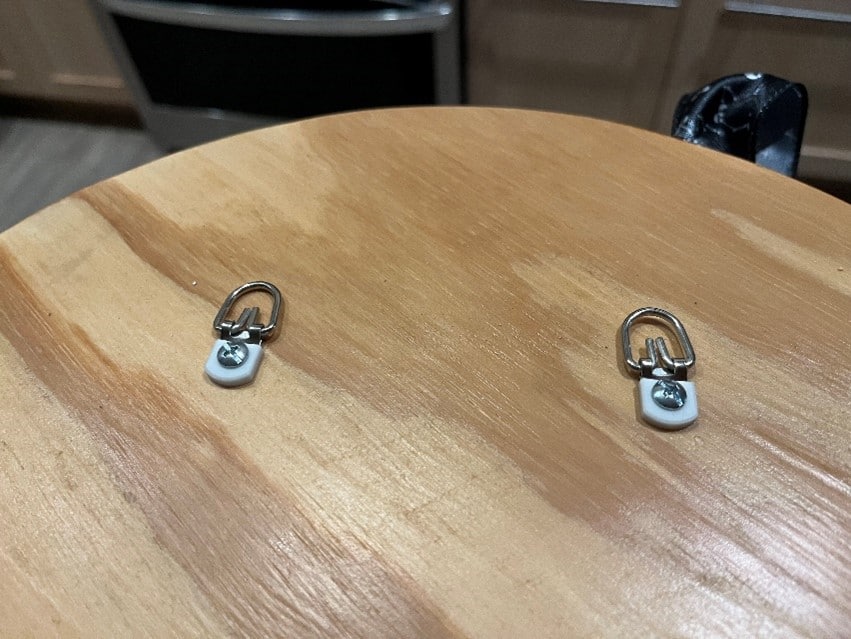
Once everything is dry it’s time for the fastenings so that you can hang your sign. I chose the following from Ook.

To decide on the correct position, I placed the round on the blue tape – again I chose to eyeball it.
Then turn it over and mark where you want to drill the holes. This time I actually measured to ensure that the holes were equal distances from the side
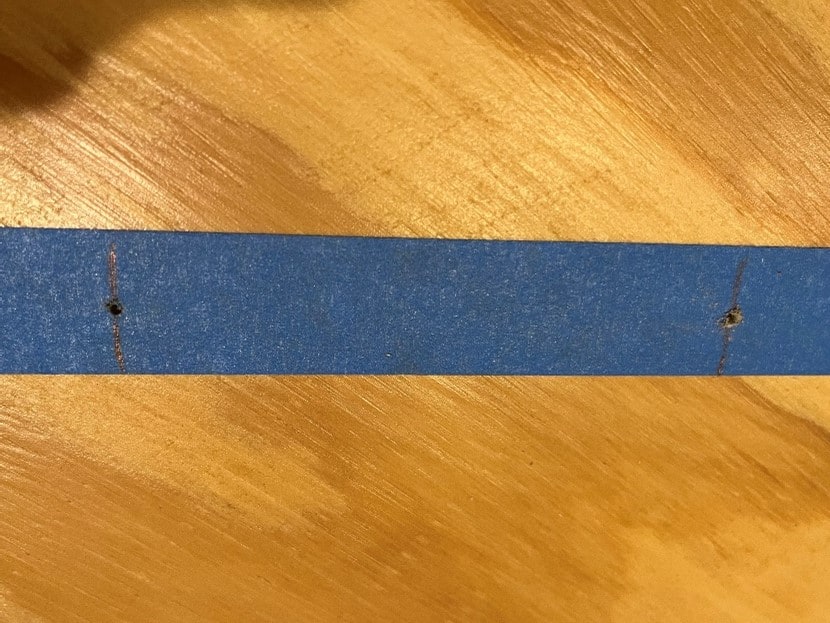
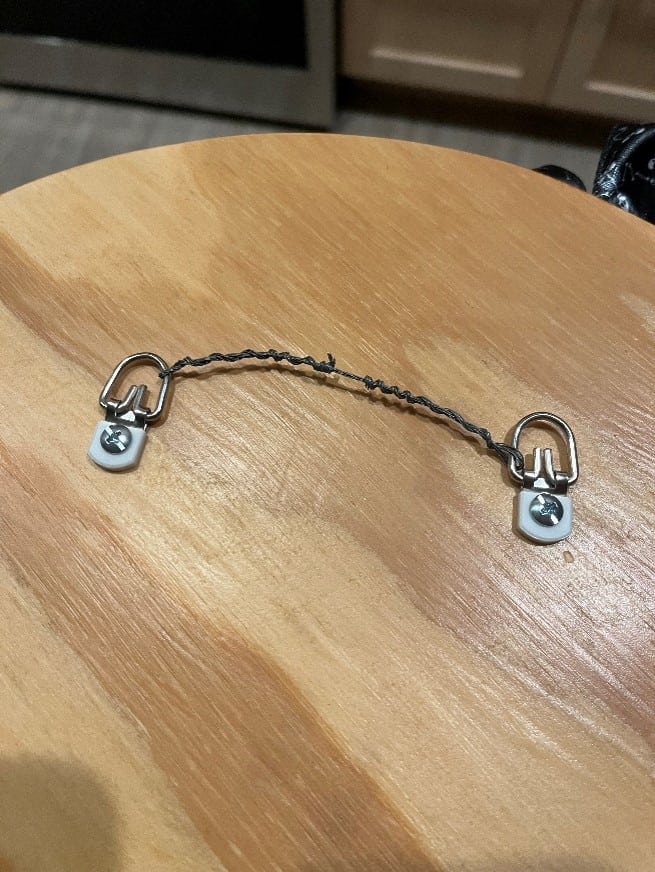
After drilling the holes you can remove the blue tape and add the hooks. I looped the picture wire through the hooks and then twisted it around itself to hold the wire in place.
And you are done and ready to decorate for Halloween!
Download SVG File $1 -> HERE
The bow is an entire other project… 😊 If you have the ribbon there are a multitude of videos on how to tie one or you can just buy one and glue it on. Embellish away!!
Happy Crafting AND Happy Halloween!
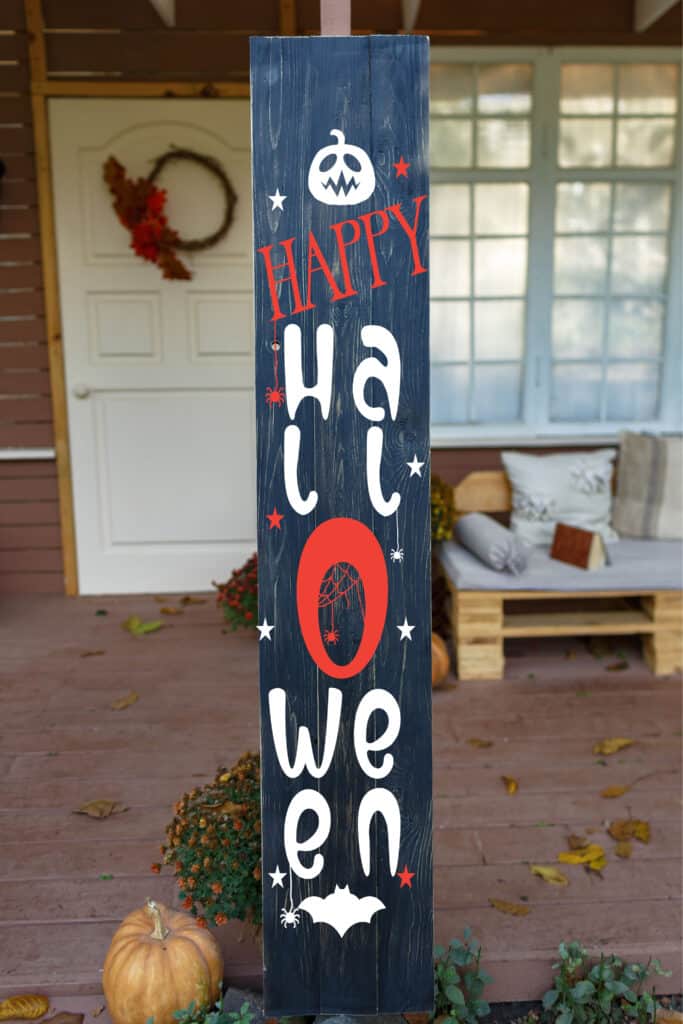
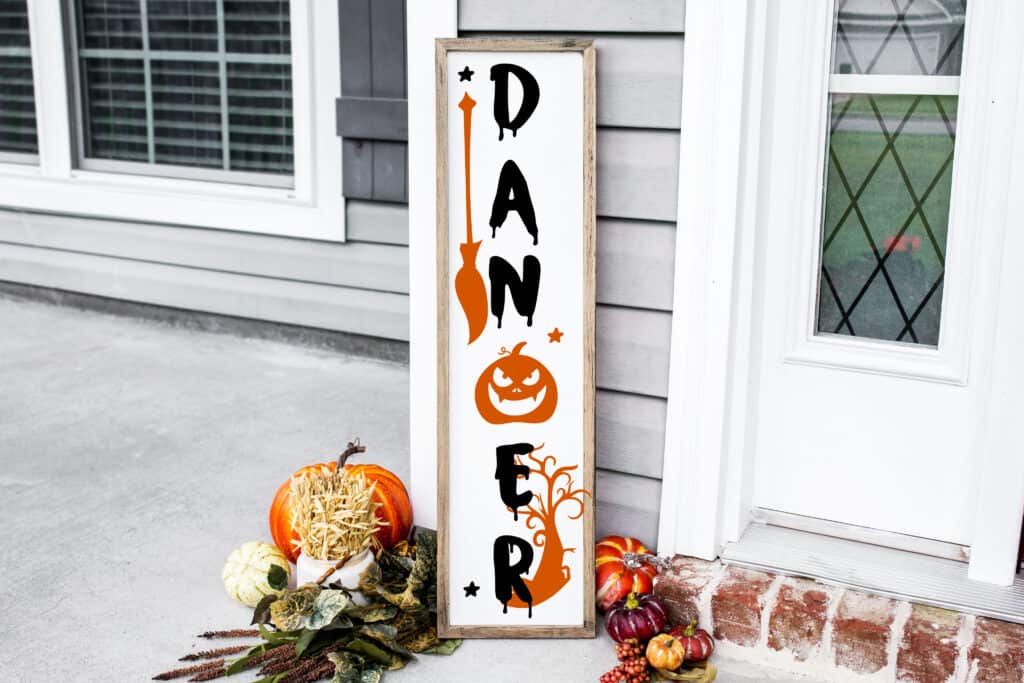
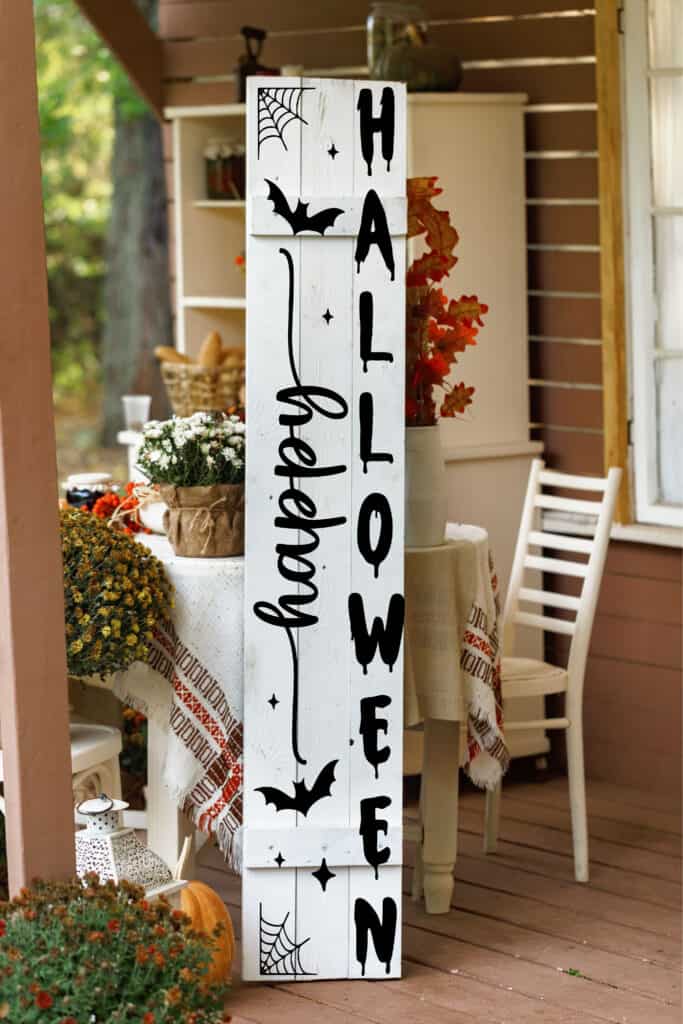
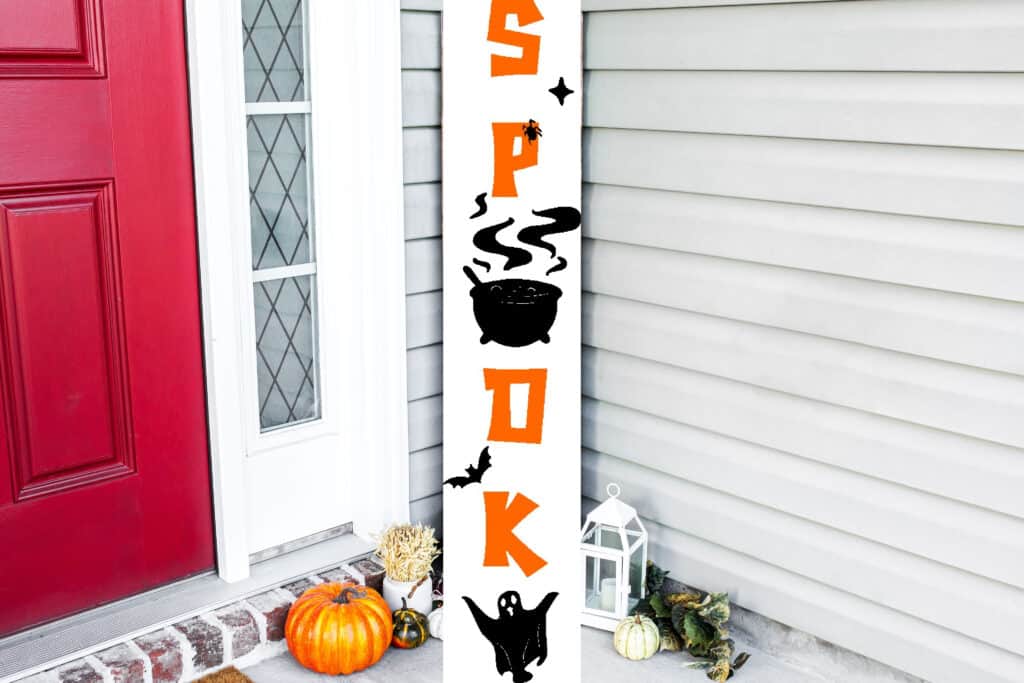
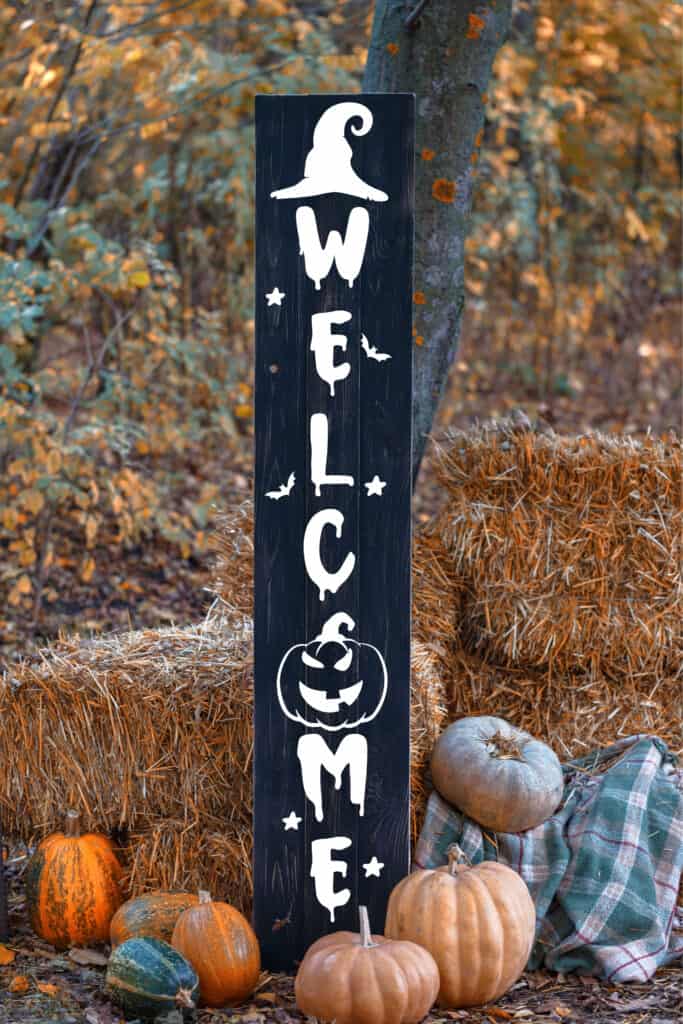
Want MORE Halloween projects? Check out these amazing PORCH SIGNS!! Download -> HERE
Or how about these too-cute-for-words “My First Halloween” files for onesies, baby t-shirts, bibs. You name it! PES files included in this bundle! Download -> HERE


Want them all?? SAVE 27% when you download the entire Halloween Bundle.
$10
TRICK OR TREAT!!!


Leave a Reply