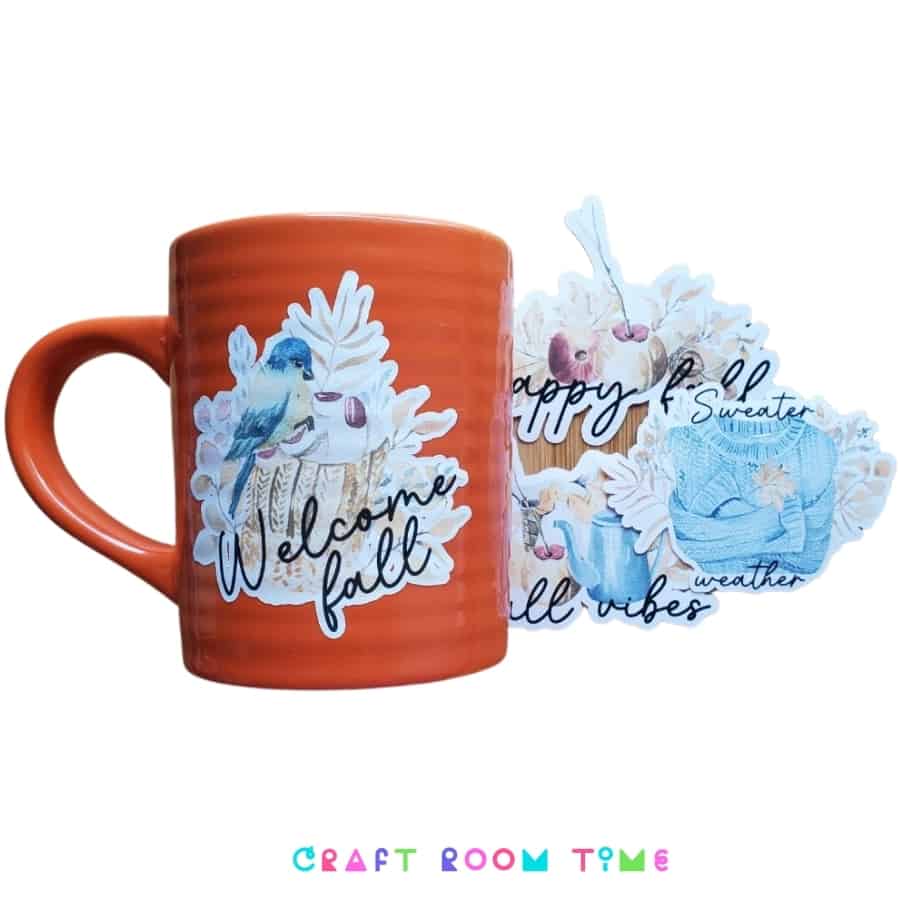
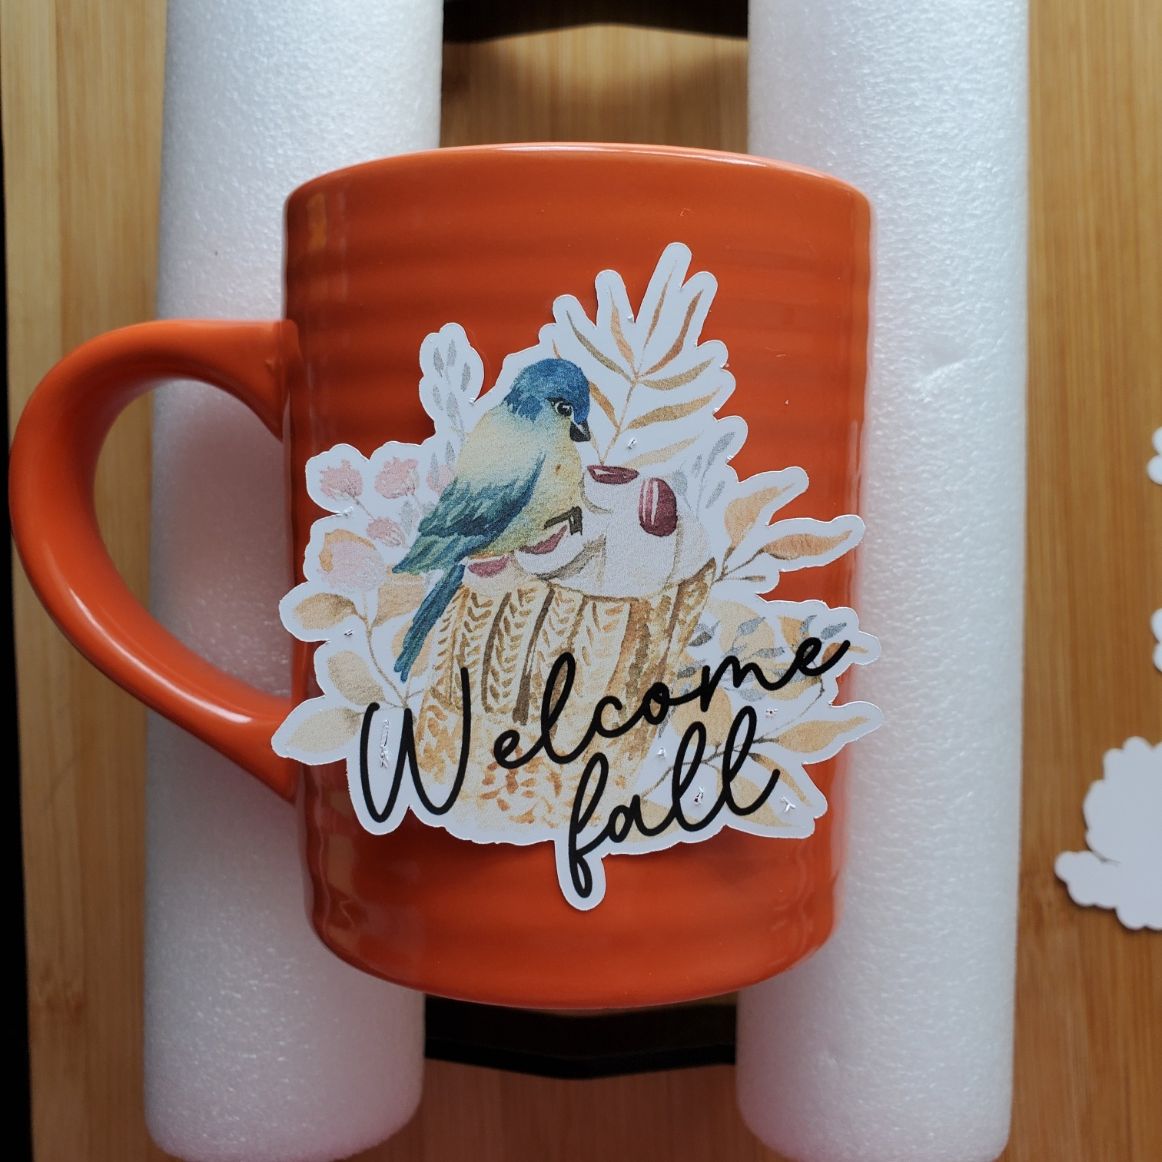
Fall is almost here and that means pumpkin spice everything! What better way to enjoy your favorite fall drink than in a mug made with a cute printable vinyl sticker! I love using vinyl stickers on mugs and tumblers because they are waterproof. As long as you don’t let them soak in the sink, they will last a long time.
There are few different kinds of printable vinyl. Printable vinyl comes in white and clear. I used the white matte for this mug because it was orange and I didn’t want the orange showing through the background of the image. It also comes in matte or glossy. I always use the matte because I think it makes a better image. Also, sometimes Cricut has a hard time reading glossy paper and that can end up being very frustrating.
Supplies
- Cricut Machine
- Printable Vinyl
- Standard Mat
- Dollar Tree Orange Coffee Mug (get a bunch – you’ll need them for gifts!)
- Cup Cradle (optional but awesome to have!)
Instructions
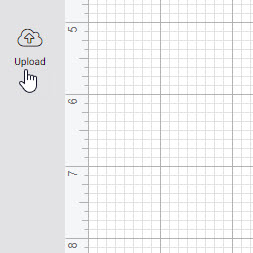
Open design space and click on upload.
If you need help doing this step, refer to this post with full instructions. How to Download and Upload ZIP Files.
Upload the free PNGs.
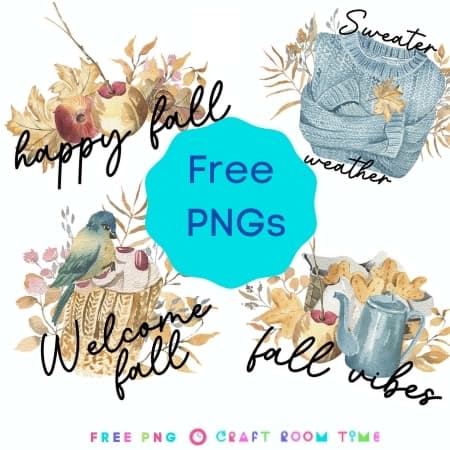
The Free SVG is in the resource library for personal use and if you are not a member, you can sign up to get it and many other freebies! (commercial use designs are in the shop)
Follow the prompts to upload and insert the image onto your canvas. Be sure to select the Print and Cut.
Since the file is a PNG, you will notice the background is checked and that is what you want. There is a white outline behind the sticker and that allows the Cricut to cut around all the shapes seamlessly.
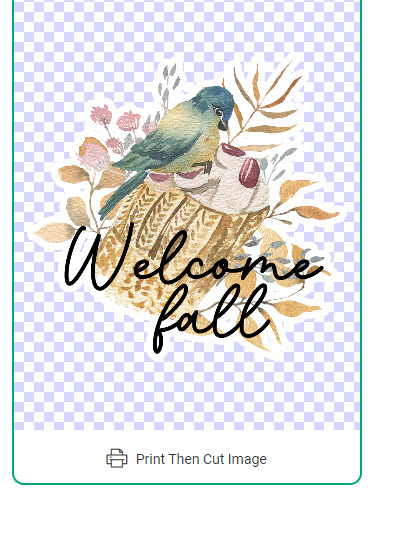
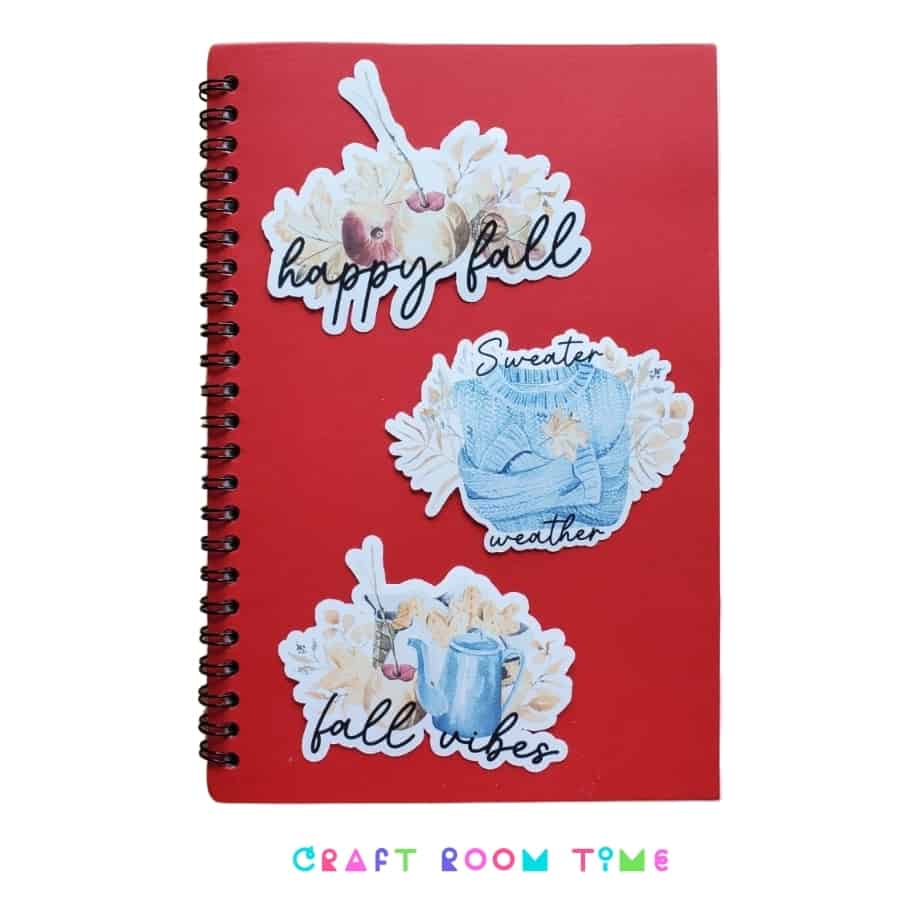
Resize your sticker to a size that will fit your cup by using the arrow on the image itself or typing in the dimensions in the toolbar.
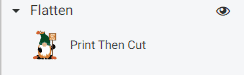
Make sure that Pint and Cut is on the layer panel and you have flattened the image (if not already done). It should look like this in that panel.
Then click make it.
The program will start with the print. Insert the printable vinyl in your printer. Choose your printer from the selection drop down. Click on add bleed.
Check the recommended settings for your printer that comes with the printable vinyl. You will want to be sure you are using those settings before you print!
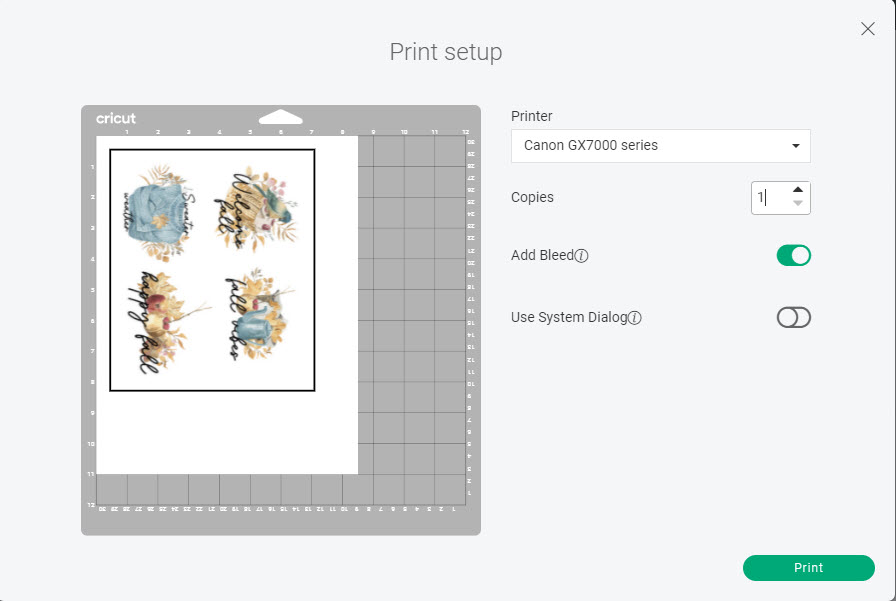
Print out your images. There will be a black box around your images. That is the registration mark that Cricut needs to be able to tell where to start cutting your stickers.
Make sure you line up the edges are perfectly as possible on the mat.
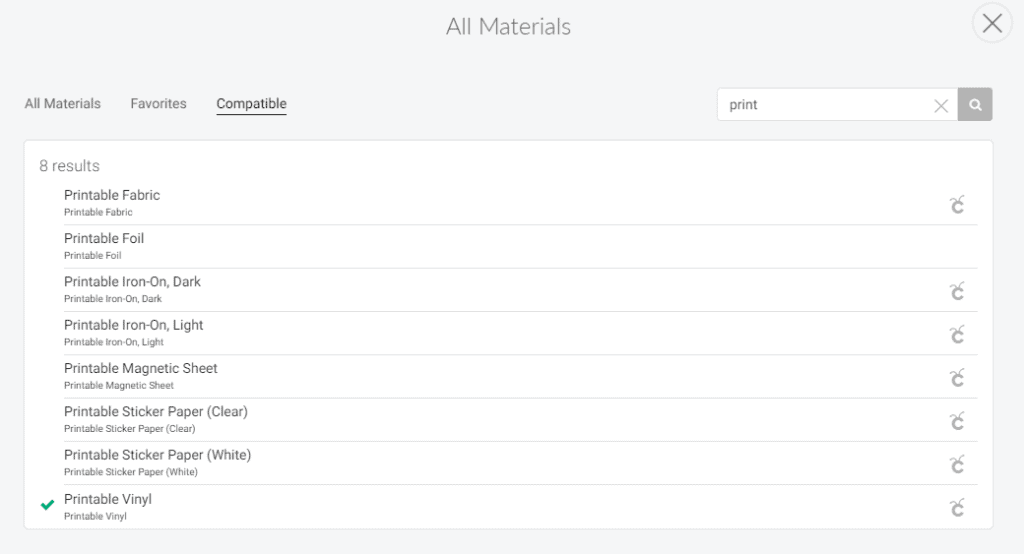
The next screen is where you will pick the material. Search for Printable Vinyl. Choose and left the default for the pressure.
Remove your stickers from your mat and choose the one you like best. Lay your mug in the cup cradle. If you do not have one, lay your cup on an even surface and put something under the handle to hold it straight.
Lay your decal on your mug to figure out placement. Since this is a round surface it can be tricky to get your sticker on straight without bubbles or crinkled edges. I like to fold one half my printable vinyl back like this
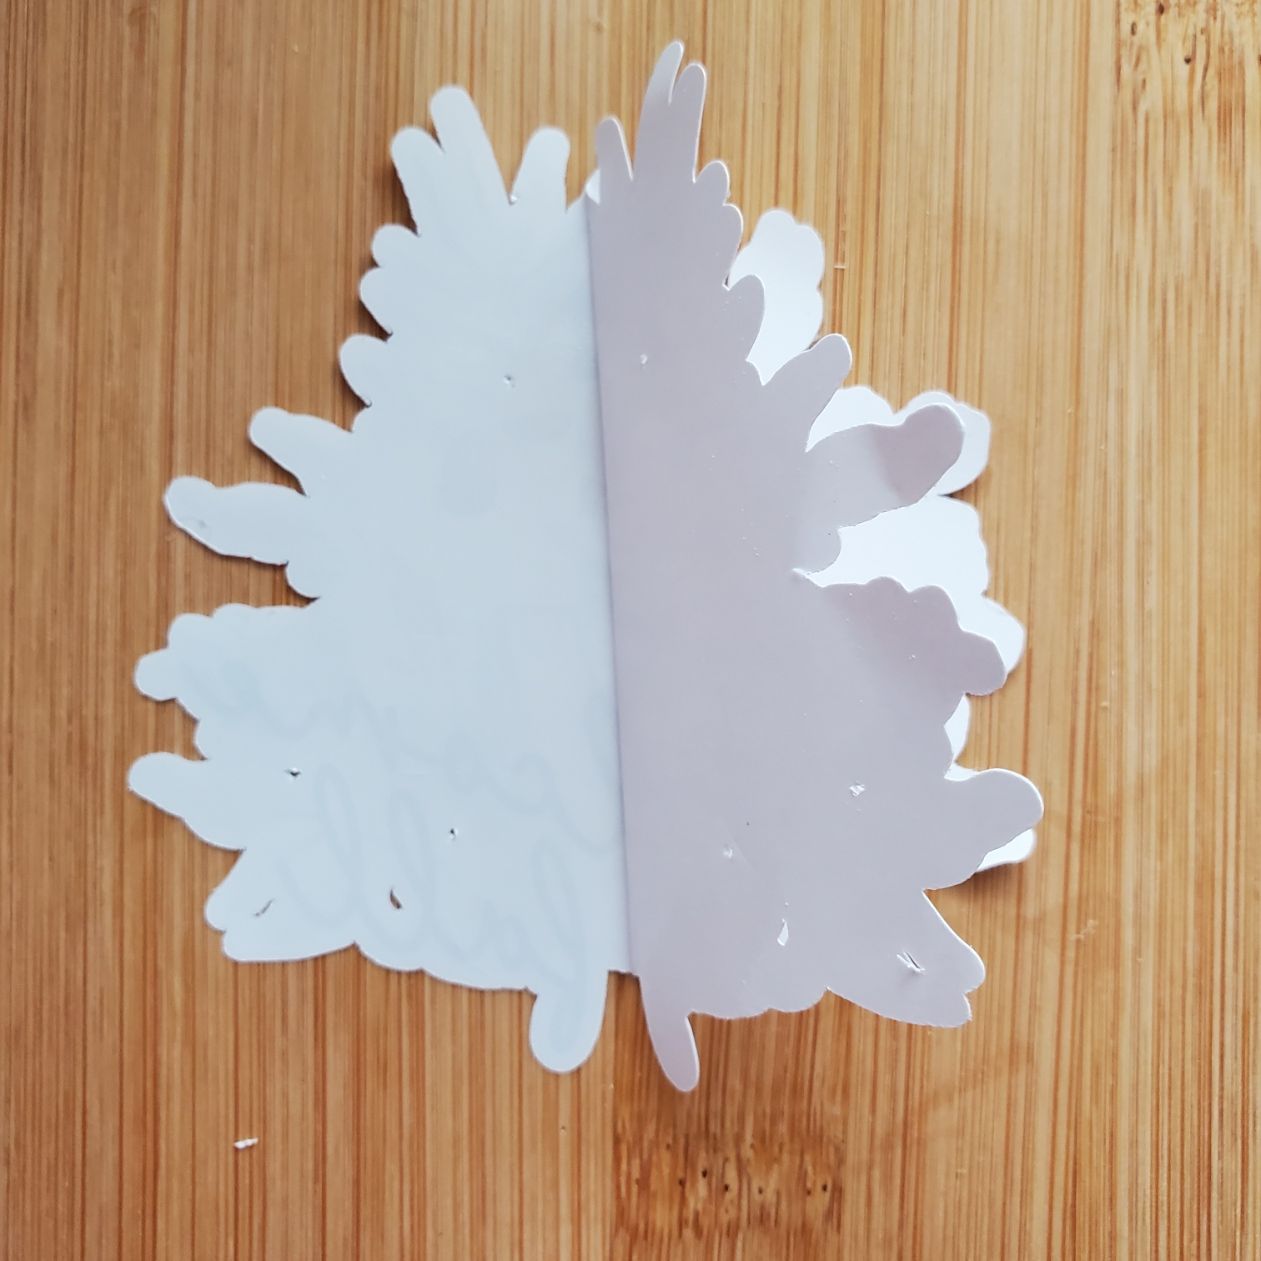
Then I line up the exposed section on the mug and gently press it down making sure there are no wrinkles or bubbles.
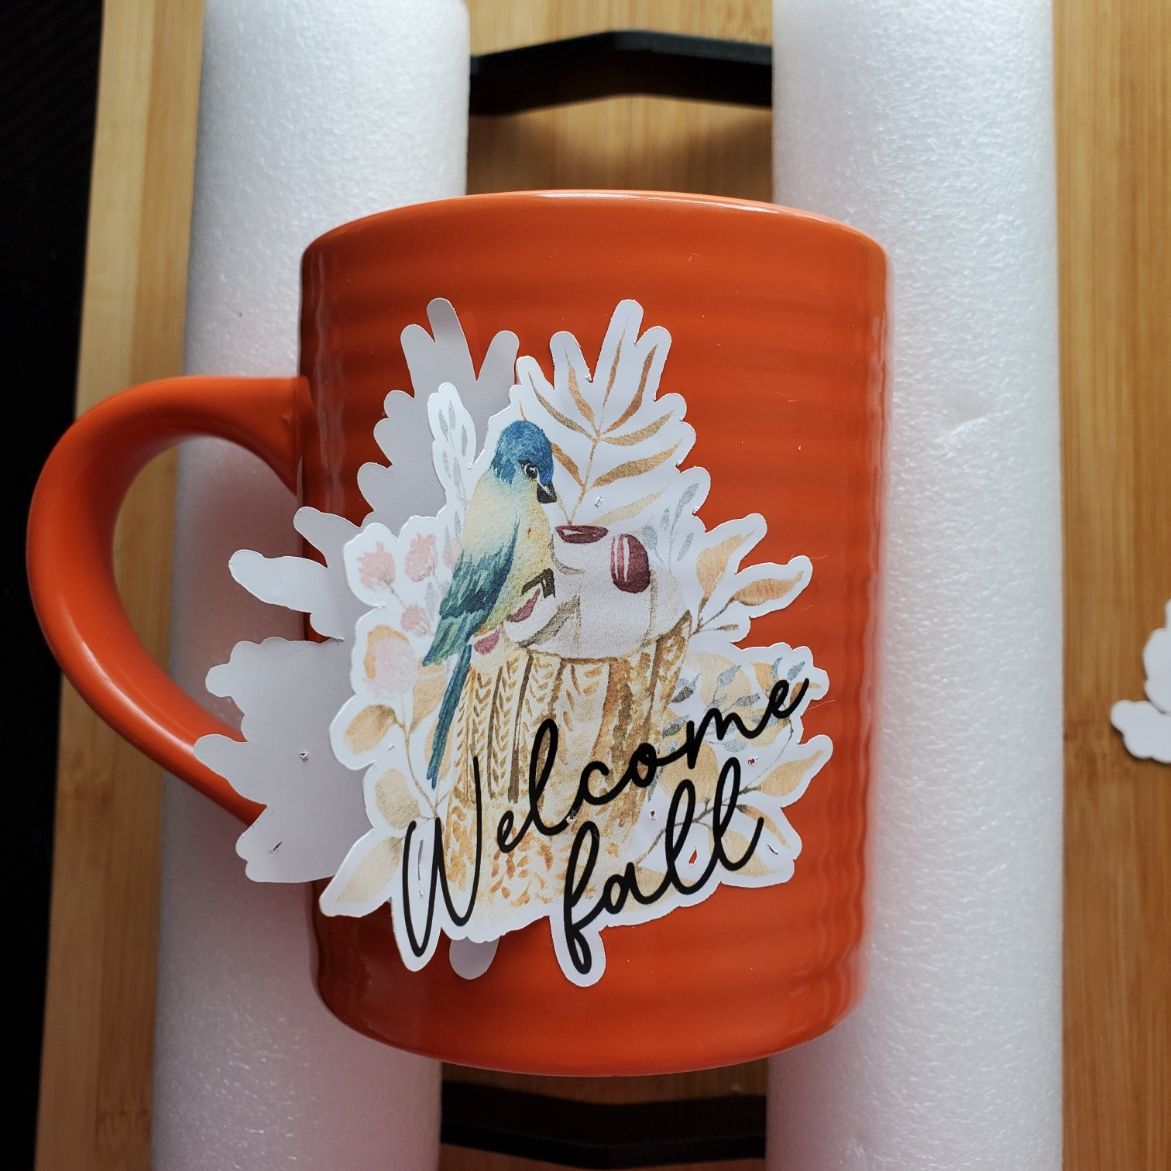
Then slowly release the other side pushing out the wrinkles and air bubbles
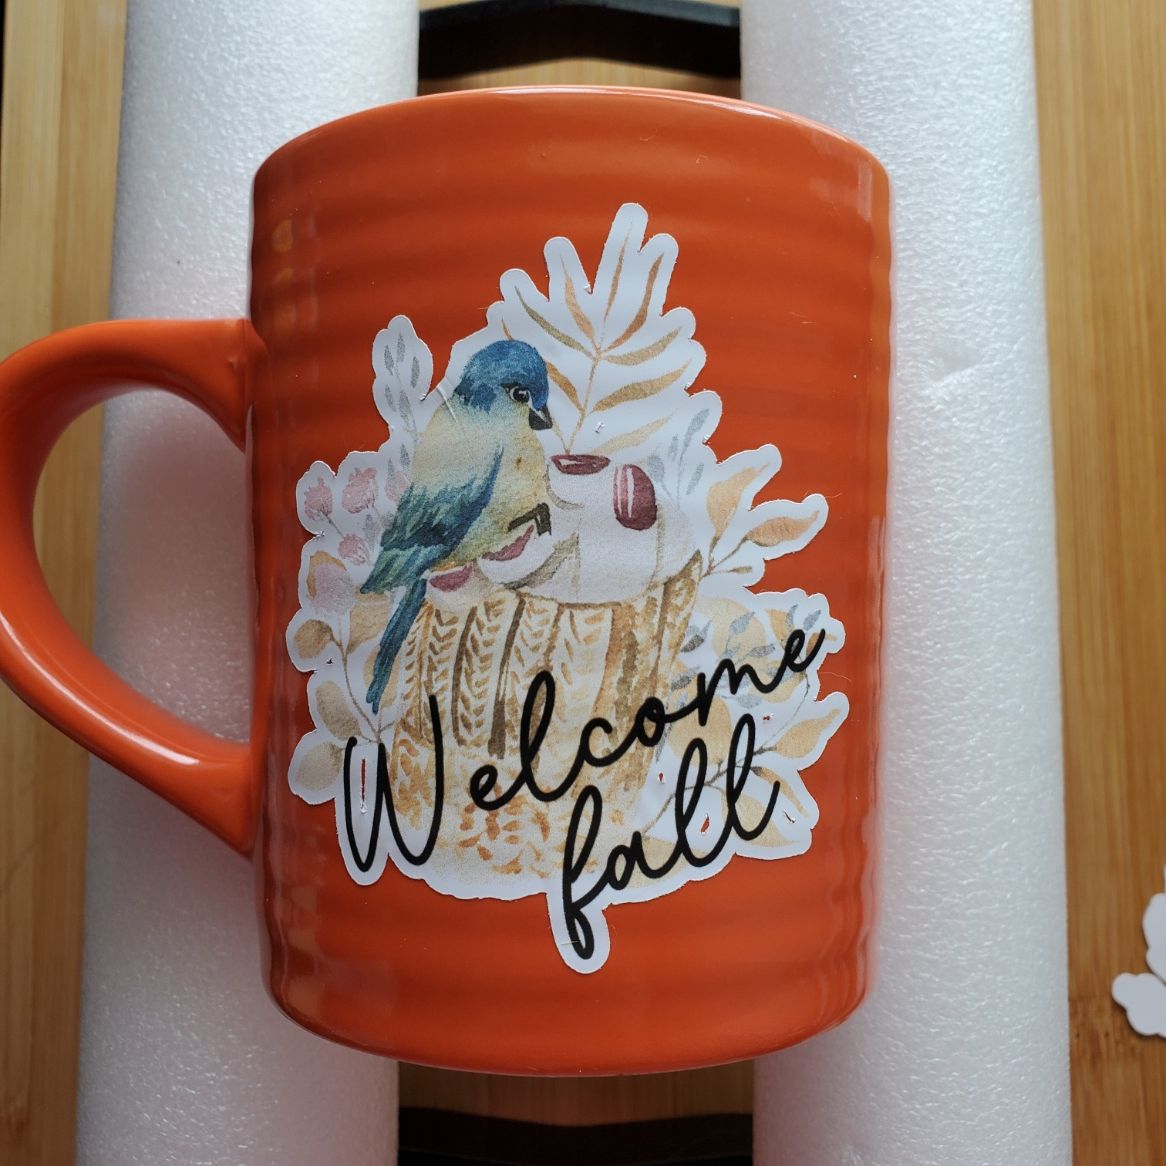
Printable vinyl is pretty waterproof as long as you don’t let it set in water. But if you want to use it in the dishwasher you can seal it with a thin coat of mod podge dishwasher safe sealer. I have found that this is the best way to seal it. Just make sure to let it cure for at least 48 hours before use.
We love to see the crafts that everyone makes and others enjoy it as well. We have a Facebook Group “Craft Room Time” were we do giveaways for people just like you that share with us!
Do you love making stickers! We do. Check out our other post here: