Learn How to Make this Cute and easy Dollar Tree Bunny Centerpiece
Don’t you just love decorating for the holidays? Well how about making your own easy Dollar Tree Bunny Centerpiece? Easy enough for you to make with the kids and cute enough to have up all Spring!
-
Save
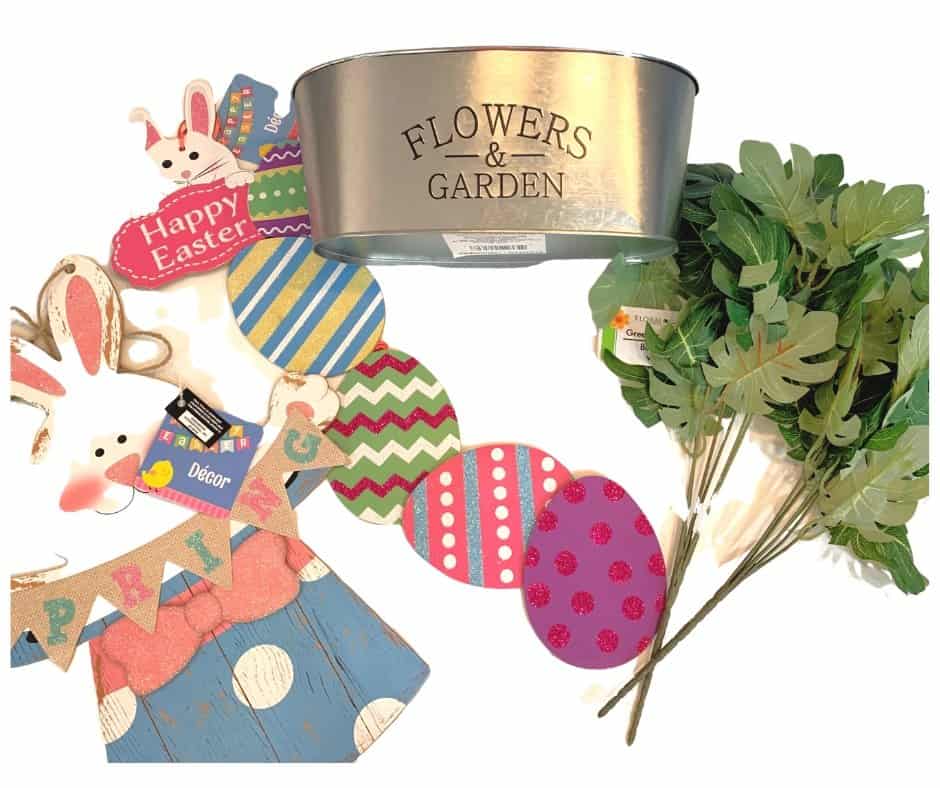
Supplies:
- Flowers & Garden Tin
- Greenery
- Happy Easter Sign
- Spring Bunny
- Styrofoam (I used leftover scraps)
- Popsicle Sticks (optional)
- Powder Carrot Candy (optional)
-
Save
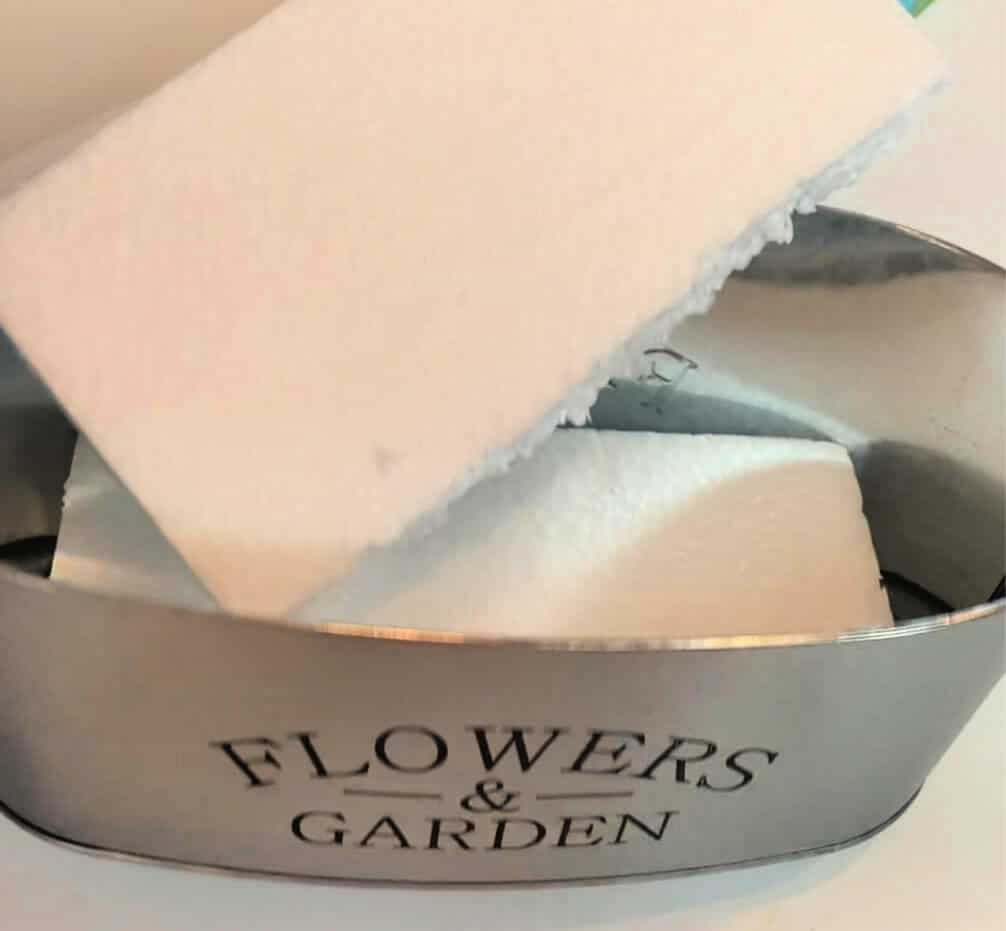
Step One: Build up the Base with Styrofoam
In the Garden Tin place Styrofoam to about 1 inch below the top rim line.
-
Save
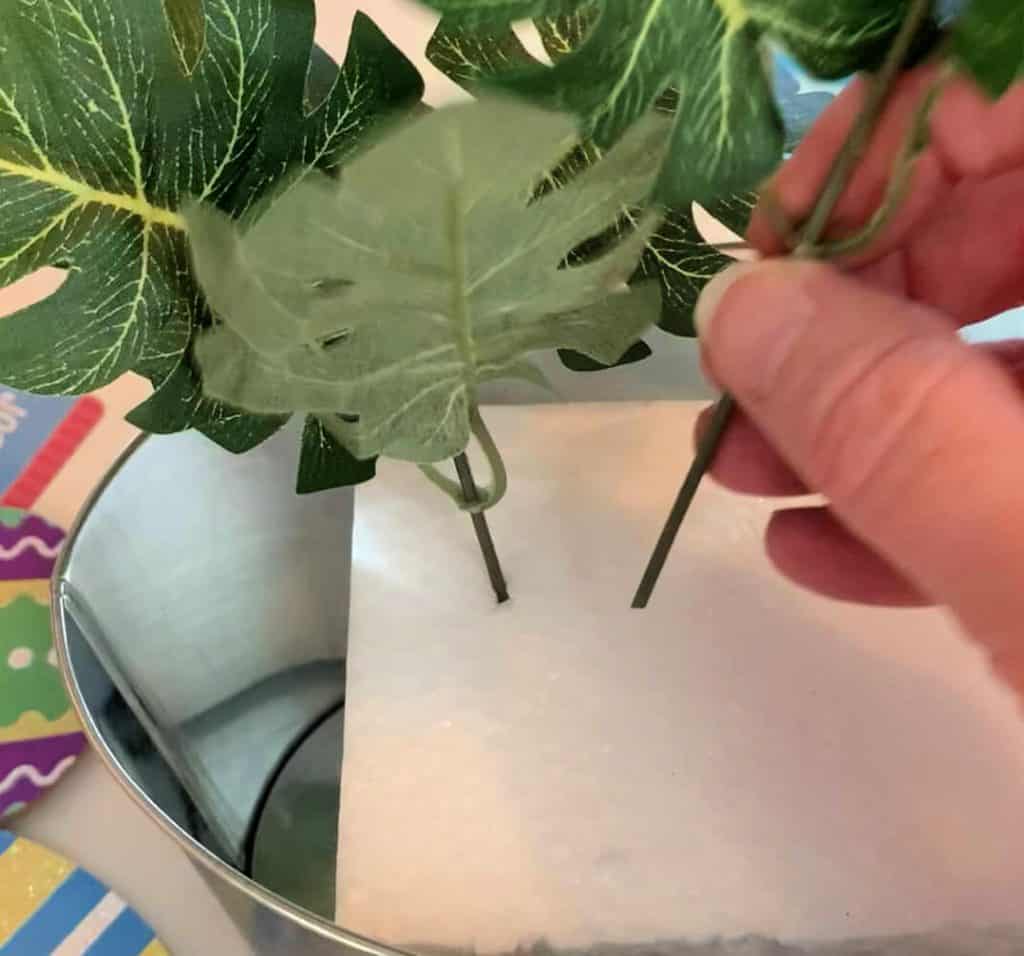
Step Two: Add Greenery
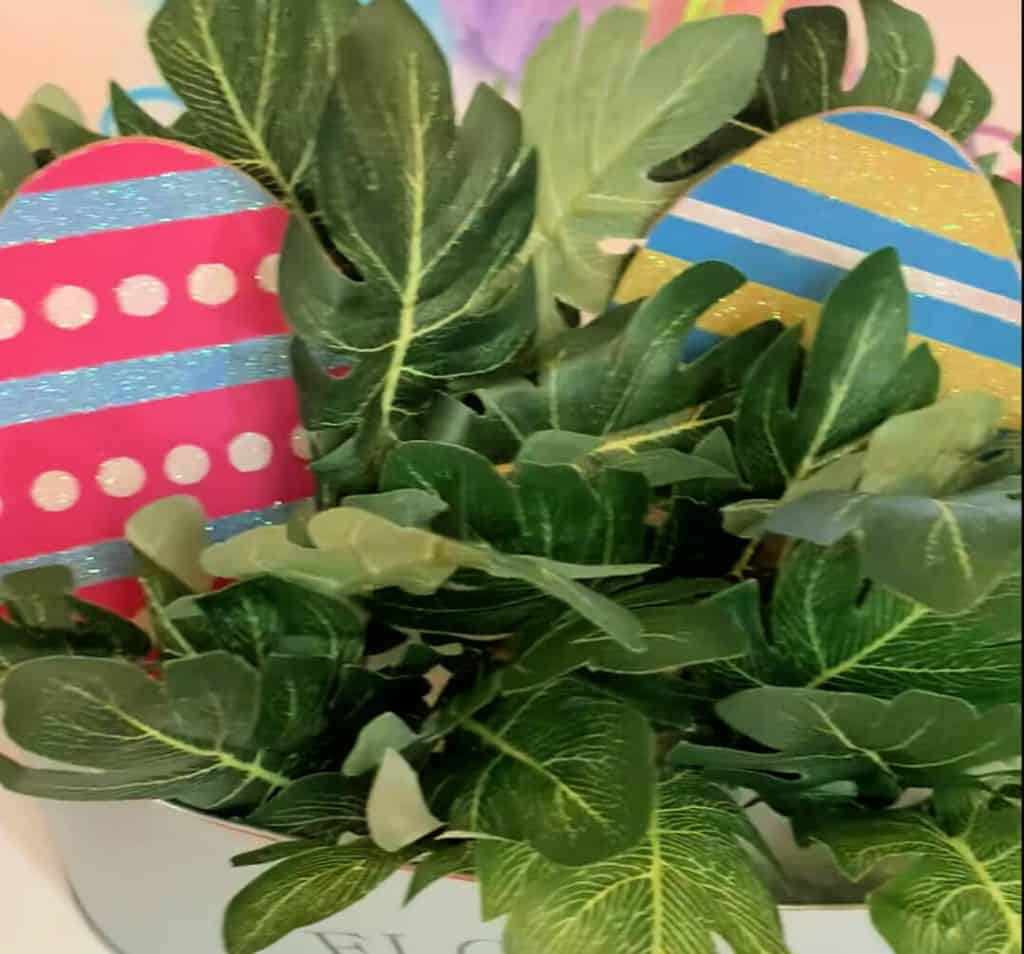
Using the greenery, cut apart the stems and poke each one into the Styrofoam until covered.
-
Save
-
Save
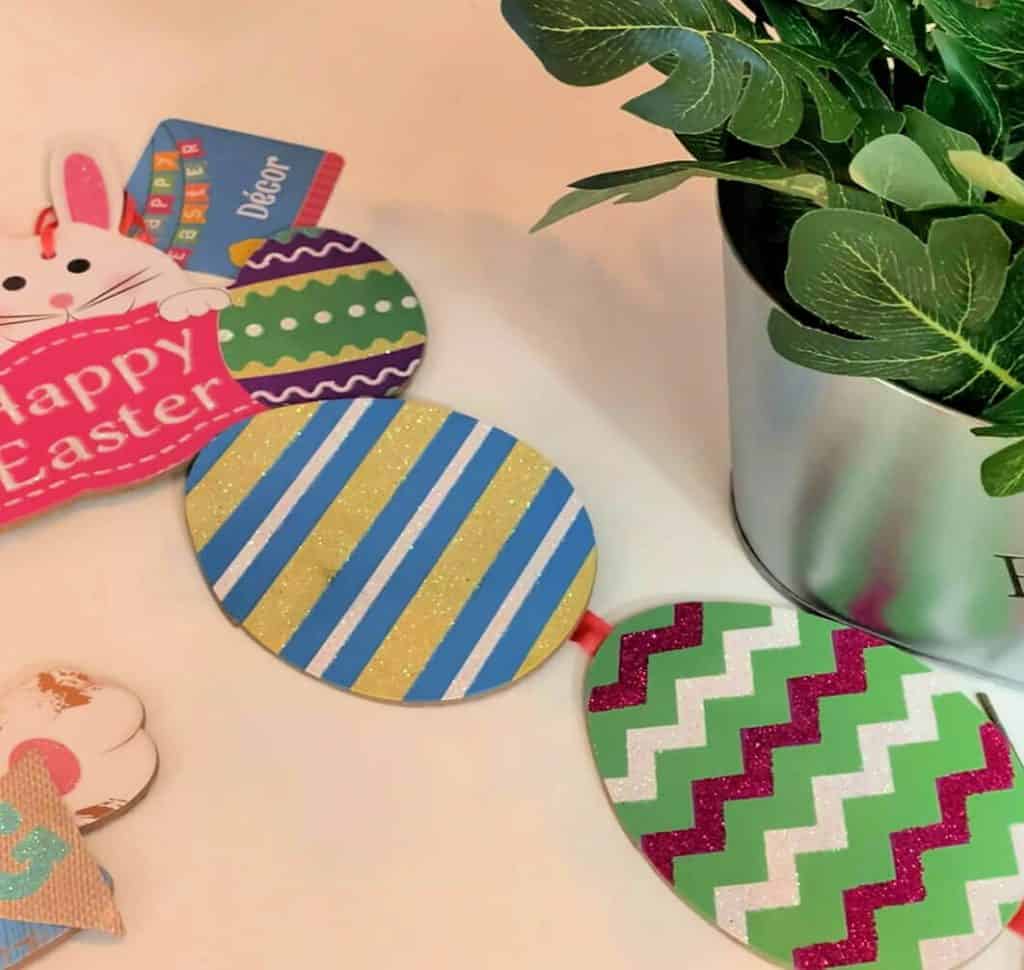
Step Three: Add Eggs
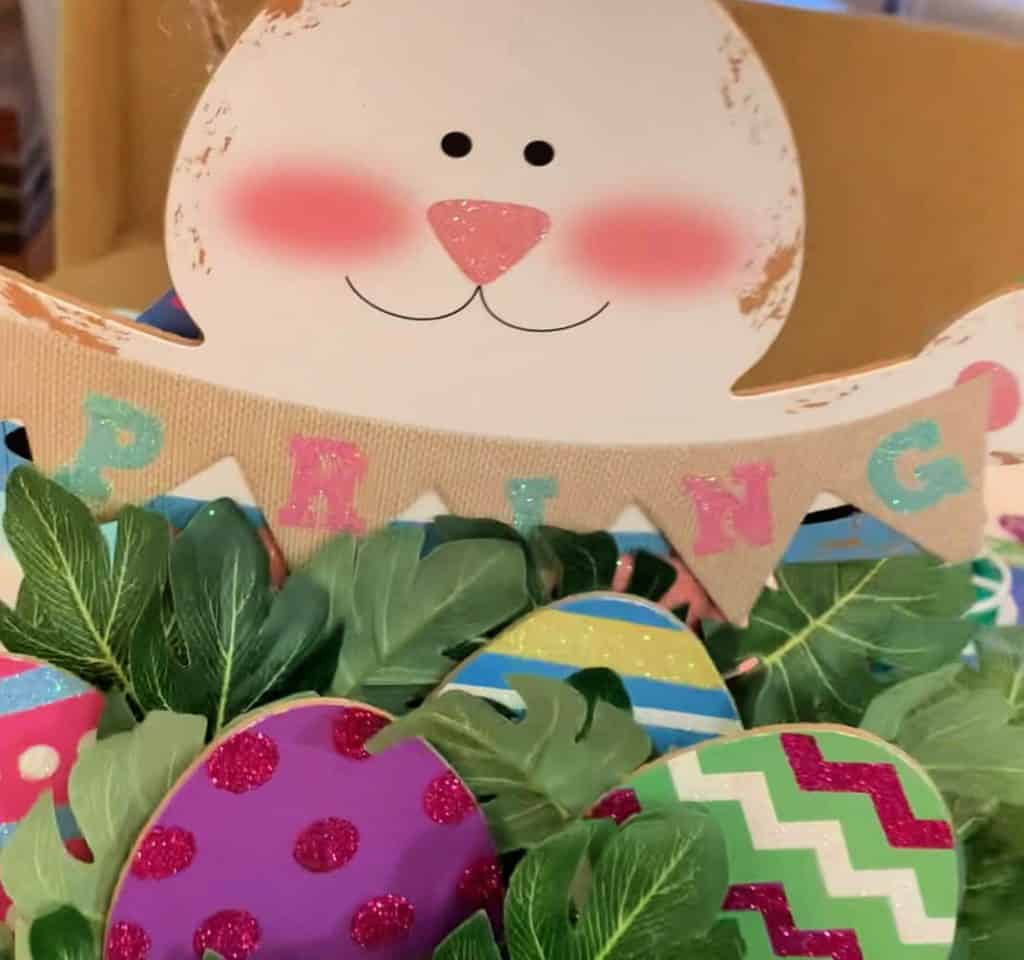
Cut apart the eggs from the Happy Easter sign with bunny and insert them into the greenery. For more stability, you may want to glue a Popsicle stick to the backside and insert that into the Styrofoam.
-
Save
Step Four: Put Bunny in the Tin
Simply place the bunny in the back of the tin between the tin and the styrofoam. She is big enough that you don’t need to secure her any more than that!
-
Save
Step Five: Add Powdered Candy Carrots
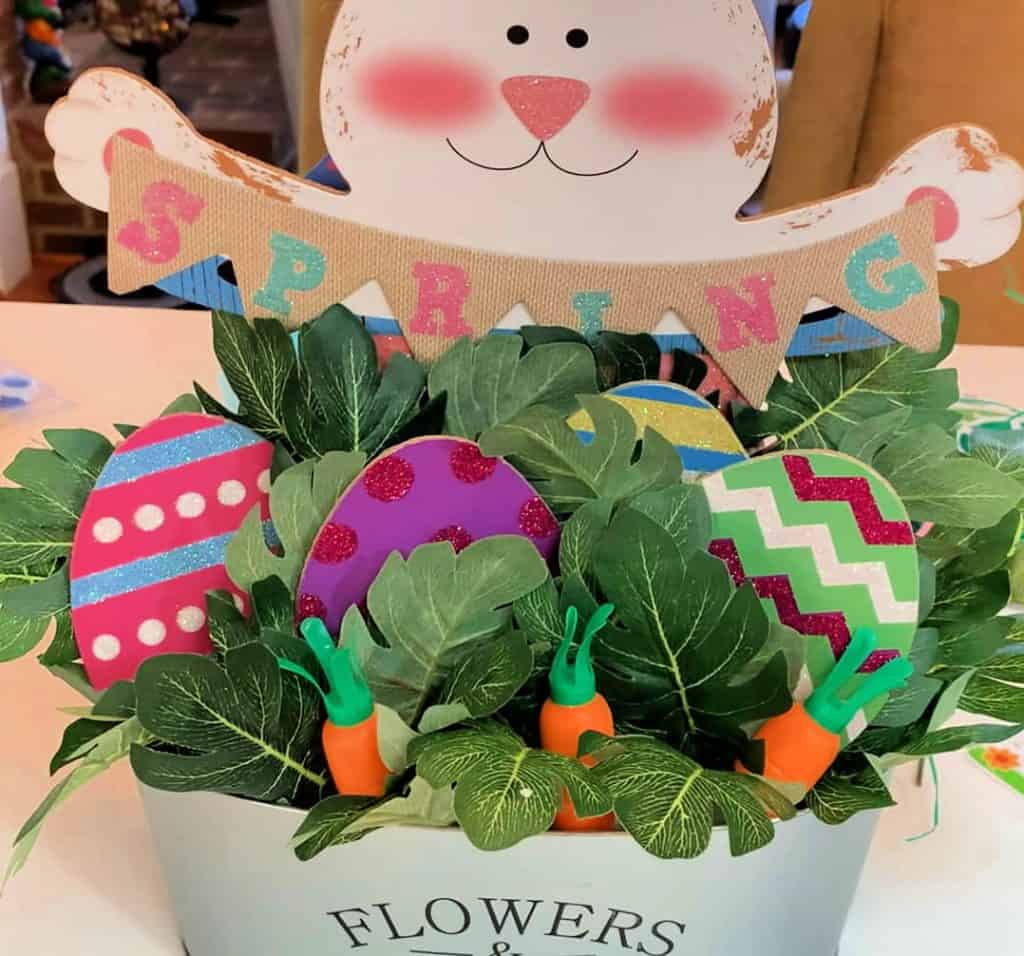
For fun you can add some of the powdered candy carrots in front!
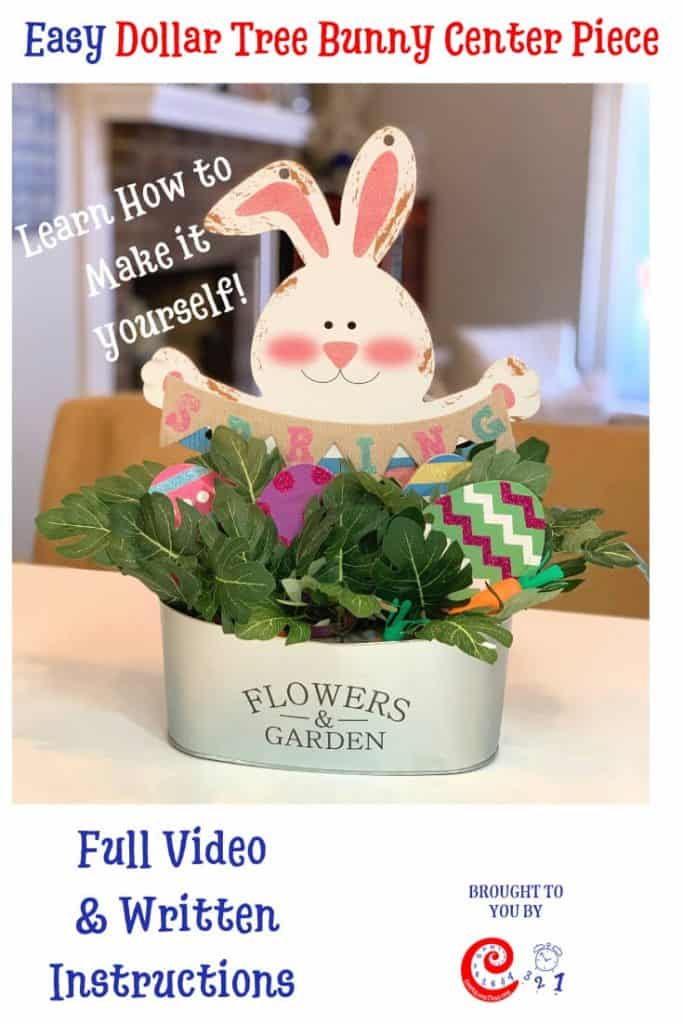
That’s all there is to this Easy Dollar Tree Bunny Centerpiece! Isn’t she cute?
You my want to make the DIY Bunny Wreath next!
Pin it for Later:
-
Save
