Do you like to repurpose things you found? I sure do! Nothing is better then finding things alongside the road left for the trash. I’ve been very lucky to find so many things. I know it seems odd, but that’s me. I’ve seen people put out the most amazing things and I have done that myself. Perfectly good furniture, patio sets, toys, you name it. See the DIY shutter headboard I made from salvaged shutters!
About two years ago I found some old shutters. What I really liked about them was that they were wood and they were two different sizes. So many things went through my brain as to what I could do with them. I hadn’t quite found the exact thing so they’ve been sitting waiting for me to make up my mind.
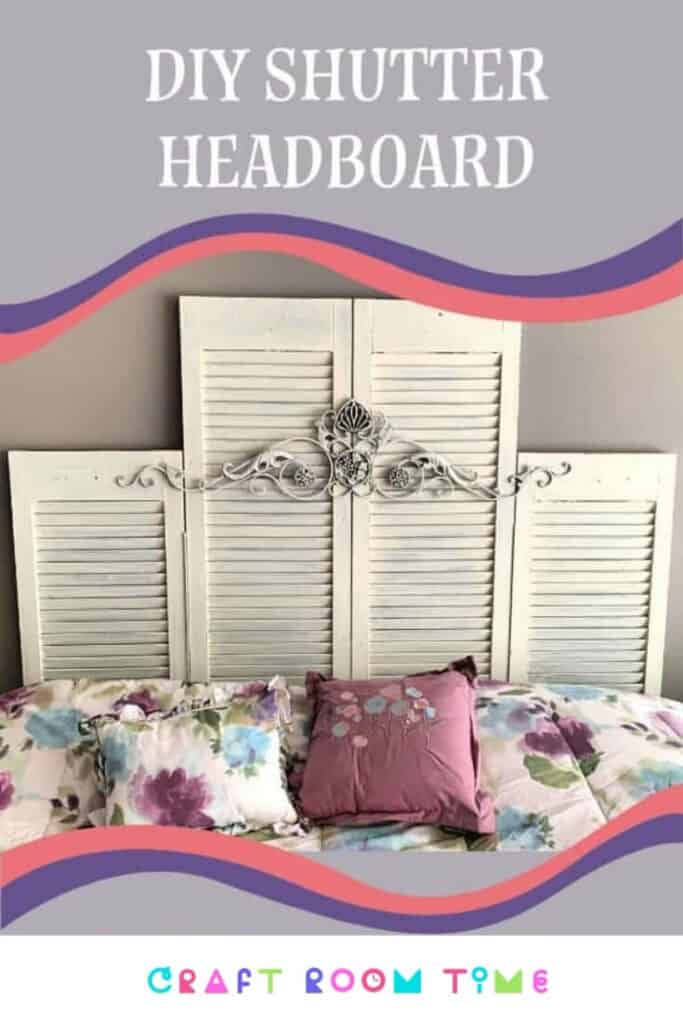
Well I finally did. With our recent move, I do not have my bed suite here yet. Just the mattress and frame. After I painted the walls I didn’t want to just have the bed against the wall rubbing on the paint. Whella! I found a purpose for my shutters! A DIY Shutter Headboard! It’s perfect for my shabby chic, Joanna Gaines type farmhouse country home!
This post may contain affiliate links and we may earn compensation when you click on the links at no additional cost to you. For additional information, please see my full disclosure policy.
SUPPLIES for DIY Shutter Headboard
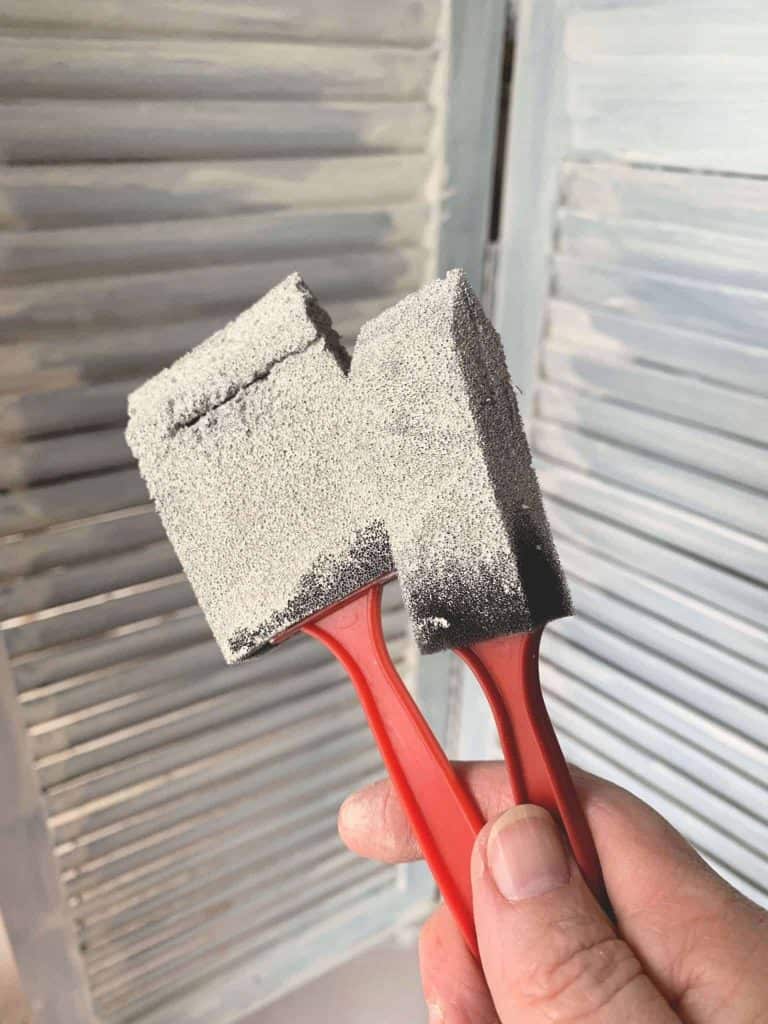
- Red Foam Brushes
- Color Place paint (Walmart) Country White Flat
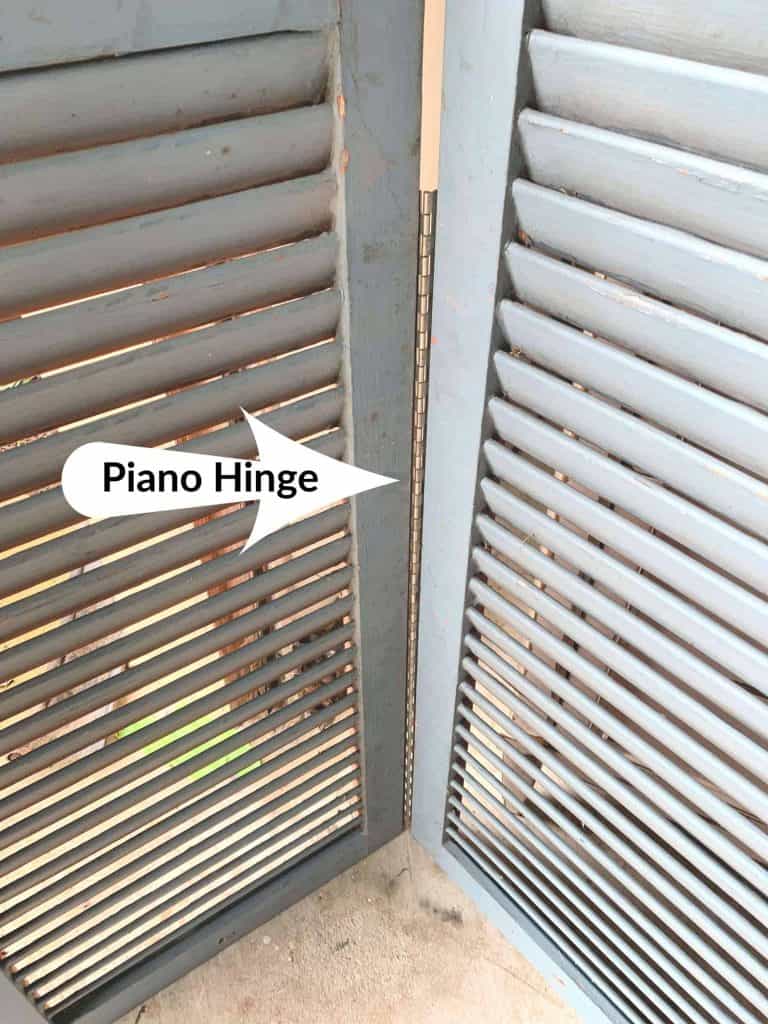
- Piano Hinges (2)
- Adhesive Felt backers
- 2 1x8s
- Sandpaper
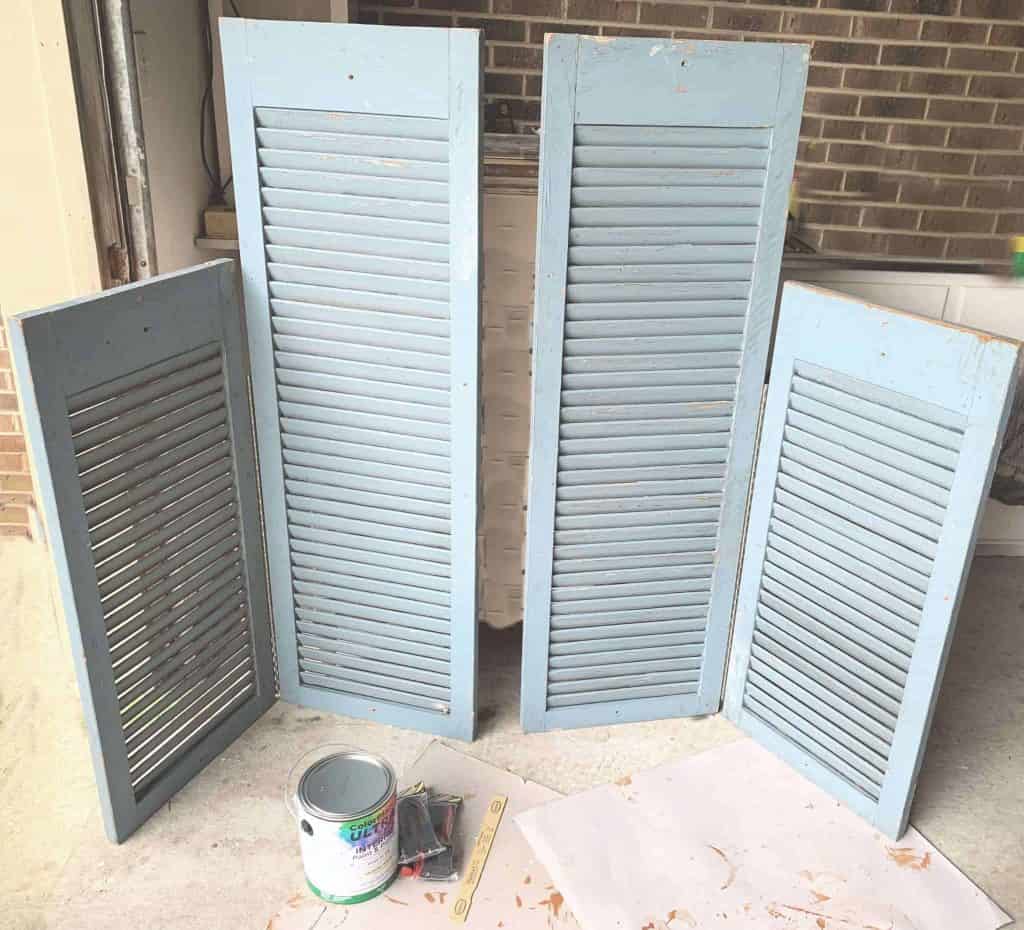
1ST STEP: PREP THE SHUTTERS FOR PAINT
First I cleaned off the old paint by just brushing it off with a rag. Knocking off the dust and old paint that was chipping. Then I purchased some piano hinges (really long hinges) and put them between the longer and the shorter shutters so they would stay put. I did that to both sets. Now I took care to put these on so I could go either way with the shutters, but I wanted the slats to point up so that I could hang things from them later on. Like a garland, some photos, flowers or whatever strikes me.
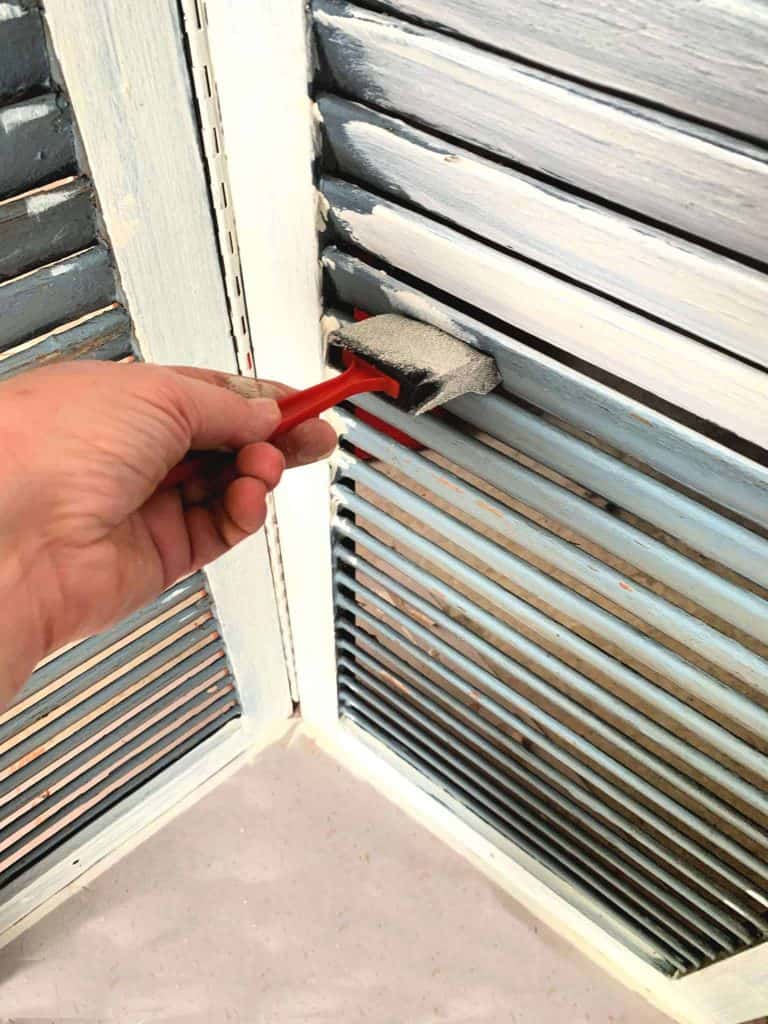
2ND STEP: PAINT
I then took my trusty Red Handled Sponge brushes and got to painting. I used the wider one for the middle of the slats and flat surfaces and the narrower brush for the corners of the shutters. Now remember, I am going for the shabby chippy painted look. I painted two coats trying to get it all covered and let it dry in between coats. These two coats I don’t worry much about coverage and it looking all pretty. In the end I’m going to sand it down anyways.
My hubby always shakes his head when I paint. I get it all painted and then take sandpaper to it. Only other crafters an shabby chic lovers would understand my madness LOL.

The third coat was the look I was going for. Enough coverage but I could still see the hint of the steel blue showing through. Once the pieces were all dry it was time to put it all together.
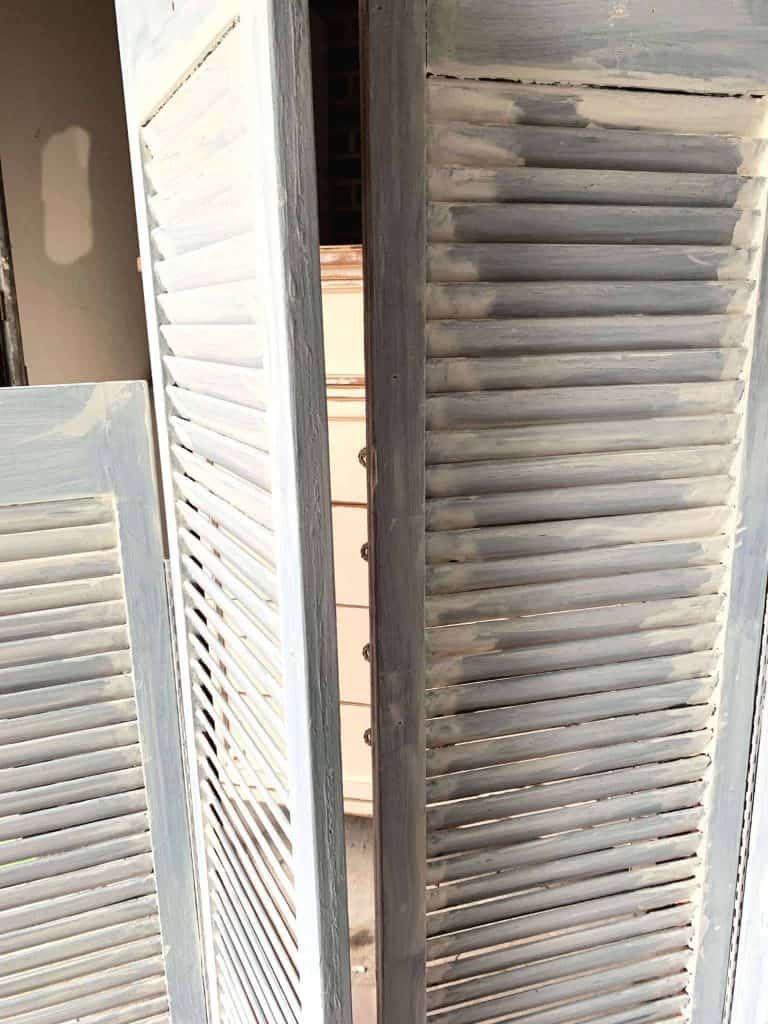
3RD STEP: 2ND COAT
You guessed it – Sanding it down. I knock of any rough spots and try to get down to the color below. I’m not too concerned with it looking rough in spots and I did not take any time to fill in holes and all. That’s character. Those shutters tell a story of their own.
4TH STEP: FRAMING IT OUT
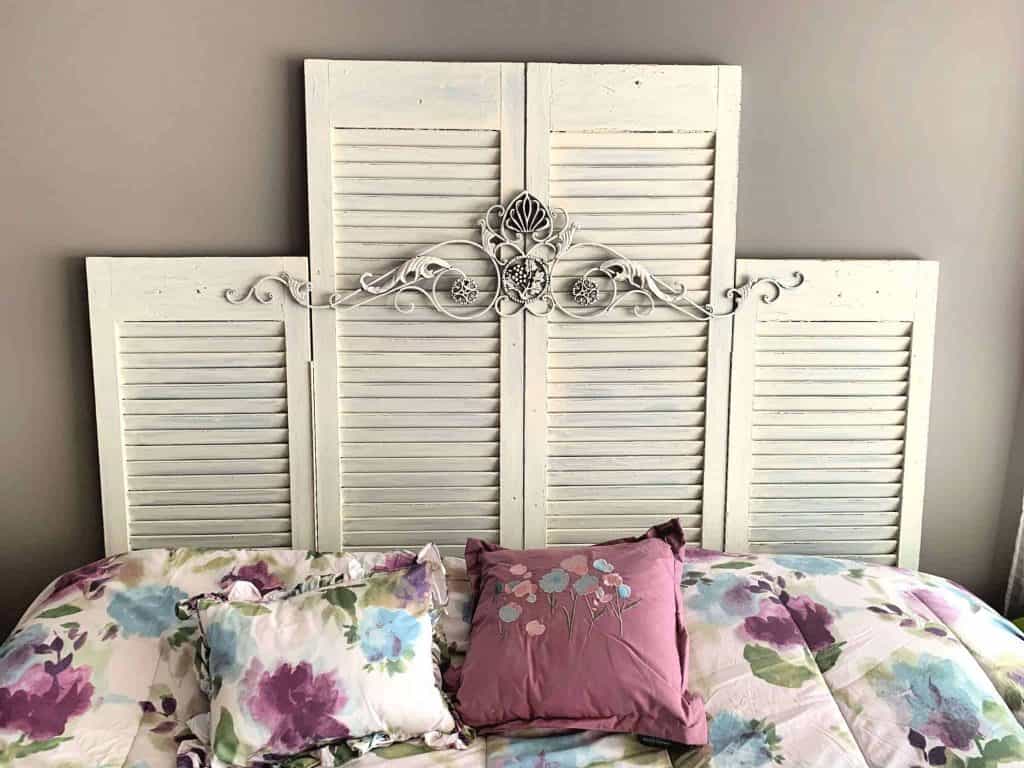
Once I had all that done, I then took 4 1×8’s and screwed them into the backs of the shutters making sure that they would be tall enough to go behind my bed and be seen. I think I nailed (literally lol). Once I got it together I though they looked a little plain. I remembered I had purchased a long metal scrolly thing (yes, that is the technical name for it)! I painted it but just brushed it sparingly so that the dark metal would still show through. I attached it with some screws and it was done!
5TH STEP: THERE YOU HAVE IT! DIY SHUTTER HEADBOARD
The final step was to add felt strips to the bottoms of the board and the back of the shutters that would go against the wall. I did not need to screw this to the frame of the bed because it was pretty sturdy as is and the bed pushed up against it. I love how the shutter headboard turned out!
You just never know what you can do with found treasures! I know I always surprise people when I do these kinds of things. It gives me great joy!
Do you love them? What have you repurposed? Let me know what you think in the comments.
Save it for later: