I’m often asked how I organize all my craft supplies because I do so many different types of crafting. I thought I’d share with you a lot of what I use and recommend along with some new things for craft room storage ideas for the New Year.
The new year is the perfect time to organize your craft room. You are most likely taking a break from all the holiday crafts you’ve been creating and, if you are like me, then you have a giant mess in your craft room that begs for organization.
Let me tell you, it’s taken years of accumulating supplies and just as much time finding the perfect storage. Mostly because we’ve moved around so much and no two craft rooms are the same so different types and sizes of storage containers, shelves and furniture are inevitable.
The current craft room I am in has a long wall of built in shelves that came with the house. We painted them and added molding to make them look better and then I measured each shelf for height, depth and length to find the perfect containers that would work for me.
To cover everything in my craft room would make this post extremely long so I’m going to post each section along with where I got all my storage and what I put in it. This may help you with your room. If you’ve got suggestions for me, I would love to hear them in the comments below!
Let’s get started!
This post may contain affiliate links and we may earn compensation when you click on the links at no additional cost to you. For additional information, please see my full disclosure policy.
I’m not including prices because, let’s face it, everything has gotten more expensive since COVID and you may be able to find these on sale. I will tell you that anything I buy online goes through my Rakuten Chrome extension so if there is a sale somewhere I get notified AND I get money back from the app. Like at the time of this post, Michaels is a 2% cash back from Rakuten including sales. Take a look and click on the picture or the links to learn more.
The wall of shelves has 2 sections each with 6 shelves and of course the floor. Each shelf is 94 inches long and 18 inches deep. The height varies. 12, 7, 9, 11, 11 and 16 inches from ceiling to floor. As you can see I took advantage of every inch possible with the containers I found and some that I already had.
Let’s start at the ceiling or top shelf. This shelf spans across the entire two sections. I had two bolts of lace that I wanted to put up there out of the way so I did that first and then measured to see how much space was left.
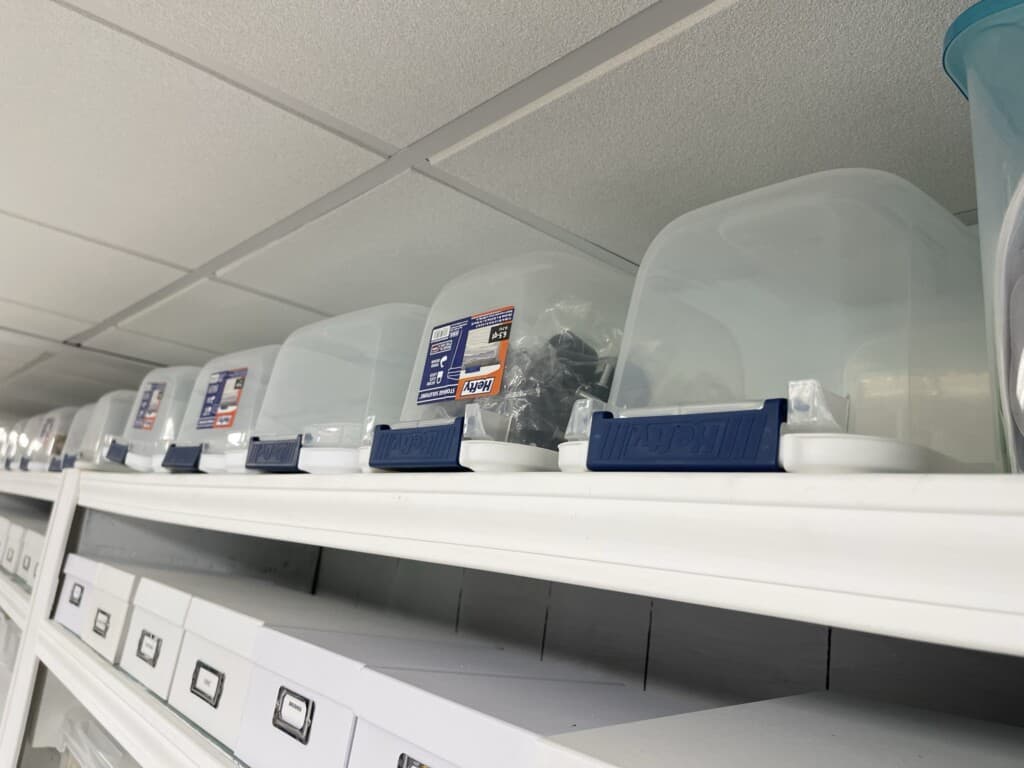
A trip to Lowes and I found some containers that had really good grips for handles the keep the lids on tight so I was able to get them and use them upside down so I could easily remove them from the shelf by the handles.
These are the Hefty 15 quart Storage Solutions. On Amazon they have a set of 8 you can purchase or try Lowes for individuals.
Right now I only have a few of them filled. I put my Joy tools and materials in one. The others have glue, ribbons and the casters from my rolling carts that I’m saving in case I need to put them back on.
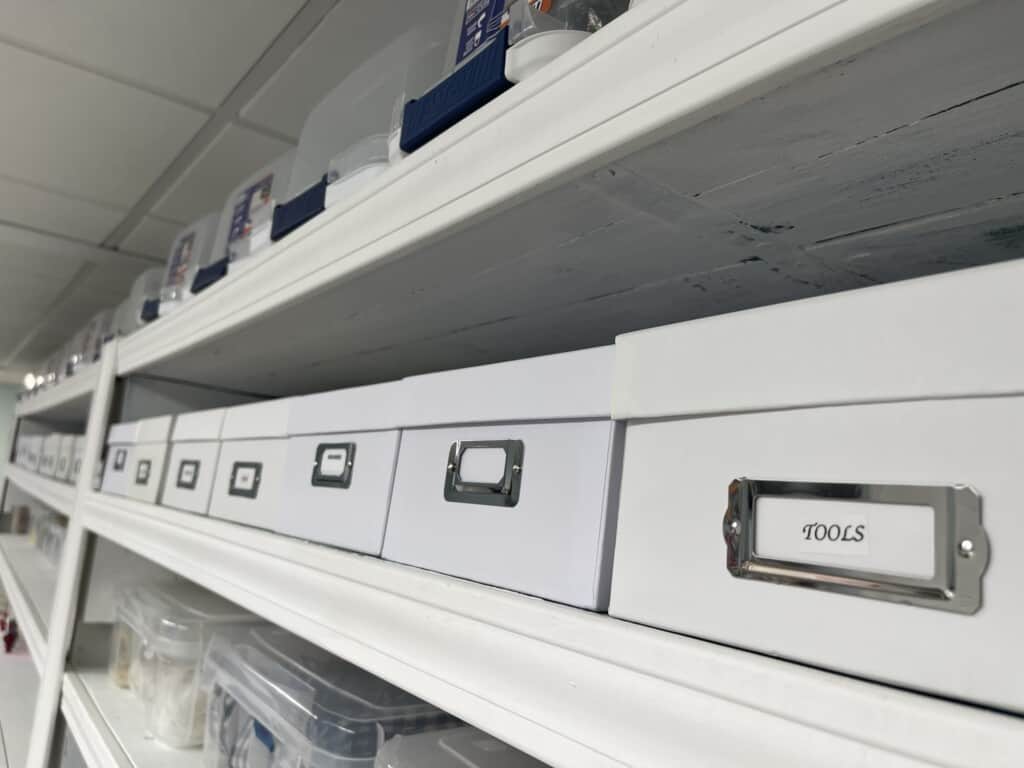
The next shelf contains photo boxes I purchased from Michaels. There is a difference in a few of them because they were bought years apart but they work!
Not all are filled yet due to our recent move, but some are full to the brim and need to be relocated to the bigger tubs on the other shelves. I keep my smaller tools, zots, foam dots, tape, glues, brads, and embellishments in them. They are a nice size to easily take down to the craft table and put away when done. I also love the little window to put my labels in.
I do have some really colorful ones that I keep on another shelf, but for this wall I wanted consistency.
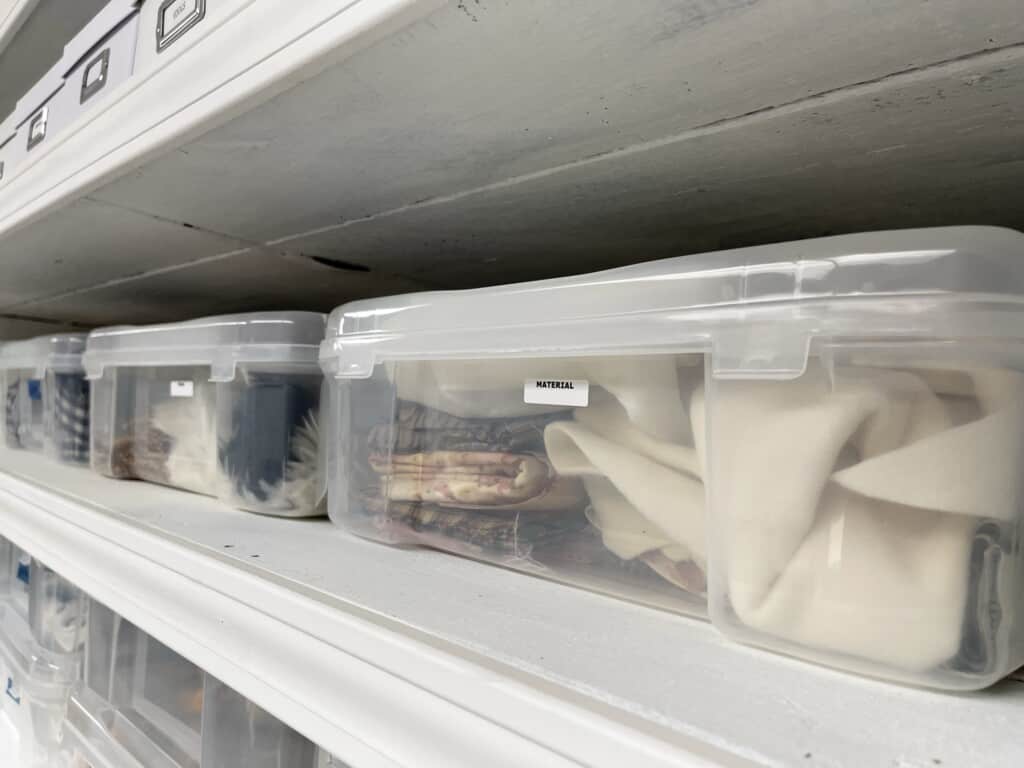
On the 3rd shelf down, I use these deep totes. I love them. I can fit so much inside and easily see what I have in them. I’m working on labeling everything but waiting to see if things are going to stay as they are now before I go all out.
These are the IRIS Portable Project Cases 17.2 inches by 15.29 inches by 6.13 inches (outside). They will hold 12×12 cardstock too but I found them to be to heavy and cumbersome to use for that. I love these totes! You will see them in different areas of my room.
I store a lot of different types of things in these totes. I have material, fringes, lace, wired ribbon rolls, all my stampin up jars of different materials, all my stamp pads, and all my punches in these on this shelf.
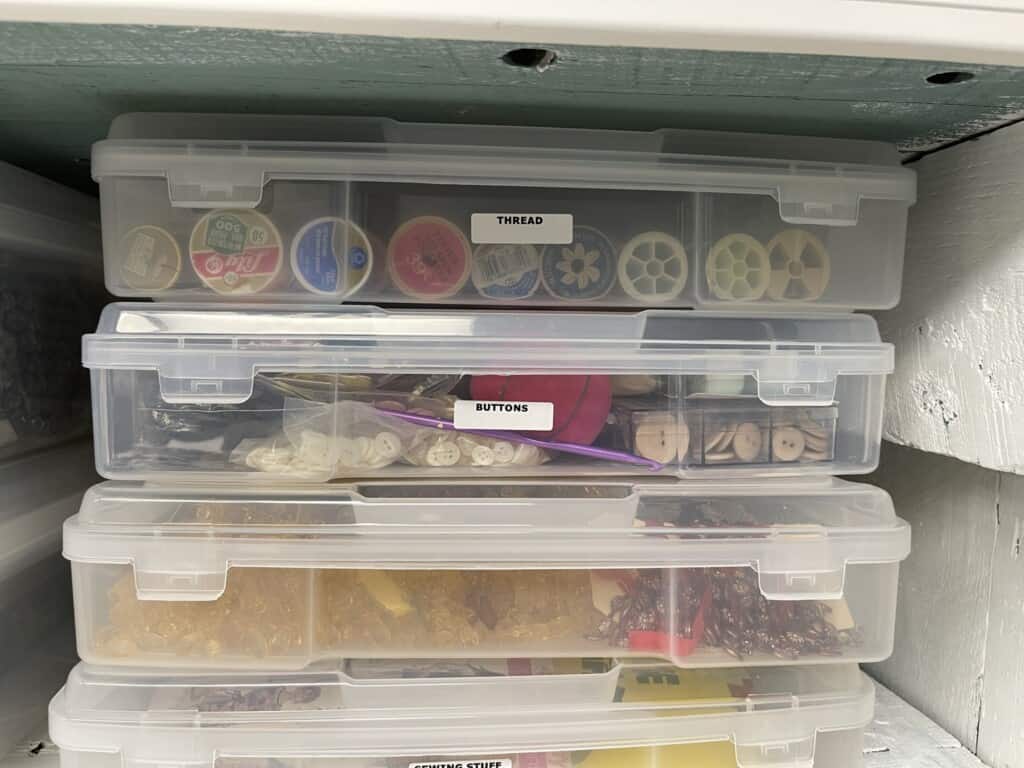
On my 4th shelf down and to the right, I use the Medium Iris project cases 14.4 x 14.4 x 3.1 inches (outside). For whatever reason, these seem to be made of gold because on Amazon they are going for $20+ each. I suggest going directly to IRIS USA Inc and order them there. Still high, but not that crazy.
I purchased mine at Michaels years ago on sale for $2 a piece. You won’t find that deal anymore I’m afraid.
I use these to store my smaller supplies like buttons, threats, beads on rolls, some tools, some of the smaller paper pads and my scraps for vinyl and HTV.
I like using these types of totes because I can see inside easily and take them to my craft table get what I need and put them back without a fuss.
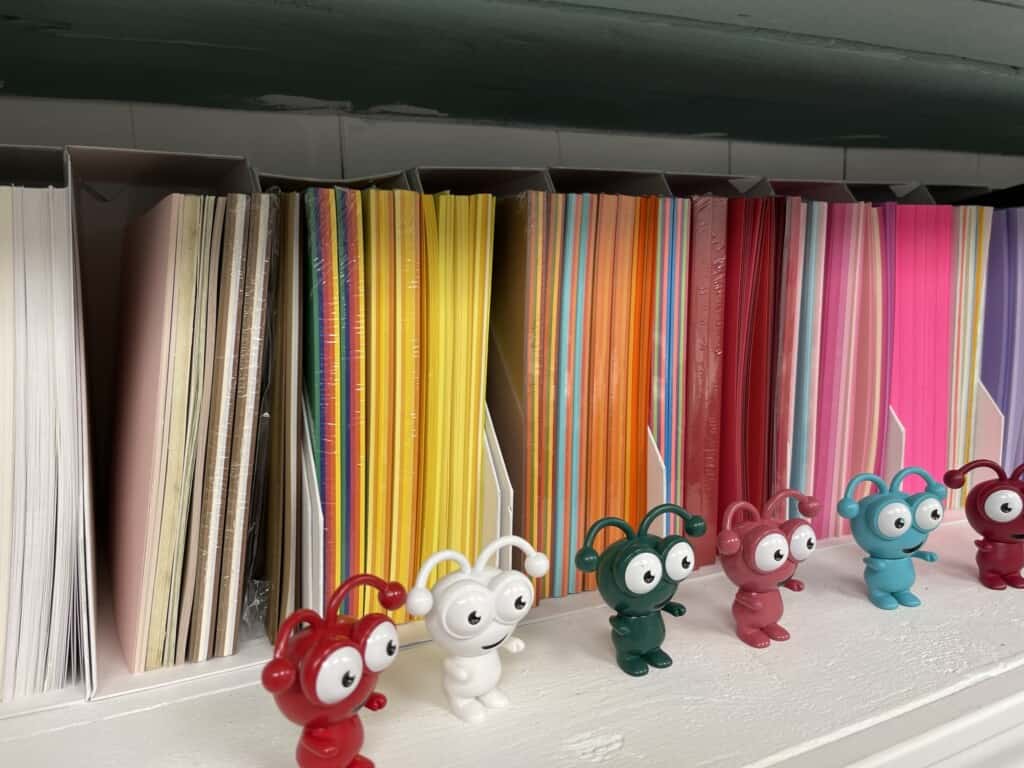
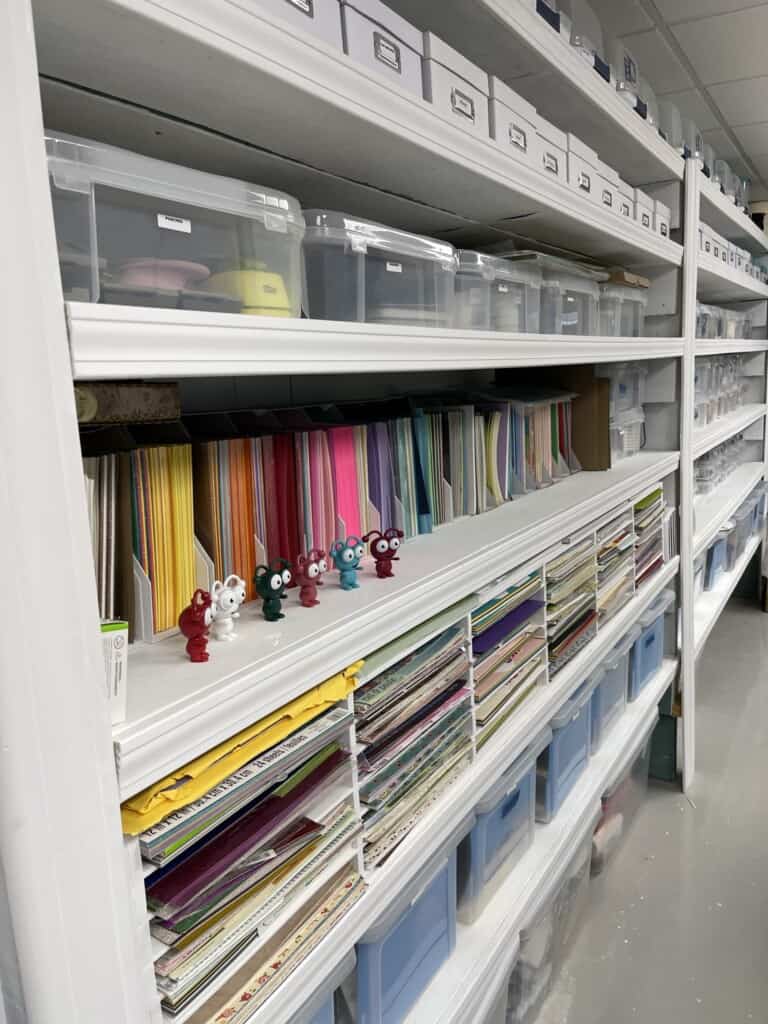
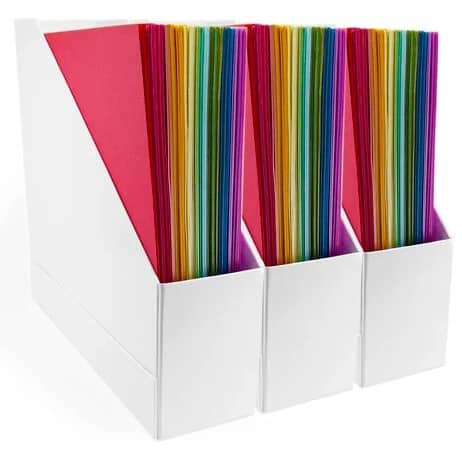
On the other side of my 4th row shelf is where all my 8.5 x 11 cardstock is housed. The magazine holders I found over time hold the paper nicely and I can see all the colors! You can find a good set here and just turn them on their back.
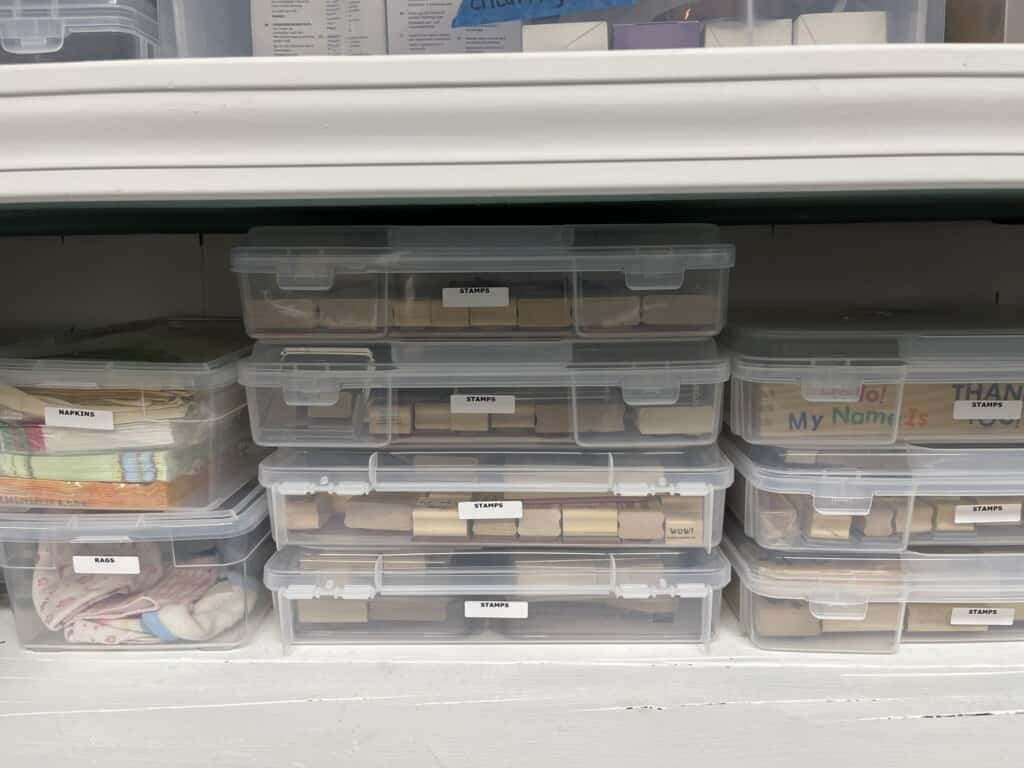
The Small Iris cases 11.3 x 10.7 x 3.1 inches (outside) make up one side of the 5th shelf and hold my stamps. Clear Sterilite 6 quart boxes with lids hold napkins and small wash cloths. These are not available on Amazon at this time. Try the IRIS USA Inc website.
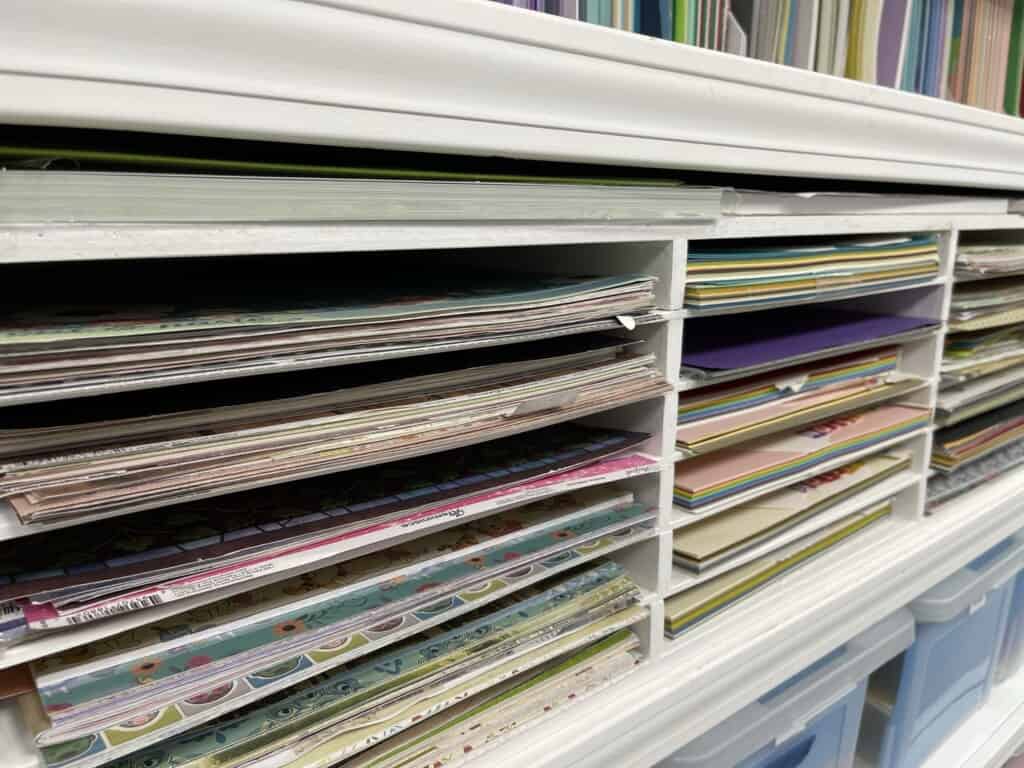
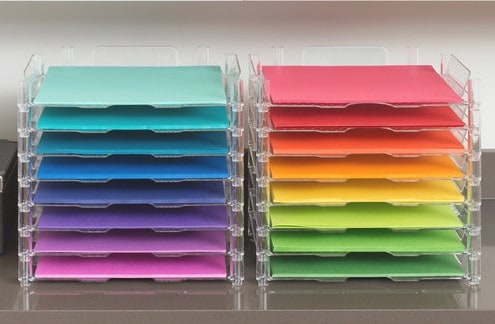
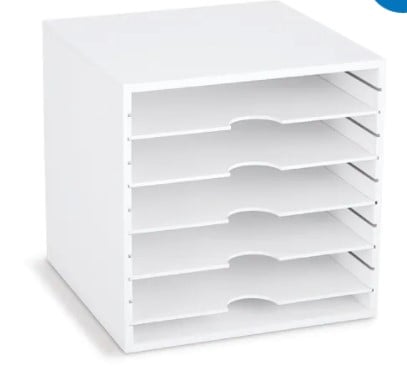
The left side of my 5th shelf houses all my 12 x 12 cardstock. I was unable to find racks that would fit inside my prebuilt shelf so my hubby had to make these. He used thin plywood and glued all the pieces together and then used a brad nail gun to hold it all together. These will be moving with us next time ha ha!
If you are not able to make your own, there are solutions. You can use the same type of magazine holders for 12 x 12 paper from Scrapbook.com, or plastic trays or wood dividers like mine from Michaels.
My 6th shelf has file tubs all along both sections. And the floor has regular totes with locking lids.
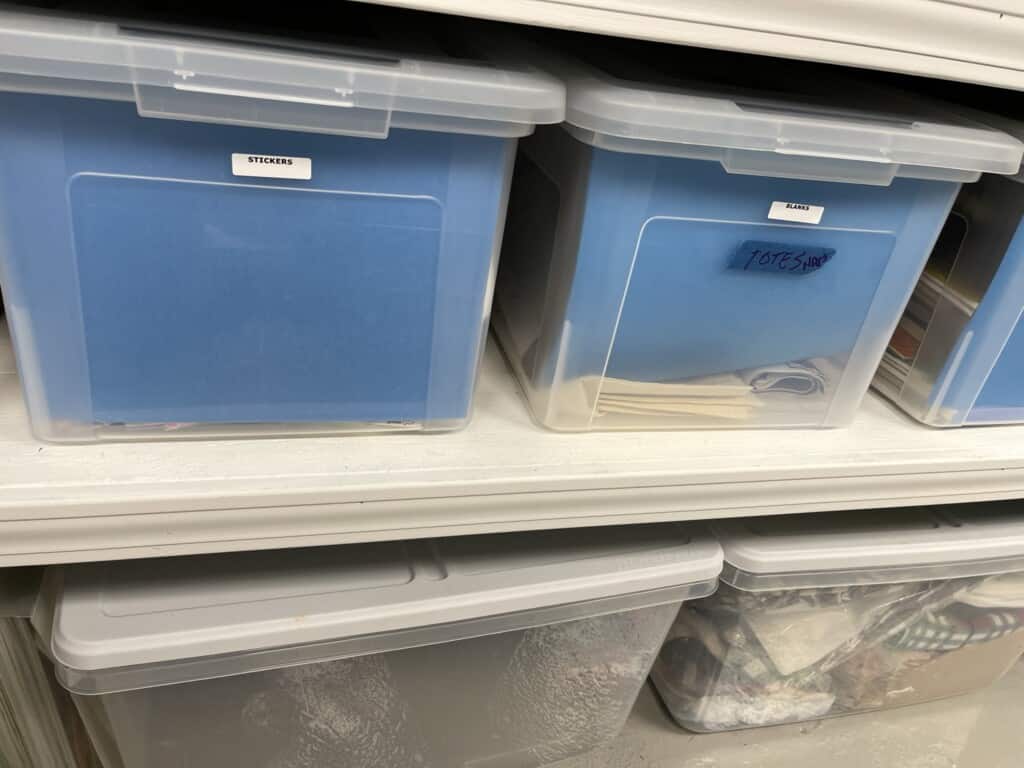
The IRIS file totes are excellent for using hanging file folders that hold all my stickers. I put a blue colored one in front of each for a consistent look and plan on dressing them up with some pretty paper or wall paper later.
I house a lot of stuff in the ones that don’t have file folders in them. I have all my sketch books in one, a lot of my bigger craft items that I will make something of one day and just a bunch of the bigger odds and ends.
If my scraps from paper, vinyl and HTV get to be much bigger, I will use these to put like kinds and colors together so I can get to them and use them more frequently once organized.
The Sterilite 16 quart tubs used on the floor, contain more of the bigger items. The one tote you see has a lot of sublimation blanks in it. I also have all my Christmas ornaments and decorations in two of them on the other side.
So that concludes all the storage I have on my wall of shelves that were in the house when we bought it. I hope this helps you see what types of storage you can use in your craft room and how handy and flexible totes can be!
I’d love to see your craft room! Be sure to share with all of us in our Facebook Group!
Take a look at some more craft room ideas…