Sorry for the delay, friends!
I intended to include instructions and files for the pictures with our previous blog around catios but life just got in the way.
Better late than never!
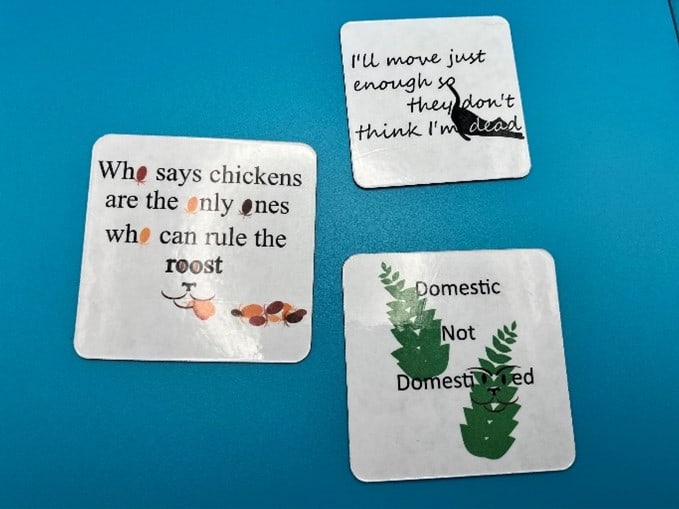
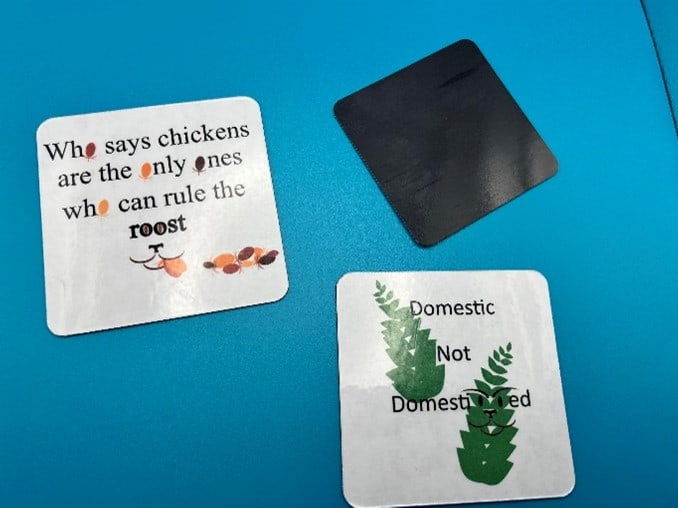
In the July 17, 2022 blog post “Catio” we created 3 SVG files – Rule the Roost, Domestic Not Domesticated, and Move Just Enough. When we created the files, we were focused on creating an image for Print then Cut so we could make this magnet project. During the process of writing this blog, I fell in love with the files and decided there should be other uses for these files. Many hours later and a lot of tweaking they have been updates to be used to make other projects.
Please find the files here -> Catio Cricut Files – Craft Room Time
Today, we will be creating magnets. I am so excited to try this project.
This post may contain affiliate links and we may earn a small commission when you click on the links at no additional cost to you. For additional information, please see my full disclosure policy.
You will need the following supplies to complete this magnet project:
- Unprinted Sticker Sheet – I used Avery Glossy Clear Sticker Project Paper from Amazon.
- Optional – Craftables Transparent Vinyl
- An InkJet printer
- A Cricut Maker, Cricut Maker 3, Cricut Explorer
- Cricut Deep Point Blade
- Green Cricut Mat
I am using Cricuit Design Space version v7.13.105
Save the 3 SVG files to your computer. Then you will need to import the files into Cricut Design Space.
To import the files into Cricut Design Space:
- Once Cricut Design Space loads, Choose Canvas from the Hamburger menu () which is found in the top left corner.

- From the Canvas, click on Upload from the left-hand tool bar.
- Click Upload Image.
- You can drag and drop the file or browse for the file.
- Click Upload.
- Select the image and click Add to Canvas.
- Your image will appear on the Canvas.
I decided that I wanted to make square magnets with these files. After adding the images to your canvas, we need to turn them into square Print Then Cut images. To do this:
- Click on the Shapes icon on the left side and select a Square with rounded edges.
- The Square will appear on your Canvas.
- Right click on the Square.
- Choose Send to Back.
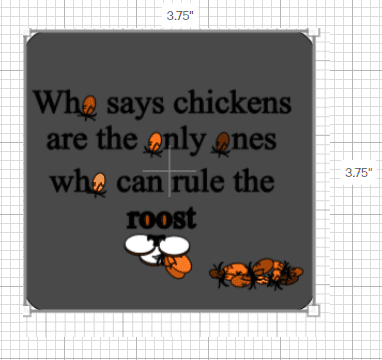
- Select Rule the Roost Image and resize it by either click one of the corners and dragging it to your desired size or by changing the Width and Height on the top tool bar.
Once Rule the Roost is the size you want then select the Square and size the Square, so it encompasses all of Rule the Root’s image.
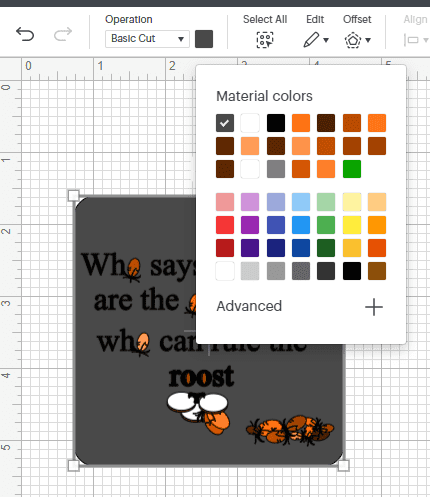
Change the color of the Square to White by clicking on the color swatch in the Operation box at the top of the screen.
- Select both the Square and the Rule the Roost image by left clicking on the Rule the Roost image and then hold your shift key down at the same time you left click on the Square.
Choose Center from the Align menu at the top of the page. This will center the Rule the Roost image inside the square,

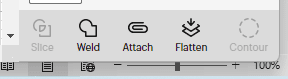
While both are still selected Flatten the image by clicking on the Flatten icon in the lower left corner.
Congratulations you have completed your first big step to making your own personalized magnet. If you would like to make magnets out of the other 2 files, just follow the same process above 2 more times.
Let’s move to the actual creation of the magnet. I don’t know about you but I don’t like to waste materials if I don’t have to. Instead of making one magnet, I am going to walk you through how to make a whole sheet of magnets.
At the time of writing this blog, Cricut’s Print then Cut feature will only work in 6.75” by 9.25” box. The easiest way to make sure our creation stays in those guidelines is to create a template or Guide that has the size of 6.75” by 9.25”.
Let’s draw a Guide:
- Click on the Shapes icon on the left navigation tool bar
- Choose and draw a rectangle
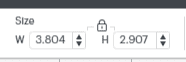
- To unlock the proportions of the rectangle, left click on the Lock icon in the Size Box at the top of the Canvas.
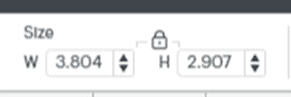
- In the Sizing section of the top tool bar, change the Width to 6.75” and the Height to 9.25”
- In the Operations section of the tool bar at the top of the screen, Choose Guide from the drop-down menu.
- The rectangle you just drew will be a guide to make sure your magnet fit in the dimensions of Cricut’s Print then Cut feature.
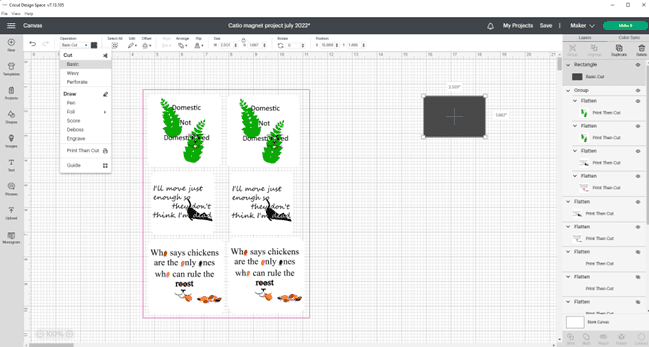
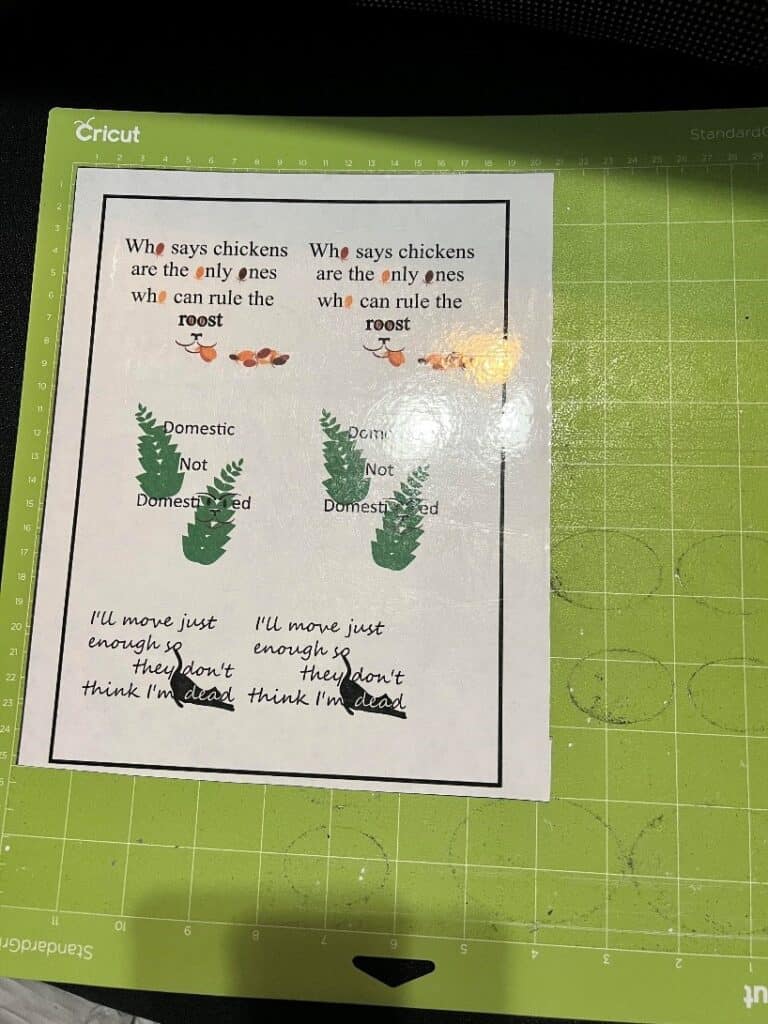
Next drag and drop all the images that you would like to print on your magnets. You might have to resize them and strategically place each one to best use the space.
Once you are happy with everything, you are ready to Print and Cut your magnets.
Making of the Magnets
The moment we all love 😊. Press the “Make It” button in the upper right corner of the screen.
After you press the “Make It” button, Cricut will show how your project will look on a mat. How it is displayed on this screen is exactly how the Cricut machine will print the image and cut it. If you don’t like what you see, you need to left click on Cancel and go back to the Canvas to fix anything you do not like. If you love what you see on this page, then let’s continue to the next steps.
- Left click on the Continue button in the lower right corner, will take you to the Print screen.
- Click the Send to Printer button in the middle of the screen.
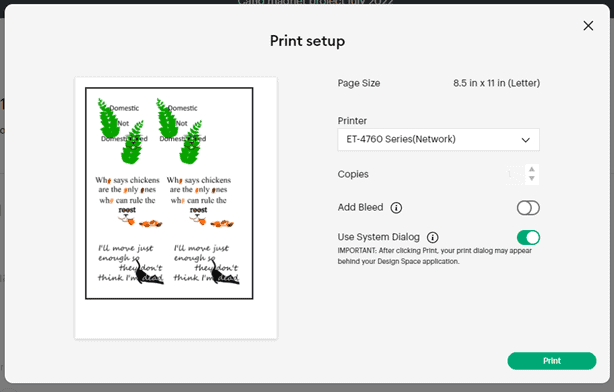
- In the printer setup menu:
- Choose the printer you would like to print using the drop-down arrow.
- Turn off the Add Bleed toggle switch
- Turn ON the Use System Dialog toggle switch. When the switch is turned on it will show green. This will allow you to use your printer’s dialog box to adjust the settings. I like to set the print Quality to High.
- Each printer’s system dialog box is different. Select the best options for your printer.
Assembly Before Cutting
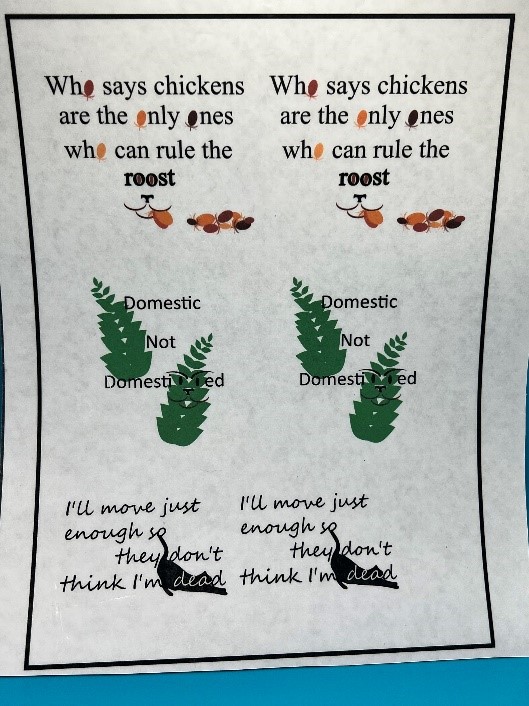
Now that you have printed your images on sticker paper, we need to attach the image to the magnet.
- Take the backing off the sticker paper.
- Take the backing off the magnet.
- Place the magnet on top of the sticker paper. Sticky side against sticky side.
Optional – add transparent vinyl on top of the image to sealing the image and keep it from fading.
Let’s Cut
- In the Set Base Materials section of the screen, click on Browse All Materials.
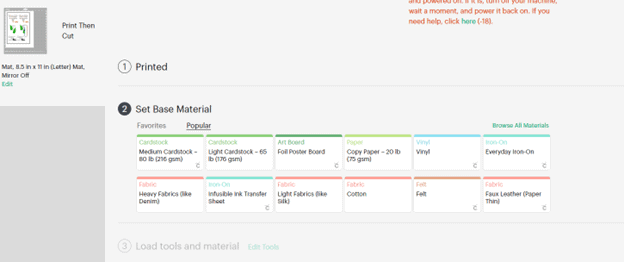
Each Cricut machine is different. Do test cuts first before you cut your final masterpiece.
- In the Search All Materials Box, type in Magnet and hit enter on your keyboard. This will return a list of magnet sheets. Choose the best choice for the materials you are using and your cutting machine. I am using the Cricut Maker and I picked Magnet Sheet – 0.06mm.
- Based on the Material setting you picked, you might need to swap out your blade. I had to exchange my fine point blade for a deep blade. See your machine’s instructions on how to do this. For my Circuit Maker, I just had to open clamp B and switch out the blade and close the clamp.
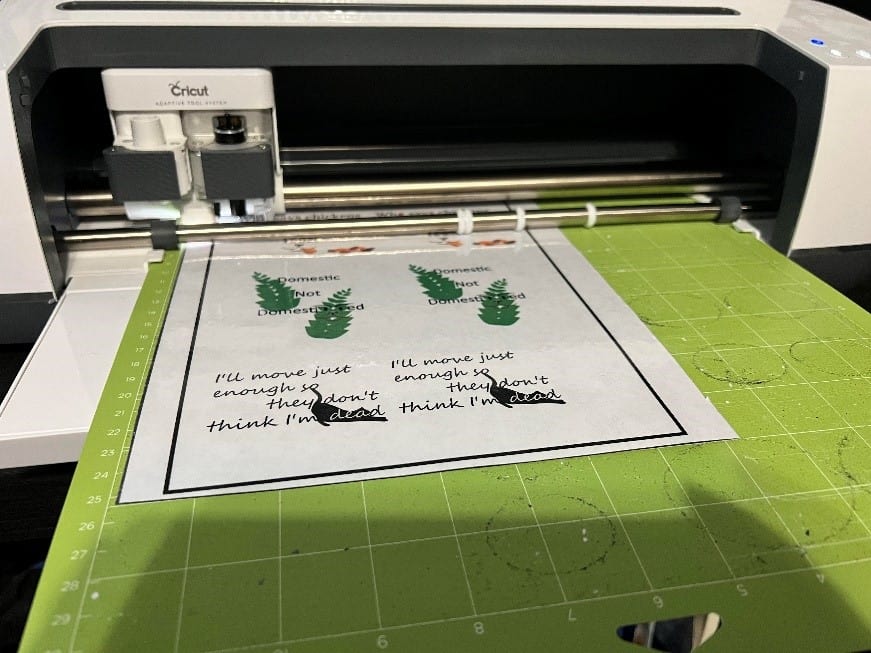
- I put my project on a Green Cricut mat and push the load materials button on the Circuit Maker.
- Then pushed the C button (flashing) on my Maker. This button will be different depending on which Cricut machine you are using.
- Let the magic happen 😊
- Before you unload your mat, peel up a corner of the magnet to make sure it has cut all the way through. If it didn’t cut all the way through, press the C button again and have the Cricut cut the project again. The key is to not unload the mat before you ask the Cricut to cut the project again.
- After the Cricut machine is done cutting, unload your mat. Flip the mat over and peel the mat away from the magnets
Congratulations!!! You have made magnets
Lessons learned
- I should have used a premium printable vinyl. The sticker paper just looked cheap.
- I probably should have used a stronger grip mat or a mat that wasn’t so well loved. The last magnet didn’t cut out because my Cricut jammed. The jam was caused by the sheet not sticking to the mat.
There will be a part 2 to this blog post because now I am dying to try a premium printable vinyl like StarCraft Matt Printable Vinyl. I also found printable magnets. I’m not sure how that will work with my Inkjet printer. It will be fun to find out. I will show you how it all turns out.
Don’t forget to download the free files here -> Catio Cricut Files – Craft Room Time
Happy Crafting