Do find yourself wishing your indoor cats could be outside as they gaze through a window? For a lot of reasons, your beloved cats cannot always have the pleasure of roaming the neighborhood so here is an idea that can set them somewhat free! Use these 8 steps to build them an easy DIY Catio!
They will have the freedom to go outside, get the fresh air, and lounge around without fear of predators. This will set your mind at ease and you will enjoy watching them!

We recently built our own Catio in our backyard off a window onto our lower patio. We did this because in our old home, they had free reign of our 3 seasons room and spent a lot of time out there. We don’t have that in our new home and we still wanted them to have access to be outdoors protected by screens so the Catio was the next best thing.
It really wasn’t that hard to build the way we did it. Here are the 8 steps we used to build and easy DIY catio!
SUPPLY LIST TO BUILD AN EASY DIY CATIO:
- Countersinking wood screws
- Construction Adhesive
- Cradle Caulking Gun
- Plastic Cap Nails
- Plastic Clear Corrugated Sheets
- 36×80 Screen Doors with Pet Guard
- 32×80 Screen Door with Pet Guard
- Cat Door for Window
- Hinges, Door Handle and Latch
- Shelf Brackets
- Lumber for shelves
- 2×4 Pressure Treated Lumber
- 1×1 Lumber
- Corner Round
- Plywood
- Wood Latice (Optional)
POWER TOOLS USED FOR THE CATIO:
- Circular Saw
- Hammer
- Drill
- Jigsaw
- Tape Measure
STEP 1 PLANNING THE CATIO
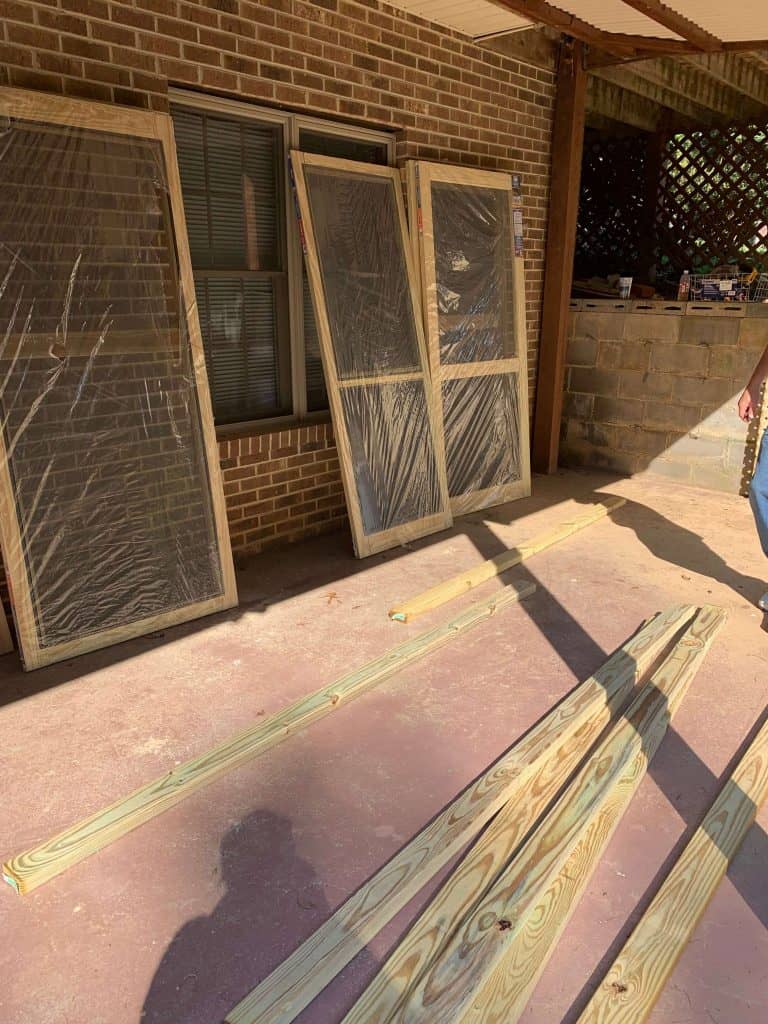
First we drew out what we wanted so we would know how much material we would need. We decided to use pressure treated screen doors with the pet guard at the bottom to save ourselves a lot of time and provide a solid structure rather than piecing it together ourselves. From our measurements we determined that we would use 36×80 Screen Doors with Pet Guard and (1) 32×80 Screen Door with Pet Guard. We purchased (6) 2×4’s and (2) 1×1’s for framing. This made our structure approximately 9 feet long by 3.2 feet deep by 7 feet tall.
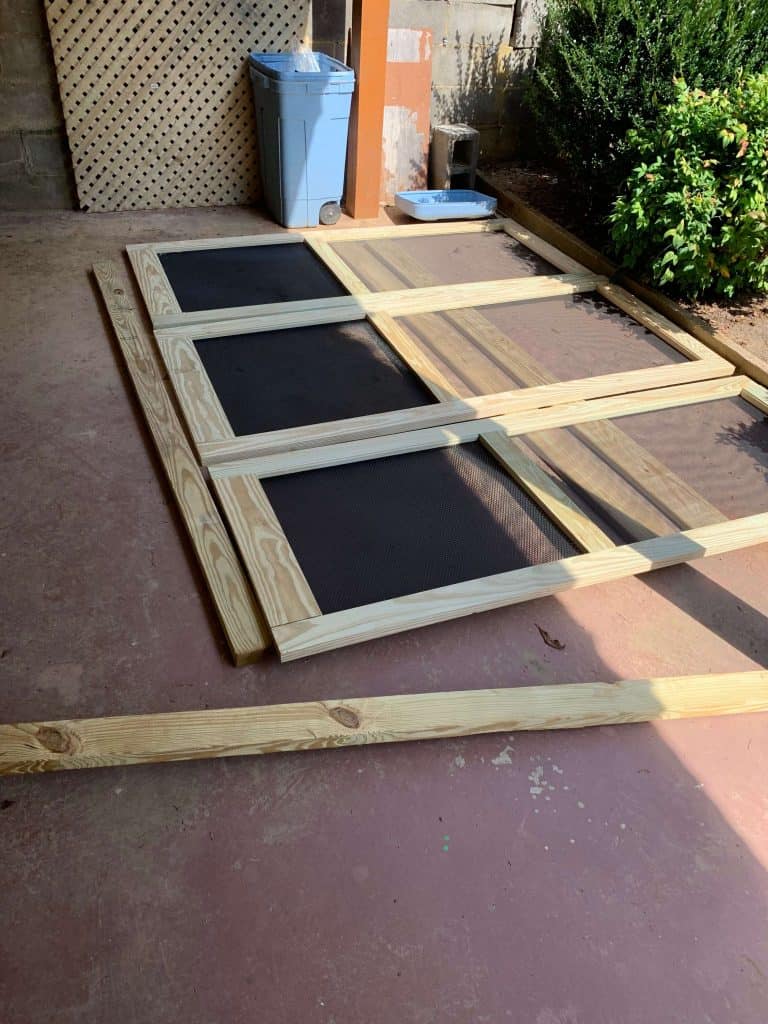
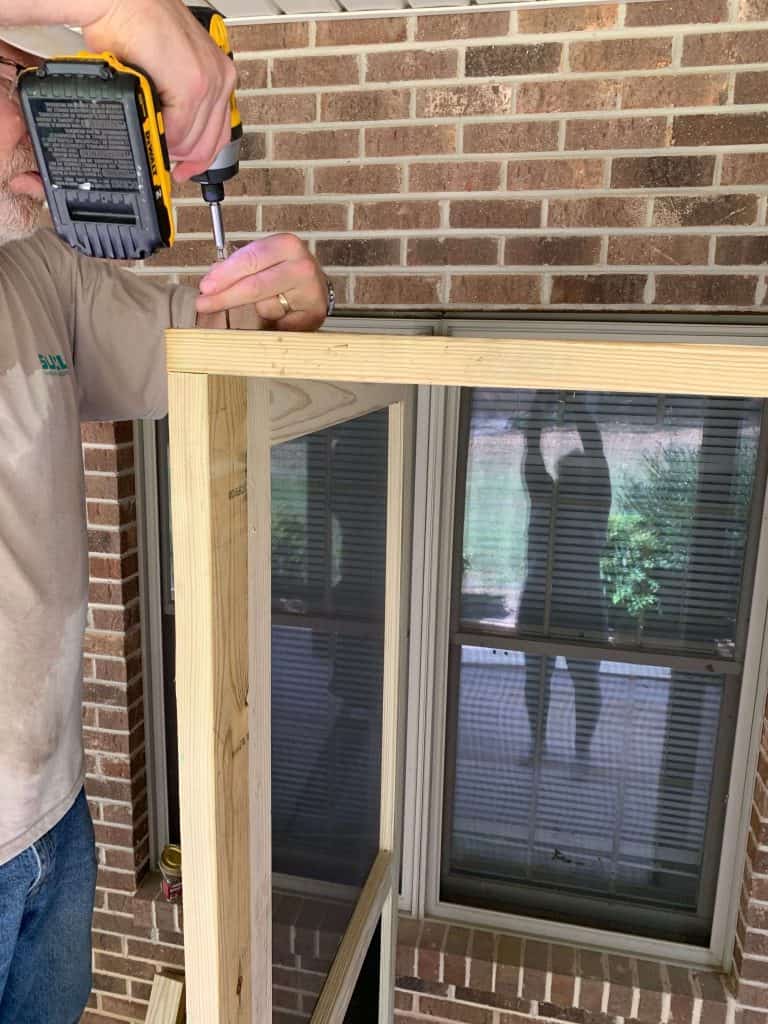
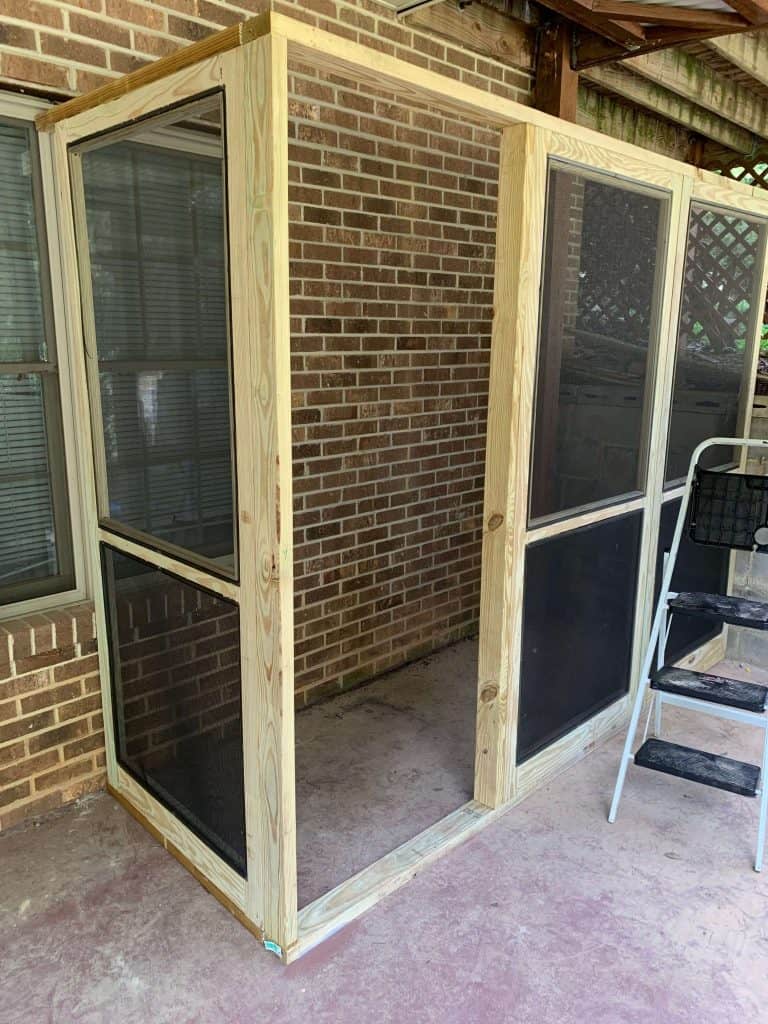
STEP 2 FRAMING THE CATIO
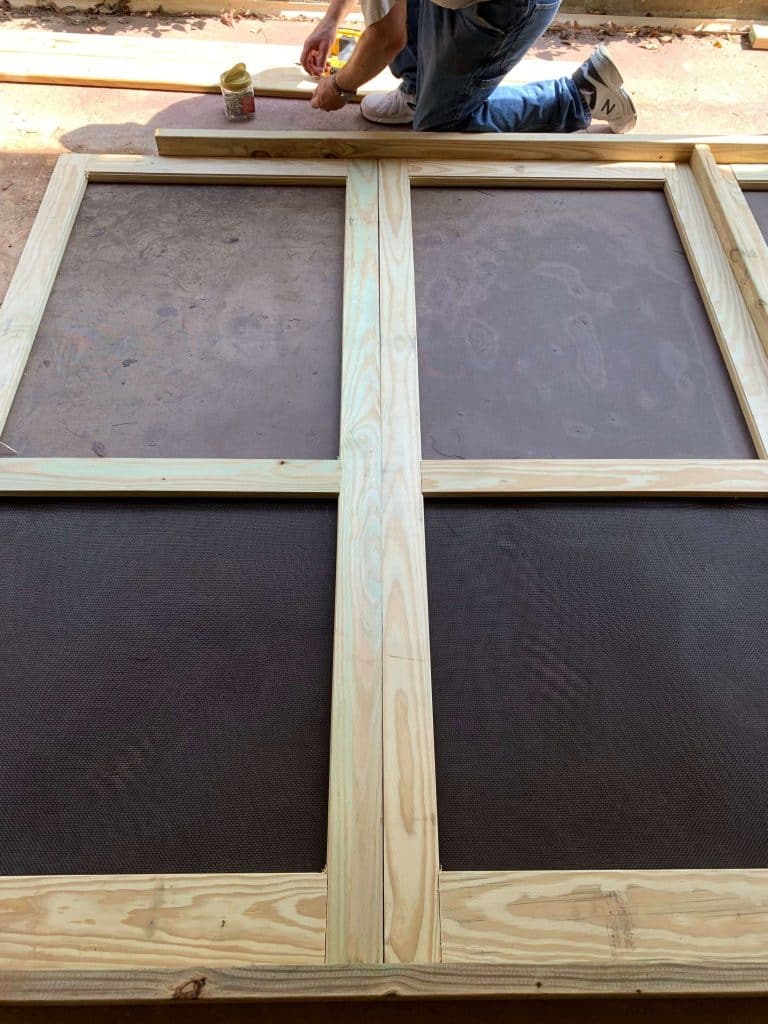
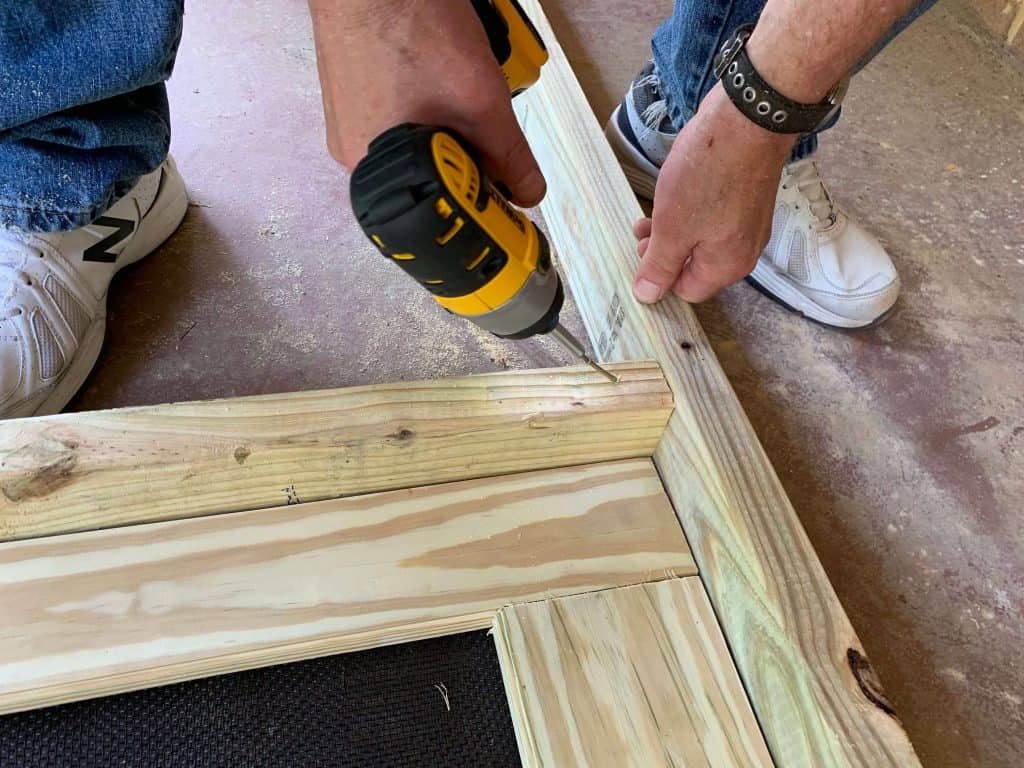
We built a frame to to screw the doors together using the 2×4’s.
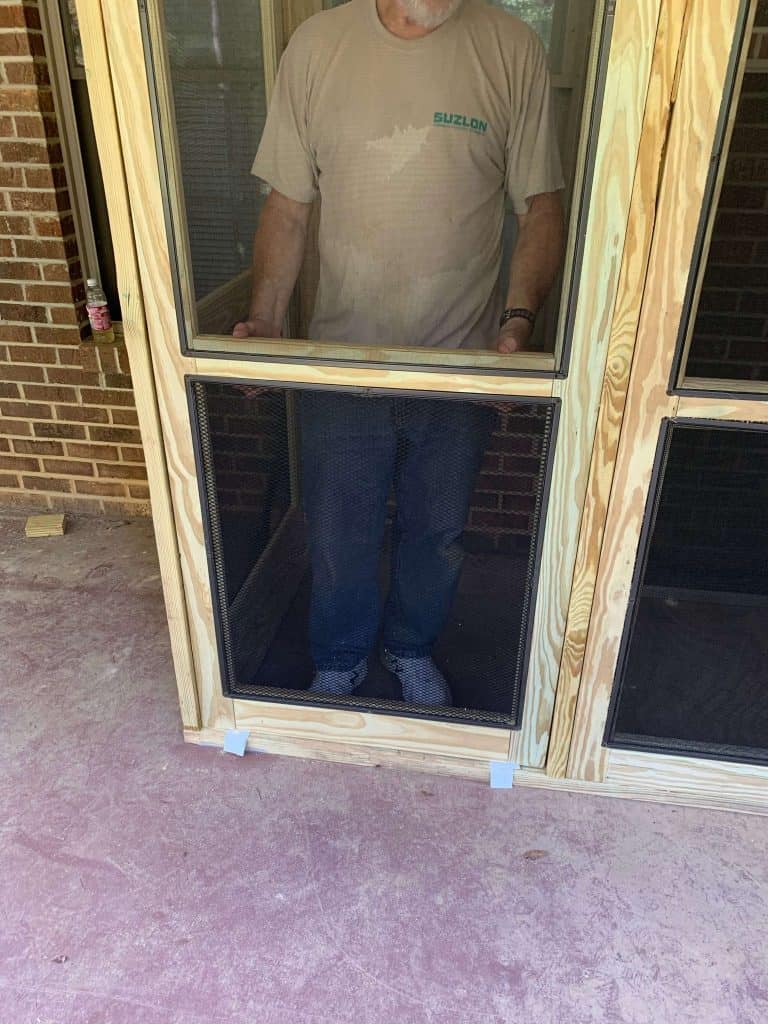
We used (2) of the 36×80 Screen Doors with Pet Guard as the wall securing them directly to the frame on top and bottom with the screw. We then attached a 2×4 on the left of those and on the other side of the (1) 32×80 Screen Door with Pet Guard screen to make a casing for the door. Then we stood it up to continue adding the side screen to the frame in the same manner.
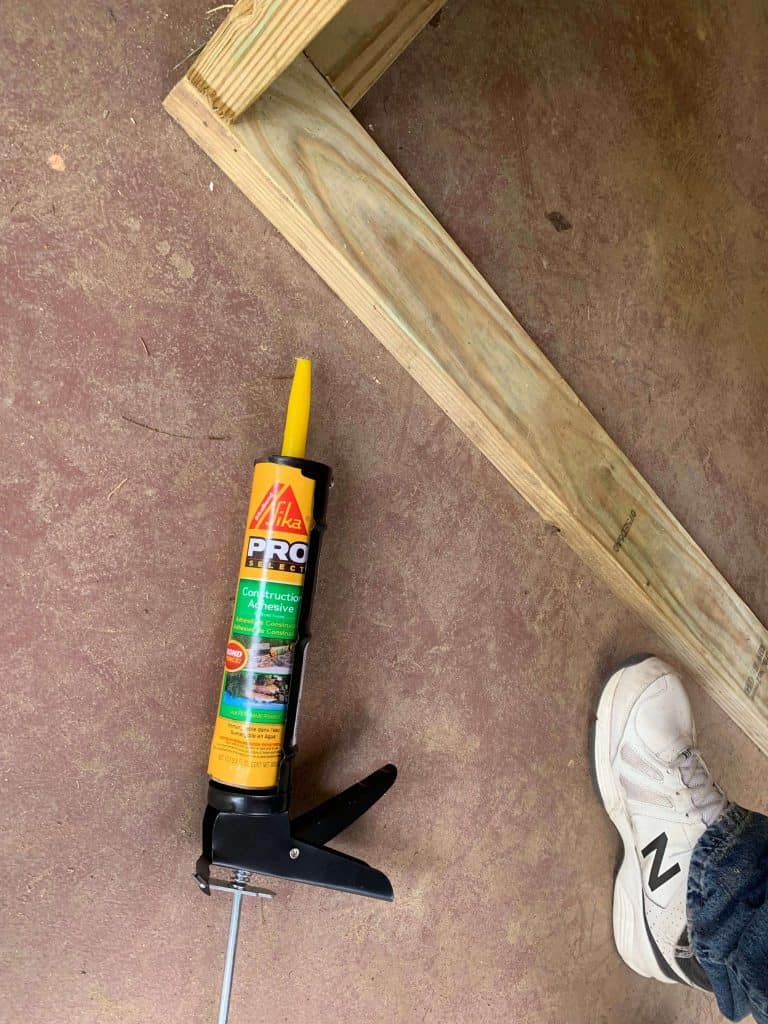
STEP 3 ADHERE TO CONCRETE
Using the Cradle Caulking Gun and Construction Adhesive we drew a line of the glue along the bottom of the frame and set it on the concrete. Because the structure is pretty solid, we did not see the need to secure it to the concrete with screws.
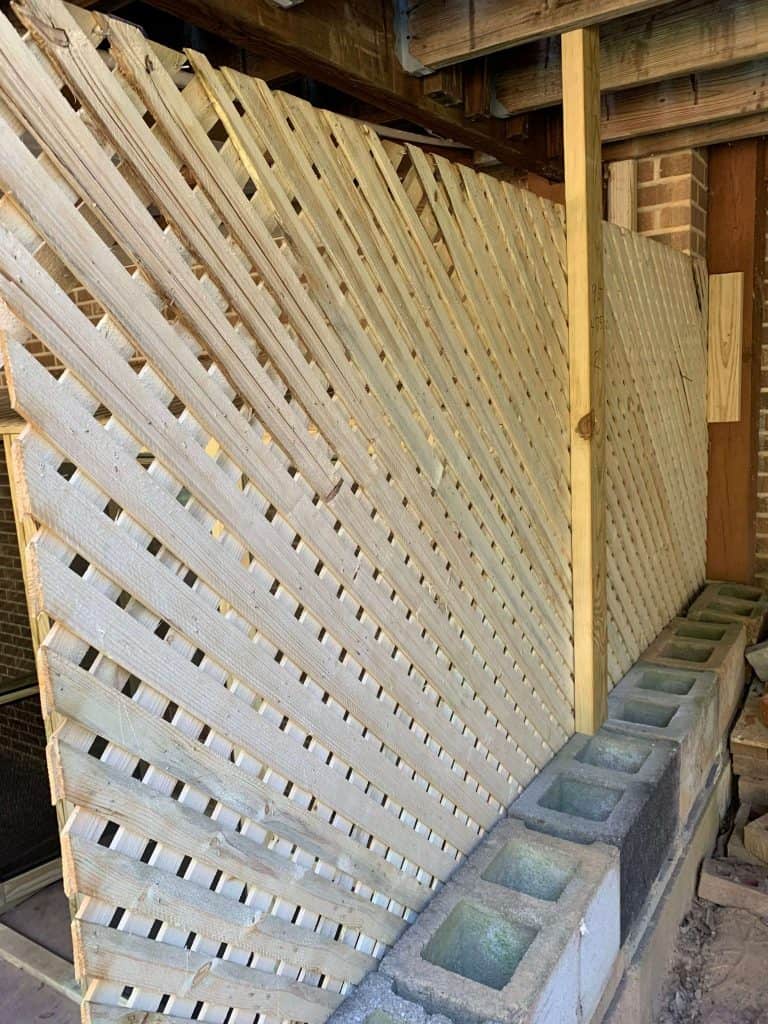
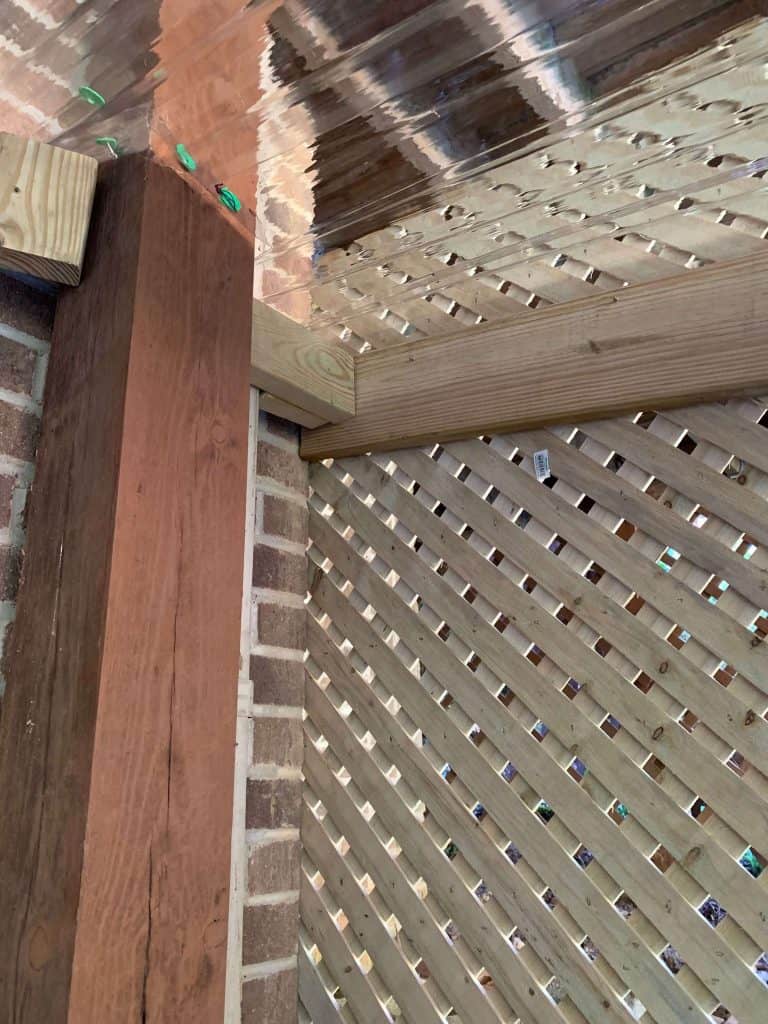
STEP 4 LATTICE
We plan to expand our catio under the stairs next Spring so we put up a temporary wall on the far right by using a piece of wood lattice. This is entirely optional and had we not done that we would have purchased one more 36×80 screen door for that side.
We put the lattice up before the roof but from the second picture you can see how we worked around the deck post and the downspout as well as secured the lattice to the upper deck. You can also see a close up of the the Plastic Cap Nails used to secure the roof.
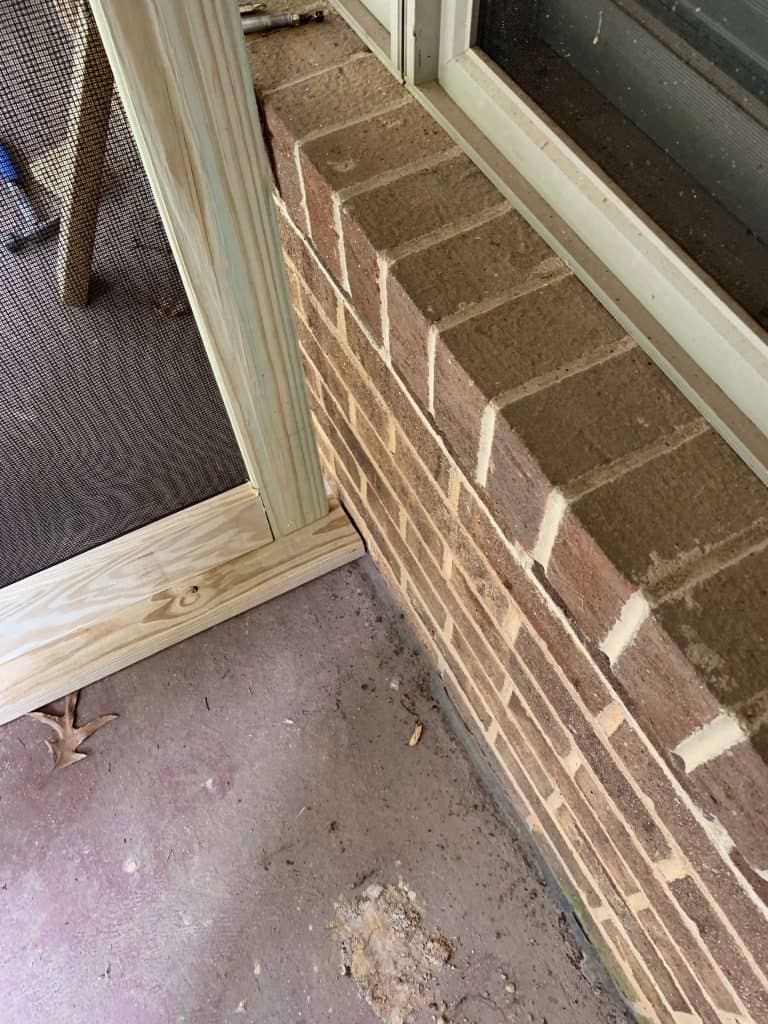
STEP 4 FILLING IN THE GAPS
We used the leftover lumber to fill in the gaps between the wall, window and house. When you build yours, you may or may not have to do this. We screwed all the wood together with the countersinking screws to make it a tight fight.
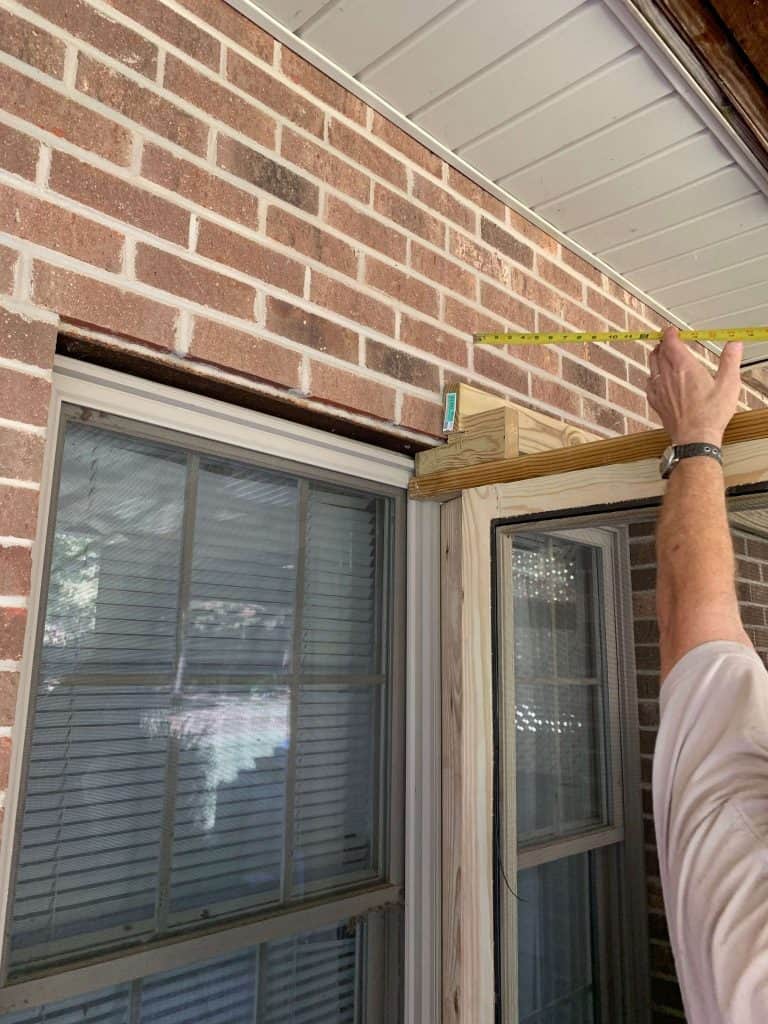
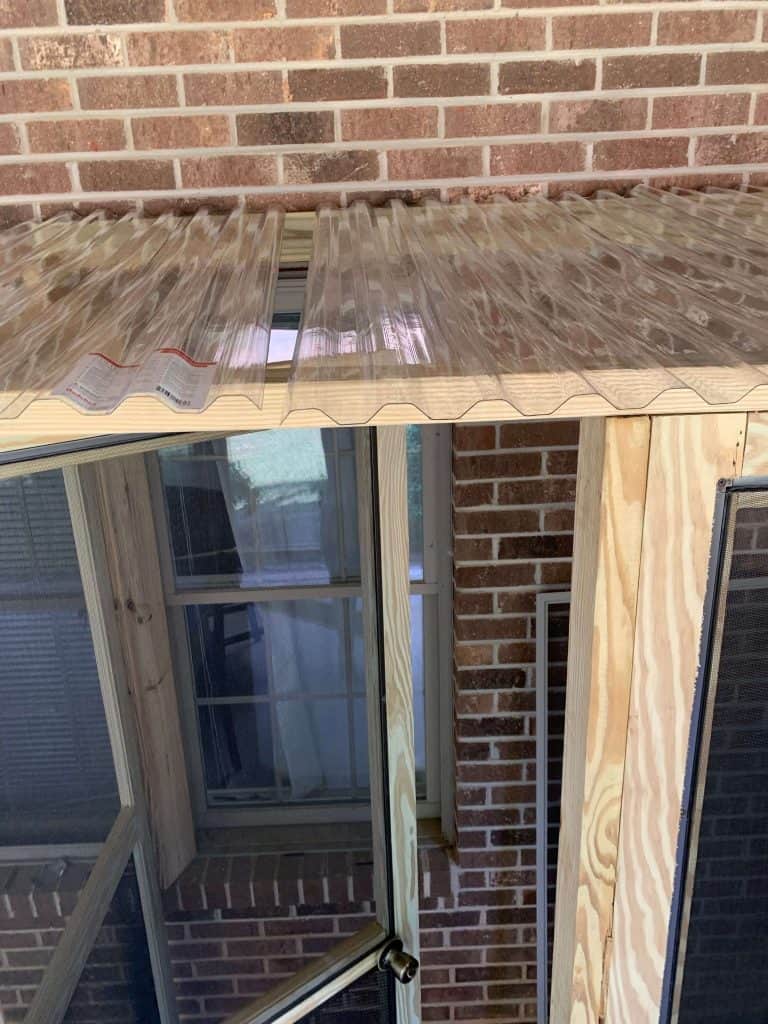
STEP 4 ADDING THE ROOF TOP
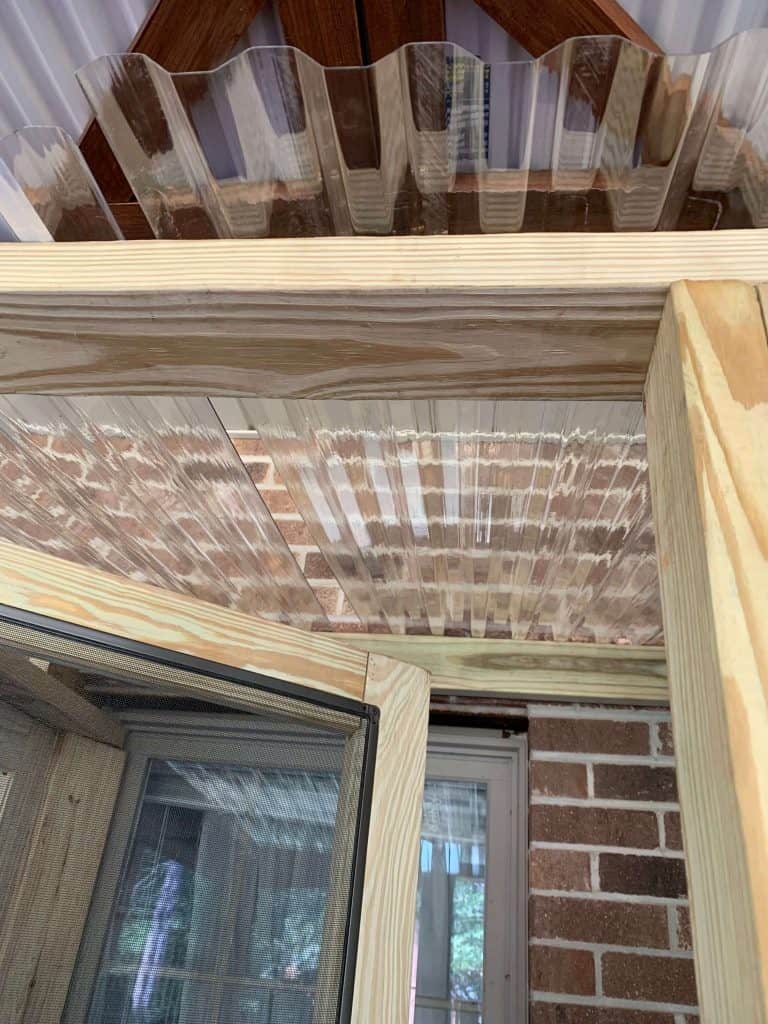
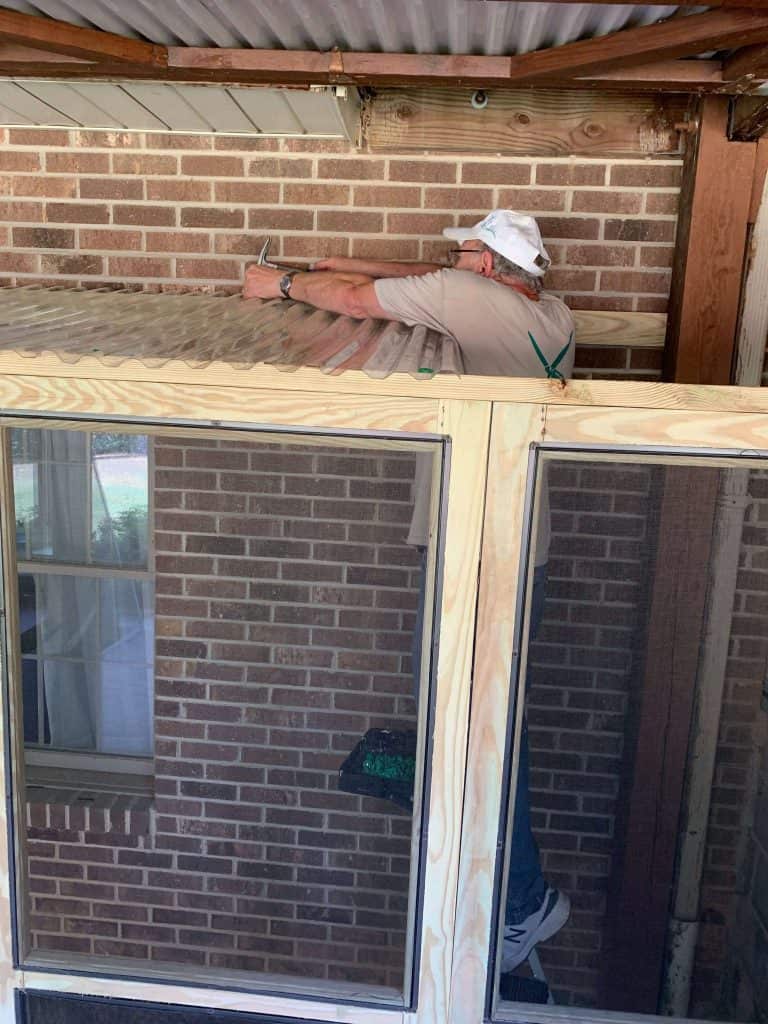
We opted not to screw into the brick. So we secured the top 2×4 directly into the catio frame and the deck post using the countersinking screws. We placed the 2×4 approximately 6 inches above the top of the frame so the roof would come down at an angle to the front for water to travel downwards. We then cut the Plastic Clear Corrugated Sheets to size and attached it to the frame with the Plastic Cap Nails.
We had to cut out the Plastic Clear Corrugated Sheets to fit around the post and downspout but you may not have to do this for yours. It also helps if you have long arms lol!
We wrapped the plastic around on the sides but you could do an angular cut using plywood.
STEP 5 THE DOOR TO THE CATO
We used a few pieces of duck tape to leave about 1/8 gap around the door opening and then put the door inside the casing and attached the hinges to the inside so the door would swing left inside the Catio.
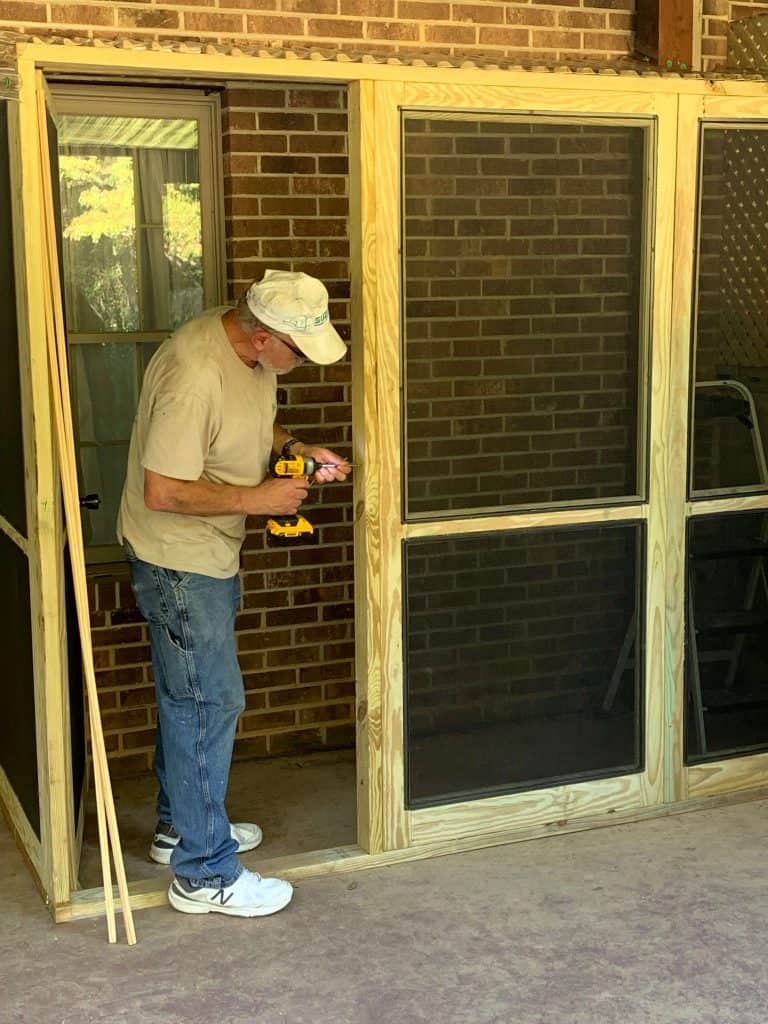
Lastly, we attached (2) corner rounds to fit on the outside of the door so that the cats could not push the door open from the inside. We then attached the handle and the latch.
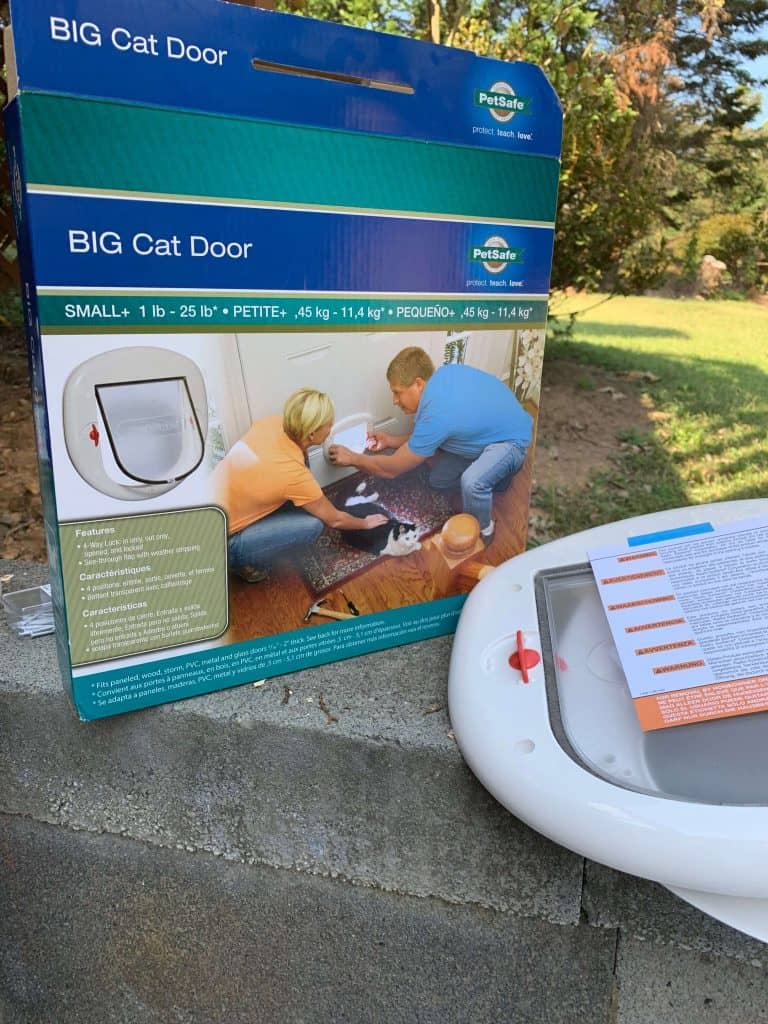
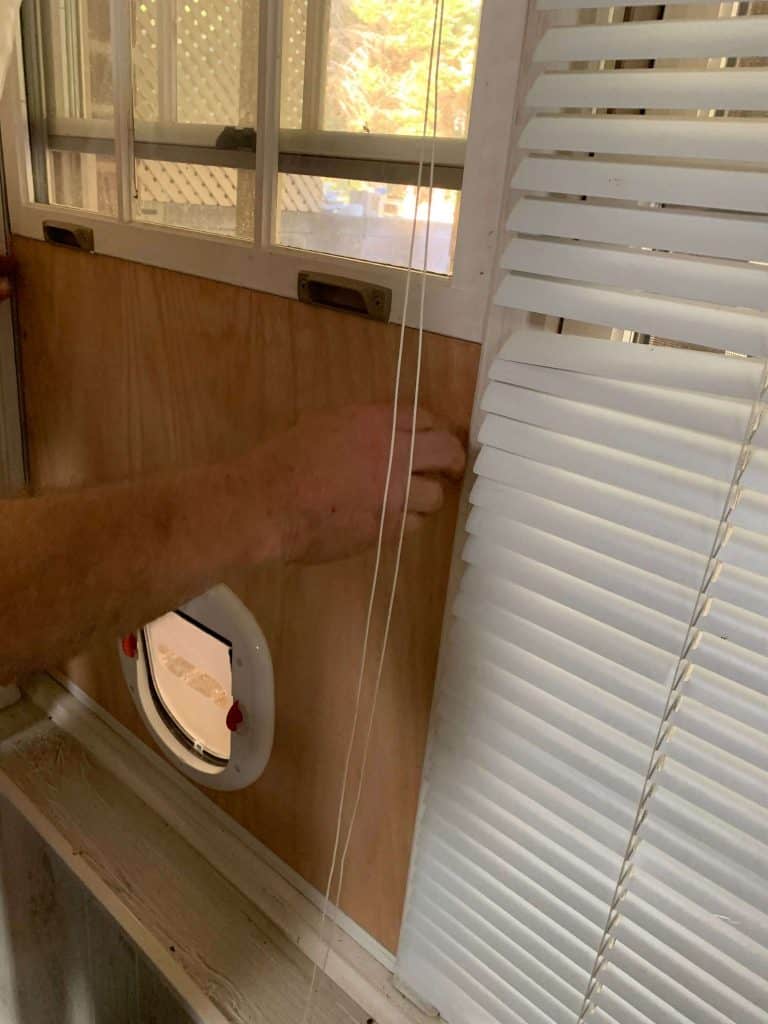

STEP 6 ADDING THE CAT DOOR
First we cut the plywood to fit into the open window on the house. Using the instructions that came with the Cat Door for Window along with the template to install the door to the piece of plywood.
We then installed the plywood into the window and on the inside of the house we secured the plywood to the window by drilling through the window frame into the plywood. We then used 1×1’s on top of the plywood inside to frame it out and add an extra layer of security.
Please excuse the inside. We have got to redo the inside of the basement and get rid of the paneling and those awful blinds LOL.
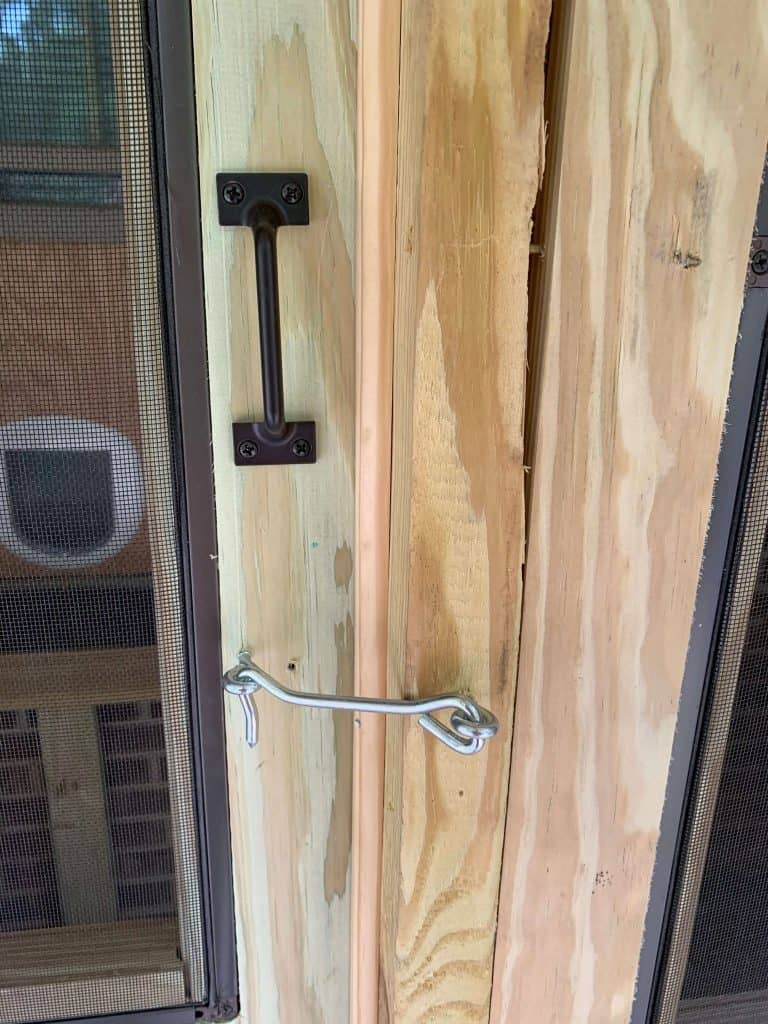
STEP 7 FINISHING TOUCHES ON DOOR
Lastly we attached the handle and latch to the outside of the door. We still have to fill in the gap on that one piece of wood with wood filler. My hubby was mad that he made the mistake of using that board for the door frame but it was already all put together when we raised the wall and noticed it. Easy fix though if you ask me.
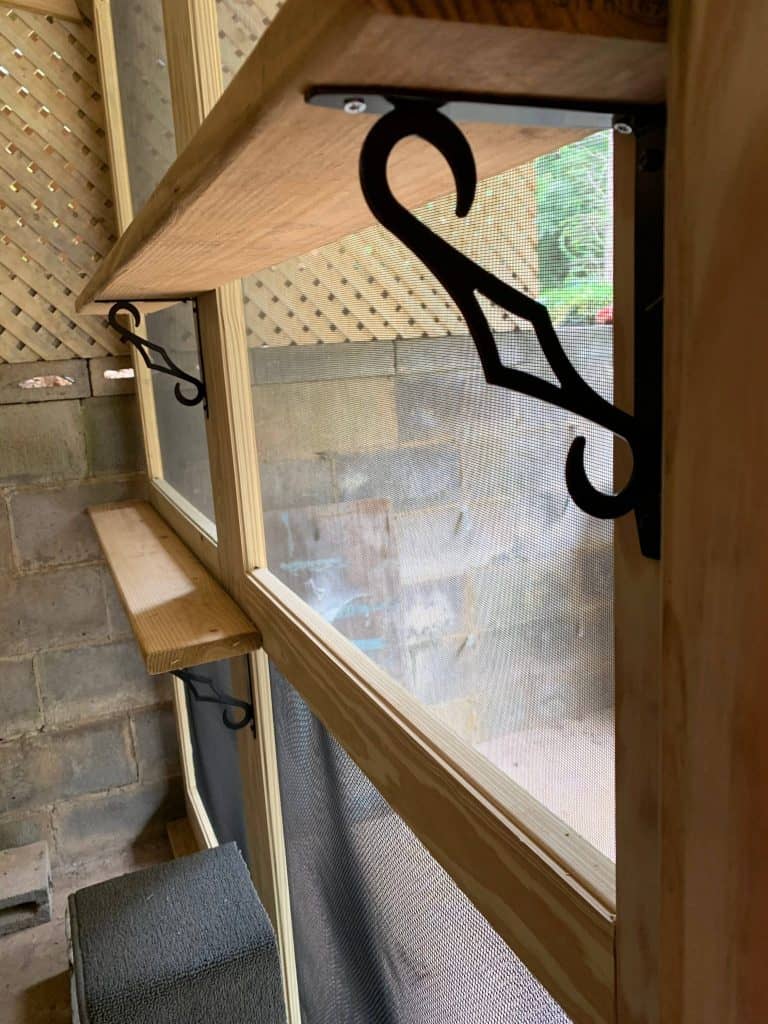
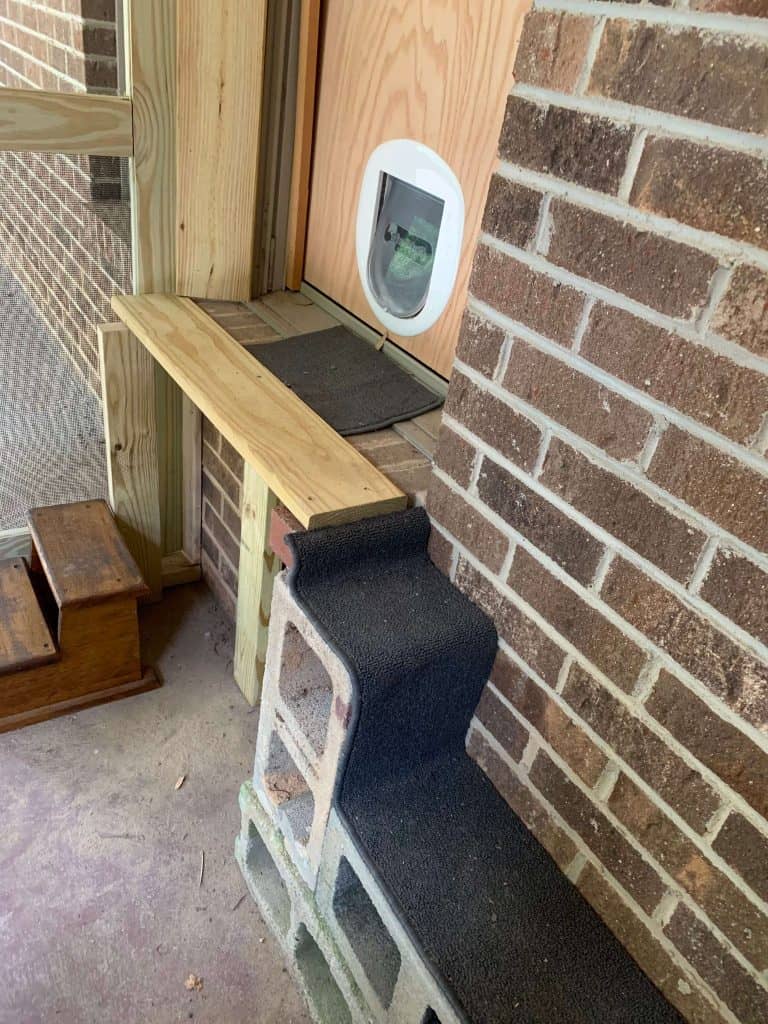
STEP 8 PUTTING UP SHELVES AND ADDING LANDING
We used shelf brackets and shelf lumber to attach some shelves to the inside to tie the wall together and for the cats to lay on. We used available cinder blocks and a rug runner I had to make steps for them to climb on and also a little landing outside the window.
All that’s left now is to clean the floor add some toys and paint! There you have it, an Easy DIY Catio!
I will tell you that this was only phase one of our catio. We plan to extend it out under the deck and add some more features for the cats. Can you tell they are spoiled?
What do you think of phase one of the catio? Do you think you would like to build an easy DIY catio?